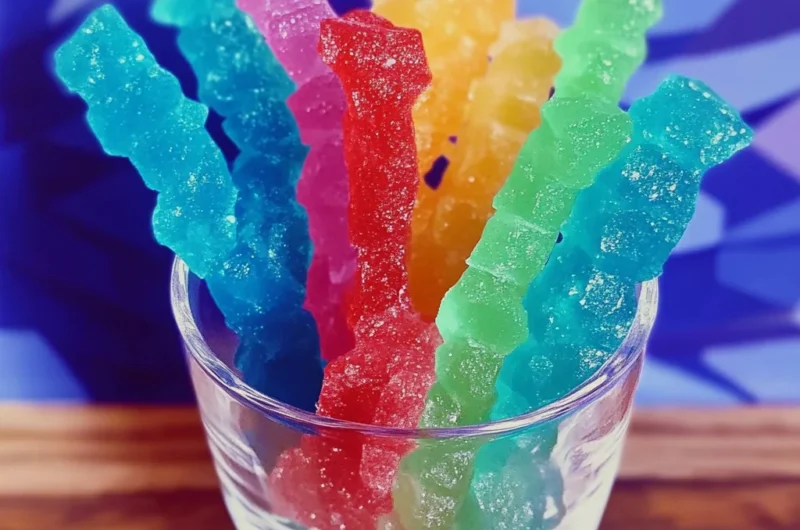
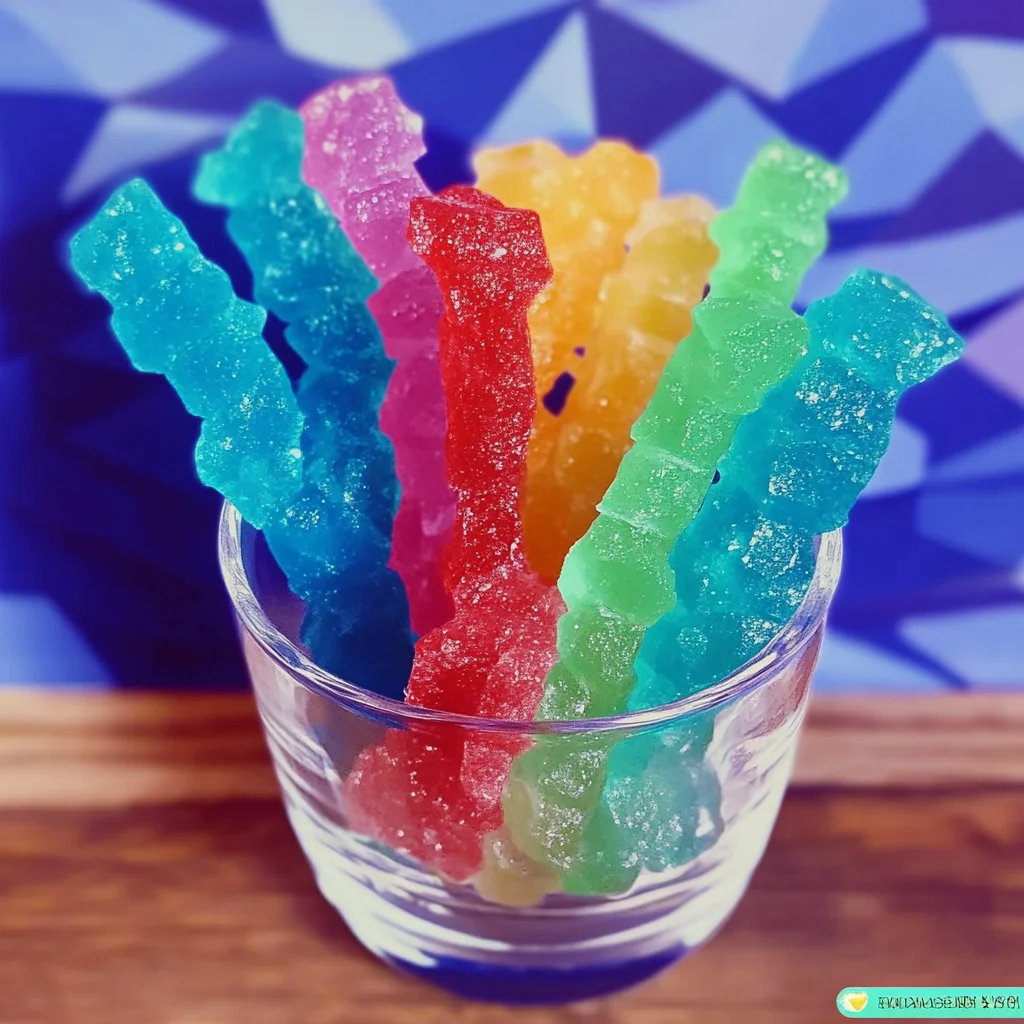
Do you remember the simple joy of biting into a sparkling, colorful rock candy stick as a kid? That crackly sugar crunch, the shimmering crystals catching the light, and the sweet, almost magical flavor—rock candy has a way of bringing back childhood memories and smiles. Making rock candy at home is a fun, almost meditative project that lets you slow down and create a beautiful edible treat that’s perfect for gifts, parties, or just a special sweet snack.
What’s even better? This recipe is surprisingly easy and straightforward. With just a few ingredients and some patience, you’ll have gorgeous homemade rock candy ready to amaze your family and friends. Whether you’re looking for a creative kitchen project or a unique gift idea, rock candy fits the bill perfectly.
Why You’ll Love Rock Candy
- Fast: While the crystal growing takes a few days, active prep time is minimal and simple.
- Easy: With just sugar, water, and a few tools, you can master this sweet craft.
- Giftable: Beautiful, colorful rock candy makes a charming homemade gift that feels personal and special.
- Crowd-pleasing: Kids and adults alike love the crunchy texture and vibrant colors.
Ingredients
Here’s what you’ll need to get started. Each ingredient is simple, but together they create something magical.
- 1 cup water – This is the base for dissolving the sugar and growing your crystals.
- 3 cups granulated sugar – The star of the show! Sugar crystallizes to form those sparkling chunks we love.
- Wooden lollipop sticks – These act as your crystal’s home. You’ll prepare them so crystals can cling and grow.
- Popsicle sticks – Used to hold the lollipop sticks in place across the jar opening.
- Clothespins – Helpful for lowering and suspending the sticks inside the jars without them touching the sides.
- Quart-size wide-mouth mason jars – Perfect containers that let you watch the crystal magic happen.
- Food coloring (gel type preferred) – Add a pop of color to your candy crystals. Gel coloring works best as it won’t dilute the sugar solution.
- Flavor extract (optional) – Vanilla, lemon, peppermint, or any favorite flavor to make your candy unique.
How to Make Rock Candy
Ready to dive in? Follow these steps carefully, and you’ll be savoring your own homemade rock candy before you know it.
- Prep your sticks: Start by dipping each wooden stick into water. Then, roll it in granulated sugar to coat the part where the crystals will form. This rough surface is essential—it gives the sugar crystals something to latch onto when they start growing. Lay the sticks flat to dry completely. I like to prepare the sticks the night before to ensure they’re fully dry and ready.
- Make the sugar solution: In a large pot, combine 1 cup of water with 3 cups of granulated sugar. Heat over medium heat, stirring constantly until the sugar dissolves completely and the mixture comes to a boil. This step is crucial—make sure no sugar granules remain undissolved, or your crystals won’t form properly.
- Add color and flavor: Remove the pot from heat. Stir in your gel food coloring and any flavor extract you want to use. I like a few drops of vanilla for a classic taste, but lemon or peppermint works wonderfully too. The color you add now will be the color of your crystals, so have fun with it!
- Cool the solution: Let your sugar solution cool for about 20 minutes. Pouring it too hot can cause the jars to crack, so patience is key here. Plus, the cooler solution slows the crystal growth just enough for perfect formation.
- Fill your jars: Carefully pour the cooled sugar syrup into your mason jars. Leave some space at the top to prevent overflow when you insert the sticks.
- Insert the sticks: Lay a popsicle stick across the top of each jar. Attach a clothespin to your prepared lollipop stick and lower it into the jar so the sugar-coated part is fully submerged but not touching the bottom or sides of the jar. This is where the crystals will grow, so the stick needs to be suspended carefully.
- Wait and watch: Set your jars in a clean, undisturbed spot. Avoid moving or shaking them for at least 5 days. This is the hardest part—waiting! But trust me, the slow crystal growth is what makes rock candy so beautiful and tasty.
- Harvest your candy: After 5 days, you’ll see glorious sugar crystals clinging to your sticks. Gently break any thin sugar film on the surface of the jars, then carefully remove the candy sticks. If you notice sticks stuck to the sides, use a butter knife gently to loosen them. Sticks stuck to the bottom may be harder to save intact, so try to keep them suspended properly from the start.
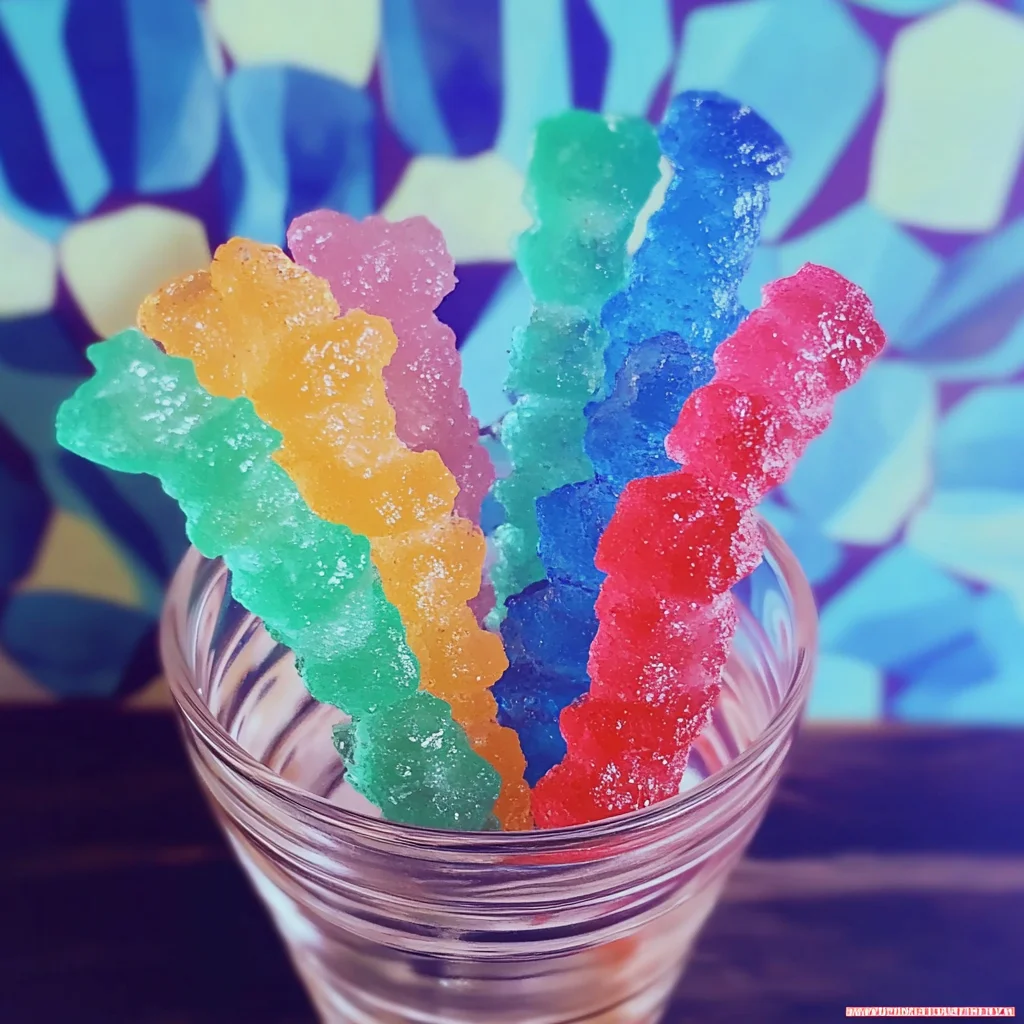
- Dry and display: Transfer your finished rock candy to a clean jar or stand them upright in a cup to dry further. This helps the crystals harden a bit more and look super shiny.
Substitutions & Additions
Want to personalize your rock candy? Here are some easy swaps and fun ideas to try:
- Sugar: You can experiment with superfine sugar for a slightly different crystal texture, but granulated sugar works best for big, beautiful crystals.
- Flavors: Try almond, coconut, or even a splash of bourbon extract for grown-up rock candy. Be cautious with the amount—too much extract can interfere with crystal growth.
- Colors: Mix two gel colors for a marbled effect or make layered rock candy by pouring different colored solutions in stages once the first layer sets a bit.
- Containers: Wide-mouth jars work best, but you can also use heat-safe glass cups or even small drinking glasses. Just make sure the sticks don’t touch the bottom.
- Stick alternatives: Wooden skewers work in a pinch, but they aren’t as pretty or sturdy as lollipop sticks.
If you’re looking for more sweet treats to make at home, you might enjoy the whimsical DIY Fizzy Treasure Stones or the fun and festive Oreo Eyeball Truffles. Both are easy to whip up and perfect for parties or gifting!
Tips for Success
From one candy maker to another, here are my top tips to get your rock candy just right:
- Patience is your best friend: Don’t rush the crystal growing. Let the jars sit undisturbed in a cool place for at least 5 days for the best results.
- Prep the sticks thoroughly: The sugar coating on the sticks is crucial. It acts like a “seed” for the crystals, so don’t skip or skim this step.
- Use clean jars: Any dust or grease can interfere with crystal formation. Wash your jars well and let them dry completely before use.
- Avoid stirring after cooling: Once you add your color and flavor and pour the solution into jars, don’t stir or shake the jars. Movement disrupts crystal growth.
- Keep jars away from drafts: Sudden temperature changes can cause sugar crystals to form unevenly or cause jars to crack.
- Prepare sticks ahead: I usually prep my sticks the day before starting the sugar solution so they dry fully and are ready to go.
How to Store Rock Candy
Once your rock candy is dry and ready, storing it properly will keep it fresh and crunchy for weeks. Store your rock candy sticks in an airtight container at room temperature. Avoid humid or damp areas, as moisture can cause the crystals to dissolve or get sticky. If you want to gift your candy, wrapping them individually in clear cellophane bags tied with a ribbon adds a nice touch and helps keep them fresh.
Because rock candy is essentially crystallized sugar, it has a very long shelf life—think months if stored properly. Just keep an eye out for any moisture or discoloration, which might indicate it’s time to make a fresh batch!
FAQs
Q: Can I use brown sugar instead of white sugar?
A: Brown sugar contains molasses, which can interfere with crystal formation. For best results, stick to granulated white sugar.
Q: How long does it take for rock candy to fully form?
A: You’ll see crystals start to form within 24 hours, but for full-sized candy, plan on 5 to 7 days.
Q: What if my crystals don’t form?
A: Make sure your sugar solution was fully dissolved and that the sticks were properly coated with sugar. Also, avoid moving the jars during the growing process.
Q: Can I make rock candy without food coloring?
A: Absolutely! Rock candy without color is still delicious and sparkly, but adding color just makes it more fun and visually appealing.
If you enjoy making this classic sweet treat, you might also like trying some of the cozy homemade recipes like the Cozy Creamy Tortellini Soup or the delightful Easy No-Bake Martha Washington Candy for more sweet inspiration.
Making rock candy is a wonderful way to bring a bit of sweetness and wonder into your kitchen. It’s a project that invites you to slow down, enjoy a bit of science and art, and share a handmade treat that’s as beautiful as it is tasty. Whether you’re making it with kids, gifting it to friends, or just treating yourself, rock candy is a timeless delight.
Happy candy making!
For more sweet recipes and kitchen inspiration, be sure to follow us on Pinterest.
Perfect Rock Candy
Ingredients
Equipment
Method
- Step 1: Dip wooden sticks into water, then roll in granulated sugar to coat. Lay flat to dry completely, preferably overnight.
- Step 2: In a large pot, combine 1 cup water and 3 cups granulated sugar. Heat over medium, stirring constantly until sugar dissolves and mixture boils.
- Step 3: Remove pot from heat. Stir in gel food coloring and optional flavor extract.
- Step 4: Let sugar solution cool about 20 minutes to avoid jar cracking and to slow crystal growth for perfect formation.
- Step 5: Pour cooled sugar syrup into mason jars, leaving space at the top.
- Step 6: Lay a popsicle stick across the jar opening. Attach a clothespin to a prepared lollipop stick and lower it into the jar so sugar-coated part is fully submerged but not touching sides or bottom.
- Step 7: Place jars in a clean, undisturbed spot away from drafts. Avoid moving or shaking for at least 5 days to allow crystals to grow.
- Step 8: After 5 days, gently break any thin sugar film on the surface and carefully remove candy sticks. Use a butter knife if sticks are stuck to sides.
- Step 9: Transfer finished rock candy sticks to a clean jar or stand upright in a cup to dry further for a shiny finish.