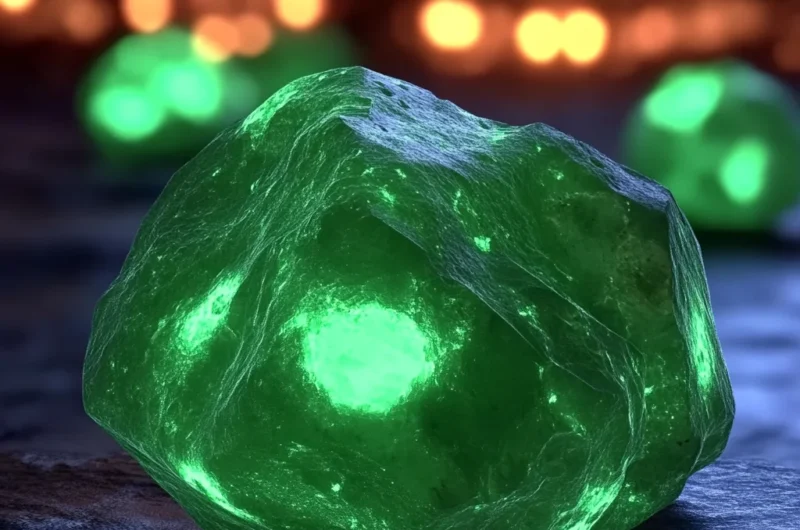
Do you remember those childhood nights when the stars seemed just within reach, and every little rock or stone you found felt like a treasure from another world? There’s something truly enchanting about holding a piece of the night sky in your hands. That’s exactly the feeling you get with these Glow in the Dark Moon Rocks — simple, mesmerizing, and utterly magical. Whether you’re looking for a fun craft project to do with the kids or a unique little gift that lights up the imagination, these moon rocks are a perfect way to bring a little cosmic wonder right into your home.
What I love most about this recipe is how easy and quick it is to whip up. You don’t need any fancy equipment or hard-to-find ingredients, and the results are stunning. Plus, watching those little rocks glow after charging them under the light? It’s like capturing the moon’s magic itself. Let me walk you through everything you need to know to make your own glowing moon rocks, and I’ll share a few tips and creative ideas along the way.
Why You’ll Love Glow in the Dark Moon Rocks
- Fast: You can mix these up in just minutes — no baking or complicated steps.
- Easy: Simple ingredients and no mess make this project fun for all ages.
- Giftable: They make a unique, handmade gift that’s both fun and functional.
- Crowd-pleasing: Kids and adults alike will be mesmerized by the glow effect.
Ingredients
Let’s talk ingredients before you get started, so you know what to expect and why each part is important.
- 1 cup baking soda: This is the main base for your moon rocks, giving them that sandy, moldable texture. Baking soda is inexpensive and easy to find, so it’s perfect for crafts.
- ¼ cup water (more if needed): The water helps bring the baking soda together into a moldable dough. You’ll add it gradually to get just the right consistency.
- Glow-in-the-dark non-toxic paint or glow pigment powder: This is the star of the show! Make sure it’s kid-safe if the project is for little ones. This ingredient is what gives your moon rocks their magical glow.
- Optional: Glitter or food-safe coloring: For a little extra sparkle or color, toss in some glitter or food coloring. It’s a great way to personalize your moon rocks and make them even more eye-catching.
- Optional: Small rocks or crumbled chalk: Adding texture is fun and gives the moon rocks a more authentic rocky feel. Plus, it’s a fun way to experiment with different looks.
How to Make Glow in the Dark Moon Rocks
Ready to get your hands a little messy and create something truly special? Here’s how you turn a few simple ingredients into glowing treasures.
- Mix the baking soda and glow pigment: Take your bowl and add the cup of baking soda. Then add a few teaspoons of your glow-in-the-dark paint or pigment powder. I like to start with a smaller amount of pigment and add more if I want a stronger glow. Stir well until the glow pigment is evenly mixed throughout the baking soda, creating a glowing powdery base.
- Add water gradually: Slowly pour in the water, starting with a few tablespoons. Stir as you go to combine. The goal is to get a texture that feels like damp sand — not too wet, but soft enough to mold. If it’s too crumbly, add a little more water; if it’s too sticky, sprinkle in a bit more baking soda.
- Mix in your extras: Now’s the time to add your glitter, food coloring, or those tiny rocks or chalk pieces. These extras are optional, but they add a lovely sparkle or texture that really makes your moon rocks stand out. I particularly love using a bit of iridescent glitter for a magical, starry effect.
- Mold your moon rocks: Using your hands, pinch off small amounts of the mixture and shape them into little rocky forms. Don’t worry about making them perfect — irregular shapes look the most natural and “moon-like.” If you want, you can make some just a bit bigger or smaller for variety.
- Dry the rocks: Place your finished moon rocks on a tray or plate and let them air dry overnight. This is an important step — they need to harden completely so they don’t crumble when you play with them or gift them.
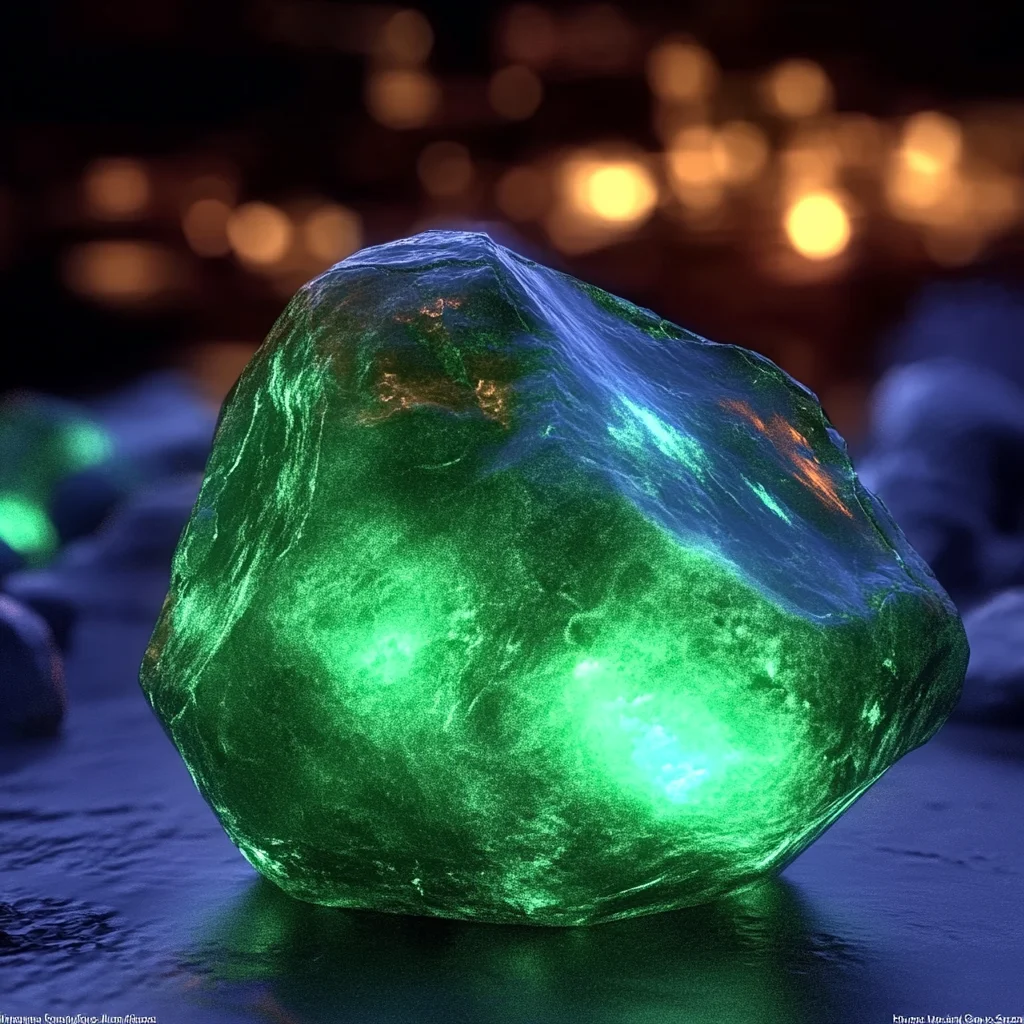
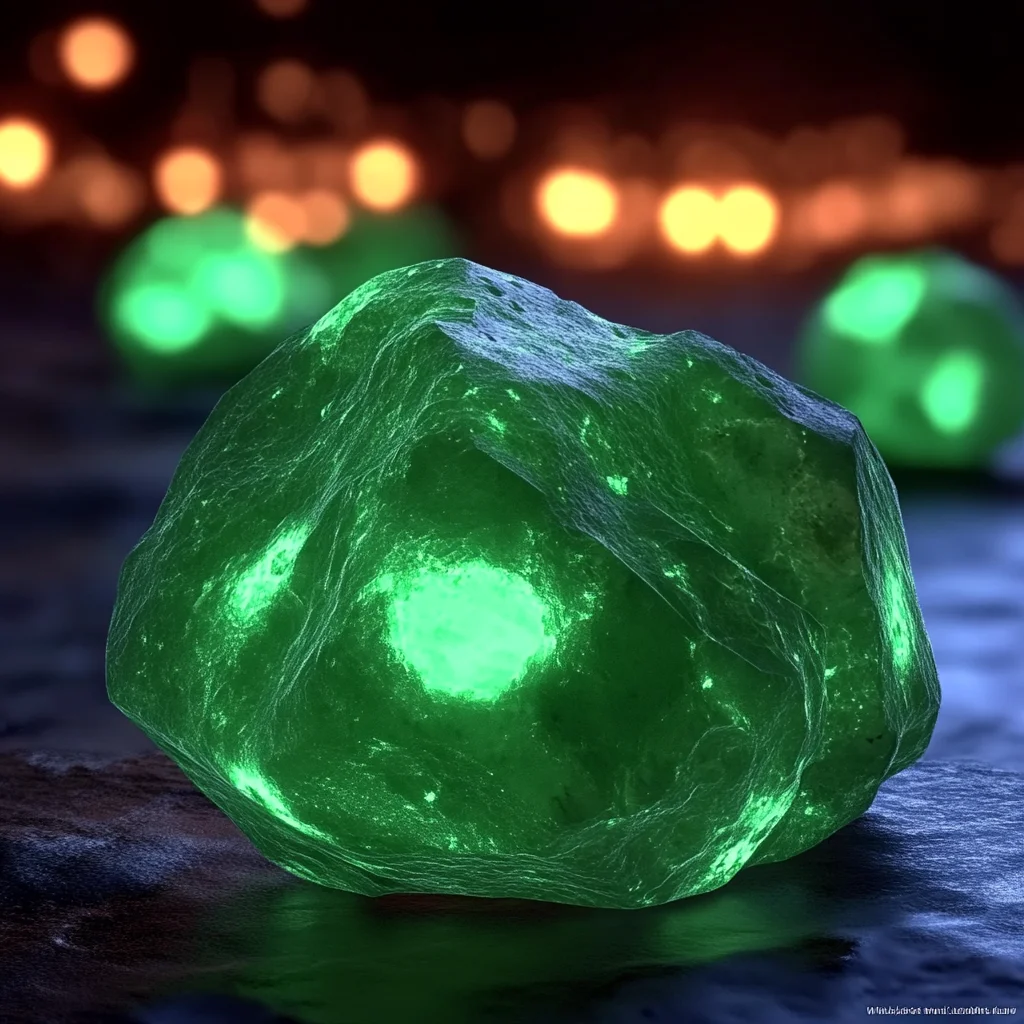
- Charge and enjoy: Once dry, place your moon rocks under a bright light for a few minutes to “charge” their glow. Then turn off the lights and watch them come alive with a mysterious, otherworldly glow. It’s seriously mesmerizing!
Substitutions & Additions
One of the best parts about this recipe is how flexible it is. Here are some ideas to customize or upgrade your moon rocks:
- Substitute baking soda with cornstarch: If you want a smoother texture, try swapping half the baking soda with cornstarch. It can give a slightly different feel that some people prefer.
- Use glow-in-the-dark powder instead of paint: If you want a more intense glow, glow pigment powder tends to be more vibrant than paint. Just mix it in dry first, then add water.
- Add essential oils: For a sensory twist, add a drop or two of kid-safe essential oils like lavender or peppermint. Your moon rocks will smell as magical as they look!
- Mix in small plastic stars or beads: For a cosmic twist, tiny star-shaped beads or plastic accents can add a fun surprise inside your moon rocks.
- Try food coloring for color variations: While these aren’t edible, food coloring can add pastel or bright hues to your moon rocks, making them look like colorful planetary stones.
If you’re looking for other fun, themed treats or crafts, you might enjoy the creative magic behind the DIY Fizzy Treasure Stones, which are just as fun and spark your imagination in a totally different way.
Tips for Success
I’ve made these moon rocks dozens of times, and here are some of my favorite tips to make sure your project goes smoothly and looks amazing:
- Don’t rush the drying: Air drying overnight is essential. If you try to handle the rocks too soon, they’ll crumble easily. Patience really pays off here.
- Adjust water slowly: It’s easy to add too much water and end up with a sticky mess. Add water in small increments and mix thoroughly before deciding to add more.
- Use gloves if you don’t want glitter everywhere: Glitter is beautiful, but it’s messy. If you want to keep your hands clean, wear disposable gloves while mixing.
- Charge under natural sunlight or strong LED light: For the brightest glow, place your moon rocks in direct sunlight or under a strong LED lamp. Fluorescent lights don’t work as well.
- Store extra pigment carefully: Glow pigments can lose their power if exposed to moisture or air for too long. Keep any leftovers in an airtight container for next time.
If you’re ever in the mood for a cozy kitchen project that’s a little different but just as satisfying, check out my recipe for the Cozy Creamy Tortellini Soup. It’s the kind of recipe that warms you up after a night of crafting moon rocks!
How to Store Glow in the Dark Moon Rocks
Once your moon rocks are fully dried and hardened, store them in a cool, dry place to preserve their glow and structure. Here are a few storage pointers:
- Use an airtight container: This keeps moisture out, which can cause your moon rocks to soften or lose their shape.
- Keep away from direct sunlight when not charging: While sunlight charges the glow, prolonged exposure can fade the color or dry out the pigment unevenly.
- Handle with care: Though they’re hardened, these moon rocks are still somewhat fragile — dropping them on hard surfaces may cause chipping.
- Shelf life: Stored properly, your moon rocks can last for several months. Over time, the glow might dim a bit, but you can always “recharge” them under a light source.
FAQs
Can kids safely handle the glow-in-the-dark paint or pigment?
Absolutely! Just be sure to use non-toxic, kid-safe glow materials, especially if young children are involved. Always supervise crafts involving small pieces or powders.
Can I use these moon rocks outdoors?
Yes, but keep in mind they’re not waterproof. Moisture can damage them, so it’s best to use them in dry areas or bring them inside after enjoying their glow.
How long does the glow last after charging?
The glow can last anywhere from 10 minutes to over an hour depending on the pigment quality and how long you charged them. Recharging under light brings them back to life again and again!
Can I make larger moon rocks?
Of course! Just keep in mind larger pieces will take longer to dry completely — plan for 24-48 hours of drying time for bigger creations.
There’s something so joyful about simple projects that spark wonder and creativity. These Glow in the Dark Moon Rocks are perfect for that — a little bit of science, a lot of magic, and hours of fun. If you want to dive even deeper into fun kitchen and craft ideas, don’t miss out on the incredible recipes and DIY projects shared over at FoodTD. You might especially enjoy the playful and spooky creativity behind the Oreo Eyeball Truffles — a perfect treat when you want something a little eerie and delicious!
Thanks for stopping by the kitchen today. I hope your Glow in the Dark Moon Rocks bring a little extra light and magic to your nights. Don’t forget to recharge them under your favorite lamp and watch your own little universe come to life!
For even more magical recipes and craft ideas, be sure to follow us on Pinterest — it’s packed with inspiration for every season and celebration.
Glow in the Dark Moon Rocks
Ingredients
Equipment
Method
- Step 1: In a bowl, mix the baking soda and glow pigment or paint until evenly combined, creating a glowing powdery base.
- Step 2: Gradually add water starting with a few tablespoons, stirring to combine. Aim for a damp sand texture that is moldable but not sticky. Adjust with more water or baking soda as needed.
- Step 3: Mix in optional glitter, food coloring, or small rocks/chalk pieces for added sparkle and texture.
- Step 4: Using your hands, pinch off small amounts of the mixture and mold into irregular rocky shapes. Vary sizes for a more natural look.
- Step 5: Place the shaped moon rocks on a tray or plate and let them air dry overnight until completely hardened.
- Step 6: Once dry, charge your moon rocks under a bright light or sunlight for a few minutes, then turn off the lights to watch them glow magically.