There’s something truly magical about light filtering through colorful art in your home. Remember those sunny days when you’d make crafts that would dance in the light? Today, I’m excited to share a simple and delightful project: Easy DIY Suncatchers. This fun activity is perfect for kids and adults alike, making it a wonderful way to spend an afternoon together!
Why You’ll Love Easy DIY Suncatchers: Make Colorful Window Art for All Ages!
- Fast
- Easy
- Giftable
- Crowd-pleasing
Ingredients
- Transparent contact paper: This is the magic that holds everything together!
- Tissue paper in various colors: Choose your favorite shades to create a vibrant display.
- Scissors: Handy for cutting out shapes and trimming edges.
- A pencil: Great for marking your designs before cutting.
- A black marker (optional): Perfect for adding outlines or designs on top.
- String or yarn: Needed for hanging your beautiful creation.
How to Make Easy DIY Suncatchers: Make Colorful Window Art for All Ages!
Let’s get started on creating your own suncatcher masterpiece!
- First, cut two pieces of transparent contact paper to your desired size. This will be the frame for your suncatcher.
- Peel the backing off one piece of contact paper and place it sticky side up on a flat surface. This is where the fun begins!
- Now, cut the tissue paper into small shapes. You can go for squares, circles, or even free-form designs. Let your creativity flow!
- Arrange the tissue paper shapes on the sticky side of the contact paper. Feel free to overlap and layer them to create depth and interest.
- Once you are satisfied with your arrangement, peel the backing off the second piece of contact paper and place it sticky side down over the tissue paper to seal everything in.
- Trim any excess contact paper around the edges for a neat finish.
- If you’d like, use a black marker to outline the shapes or draw designs on the top layer of contact paper for that extra pop!
- Cut a piece of string or yarn and attach it to the top of the suncatcher for hanging.
- Finally, hang your suncatcher in a sunny window and enjoy the colorful display that brightens your space!
Substitutions & Additions
If you want to get a little adventurous, consider these swaps:
- Instead of tissue paper, try using colored cellophane for a different texture.
- Add glitter or sequins for some sparkle!
- Use different shapes like hearts or stars for seasonal decorations.
Tips for Success
To make sure your suncatchers turn out just right, keep these tips in mind:
- Make sure to seal the edges well so the tissue paper doesn’t lift.
- Don’t rush! Take your time arranging the tissue paper for a more artistic look.
- If you want to prep ahead, you can cut the tissue paper shapes in advance, so they are ready for assembly.
How to Store Easy DIY Suncatchers: Make Colorful Window Art for All Ages!
Your suncatchers can be displayed year-round, but if you want to store them, keep them flat in a cool, dry place. They’ll last for many seasons if treated gently!
FAQs
- How long does it take to make these suncatchers? Generally, you can complete one in about 30 minutes, depending on your design.
- Can I use other types of paper? Yes, feel free to experiment with paper types, just ensure they are lightweight.
- Can kids do this project? Absolutely! This is a fantastic family-friendly craft.
Creating these vibrant suncatchers is not just a craft; it’s a delightful way to bring a splash of color and joy into your home. Plus, they make wonderful gifts for friends and family! For more delicious recipes, check out Easy Hawaiian Chicken Sheet Pan or Cozy Creamy Tortellini Soup for treats you will love!
If you’re looking for more fun ideas, don’t forget to follow our Pinterest account for inspiration!
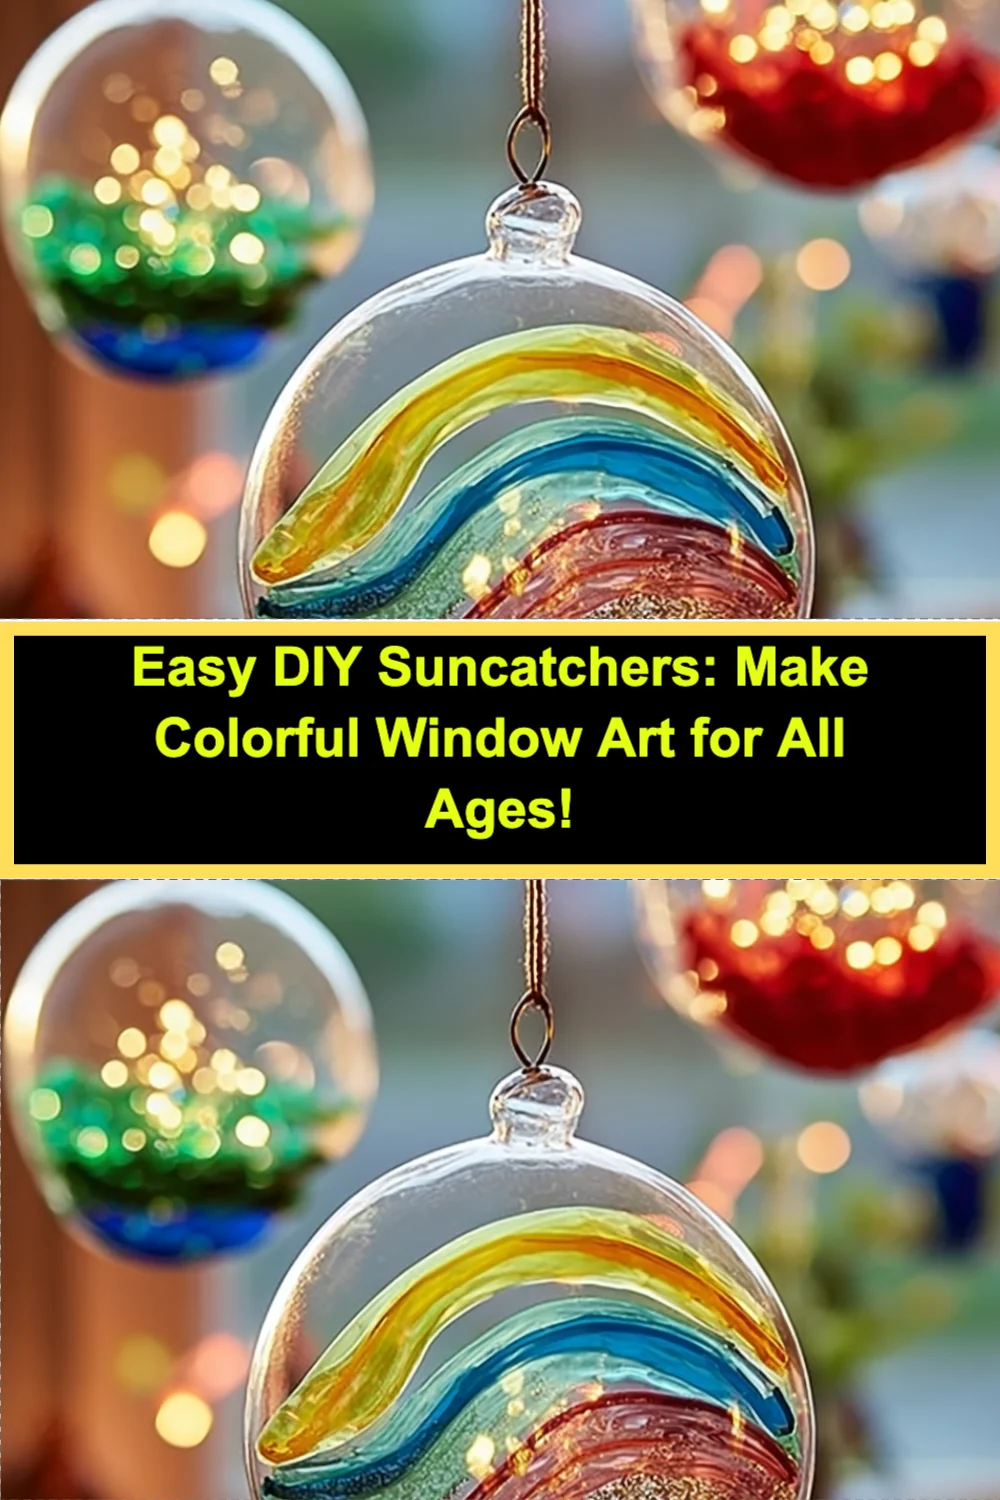
Easy DIY Suncatchers
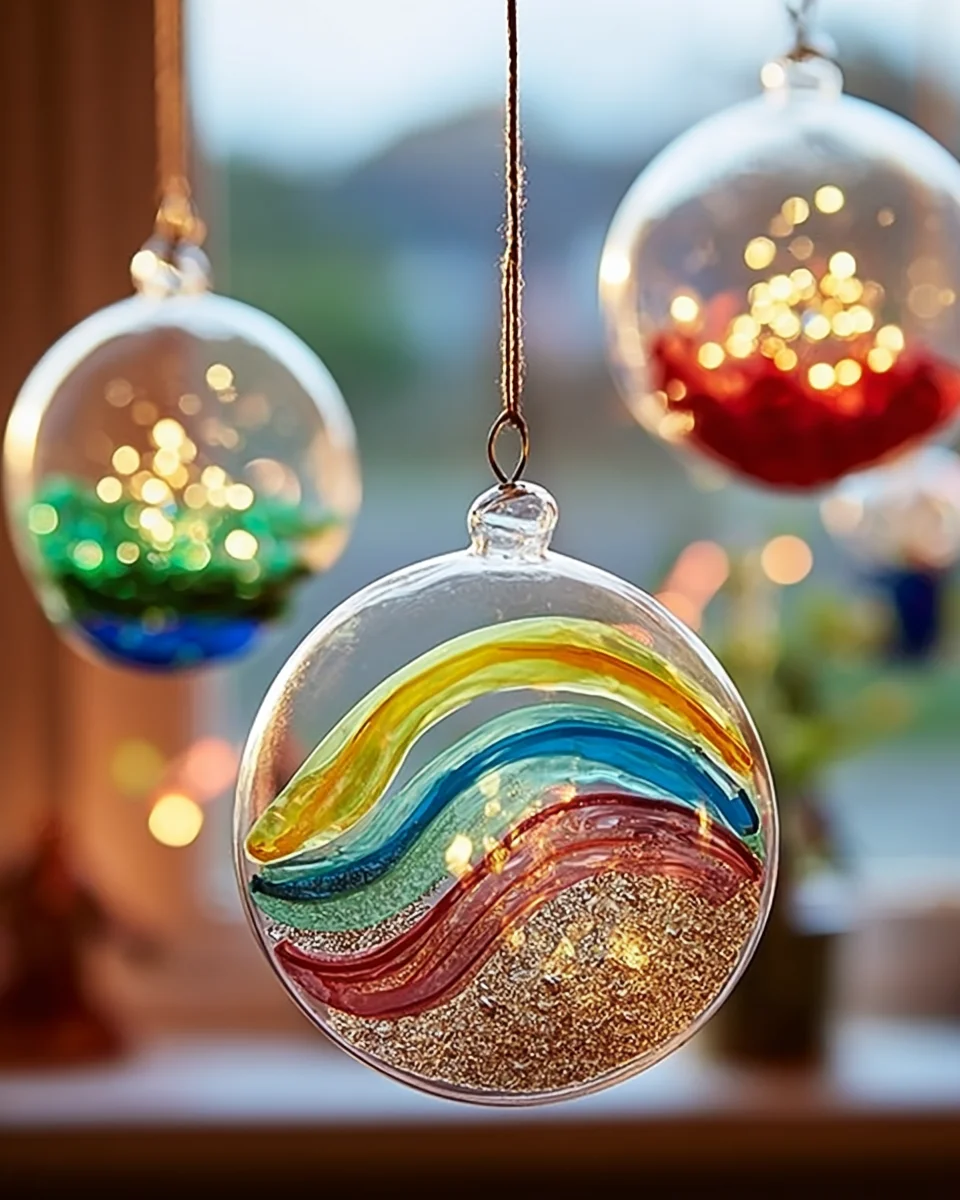
Ingredients
Equipment
Method
- Step 1: Cut two pieces of transparent contact paper to your desired size. This will be the frame for your suncatcher.
- Step 2: Peel the backing off one piece of contact paper and place it sticky side up on a flat surface.
- Step 3: Cut the tissue paper into small shapes and arrange them on the sticky side of the contact paper.
- Step 4: Peel the backing off the second piece of contact paper and place it sticky side down over the tissue paper to seal everything in.
- Step 5: Trim any excess contact paper around the edges for a neat finish.
- Step 6: Use a black marker to outline the shapes or draw designs on the top layer of contact paper if desired.
- Step 7: Cut a piece of string or yarn and attach it to the top of the suncatcher for hanging.
- Step 8: Hang your suncatcher in a sunny window and enjoy the colorful display!