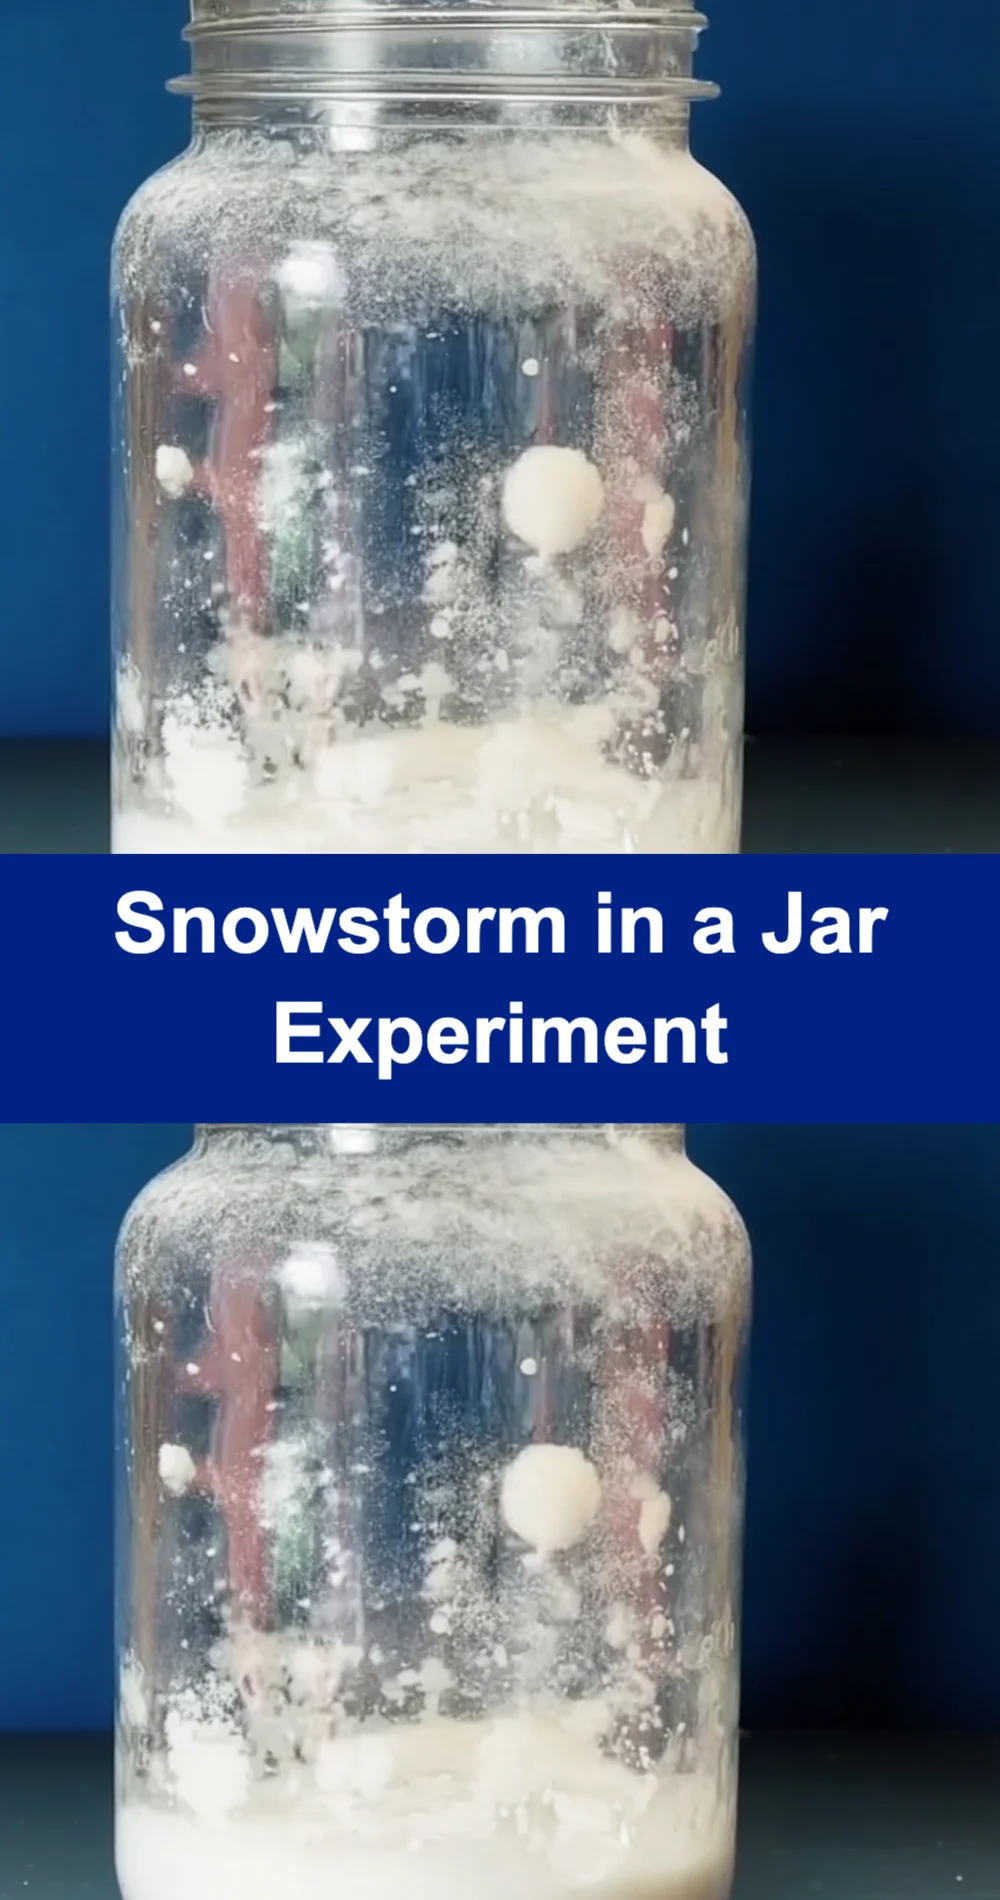
Remember those snowy days when you were a kid, watching the snowflakes dance through the air? Well, today we’re bringing that magic to life with a fun and easy project called the Snowstorm in a Jar Experiment. This delightful activity is not only simple to make, but it’s also a fantastic way to spark creativity and wonder, making it perfect for kids and adults alike. Plus, it’s a wonderful gift idea or a great way to brighten up a cozy afternoon!
Why You’ll Love Snowstorm in a Jar Experiment
- Fast
- Easy
- Giftable
- Crowd-pleasing
Ingredients
- 1 clear jar or glass: This will be your snowstorm vessel. Make sure it’s clean and transparent to really see the magic!
- 1 cup of water: The base for our snowstorm.
- 1 tablespoon of dish soap: This helps create the swirling effect.
- 1/2 cup of vegetable oil: The secret to layering and creating that beautiful snowstorm effect.
- Glitter or white sand: This represents snow! Choose the one you like best for that wintery look.
- Food coloring (optional): A fun way to add some color to your snowy scene.
- Small bowl or cup for mixing: You’ll need this to combine your water and soap.
How to Make Snowstorm in a Jar Experiment
- Prepare Your Jar: Take your clear jar or glass and set it on a flat surface. Make sure it’s clean and dry.
- Mix the Water and Soap: In a small bowl or cup, combine 1 cup of water with 1 tablespoon of dish soap. Stir gently until mixed.
- Add the Glitter: Pour in your glitter or white sand into the jar. This will represent the snow. You can adjust the amount based on how “snowy” you want the effect to be.
- Add Food Coloring (Optional): If you want to add a color effect, add a few drops of food coloring to the water and soap mixture. Stir gently to mix.
- Combine the Mixtures: Carefully pour the water and soap mixture into the jar over the glitter or sand.
- Pour in the Oil: Slowly pour 1/2 cup of vegetable oil on top of the water mixture. Do this gently to create layers.
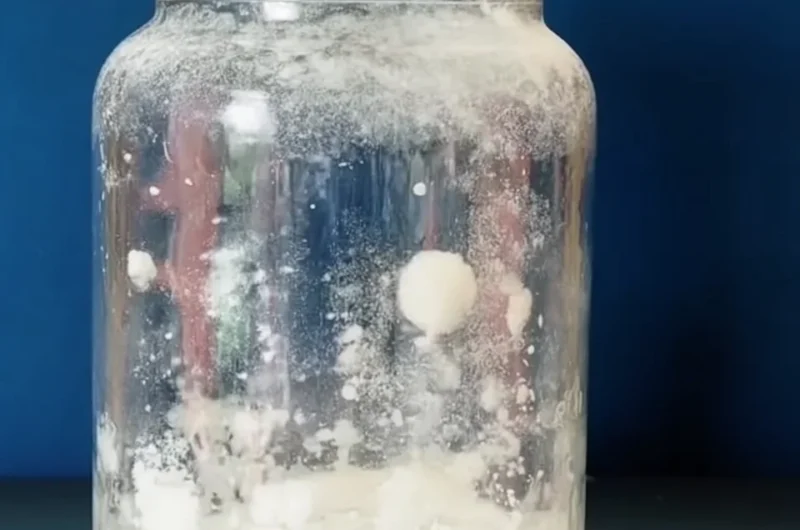
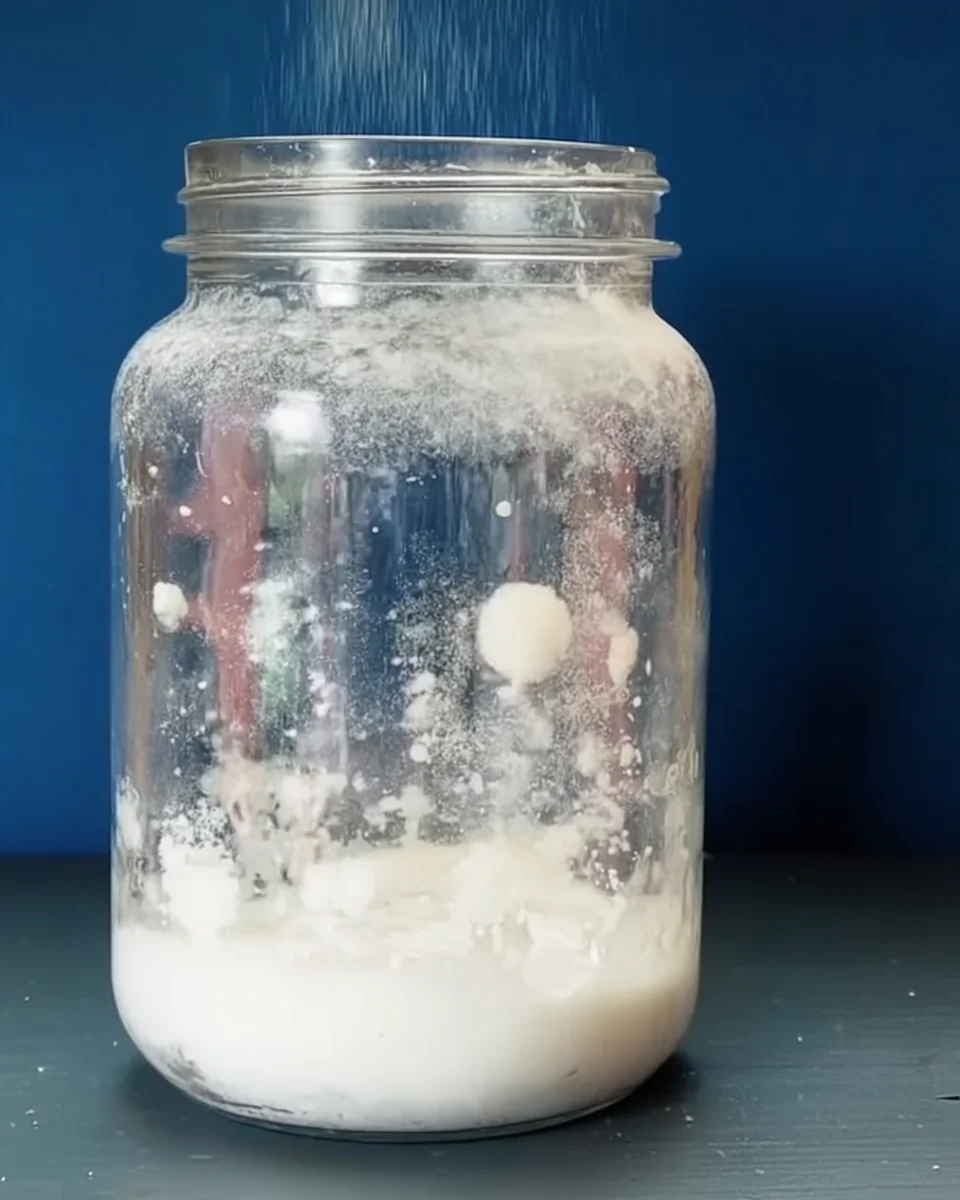
- Observe the Snowstorm: Once the oil is added, you should see bubbles forming and the “snow” swirling around. Shake or swirl the jar gently to create a snowstorm effect.
- Enjoy Your Experiment: Watch as the snowstorm continues to swirl and settle. You can repeat the experiment by adding more glitter or shaking the jar again.
Substitutions & Additions
If you want to get creative, consider using different colors of glitter or even adding small decorations like tiny snowflakes or holiday-themed trinkets. You can also swap the vegetable oil with baby oil for a clearer look. The possibilities are endless!
Tips for Success
- Be gentle when pouring the oil to maintain the layers.
- If you add too much food coloring, it might overpower the effect, so start with just a few drops.
- You can prep the jar ahead of time and let kids add their own glitter and colors during a fun activity.
How to Store Snowstorm in a Jar Experiment
This experiment doesn’t have a traditional shelf life since it’s not food, but I recommend keeping your jar sealed to avoid any dust accumulation. If you want to store it, just place it in a cool, dry place.
FAQs
Can I drink the mixture? No, this experiment is for educational and entertainment purposes only. The ingredients are not meant for consumption.
How long does the snowstorm last? The swirling effect will last as long as the ingredients remain mixed. You can always shake it again for more fun!
Can I use other types of jars? Absolutely! Any clear container will work, just make sure it’s transparent to see the effect clearly.
For more delicious recipes, check out the easy Hocus Pocus Punch recipe or crispy roasted baby potatoes for treats you will love!
Don’t forget to follow our Pinterest for more fun ideas and inspirations!
Snowstorm in a Jar Experiment
Ingredients
Equipment
Method
- Step 1: Take your clear jar or glass and set it on a flat surface. Make sure it’s clean and dry.
- Step 2: In a small bowl or cup, combine 1 cup of water with 1 tablespoon of dish soap. Stir gently until mixed.
- Step 3: Pour in your glitter or white sand into the jar. This will represent the snow. You can adjust the amount based on how “snowy” you want the effect to be.
- Step 4: If you want to add a color effect, add a few drops of food coloring to the water and soap mixture. Stir gently to mix.
- Step 5: Carefully pour the water and soap mixture into the jar over the glitter or sand.
- Step 6: Slowly pour 1/2 cup of vegetable oil on top of the water mixture. Do this gently to create layers.
- Step 7: Once the oil is added, you should see bubbles forming and the “snow” swirling around. Shake or swirl the jar gently to create a snowstorm effect.
- Step 8: Watch as the snowstorm continues to swirl and settle. You can repeat the experiment by adding more glitter or shaking the jar again.
Notes