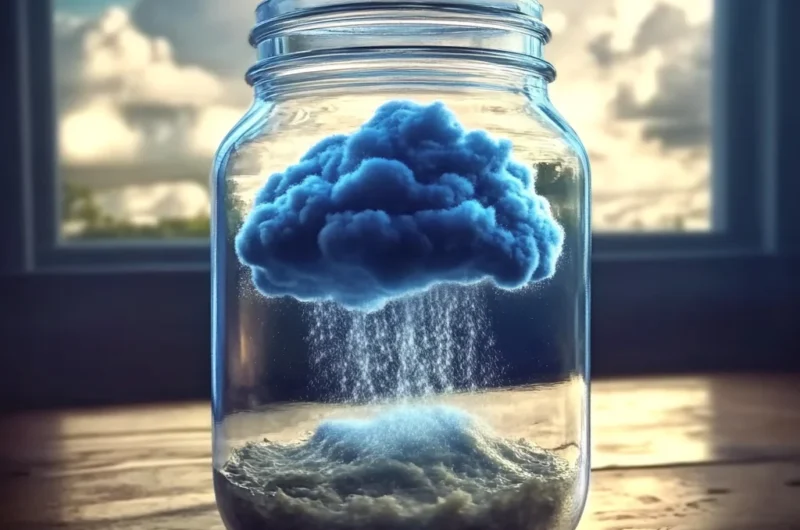
Remember those rainy days as a kid, pressed against the window, watching the drops fall and wondering where they all came from? There’s a certain magic to the weather, isn’t there? Well, today, we’re going to bottle a little bit of that magic right in your kitchen with one of the most delightfully simple and utterly captivating science experiments you can do: the Rain Cloud in a Jar! It’s quick, it’s easy, and it’s guaranteed to bring a genuine “wow!” factor, whether you’re a curious kid or a grown-up who loves a bit of enchantment. You’ll be amazed at how such simple ingredients can create such a beautiful, educational, and memorable experience.
Why You’ll Love Rain Cloud in a Jar
- Quick & Easy Setup: Gather your supplies, and you’ll be ready to make rain in minutes.
- Simple Science, Big Wow Factor: Understand a basic weather phenomenon in the most engaging way possible.
- Mesmerizing & Engaging: Watching the “rain” fall is surprisingly calming and captivating for all ages.
- Educational Fun for All Ages: A fantastic learning tool for kids, but also a beautiful visual for adults.
Ingredients
You probably have most of these lying around your house already!
- 1 Clear Jar or Cup (e.g., Mason Jar): The clearer, the better! This is where all the magic happens, so you want a good view. A standard mason jar works perfectly.
- 1 Can Foamy Shaving Cream (not gel!): This is your cloud! Make sure it’s the airy, foamy kind, not the dense gel.
- Water: Just good old tap water will do the trick.
- Blue Food Coloring: For that classic rain cloud look. You can get creative with other colors too, but blue is classic!
- 1 Small Cup or Bowl: For mixing your “rainwater.”
- 1 Dropper, Straw, or Spoon: To gently add your colored water to the cloud. A dropper gives you the most control.
How to Make Rain Cloud in a Jar
Let’s get this rainy day party started! Follow these easy steps, and you’ll have your very own miniature weather system.
- Fill ‘Er Up: First things first, grab your clear jar. Carefully pour water into it until it’s about three-quarters full. You want enough room for your fluffy cloud to sit comfortably on top!
- Cloud Formation: Now, pick up your can of foamy shaving cream. Give it a good shake, then spray a generous, fluffy layer over the top of the water. This is your cloud! Try to make it somewhat even across the surface. This “cloud” is less dense than the water below, just like real clouds in the sky.
- Mix Your Rain: In your separate small cup or bowl, add a few drops of blue food coloring. Then, add a small amount of water – just enough to dilute the food coloring a bit so it’s a vibrant liquid. This is your “rain.”
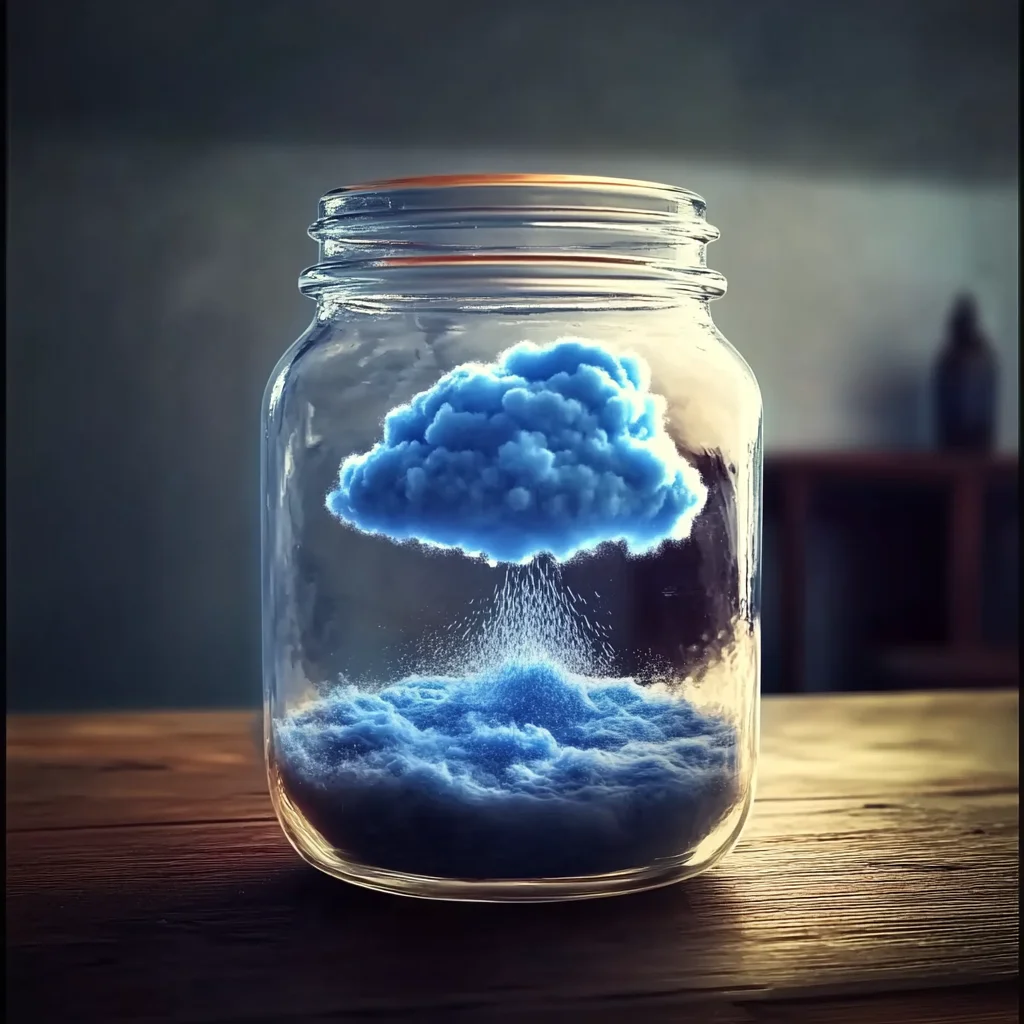
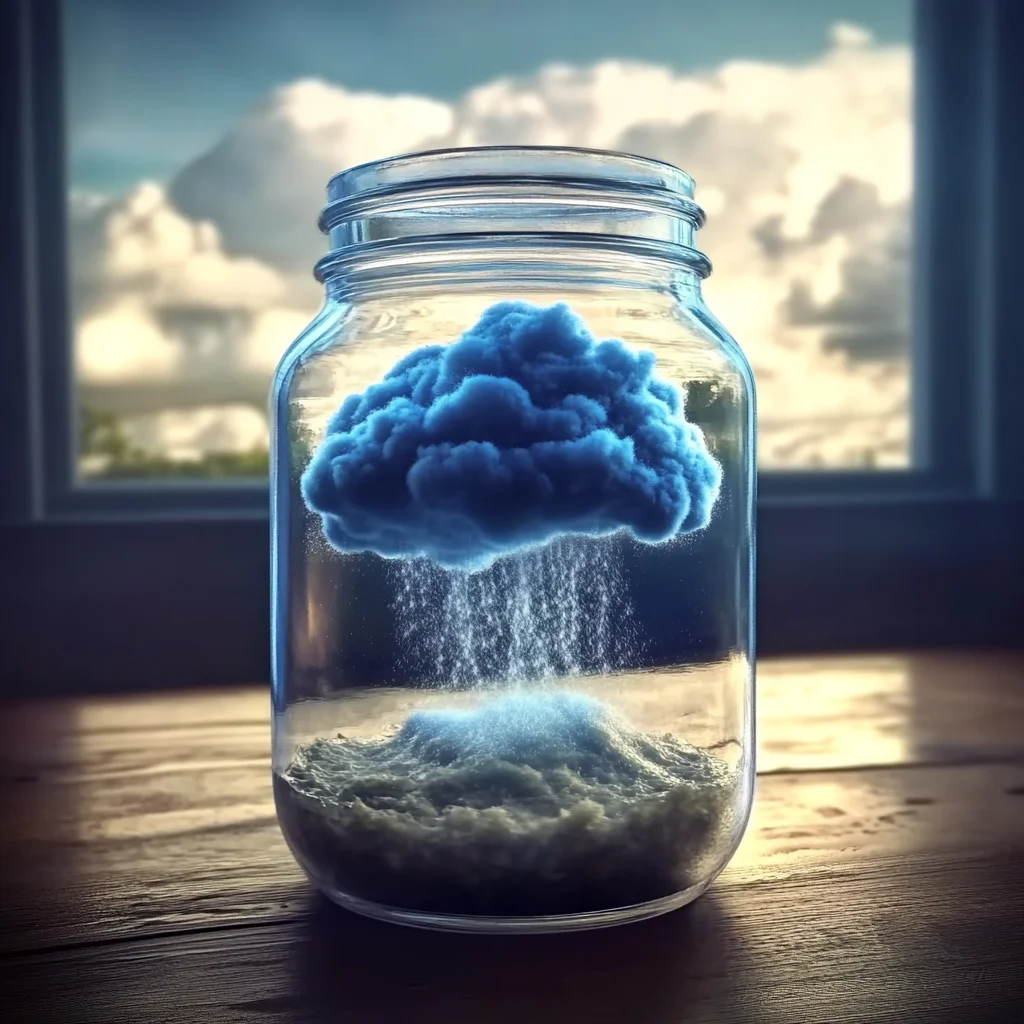
- Let it Rain! This is the best part! Using your dropper, straw, or spoon, gently drip the blue mixture over the shaving cream cloud. Watch closely as the colored water slowly saturates the “cloud.” Once it gets heavy enough, it will start to “rain” down through the shaving cream and into the water below, just like a real rain cloud releases precipitation! It’s absolutely mesmerizing.
Variations & Extensions
Once you’ve mastered the classic blue rain cloud, why not get a little creative? This experiment is a fantastic jumping-off point for more scientific fun!
- Rainbow Rain: Instead of just blue, mix up several small cups of different food coloring colors (red, yellow, green, purple!) and drop them onto different parts of your cloud for a vibrant rainbow rain effect.
- Sparkle Storm: Add a pinch of fine glitter to your colored water mixture for a magical, sparkly rain.
- Cloud Layers: Try creating multiple layers of shaving cream and water in a taller vase. See how the rain behaves differently as it passes through each layer.
- Explore Other Phenomena: If you loved this simple science, you might also enjoy making DIY bubbling rainbow bottles or even a vibrant oil and water experiment for more visual delights!
Tips for Success
To ensure your Rain Cloud in a Jar is a spectacular success every time, keep these friendly tips in mind:
- Foamy is Key: Seriously, skip the gel shaving cream. Gel is too dense and won’t create that fluffy cloud effect you need for the “rain” to visibly pass through.
- Gentle Drips: Don’t just dump the colored water! Use your dropper or spoon to add small, gentle drips. This allows the shaving cream to slowly absorb the color, building up that beautiful saturation before it starts to fall. Patience is a virtue here!
- Observation is Fun: Encourage everyone to watch closely. Discuss what’s happening. “Why do you think the rain is falling now?” “What part of a real cloud is the shaving cream?” It makes the experiment even more engaging.
- Cleanup is a Breeze: When you’re done, simply dump the contents down the drain (shaving cream is water-soluble) and rinse your jar. Easy peasy!
How to Enjoy & Dispose of Your Rain Cloud in a Jar
This isn’t a recipe you store for later, it’s an experience to be enjoyed in the moment! The beauty of the Rain Cloud in a Jar is its immediate gratification and mesmerization. You can watch it rain for quite a while, adding more colored water until your “cloud” is completely saturated and dissolved.
Once the novelty wears off, or if your cloud starts to deflate and disappear (which it will over time as the shaving cream breaks down), it’s time for cleanup. Simply pour the contents down the sink, give your jar a quick rinse, and it’s ready for your next project – maybe some fizzy treasure stones next time?
FAQs
Got a few lingering questions? Let’s clear them up!
Q: Can I use gel shaving cream instead?
A: No, absolutely not! Gel shaving cream is too dense and won’t float on the water or allow the food coloring to pass through properly. You need the light, airy foam type for this experiment to work its magic.
Q: My “rain” isn’t dripping through the cloud. What’s wrong?
A: There are a few possibilities! You might have sprayed too much shaving cream, making the cloud too thick. Or, your blue food coloring mixture might not be diluted enough to easily soak through. Try adding a bit more water to your food coloring mixture and applying it gently, or try making a slightly thinner cloud next time.
Q: Is this safe for young children?
A: Yes, with adult supervision! The ingredients are non-toxic, but you’ll want to ensure curious little ones don’t ingest the shaving cream or food coloring. It’s a wonderful, hands-on learning activity for preschoolers and elementary-aged kids.
Q: How many times can I make it rain?
A: You can keep adding drops until your shaving cream cloud completely dissolves into the water. The shaving cream will eventually break down as it absorbs more water, creating a cool, frothy blue liquid at the end!
For more delicious recipes and fun DIYs, be sure to follow us on Pinterest!
Mesmerizing Rain Cloud in a Jar
Ingredients
Equipment
Method
- Step 1: Fill 'Er Up: Grab your clear jar and carefully pour water into it until it’s about three-quarters full. Leave enough room for your fluffy cloud to sit comfortably on top.
- Step 2: Cloud Formation: Shake your can of foamy shaving cream, then spray a generous, fluffy layer over the top of the water. This is your cloud! Try to make it somewhat even across the surface.
- Step 3: Mix Your Rain: In your separate small cup or bowl, add a few drops of blue food coloring. Then, add a small amount of water – just enough to dilute the food coloring a bit so it's a vibrant liquid. This is your 'rain.'
- Step 4: Let it Rain! Using your dropper, straw, or spoon, gently drip the blue mixture over the shaving cream cloud. Watch closely as the colored water slowly saturates the 'cloud.' Once it gets heavy enough, it will start to 'rain' down through the shaving cream and into the water below, just like a real rain cloud releases precipitation!