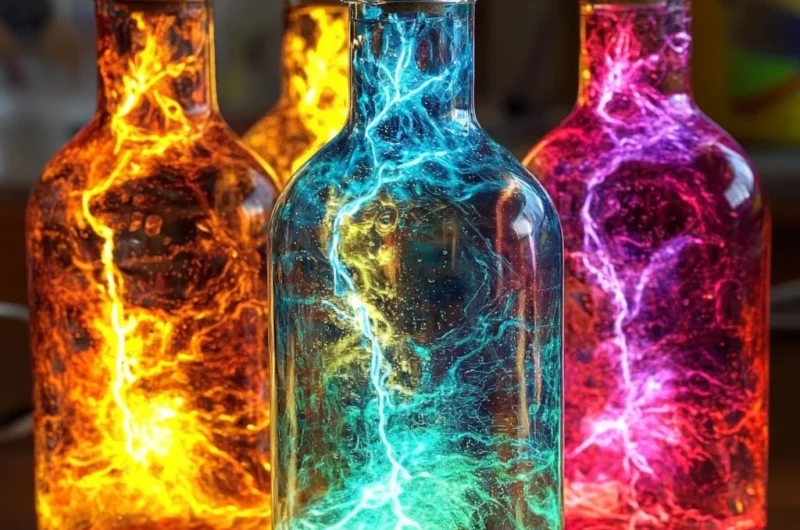
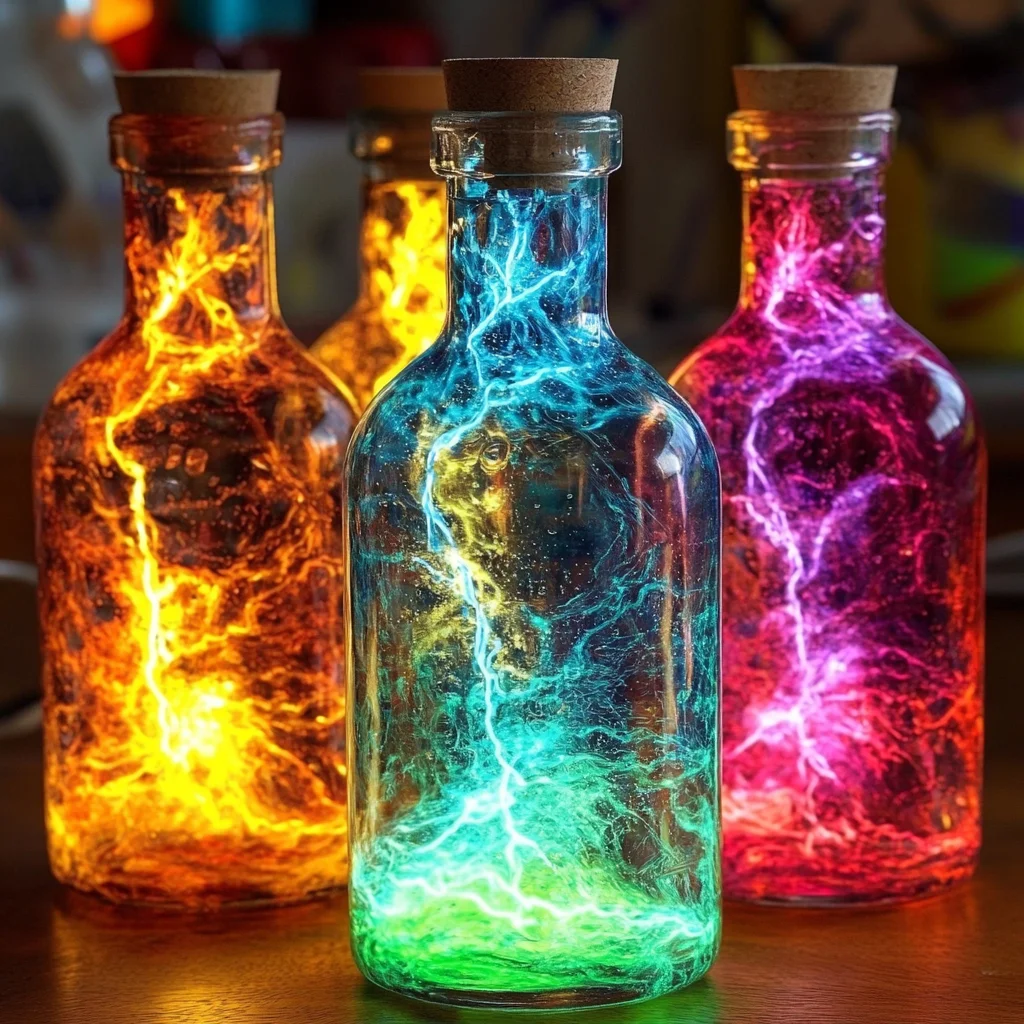
Hey there, fellow fun-seeker! Do you ever find yourself wishing for a little everyday magic, something to spark wonder and bring a smile, especially when the gray skies roll in? I know I do! There’s just something so captivating about watching a swirling, colorful display, and today, I’m beyond excited to share a little secret with you: how to create your very own Bubbling Rainbow Lightning Bottles!
This isn’t just any craft; it’s a little portable wonderland, a mesmerizing science experiment that feels like pure magic. Remember those lava lamps from back in the day? This brings a similar, almost hypnotic vibe, but it’s entirely hands-on, super quick to put together, and trust me, it’s going to be a memorable hit with anyone who sees it. Whether you’re looking for a rainy-day activity, a unique gift, or just a moment of colorful calm, these bottles are unbelievably easy and quick to make. You’ll be bubbling with excitement in no time!
Why You’ll Love Bubbling Rainbow Lightning Bottles
- Fast: You can whip these up in just 15 minutes, from start to dazzling finish!
- Easy: No complicated steps or fancy equipment needed, just simple household items.
- Mesmerizing: The swirling colors, sparkling glitter, and bubbling reaction are truly captivating.
- Giftable: They make unique, handmade gifts for friends, teachers, or party favors.
- Crowd-pleasing: Kids and adults alike will be enchanted by this vibrant, glowing display.
Ingredients
Gathering your supplies is half the fun! Most of these you probably already have lying around, and the rest are super easy to find.
- 2 clear plastic bottles with lids: Think empty water bottles or soda bottles. Make sure they’re clean and dry!
- 1/2 cup warm water: Warm water helps dissolve everything and gets that fizz going beautifully.
- 1/4 cup vinegar: The magic potion that reacts with our baking soda and citric acid!
- 1 tablespoon baking soda: A pantry staple, essential for the bubbly eruption.
- 1 teaspoon citric acid: This powerhouse works with the baking soda and vinegar to give you an extra-long, exciting fizz. You can usually find it in the baking aisle or craft stores.
- 1 tablespoon rainbow glitter mix: The more sparkle, the better! Choose a mix with different sizes for extra dimension.
- 1 teaspoon glow-in-the-dark powder or paint: This is what gives your lightning bottles their enchanting glow.
- A few drops each of red, yellow, blue, and green food coloring: Let’s create a vibrant rainbow! Feel free to pick your favorite colors.
- 1 teaspoon dish soap: This helps create those wonderful, long-lasting bubbles.
- 2 small glow sticks or waterproof LED lights: The “lightning” part! Glow sticks are temporary, while small LED lights can be reused.
- 1 spoon: For mixing, of course!
How to Make Bubbling Rainbow Lightning Bottles
Alright, let’s get started on this dazzling project! You’re going to love how simple and satisfying this is.
- Light Up Your Bottles: First things first, carefully place one glow stick or waterproof LED light into each of your clear plastic bottles. If you’re using glow sticks, crack them now to activate the glow!
- Mix Your Magic Liquid: In a separate cup or bowl, combine your warm water, vinegar, dish soap, glow-in-the-dark powder (or paint), and all those vibrant food coloring drops. Give it a really good stir until everything is well blended and the glow powder is mostly dissolved. This is where your rainbow truly begins to shine!
- Fill ‘Em Up: Now, carefully divide your colorful mixture evenly between both of your prepared plastic bottles. Leave a little room at the top for the fizzing reaction!
- Add the Sparkle: Sprinkle the rainbow glitter mix into each bottle. Don’t be shy here; the more glitter, the more spectacular your “lightning” will look as it swirls.
- The Grand Finale (Fizzy Edition!): Here’s where the real magic happens! Add the baking soda to each bottle, and then, quickly follow with the citric acid. You’ll see it start to fizz right away!
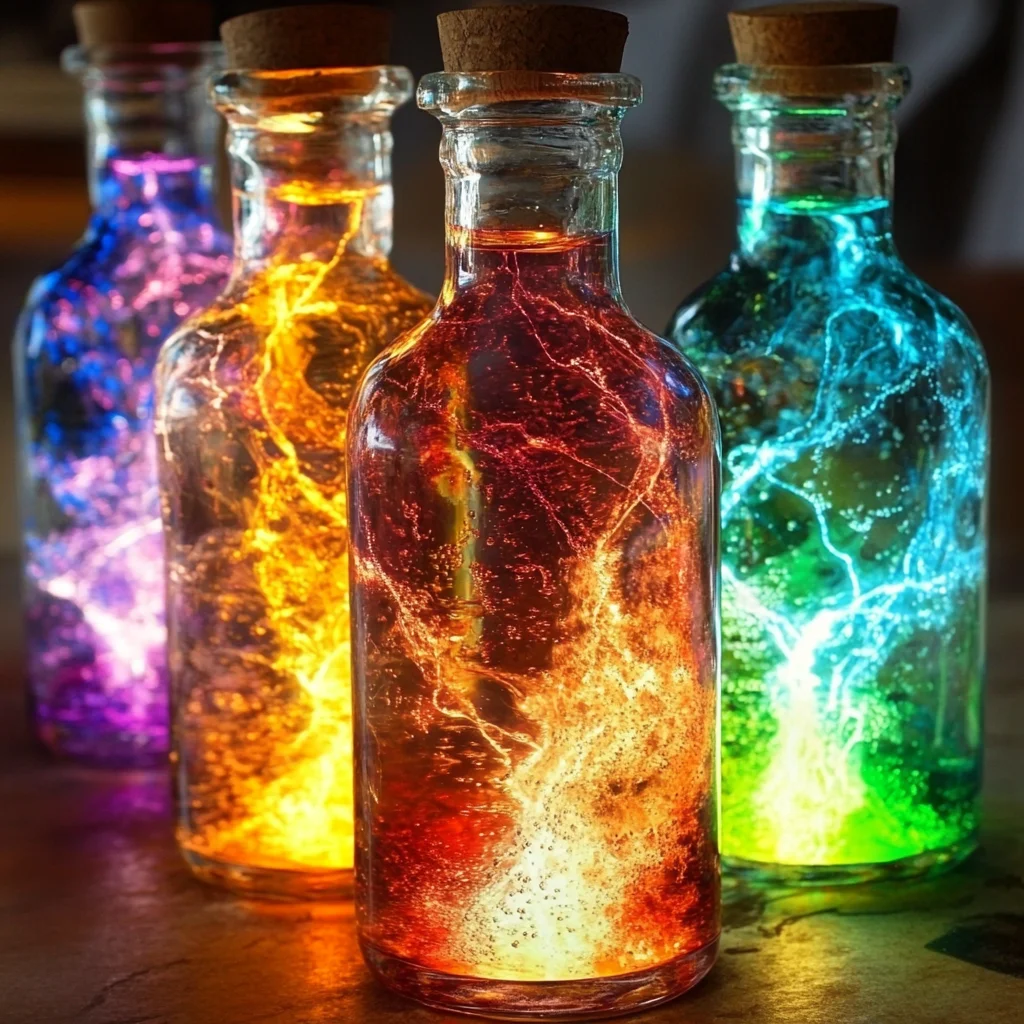
- Seal and Shake: Immediately close the bottles tightly with their lids. Give them a gentle but firm shake. Watch as the baking soda and citric acid react with the vinegar and water, creating a stunning, bubbling, glowing rainbow storm inside your bottle! It’s truly a sight to behold, almost like creating your own vibrant oil and water experiment, but with an extra dose of sparkle and fizz!
Prep Time: 5 minutes
Activity Time: 10 minutes
Total Time: 15 minutes
Substitutions & Additions
Part of the fun of DIY projects is making them your own! Here are some ideas to customize your lightning bottles:
- Color Power: Don’t have all the food coloring? Use just one or two colors for a different effect, or try natural food dyes like beet juice for red or turmeric for yellow.
- Glitter Galore: Experiment with different types of glitter! Fine glitter creates a shimmery cloud, while chunky glitter gives bigger, more noticeable sparkles. You could even add some tiny sequins or beads for extra texture.
- Scent-sational: Add a few drops of essential oil (like lavender or peppermint) to the liquid mixture for a subtle, calming scent.
- Eco-Friendly Glow: Instead of glow sticks, which are one-time use, opt for small, waterproof LED lights that you can turn on and off and reuse for future bottles or other crafts.
- Different Acids: If you don’t have citric acid, you can still get a reaction with just vinegar and baking soda, but the citric acid really gives it that extra long-lasting bubble power.
- Bottle Shapes: Use different clear plastic bottles! A wider mouth bottle might be easier for younger kids to fill, while a uniquely shaped bottle can add an extra visual element.
Tips for Success
To make sure your Bubbling Rainbow Lightning Bottles are as magnificent as possible, keep these friendly tips in mind:
- Warm Water is Key: Don’t skip the warm water! It helps the ingredients dissolve better and kickstarts a more vigorous bubbling reaction.
- Tight Lids are a Must: Once you add the baking soda and citric acid, close those lids FAST and TIGHTLY. You want to trap all that fizzy goodness inside!
- Gentle Shake: No need to go wild! A gentle, continuous shake will keep the magic swirling without splashing everything around.
- Supervision for Little Ones: While this is a fun and generally safe activity, always supervise children, especially when handling ingredients and sealing bottles.
- Prep Ahead (Kind Of!): You can pre-mix your water, vinegar, dish soap, glow powder, and food coloring ahead of time. Just store it in a sealed jar. When you’re ready for the fun, pour it into the bottles, add glitter, baking soda, and citric acid, and you’re good to go! This makes it almost as quick as whipping up some DIY fizzy treasure stones.
How to Store Bubbling Rainbow Lightning Bottles
So, you’ve created your sparkling, bubbling masterpieces! The initial, vigorous bubbling reaction will subside after a few minutes, but the visual wonder isn’t over. The bottles will continue to swirl and glow beautifully for hours, especially if you gently tilt or shake them.
- Shelf Life: The liquid mixture itself will last indefinitely if sealed, though the glow-in-the-dark effect from powder or paint might settle over time. If you used glow sticks, their glow will naturally fade after several hours. If you used waterproof LED lights, they can last as long as their battery holds up!
- Reactivating the Fizz: Once the initial fizz has completely stopped, you can’t simply “recharge” the bottle. To get new bubbles, you’ll need to open the bottle, pour out the old liquid, and start fresh with new ingredients.
- Keep Them Clean: Store your bottles upright and out of direct sunlight to help preserve the colors and any glow-in-the-dark effects. If the outside gets sticky, a quick wipe with a damp cloth will do the trick.
FAQs
Got questions? I’ve got answers!
- Q: Is this safe for young children?
A: Yes, with adult supervision! The ingredients are generally safe for household use, but it’s best to ensure children don’t ingest the mixture. Plastic bottles are recommended for safety. - Q: My bottle isn’t bubbling much, what went wrong?
A: A few things could be at play! Make sure your water was warm, and that you added both the baking soda AND citric acid quickly after each other, then sealed the bottle immediately. Sometimes a little extra baking soda or citric acid can boost the fizz. Also, ensure your ingredients aren’t old. - Q: Can I use different colored glow sticks?
A: Absolutely! Using different colored glow sticks or LED lights can add another layer of visual interest to your rainbow bottles. You could even match the glow stick color to the food coloring in the bottle for a monochromatic look! - Q: How can I make the glow stronger?
A: If using glow-in-the-dark powder or paint, you can add a bit more than recommended, or “charge” your bottles under a bright light for a few minutes before viewing them in the dark. For glow sticks, ensure they are fresh, and for LED lights, make sure the batteries are strong.
I truly hope you have a blast creating your own Bubbling Rainbow Lightning Bottles! They’re such a simple way to bring a little sparkle and wonder into your day. If you’re looking for more fun activities and delightful recipes, make sure to explore the rest of my site. And hey, why not try making some DIY rainbow bouncy balls next? Happy crafting!
For more amazing ideas and delicious recipes, be sure to follow us on Pinterest!
Bubbling Rainbow Lightning Bottles
Ingredients
Equipment
Method
- Step 1: Light Up Your Bottles: Carefully place one glow stick or waterproof LED light into each of your clear plastic bottles. If using glow sticks, crack them now to activate the glow!
- Step 2: Mix Your Magic Liquid: In a separate cup or bowl, combine your warm water, vinegar, dish soap, glow-in-the-dark powder (or paint), and all those vibrant food coloring drops. Give it a really good stir until everything is well blended and the glow powder is mostly dissolved.
- Step 3: Fill 'Em Up: Carefully divide your colorful mixture evenly between both of your prepared plastic bottles. Leave a little room at the top for the fizzing reaction!
- Step 4: Add the Sparkle: Sprinkle the rainbow glitter mix into each bottle. Don’t be shy here; the more glitter, the more spectacular your "lightning" will look as it swirls.
- Step 5: The Grand Finale (Fizzy Edition!): Here’s where the real magic happens! Add the baking soda to each bottle, and then, quickly follow with the citric acid. You’ll see it start to fizz right away!
- Step 6: Seal and Shake: Immediately close the bottles tightly with their lids. Give them a gentle but firm shake. Watch as the baking soda and citric acid react with the vinegar and water, creating a stunning, bubbling, glowing rainbow storm inside your bottle!