Oh, friend, do you ever find yourself looking for a little spark of wonder, something to bring a touch of magic to a quiet afternoon or an educational moment for the kiddos? I sure do! There’s just something so comforting about simple experiments that remind us of the pure joy of discovery. This isn’t a recipe in the traditional sense, but it’s a recipe for wonder, and it takes me right back to being a kid, marveling at the simplest things. Forget complicated science fair projects, because today, we’re making magic with everyday items from your kitchen! This vibrant oil and water experiment is so incredibly easy, quick, and utterly mesmerizing, you’ll wonder why you haven’t tried it sooner. Get ready for some serious “oohs” and “aahs”!
Why You’ll Love This Vibrant Colorful Oil and Water Experiment
- Fast: Seriously, we’re talking minutes from start to mesmerizing finish. No waiting around!
- Easy: If you can pour and stir, you can do this. It’s perfect for all ages, even the littlest scientists.
- Captivating: The way the colors burst and dance is truly a sight to behold, keeping everyone engaged.
- Crowd-Pleasing: Whether it’s a rainy day activity, a unique party demonstration, or just a quiet afternoon project, this experiment is a hit with everyone!
Ingredients
Gathering your supplies for this experiment is as easy as raiding your kitchen cabinets. You likely have everything you need right now!
- 1 Empty Jar: A clear glass jar is best so you can really appreciate the show! Mason jars, old pickle jars, or even a tall drinking glass work perfectly.
- 3 Tablespoons Cooking Oil: Any neutral cooking oil like vegetable, canola, or even olive oil will do the trick. The lighter in color, the better for seeing those vibrant dyes!
- Liquid Food Coloring: This is where the magic really happens! Grab a few different colors for the most dazzling display. Gel food coloring can work, but liquid provides a more dramatic effect as it disperses.
- Water: Just regular tap water is all you need. Simple as that!
- 1 Bowl: A small bowl for mixing your colorful oil.
- Paper Towels: Always good to have on hand for any little drips or spills, especially when working with food coloring!
- 1 Spoon: For gently stirring the oil and food coloring.
How to Make This Vibrant Colorful Oil and Water Experiment
Alright, let’s get this colorful show on the road! You’re just a few simple steps away from creating a beautiful, swirling spectacle that will capture imaginations.
- Set the Stage: First things first, grab your empty jar and fill it approximately three-quarters full with water. You want to leave a good amount of space at the top so there’s room for our colorful oil to dance without overflowing.
- Oil Prep: In your separate, small bowl, measure out three tablespoons of your chosen cooking oil. The exact amount isn’t super strict, but this is a good starting point for a standard jar.
- Add the Sparkle: Now for the fun part! Add three to five drops of your desired liquid food coloring to the oil in the bowl. You can use one color or mix a few for a rainbow effect. Don’t be afraid to experiment! If you’re looking for other fun, easy activities, you might also love making some easy 3-ingredient slime with the kids!
- Gentle Stir: Using your spoon, gently stir the oil and food coloring together. You’ll notice something really cool here – the food coloring, being water-based, won’t mix with the oil! Instead, it will break into tiny little droplets, creating beautiful swirls and patterns. This is part of the magic!
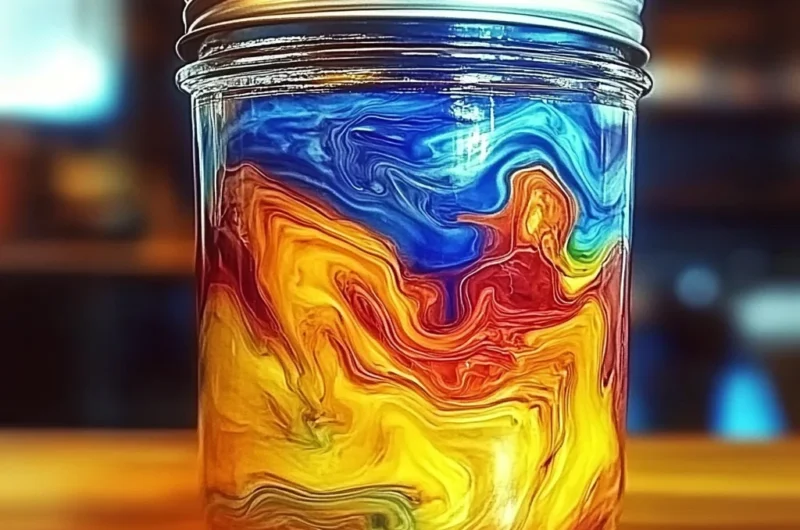
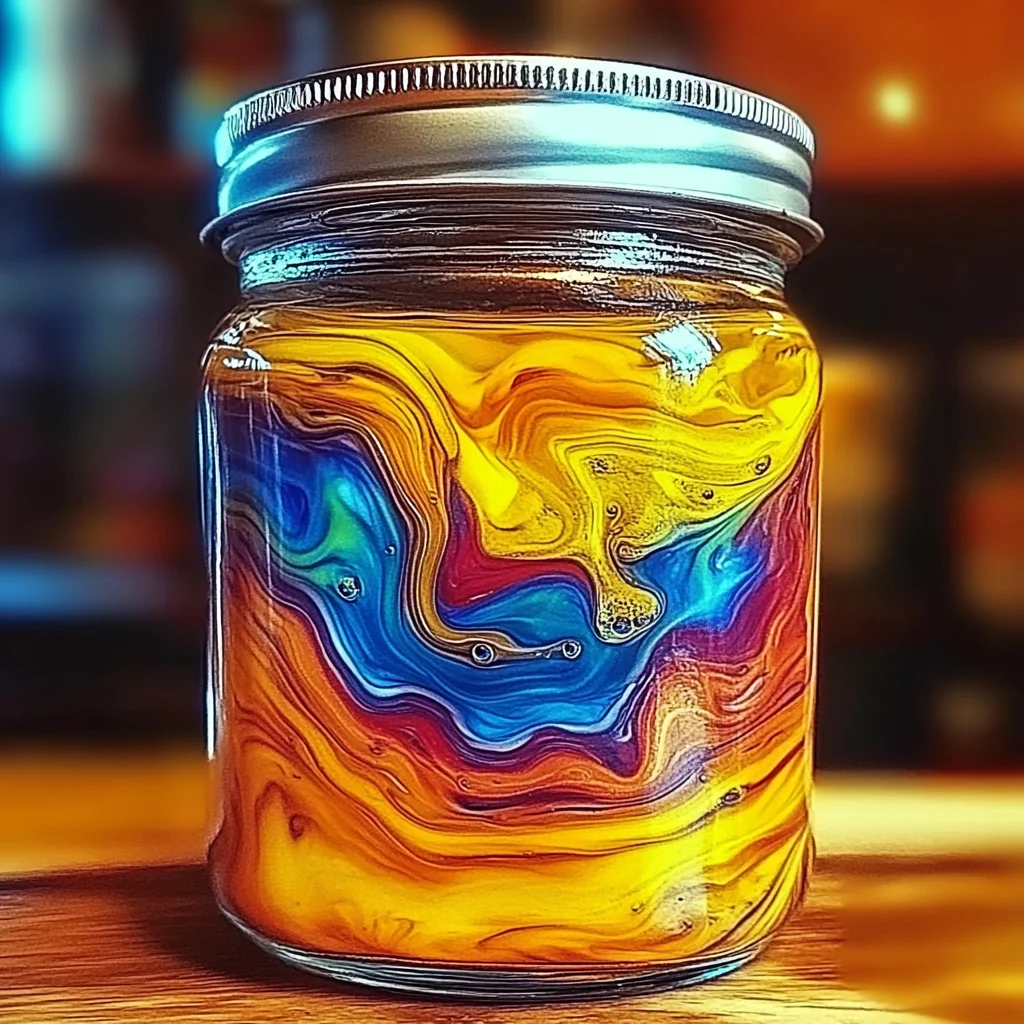
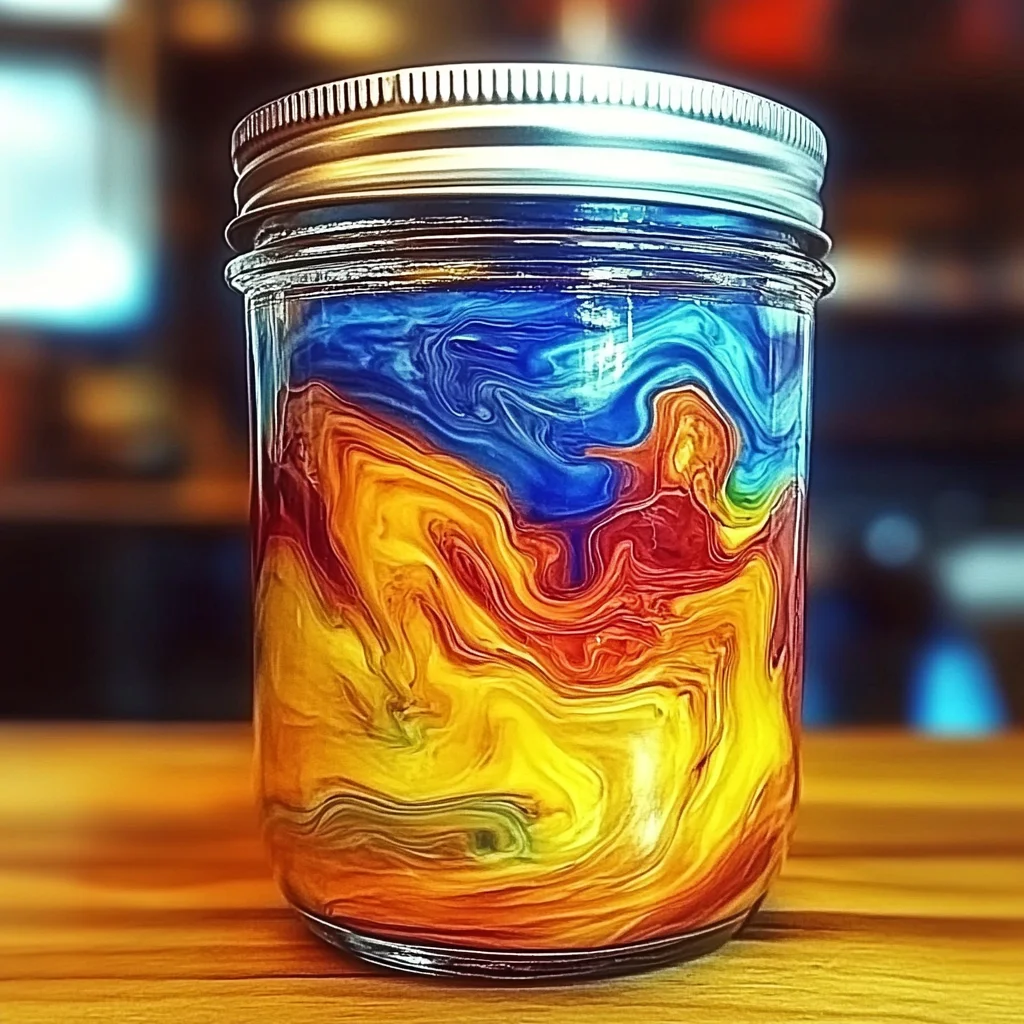
- The Big Reveal: Carefully pour the colorful oil mixture into the jar of water. Take your time and watch closely! As the oil, carrying those tiny droplets of food coloring, settles on top of the water, the food coloring will slowly begin to break free and sink. It’s like a fireworks display in a jar, creating stunning bursts of color as it travels through the water. It’s truly mesmerizing to watch those vibrant streaks fall!
Substitutions & Additions
This experiment is wonderfully adaptable! Here are a few ideas to make it even more your own:
- Different Oils: While neutral cooking oil is standard, you could try baby oil for an even clearer base, or even a slightly colored oil (though it might mute your food coloring a bit).
- Vary Your Vessel: Try different shaped clear containers! A tall vase will give a longer “rain” effect, while a wide, shallow bowl might allow for more surface interaction.
- Sparkle Factor: A tiny pinch of glitter mixed into the oil can add an extra magical shimmer to your colorful bursts.
- Tablet Power: For another layer of fizz and fun, drop half of an Alka-Seltzer tablet into the water after the oil. It creates a “lava lamp” effect as it reacts!
- Temperature Play: Experiment with warm versus cold water. You might notice differences in how quickly the colors disperse. Speaking of interesting reactions, have you ever tried a baking soda and vinegar balloon experiment? It’s another simple science stunner!
Tips for Success
While this experiment is pretty foolproof, a few pointers can make your experience even better!
- Don’t Over-Stir the Oil: When mixing the food coloring into the oil, aim for gentle stirring. You want the food coloring to remain in distinct droplets, not try to emulsify with the oil.
- Use Liquid Food Coloring: While gel colors can work, liquid food coloring tends to give a more dramatic and immediate “rain” effect as the droplets release from the oil.
- Be Patient: The magic isn’t instant! Give the food coloring a moment to sink through the oil and begin its colorful journey. The slower the pour, the more you can observe the separation.
- Clean Up is Easy: Food coloring can stain, so if you have little helpers, a mat or old newspaper on your surface is a great idea. Any spills are usually easily wiped with paper towels.
- Make it a Lesson: This is a fantastic opportunity to talk about density and why oil and water don’t mix! It’s also a perfect precursor to trying out our DIY Rain Cloud Jar for a deeper dive into weather science.
How to Store This Vibrant Colorful Oil and Water Experiment
Since this is an experiment and not a food item, “storing” it is a little different! You can certainly keep your colorful jar on display for a few hours, or even a day, to continue observing the subtle movements of the colors. Eventually, the food coloring will fully mix with the water, and the oil will settle back on top, creating distinct layers. If you want to repeat the experiment, I recommend pouring out the old water and oil, giving your jar a quick wash, and starting fresh with new ingredients for the best, most vibrant results. It’s truly a “made-to-order” moment of wonder!
FAQs
Here are a few common questions you might have about this delightful experiment:
Q: Why don’t the oil and water mix?
A: It’s all about density and polarity! Water is denser than oil, so it sinks below the oil. Plus, water molecules are “polar,” meaning they have a slight positive and negative charge, while oil molecules are “non-polar.” Polar and non-polar substances don’t mix, just like oil and water!
Q: Can I use different types of liquid for the experiment?
A: For the best visual effect and to clearly demonstrate the oil-and-water principle, sticking to water and cooking oil is ideal. Different liquids might mix differently or not show the same vibrant separation.
Q: Is this experiment safe for kids?
A: Absolutely! This experiment uses non-toxic kitchen ingredients. Just be mindful of potential food coloring stains on hands or surfaces, and ensure little ones don’t ingest the mixture.
Q: How can I make the colors fall faster or slower?
A: The size of your food coloring droplets in the oil and the temperature of your water can affect the speed. More drops or smaller droplets (from more vigorous stirring) might fall a bit faster. Experiment and see what you discover!
For more kitchen adventures and creative ideas, make sure to follow us on Pinterest!
Vibrant Oil & Water Experiment
Ingredients
Equipment
Method
- Step 1: Set the Stage: Grab your empty jar and fill it approximately three-quarters full with water, leaving room at the top for the oil to dance.
- Step 2: Oil Prep: In your separate small bowl, measure out three tablespoons of your chosen cooking oil.
- Step 3: Add the Sparkle: Add three to five drops of your desired liquid food coloring to the oil in the bowl. You can use one color or mix a few for a rainbow effect.
- Step 4: Gentle Stir: Using your spoon, gently stir the oil and food coloring together. Observe as the water-based food coloring breaks into tiny droplets that don't mix with the oil.
- Step 5: The Big Reveal: Carefully pour the colorful oil mixture into the jar of water. Watch closely as the food coloring slowly breaks free from the oil and sinks, creating stunning bursts of color as it travels through the water.