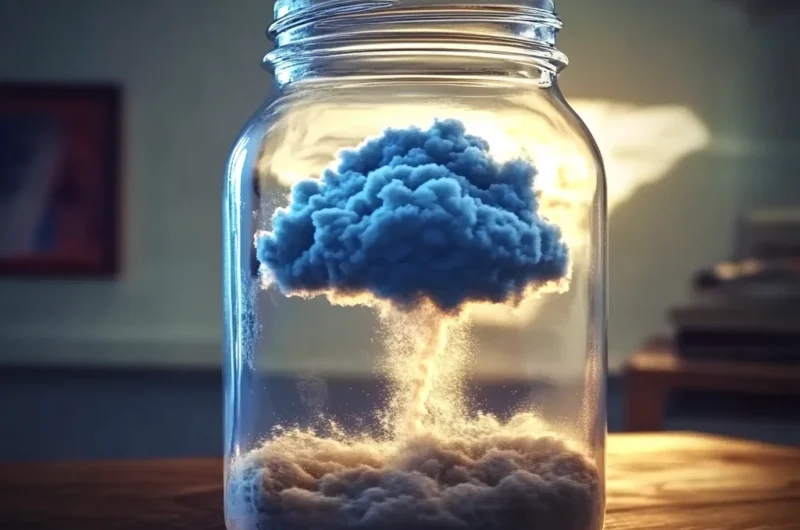
Oh, those rainy days! Sometimes they bring a cozy comfort, a perfect excuse to curl up with a book or bake some simple chocolate dump cake. But other times, they can feel a little… long, especially when little ones are bouncing off the walls! What if I told you that you could bring the magic of a rain cloud right into your kitchen, without a single drop falling on your floor? Get ready for the most delightful, simple, and utterly mesmerizing science experiment: the DIY Rain Cloud in a Jar!
This isn’t just an activity; it’s a moment of wonder, a chance to explore how clouds work right on your countertop. It’s super easy, surprisingly quick, and creates a memorable “Aha!” moment for everyone involved. Trust me, once you see that blue rain start to fall, you’ll be hooked!
Why You’ll Love Rain Cloud in a Jar
- Fast: You’ll have your cloud forming in minutes!
- Easy: Just a few common household items are all you need. No complicated steps here.
- Educational: A fantastic visual lesson in weather patterns for curious minds.
- Crowd-pleasing: Kids (and adults!) of all ages will be captivated by this magical demonstration.
Ingredients
Gathering your supplies for this fun project is as easy as a trip to your pantry and bathroom!
- 1 Clear Jar or Cup (e.g., Mason Jar): Any clear container will do! A mason jar works wonderfully because it’s sturdy and gives you a great view of the action.
- 1 Can Foaming Shaving Cream (not gel): This is your fluffy cloud! Make sure it’s the good old foamy kind, not the gel, as the gel won’t give you the same cloud-like effect.
- Water: The foundation for your rain system. Tap water is perfectly fine!
- Blue Food Coloring: To make your rain vividly visible. You can use other colors too if you want, but blue really gives that classic rain effect.
- 1 Small Cup or Bowl: For mixing your “rainwater.”
- 1 Dropper, Straw, or Spoon: Your precipitation tool! A dropper gives the most control for those gentle drizzles.
How to Make Rain Cloud in a Jar
Alright, let’s get those clouds rolling! Follow these simple steps, and you’ll be making it rain in no time.
-
Fill Your Jar with Water: First things first, grab your clear jar or cup and fill it about three-quarters of the way full with water. This water represents the atmosphere, waiting for those fluffy clouds to form!
-
Add Your “Cloud” of Shaving Cream: Give your shaving cream can a really good shake – this helps create that perfect airy texture. Then, generously spray a thick, fluffy layer of shaving cream right on top of the water’s surface. You want a good, substantial cloud here, so don’t be shy! This shaving cream acts as your cloud, holding onto the “water” before it gets too heavy.
-
Prepare Your “Rain”: In your separate small cup or bowl, mix a few drops of blue food coloring with a small amount of water. Just enough to create a concentrated blue liquid. This is your rain, ready to fall!
-
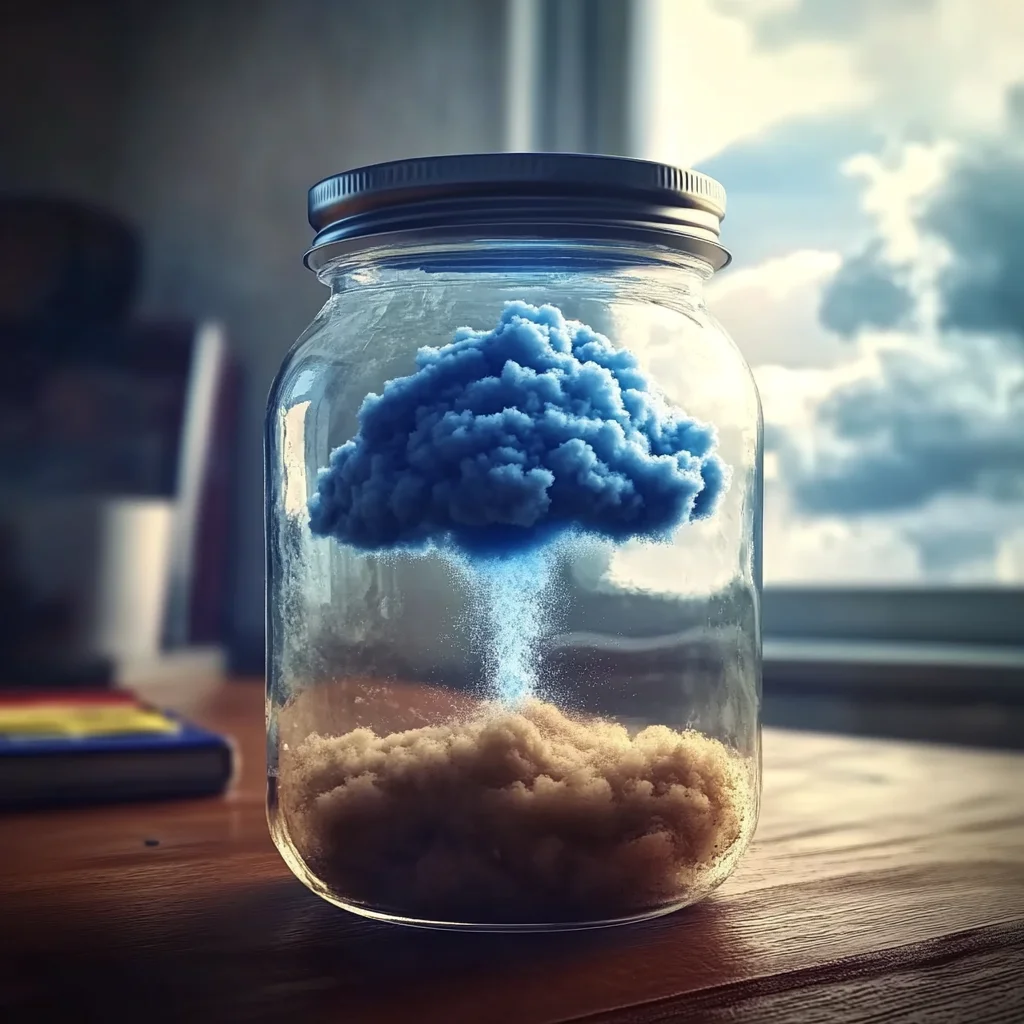
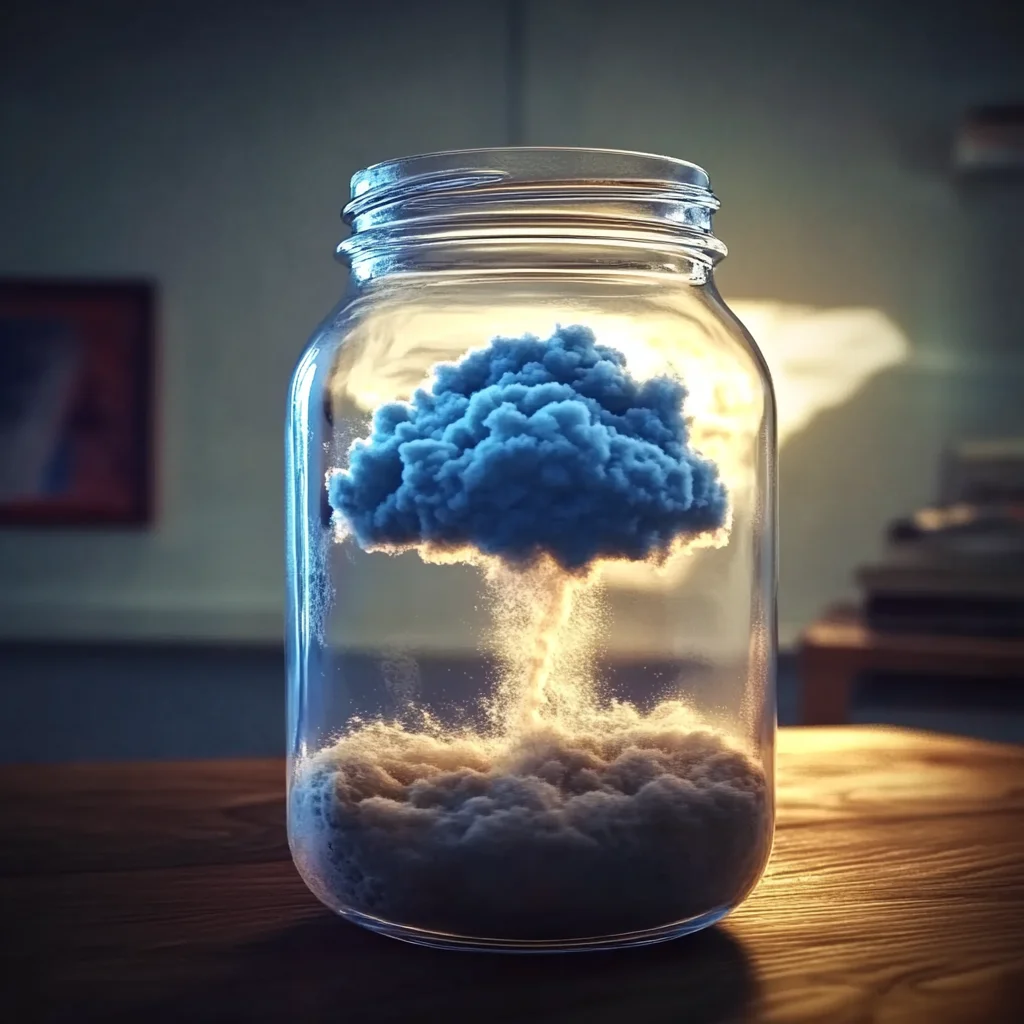
Let it Rain! Now for the magic! Using your dropper, straw, or spoon, gently drip the blue mixture onto the shaving cream cloud. Aim for different spots on the cloud. What do you notice? As the blue “rain” saturates the cloud, it will eventually get heavy enough to break through the shaving cream and drip down into the clear water below. It’s such a cool visual to see the streaks of blue falling! I always encourage a slow and steady drip here; it really lets you watch the process unfold.
Substitutions & Additions
While the classic blue rain cloud is fantastic, there are so many ways to customize this experiment and make it your own!
- Rainbow Rain: Instead of just blue, prepare small cups with different food coloring colors (red, yellow, green) and drip them onto your cloud simultaneously for a vibrant rainbow effect!
- Glitter Storm: Want a little sparkle? Add a pinch of fine glitter to your colored water mixture before dripping. It creates a beautiful, shimmering rainfall.
- Experiment with Clouds: Try different amounts of shaving cream. What happens if your cloud is thin? What if it’s super thick? You could even explore other fun jar experiments like a vibrant oil and water experiment for more visual science fun!
- Different Containers: A tall glass vase can give you a different perspective of the falling rain.
Tips for Success
To ensure your Rain Cloud in a Jar is a spectacular success every time, here are a few pointers:
- Foam, Not Gel: I can’t stress this enough! Gel shaving cream just won’t work the same way. You need the airy foam to create a proper “cloud” structure.
- Patience is Key: Don’t dump all the colored water at once. Drip it slowly and watch the process. It’s more engaging to see the cloud gradually saturate and release the “rain.”
- Avoid Over-Mixing: Once the shaving cream is on top, try not to stir it into the water below, as this will prevent your cloud from forming properly.
- Clean Up: Food coloring can stain, so lay down some newspaper or a towel, especially if little hands are involved. For another creative jar project, check out these electrified thunder glow jars for a completely different kind of sensory experience!
How to Store Rain Cloud in a Jar
This experiment is best enjoyed fresh! While you can technically leave the jar on display for a day or two, the shaving cream will eventually dissolve into the water, and the colors will mix. It’s not really meant for long-term storage, as the magic is in the active “rain” creation.
- Short-Term Display: You can keep it on a shelf for a day if you want to revisit the colors settling.
- Cleanup: Once you’re done enjoying your rain cloud, simply pour out the contents and rinse the jar. The jar can be reused for countless other fun activities, maybe even DIY Bubbling Rainbow Bottles!
FAQs
Q: Is this experiment safe for young children?
A: Yes, absolutely! With adult supervision, it’s a wonderful and safe activity. Just make sure they don’t ingest the shaving cream or food coloring.
Q: Why does the shaving cream act like a cloud?
A: The shaving cream acts as a less dense barrier, much like a real cloud in the atmosphere. As you add the heavier colored water, it saturates the shaving cream. Once the cloud (shaving cream) can’t hold any more “water,” gravity takes over, and it “rains” down into the water below.
Q: Can I use different colors for the rain?
A: Of course! Blue is traditional for rain, but feel free to experiment with any food coloring colors you have on hand. It makes for a beautiful and unique display!
Q: How long does the rain fall?
A: The “rain” will continue to fall as long as there’s colored water saturating the shaving cream. Once all the colored water has dripped through, the show is over. But you can always add more colored water to keep the rain going!
We hope you have a blast creating your very own rain cloud! For more delightful recipes and DIY fun, be sure to follow us on Pinterest!
DIY Rain Cloud in a Jar Experiment
Ingredients
Equipment
Method
- Step 1: Fill your clear jar or cup about three-quarters full with water.
- Step 2: Shake the shaving cream can well, then spray a thick, fluffy layer of shaving cream on top of the water's surface to create your 'cloud'.
- Step 3: In a separate small cup or bowl, mix a few drops of blue food coloring with a small amount of water to create concentrated 'rain'.
- Step 4: Gently drip the blue mixture onto the shaving cream cloud using your dropper, straw, or spoon. Observe as the 'rain' saturates the cloud and drips into the water below.