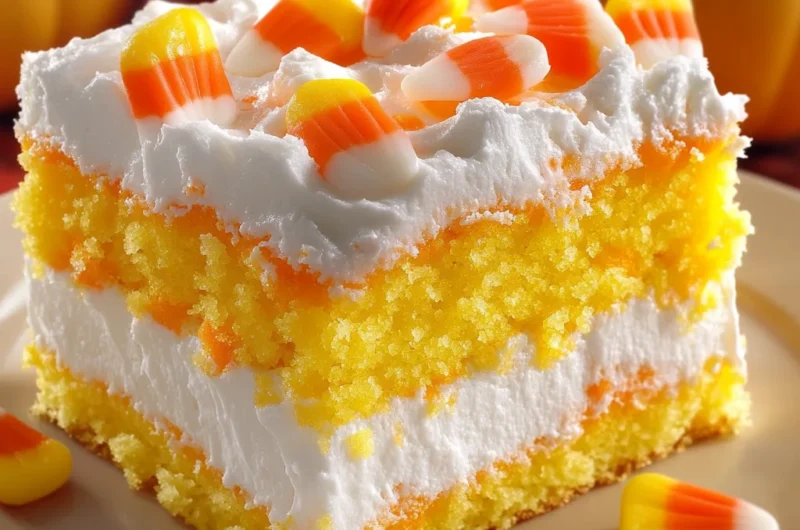
Oh, fall! There’s just something magical about the crisp air, pumpkin spice everything, and the joy of gathering with loved ones. And what’s more iconic for the season than those little tri-colored nuggets of nostalgia – candy corn? Now, imagine that classic Halloween treat transformed into a moist, vibrant, and utterly delightful cake that’s as easy to make as it is to devour. That’s exactly what we’re whipping up today! This Candy Corn Poke Cake isn’t just a dessert; it’s a slice of autumn cheer, bringing a smile to everyone’s face without any fuss. You know those recipes that just feel like a hug? This is one of them. It’s quick, it’s colorful, and it’s destined to become a staple in your fall baking rotation!
Why You’ll Love Candy Corn Poke Cake
- Fast: Uses a boxed cake mix and instant pudding for lightning-fast prep.
- Easy: No fancy techniques, just simple steps anyone can follow.
- Giftable: Perfect for potlucks, Halloween parties, or a sweet surprise for a friend.
- Crowd-pleasing: A fun, festive dessert that appeals to all ages!
Ingredients
Gather ’round, friends! Here’s what you’ll need to create this dreamy, colorful confection. Most of these are likely already in your pantry!
- 1 box white cake mix (plus ingredients as directed on package): Your secret weapon for speed! Any brand will do, just grab the eggs, oil, and water it calls for.
- 1 (3.4-ounce) box instant vanilla pudding mix: The “poke” magic happens here! This adds moisture and a creamy texture. Make sure it’s INSTANT, not cook-and-serve.
- 2 cups cold milk: For mixing with our pudding. Cold is key to help it set up nicely.
- Orange food coloring: To get that vibrant, pumpkin-y orange layer.
- Yellow food coloring: For the sunny bottom layer, just like a piece of candy corn!
- 1 (8-ounce) container whipped topping: The fluffy, cloud-like finish. Think Cool Whip or a similar brand.
- Candy corn, for topping: The star of the show! Don’t skimp on these festive little gems.
How to Make Candy Corn Poke Cake
Alright, let’s get baking! You’ll be surprised how quickly this comes together.
- First things first, let’s get that oven ready. Preheat it to the temperature specified on your cake mix box. While it’s heating up, lightly grease a 9×13-inch baking pan. A little non-stick spray or butter and flour will do the trick to make sure your beautiful cake slides right out.
- Now, prepare your white cake batter according to the package instructions. This is where the ease begins! Just follow what it says for eggs, oil, and water. If you’re looking for other incredibly easy dessert ideas that start with a mix, you might also love a simple chocolate dump cake!
- Once your batter is mixed, divide it evenly into two separate bowls. No need to be super precise, just eyeball it!
- Time for color! Add a few drops of yellow food coloring to one bowl and stir gently until the color is evenly blended. Don’t go crazy with stirring, just enough to get that sunny hue.
- Repeat the process with the other bowl, adding a few drops of orange food coloring and stirring until it’s fully mixed. Now you have your two distinct candy corn colors!
- Pour the yellow batter evenly into your greased baking pan, spreading it to cover the bottom. This will be your base layer.
- Carefully pour the orange batter over the yellow layer. Take your time here! You want to avoid mixing the colors too much, so try to pour gently from a low height or over the back of a spoon.
- Bake for the time recommended on the cake mix box. You’ll know it’s done when a toothpick inserted into the center comes out clean. Every oven is a little different, so keep an eye on it!
- Remove the cake from the oven and let it cool on a wire rack for about 15 minutes. This is important – you don’t want to poke a piping hot cake!
- Here’s the “poke” part! Using the handle of a wooden spoon (or even a dowel or the blunt end of a chopstick), poke holes all over the cake, approximately one inch apart. Make sure you go almost all the way to the bottom.
- In a medium bowl, whisk together your instant vanilla pudding mix and the cold milk for about 2 minutes. You’ll see it start to thicken slightly. Magic!
- Pour that luscious pudding mixture evenly over the cake, making sure to get it into all those holes you just created. This is where the moisture and flavor seep down, creating those delightful pockets of goodness.
- Smooth any excess pudding over the surface with a spatula and then comes the hardest part: refrigerate for at least 2 hours to set. This chilling time is non-negotiable for the best texture. If you love chilled treats, you might also enjoy making some no-bake pumpkin cheesecake bars!
- Just before you’re ready to serve, spread the whipped topping evenly over your chilled cake. This adds a beautiful, airy finish.
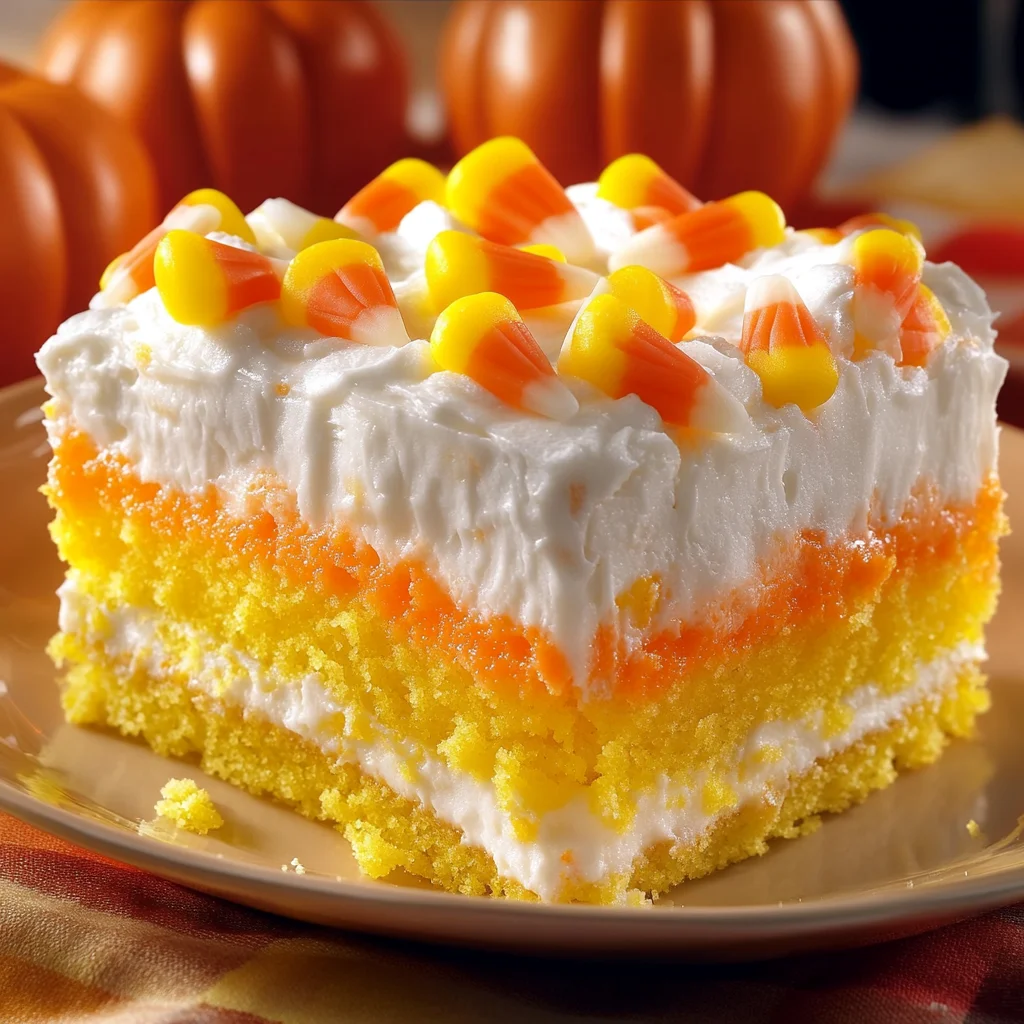
- And for the grand finale: decorate with candy corn pieces! Arrange them in rows, scatter them, or create a fun pattern. This is a great step to get the kids involved in, especially if you’re making other fun Halloween treats like Oreo Eyeball Truffles!
Substitutions & Additions
This recipe is super flexible! Feel free to get creative and make it your own.
- Cake Mix Swap: While white cake mix gives you the perfect canvas for coloring, you could certainly use a yellow cake mix for a more intense “yellow” flavor, or even a spice cake mix for extra fall vibes.
- Pudding Power: Vanilla pudding is classic, but instant butterscotch or even white chocolate pudding would be delicious!
- Topping Fun: Instead of just candy corn, try adding some festive sprinkles (orange, yellow, white!), a drizzle of caramel sauce, or even some chopped nuts for a different texture.
- Frosting Flair: If you’re not a fan of whipped topping, you could use a cream cheese frosting or even a simple vanilla buttercream for a richer finish.
Tips for Success
Even though this cake is wonderfully easy, a few little tips can ensure it turns out perfectly every time.
- Don’t Overmix: When preparing the cake batter, follow the package instructions closely and avoid overmixing, which can lead to a tough cake.
- Even Holes: Try to poke the holes somewhat evenly. This ensures the pudding distributes nicely throughout the cake.
- Cool Down: Make sure the cake has cooled sufficiently before poking holes and adding the pudding. If it’s too warm, the pudding might melt or seep too much.
- Chill Time is Crucial: Don’t rush the refrigeration step! The cake needs that time for the pudding to set up and infuse all that delicious moisture.
- Make Ahead: You can bake the cake, poke the holes, add the pudding, and chill it up to a day in advance. Add the whipped topping and candy corn just before serving for the freshest look.
How to Store Candy Corn Poke Cake
Once you’ve made this delicious cake, you’ll want to keep it fresh!
This cake should always be stored in the refrigerator due to the pudding and whipped topping. Cover it tightly with plastic wrap or transfer it to an airtight container. It will stay fresh and delicious for 3-4 days. While you can technically freeze poke cakes (without the whipped topping and candy corn), it’s truly best enjoyed fresh from the fridge.
FAQs
Got questions? I’ve got answers!
Can I use a different size pan?
A 9×13-inch pan is ideal for this recipe, creating the perfect cake-to-pudding ratio. If you use a smaller or larger pan, the baking time and thickness of the layers will change, so be prepared to adjust accordingly.
Can I make this cake without food coloring?
Absolutely! The food coloring is purely for visual appeal to mimic candy corn. If you prefer to omit it, your cake will still be incredibly delicious, just not tri-colored.
What if I don’t like candy corn?
No problem! The candy corn is just for topping. You can leave it off entirely or substitute with other fall-themed sprinkles, chopped nuts, or even a drizzle of chocolate sauce. The cake itself is still a fantastic vanilla poke cake with pudding!
Can I use homemade whipped cream instead of store-bought whipped topping?
Yes, you definitely can! Just be aware that homemade whipped cream tends to deflate more quickly than stabilized whipped topping, so it’s best to add it just before serving.
For more delicious and inspiring recipes, make sure to follow us on Pinterest!
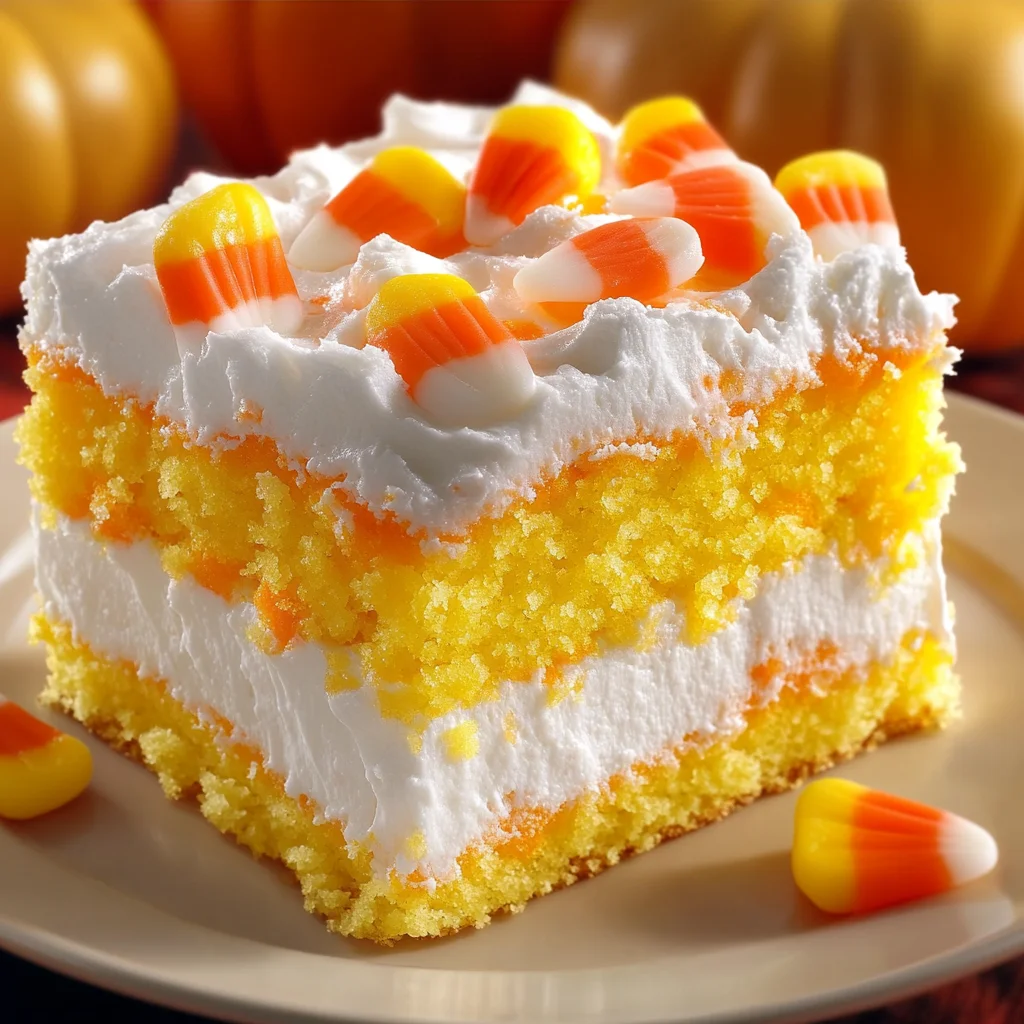
Candy Corn Poke Cake
Ingredients
Equipment
Method
- Step 1: Preheat oven to the temperature specified on your cake mix box. Lightly grease a 9x13-inch baking pan.
- Step 2: Prepare your white cake batter according to the package instructions (using eggs, oil, and water as directed).
- Step 3: Divide the prepared batter evenly into two separate bowls.
- Step 4: Add a few drops of yellow food coloring to one bowl and stir gently until the color is evenly blended.
- Step 5: Repeat the process with the other bowl, adding a few drops of orange food coloring and stirring until it's fully mixed.
- Step 6: Pour the yellow batter evenly into your greased baking pan, spreading it to cover the bottom.
- Step 7: Carefully pour the orange batter over the yellow layer, trying to avoid mixing the colors too much.
- Step 8: Bake for the time recommended on the cake mix box, or until a toothpick inserted into the center comes out clean.
- Step 9: Remove the cake from the oven and let it cool on a wire rack for about 15 minutes.
- Step 10: Using the handle of a wooden spoon (or a dowel/chopstick), poke holes all over the cake, approximately one inch apart, going almost all the way to the bottom.
- Step 11: In a medium bowl, whisk together your instant vanilla pudding mix and the cold milk for about 2 minutes until it starts to thicken slightly.
- Step 12: Pour the pudding mixture evenly over the cake, making sure to get it into all the poked holes. Smooth any excess pudding over the surface with a spatula.
- Step 13: Refrigerate for at least 2 hours to allow the pudding to set completely.
- Step 14: Just before you're ready to serve, spread the whipped topping evenly over your chilled cake.
- Step 15: Decorate with candy corn pieces. Serve immediately.