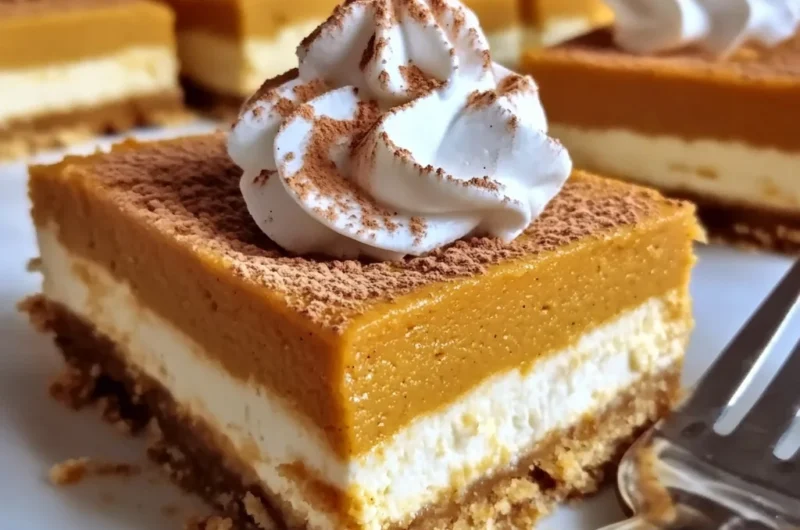
Oh, fall! There’s just something magical about this time of year, isn’t there? The crisp air, cozy sweaters, and, of course, the irresistible scent of pumpkin spice filling every corner. For me, autumn brings back memories of family gatherings, potlucks with friends, and always, always a delicious dessert on the table. But let’s be real, sometimes you want that incredible taste without all the fuss of baking. That’s where these No-Bake Pumpkin Pie Cheesecake Bars waltz in and steal the show!
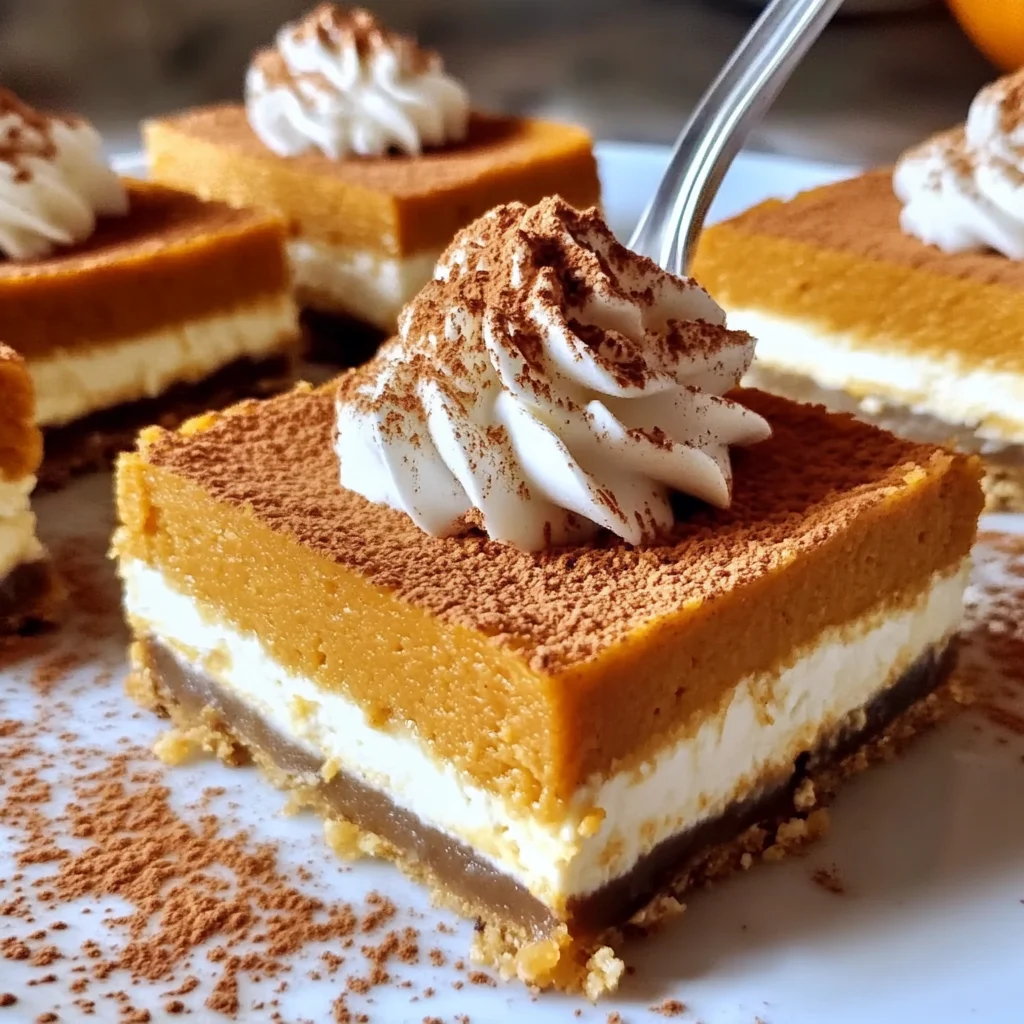
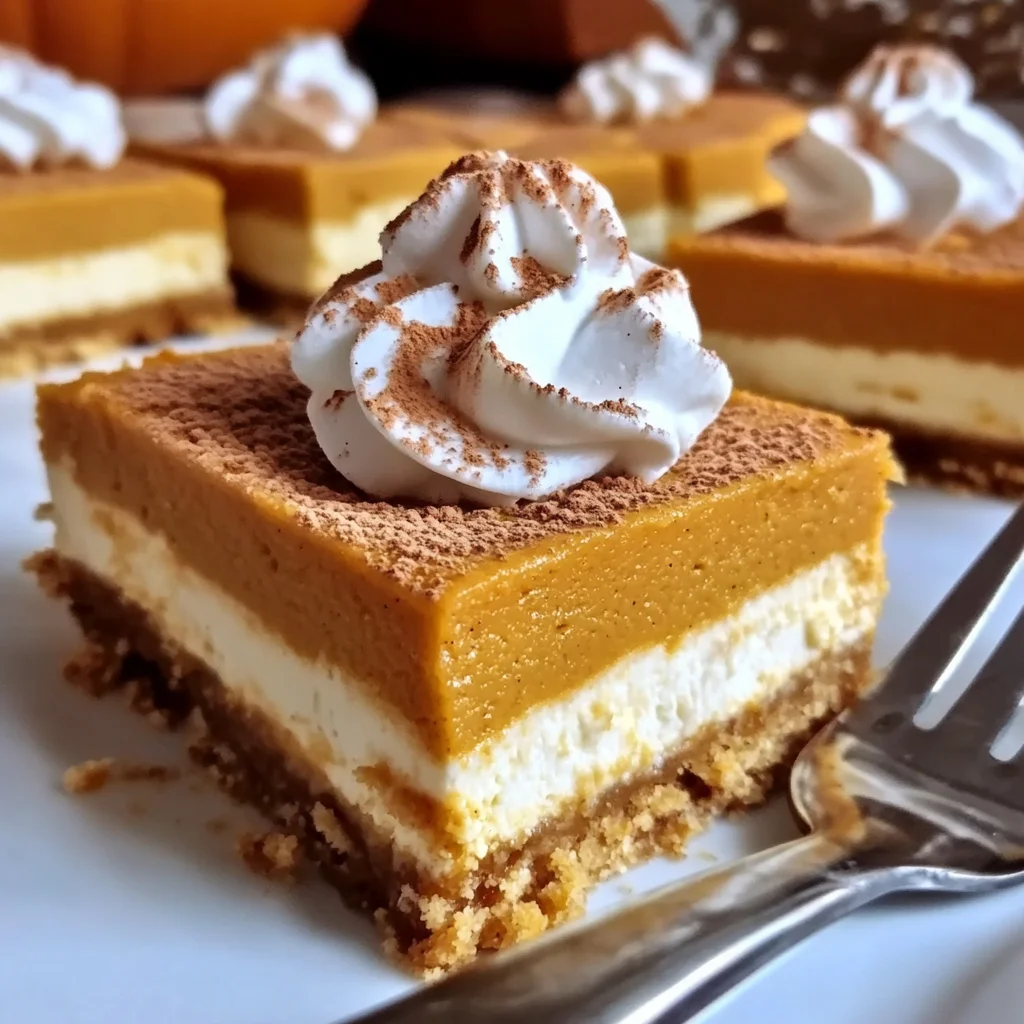
Imagine the creamy, tangy goodness of cheesecake, perfectly balanced with that warm, comforting pumpkin pie spice, all on a buttery graham cracker crust. And the best part? No oven required! Seriously, if you can stir and spread, you can make these. They’re quick enough for a last-minute get-together, memorable enough to be a holiday staple, and so unbelievably easy, you’ll wonder where they’ve been all your life. If you’re anything like me, you adore a good no-bake dessert, and once you try these pumpkin bars, you might be inspired to whip up another fantastic no-bake delight like Amish Peanut Butter Pie!
Why You’ll Love No-Bake Pumpkin Pie Cheesecake Bars
- Fast: Minimal prep time means more time enjoying the season!
- Easy: No baking, no complicated steps – perfect for beginners and seasoned pros alike.
- Giftable: These beautiful bars make a thoughtful hostess gift or a lovely treat for neighbors.
- Crowd-pleasing: A guaranteed hit at any fall feast, holiday gathering, or just a quiet night in.
Ingredients
Here’s what you’ll need to create this dreamy dessert. Most of these are likely already in your pantry!
- For the Crust:
- 12 full graham cracker sheets: Crushed into fine crumbs. You can use a food processor or a Ziploc bag and a rolling pin for this!
- 8 tablespoons (1 stick) unsalted butter, melted: This is what binds those crumbs into a perfect, buttery base.
- For the Cream Cheese Layer:
- 24 oz cream cheese (3 blocks), softened: Let it sit out for a bit to get nice and soft; it’ll mix so much smoother!
- 3 tablespoons granulated sugar: Just a touch of sweetness for that classic cheesecake tang.
- 3 tablespoons milk: Helps achieve that silky-smooth consistency.
- 1 teaspoon vanilla extract: A must-have for any good cheesecake – it brightens all the flavors.
- 8 oz frozen whipped topping (Cool Whip), thawed: This is your secret weapon for an airy, light, and perfectly stable cream cheese layer.
- For the Pumpkin Layer:
- 30 oz pumpkin puree (not pie filling): Make sure you grab the pure stuff, not the pre-spiced pie filling, so you can control the flavors!
- 2 cups milk: The liquid base for our instant pudding.
- 10.2 oz instant vanilla pudding mix (two 5.1 oz boxes): This is what gives our pumpkin layer its magical, no-bake thickness.
- 2 teaspoons ground cinnamon: Essential fall spice!
- 2 teaspoons pumpkin pie spice: The quintessential flavor of autumn.
How to Make No-Bake Pumpkin Pie Cheesecake Bars
Alright, let’s get these delicious bars assembled! You’ll be amazed at how quickly it comes together.
Step 1: Get That Crust Ready
First things first, grab your 9×13-inch pan and give it a light greasing – a little cooking spray does the trick. In a medium bowl, combine your finely crushed graham cracker crumbs with the melted butter. Stir it all together until the crumbs are thoroughly moistened. Now, press this mixture firmly and evenly into the bottom of your prepared pan. A flat-bottomed glass or the back of a spoon works wonders for getting a nice, compact crust. Once it’s pressed, pop it into the fridge while you get started on the fillings. This chill time helps it firm up beautifully.
Step 2: Create the Creamy Cheesecake Layer
In another bowl (a large one!), beat your softened cream cheese with the granulated sugar, milk, and vanilla extract until the mixture is wonderfully smooth and lump-free. Seriously, keep beating until it’s super creamy! Then, very gently fold in your thawed whipped topping. You want to maintain that airy texture, so be light-handed with your spatula. Once combined, carefully spread this creamy delight evenly over your chilled graham cracker crust.
Step 3: Mix Up the Pumpkin Perfection
Now for the star of the show! In a third bowl, whisk together the pumpkin puree, milk, both boxes of instant vanilla pudding mix, ground cinnamon, and pumpkin pie spice. Whisk vigorously for a good minute or two until everything is well combined and the mixture starts to thicken up. You’ll see it transform right before your eyes! Once it’s thickened, gently spread this luscious pumpkin layer over the cream cheese layer, making sure it’s even from edge to edge.
Step 4: Chill Out and Enjoy!
Cover your pan with plastic wrap (don’t let it touch the top of the pumpkin layer if you can help it) and pop it back into the refrigerator. These bars need at least 4 hours to firm up properly, but honestly, if you can wait, leaving them overnight is even better. The longer they chill, the cleaner your slices will be, and the flavors will meld together beautifully. When you’re ready to serve, simply slice into bars and enjoy the taste of fall in every bite!
Substitutions & Additions
Part of the fun of cooking is making a recipe your own! Here are some ideas to shake things up:
- Crust Variations: Instead of graham crackers, try crushed gingersnap cookies or shortbread for a different flavor profile. Oreo crumbs would also be delicious for a chocolatey twist!
- Spice It Up: If you want an extra kick, add a pinch of ground ginger or cloves to your pumpkin layer. For an even more intense pumpkin flavor, you can slightly increase the cinnamon and pumpkin pie spice to taste. And if you’re a true pumpkin enthusiast looking for an even quicker fix, you might also adore our vegan gluten-free pumpkin mug cake.
- Toppings Galore: Before serving, a dollop of extra whipped cream, a sprinkle of cinnamon, a drizzle of caramel sauce, or even some candied pecans would elevate these bars to dessert heaven!
- Cream Cheese Layer Fun: You could add a tablespoon of maple syrup to the cream cheese layer for a subtle maple flavor.
Tips for Success
Even though these are super easy, a few little pointers can make them absolutely perfect!
- Softened Cream Cheese is Key: Don’t skip letting your cream cheese soften! Cold cream cheese will result in a lumpy filling, and no one wants that.
- Whip It Good (But Gently): When folding in the whipped topping, be gentle. You want to keep the air in the whipped topping for that light, fluffy texture.
- Instant Pudding Only: Make sure you’re using instant vanilla pudding mix, not the cook-and-serve kind. The instant variety sets up much faster without any heat.
- Patience is a Virtue (Especially for Chilling): I know it’s hard to wait, but the chilling time is crucial for these bars to set up properly. If you cut them too soon, they might be a bit messy. Trust me, the wait is worth it for perfectly firm, sliceable bars. Speaking of delightful treats, if you’re a fan of rich, creamy desserts and want to try another swoon-worthy cheesecake, our easy caramel brownie cheesecake recipe is a must-try while you wait for these to chill!
- Even Spreading: Take your time to spread each layer evenly. This makes for beautiful, uniform bars when sliced.
How to Store No-Bake Pumpkin Pie Cheesecake Bars
These bars are best enjoyed fresh, but they also keep wonderfully!
- Refrigerator: Keep any leftover bars covered tightly with plastic wrap or in an airtight container in the refrigerator for up to 3-4 days.
- Freezer: You can absolutely freeze these! Slice them into individual bars, then place them on a parchment-lined baking sheet and freeze until firm. Once frozen, transfer them to a freezer-safe airtight container or a heavy-duty freezer bag. They’ll keep well for up to 1-2 months. Thaw in the refrigerator for a few hours before serving.
FAQs
Q: Can I use pumpkin pie filling instead of pumpkin puree?
A: I don’t recommend it for this recipe. Pumpkin pie filling is already sweetened and spiced, and it has a different consistency than pure pumpkin puree. Using it would alter the balance of sweetness and spices in this particular recipe.
Q: My pumpkin layer isn’t thickening. What did I do wrong?
A: The most common culprit is using “cook and serve” pudding instead of “instant” pudding. The instant variety contains ingredients that cause it to set up quickly without heat. Also, ensure your milk is cold, as this helps the pudding activate properly.
Q: Can I make these in a different size pan?
A: While you can, you might need to adjust the quantities and definitely the chilling time. A smaller pan will result in thicker bars (which might need more chilling), and a larger pan might make them too thin. The 9×13-inch pan is perfect for this amount of batter.
Q: Can I make these dairy-free?
A: Unfortunately, this recipe relies heavily on dairy (cream cheese, milk, whipped topping) for its structure and flavor. While some substitutions might work, I haven’t tested a fully dairy-free version, and it would likely require significant modifications to ensure it sets properly.
For more delicious and easy recipes, be sure to follow us on Pinterest!
No-Bake Pumpkin Pie Cheesecake Bars
Ingredients
Equipment
Method
- Step 1: Get That Crust Ready Lightly grease a 9x13-inch pan. In a medium bowl, combine finely crushed graham cracker crumbs with melted butter. Stir until moistened, then press firmly and evenly into the bottom of the prepared pan. Pop it into the fridge to firm up while you prepare the fillings.
- Step 2: Create the Creamy Cheesecake Layer In a large bowl, beat the softened cream cheese with granulated sugar, milk, and vanilla extract until the mixture is wonderfully smooth and lump-free. Gently fold in the thawed whipped topping until just combined, maintaining its airy texture. Carefully spread this creamy layer evenly over your chilled graham cracker crust.
- Step 3: Mix Up the Pumpkin Perfection In a third bowl, whisk together the pumpkin puree, milk, both boxes of instant vanilla pudding mix, ground cinnamon, and pumpkin pie spice. Whisk vigorously for 1-2 minutes until everything is well combined and the mixture starts to thicken. Gently spread this luscious pumpkin layer over the cream cheese layer, ensuring it’s even.
- Step 4: Chill Out and Enjoy! Cover your pan with plastic wrap (trying not to let it touch the pumpkin layer) and place it back into the refrigerator. These bars need at least 4 hours to firm up properly; for cleaner slices and melded flavors, chilling overnight is even better. When ready to serve, slice into bars and enjoy!