
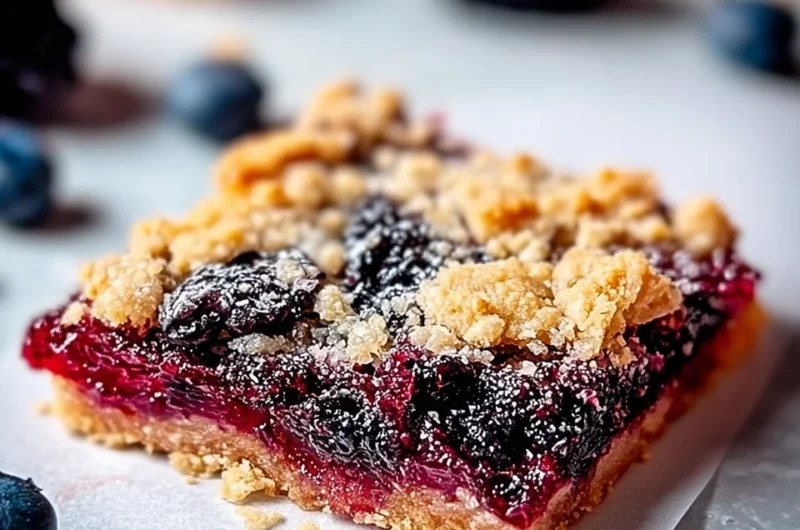
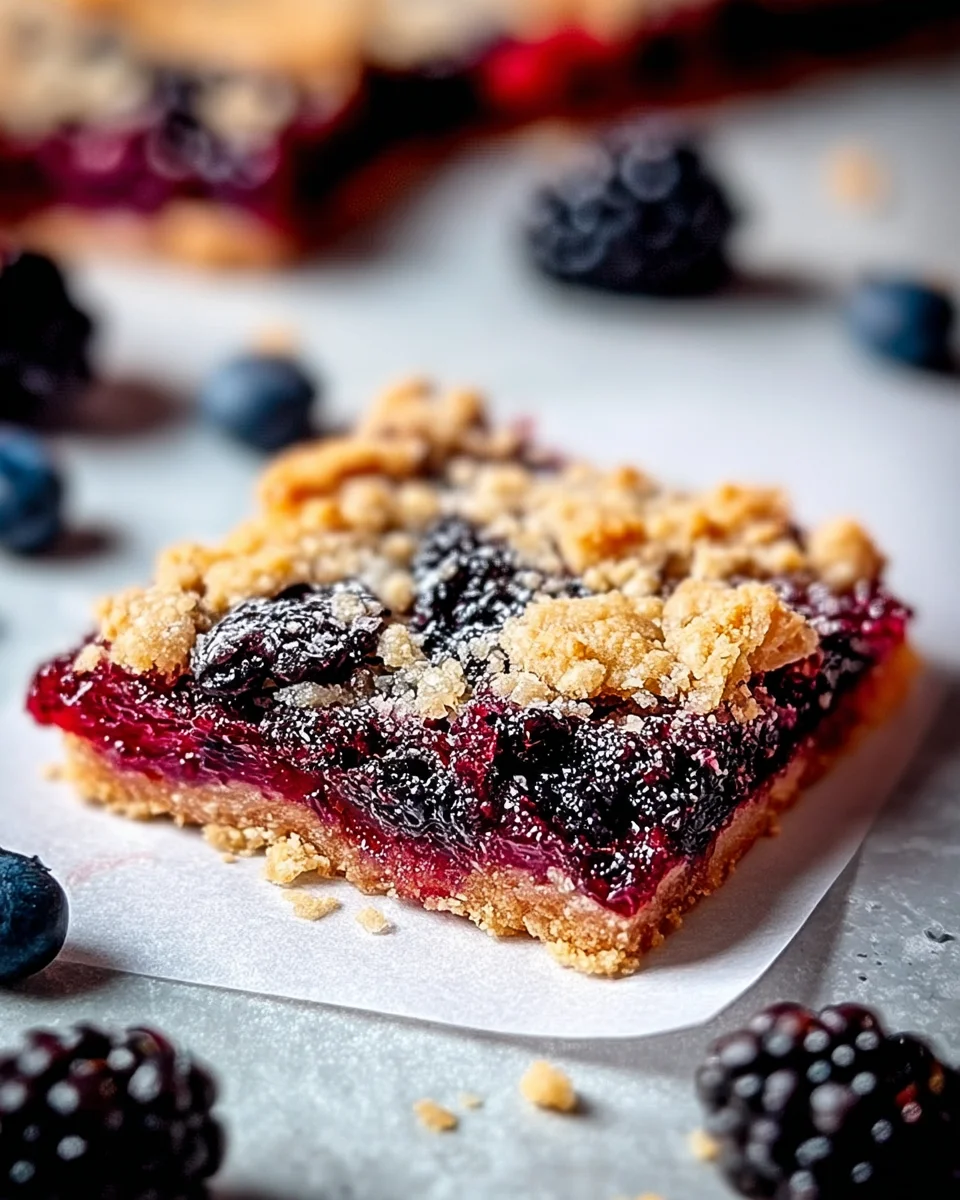
There’s something so heartwarming about a dessert that reminds us of carefree afternoons spent with loved ones. The Best Wild Berry Jam Slice is not only easy to whip up, but it also captures the essence of nostalgia in every bite. You’ll love how quick it is to make, and it’s perfect for any occasion, whether you are having friends over or simply treating yourself. Let’s dive into this delightful recipe together!
Why You’ll Love The Best Wild Berry Jam Slice
- Fast
- Easy
- Giftable
- Crowd-pleasing
Ingredients
- 1 cup crushed digestive biscuits: These give the slice a lovely crunchy base.
- 1/2 cup unsalted butter, melted: This binds the biscuit crumbs together perfectly.
- 1 cup wild berry jam: The star of the show, bringing sweetness and flavor.
- 1 cup cream cheese, softened: For that rich, creamy layer that balances the sweetness.
- 1/2 cup powdered sugar: This sweetens the cream cheese without making it gritty.
- 1 teaspoon vanilla extract: Adds a warm, inviting flavor.
- Fresh berries for topping (optional): A beautiful and fresh garnish!
How to Make The Best Wild Berry Jam Slice
Now that we have our ingredients ready, let’s get started!
- Prepare the Base: In a mixing bowl, combine the crushed digestive biscuits and melted butter. Mix well until the crumbs are fully coated.
- Form the Crust: Press the biscuit mixture firmly into the bottom of a lined 8-inch square baking dish. Use the back of a spoon to smooth it out evenly. Place in the refrigerator to set while you prepare the filling.
- Make the Filling: In a separate bowl, beat the softened cream cheese until smooth. Gradually add the powdered sugar and vanilla extract, mixing until well combined and creamy.
- Assemble the Slice: Spread the wild berry jam evenly over the chilled biscuit base. Then, gently spread the cream cheese mixture on top of the jam, smoothing it out with a spatula.
- Chill: Cover the dish and refrigerate for at least 4 hours or until set.
- Serve: Once set, cut into squares and top with fresh berries if desired. Enjoy your delicious Wild Berry Jam Slice!
Substitutions & Additions
If you’re looking to mix things up a bit, here are some fun ideas:
- Try using graham cracker crumbs instead of digestive biscuits for a different flavor.
- Use any jam flavor you love, such as raspberry or strawberry, to customize your slice!
- Add a squeeze of lemon juice to the cream cheese mixture for a zesty twist.
Tips for Success
Here are a few tips to ensure your Wild Berry Jam Slice turns out perfectly:
- Make sure your cream cheese is at room temperature to achieve a smooth mixture.
- Don’t skip the chilling time; it helps the layers set properly.
- If the biscuit base feels too crumbly, add a bit more melted butter to help bind it together.
How to Store The Best Wild Berry Jam Slice
To keep your Wild Berry Jam Slice fresh, store it in an airtight container in the refrigerator. It will last up to one week, but I doubt it will stick around that long! You can enjoy it on its own or pair it with a cup of tea for a delightful treat.
FAQs
Can I freeze the Wild Berry Jam Slice?
No, I recommend enjoying it fresh as the texture may change once thawed.
What can I use instead of wild berry jam?
You can use any berry jam you prefer, such as blueberry, raspberry, or even a mixed berry variety!
Can I make this recipe vegan?
You can try using a vegan cream cheese alternative and coconut oil instead of butter for a vegan version.
How many servings does this make?
This recipe makes about 12 delicious squares, perfect for sharing!
For more delicious recipes, check out Easy Homemade Frozen Butterbeer or Crispy Roasted Baby Potatoes for treats you will love!
Don’t forget to follow us on Pinterest for more delightful ideas and inspiration!
The Best Wild Berry Jam Slice
Ingredients
Equipment
Method
- Step 1: In a mixing bowl, combine the crushed digestive biscuits and melted butter. Mix well until the crumbs are fully coated.
- Step 2: Press the biscuit mixture firmly into the bottom of a lined 8-inch square baking dish. Use the back of a spoon to smooth it out evenly. Place in the refrigerator to set while you prepare the filling.
- Step 3: In a separate bowl, beat the softened cream cheese until smooth. Gradually add the powdered sugar and vanilla extract, mixing until well combined and creamy.
- Step 4: Spread the wild berry jam evenly over the chilled biscuit base. Then, gently spread the cream cheese mixture on top of the jam, smoothing it out with a spatula.
- Step 5: Cover the dish and refrigerate for at least 4 hours or until set.
- Step 6: Once set, cut into squares and top with fresh berries if desired. Enjoy your delicious Wild Berry Jam Slice!
Notes