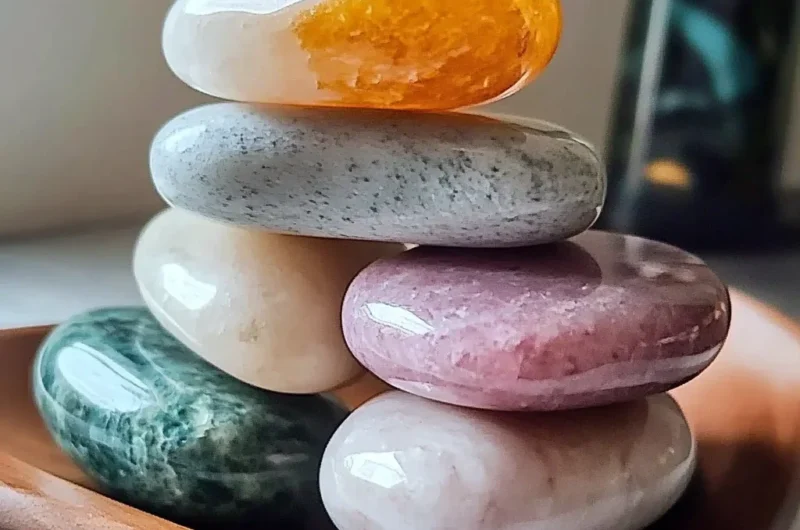
There’s something truly magical about walking into a home that smells utterly delightful, isn’t there? It instantly feels welcoming, comforting, and just… right. I remember as a kid, my grandma always had something simmering on the stove – cinnamon and orange peels, often – that just filled her whole house with the most wonderful aroma. While simmering pots are lovely, sometimes you want a more hands-off way to infuse your space with inviting scents. That’s where these DIY Aroma Stones come in! They’re incredibly simple to make, super quick to put together, and honestly, they’re so memorable because you can customize them exactly to your liking. Get ready to transform your living space into a fragrant haven with this fun and easy project!
Why You’ll Love DIY Aroma Stones
- Fast: The mixing and molding process takes mere minutes!
- Easy: No special skills or tools required – just a few kitchen staples.
- Giftable: Package them up in a cute bag or box for a thoughtful, handmade present.
- Crowd-pleasing: Everyone loves a beautiful scent, and you can tailor these to any preference.
Ingredients
Gathering your ingredients for these little scent powerhouses is just like pulling together a simple baking recipe. You likely have most of these on hand already!
- 1 cup baking soda: This is our main ingredient, providing the porous base that holds all that lovely scent.
- 1/2 cup cornstarch: Helps bind everything together beautifully and gives the stones a smooth finish.
- 1/2 cup water: Just enough to create a workable paste.
- 20-30 drops essential oils (your choice): This is where the magic happens! Think lavender for relaxation, citrus for an uplifting boost, or peppermint for clarity. I always have a variety on hand, much like I keep spices ready for an easy Cajun chicken sloppy joes recipe – you never know when inspiration will strike!
- Food coloring (optional): Want to add a pop of color to match your decor or essential oil? Go for it!
- Silicone molds (various shapes): The fun part! From cute flowers to simple circles, pick shapes that make you smile.
- Wax paper or parchment paper for drying: Essential for a non-stick drying surface.
How to Make DIY Aroma Stones
Alright, let’s get our hands a little messy! This process is so straightforward, you’ll be wondering why you didn’t try it sooner.
- Combine your dry ingredients: In a medium mixing bowl, measure out your baking soda and cornstarch. Give them a good whisk with a fork or a spoon until they’re thoroughly combined. You want a consistent, lump-free base.
- Slowly add water: Here’s a key step! Gradually pour in the water, stirring continuously. You’re aiming for a smooth, thick paste – think pancake batter, but a bit thicker. If it seems too dry, add a tiny bit more water, a teaspoon at a time. If it’s too wet, a touch more baking soda or cornstarch can fix it.
- Introduce your essential oils: Now for the aroma! Add your 20-30 drops of essential oils to the mixture. Stir really well to make sure that delightful scent gets evenly distributed throughout the paste.
- (Optional) Add a splash of color: If you’re using food coloring, add a few drops now. Mix it in until you achieve a uniform color. A vibrant blue for a “fresh linen” scent, or a soft pink for rose – let your imagination guide you!
- Prep your molds: Lay your silicone molds out on a flat, stable surface. A baking sheet works perfectly for easy transport later.
- Fill ’em up: Carefully spoon your aroma stone mixture into the silicone molds. Use a small spatula or the back of a spoon to smooth out the tops, making them nice and neat.
- Tap out the bubbles: Gently tap the filled molds on your counter a few times. This helps release any trapped air bubbles, ensuring your finished stones are smooth and flawless. It’s a little trick I picked up that works just as well for crafts as it does for creating smooth batters for things like an easy homemade apple crumble!
- Let them rest and dry: Move your molds to a warm, dry area of your home. To keep dust bunnies from making a home on your beautiful creations, loosely cover the molds with a thin, clean towel.
- Patience, dear friend: Allow your aroma stones to dry for a full 24 hours. They need this time to harden completely. Don’t rush it!
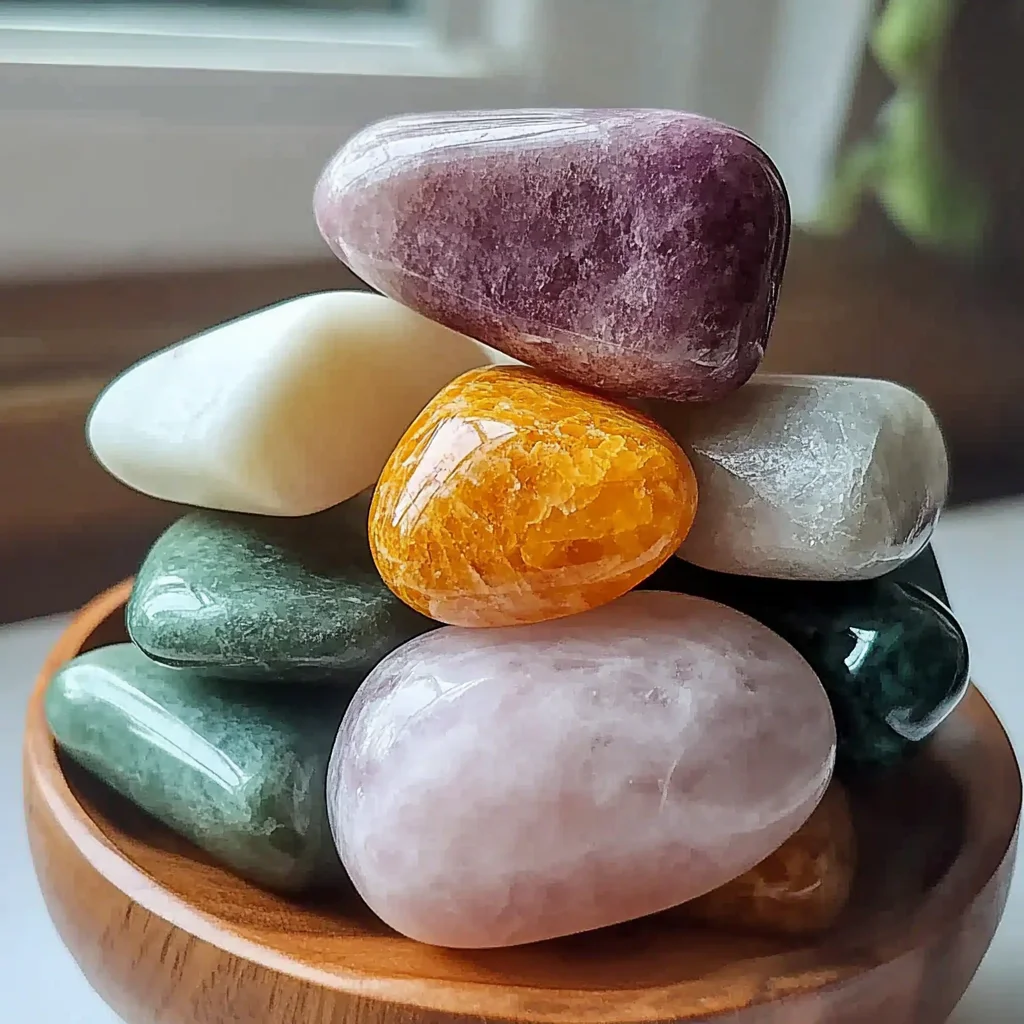
- Unmold with care: Once they are completely dry and firm, gently pop your aroma stones out of their silicone molds. Voila! You have beautiful, scented stones ready to brighten your space.
Substitutions & Additions
This recipe is incredibly forgiving and open to creativity! Don’t be afraid to experiment a little.
- Essential Oils: Don’t have essential oils? You can use cosmetic-grade fragrance oils, but be sure to check that they are skin-safe if you anticipate handling the stones frequently.
- Dried Botanicals: For a pretty visual touch, sprinkle a few dried lavender buds, rose petals, or even small snippets of dried citrus peel into the molds before the paste sets.
- Glitter: A little fine glitter mixed into the paste can add a subtle sparkle to your finished stones!
- Glycerin: For a slightly smoother, harder stone, you can add a teaspoon of vegetable glycerin to the mixture along with the water. This might slightly alter the drying time.
- Hanging Loops: If your molds allow for it (or if you can carefully poke a hole with a toothpick before they fully dry), you can insert a small loop of twine or ribbon to create hanging air fresheners for closets or doorknobs! This is similar to adding embellishments to other crafts, like the glitter we sometimes use for DIY Melted Crayon Stars.
Tips for Success
Even though this craft is super easy, a few pointers can ensure your aroma stones turn out perfectly every time.
- Water Consistency is Key: Add water slowly! It’s much easier to add a little more water if the mixture is too dry than to fix an overly wet paste. You want it to be thick enough to hold its shape in the mold but wet enough to be smooth.
- Mix Thoroughly: Make sure your baking soda and cornstarch are well combined, and then ensure your essential oils are fully incorporated. This prevents patchy scents or crumbly spots.
- Dry Completely: This is probably the most important tip! Rushing the drying process will result in soft, easily broken stones. Give them the full 24 hours, or even longer if your environment is particularly humid.
- Good Quality Oils: The scent quality of your stones is directly related to the quality of your essential oils. Invest in good therapeutic-grade oils for the best aroma experience.
- Tap, Tap, Tap: Don’t skip the tapping step! It really does make a difference in getting those pesky air bubbles out for a perfectly smooth surface.
How to Store DIY Aroma Stones
Once your aroma stones are beautifully dried and ready to scent your home, you might be wondering how to best care for them.
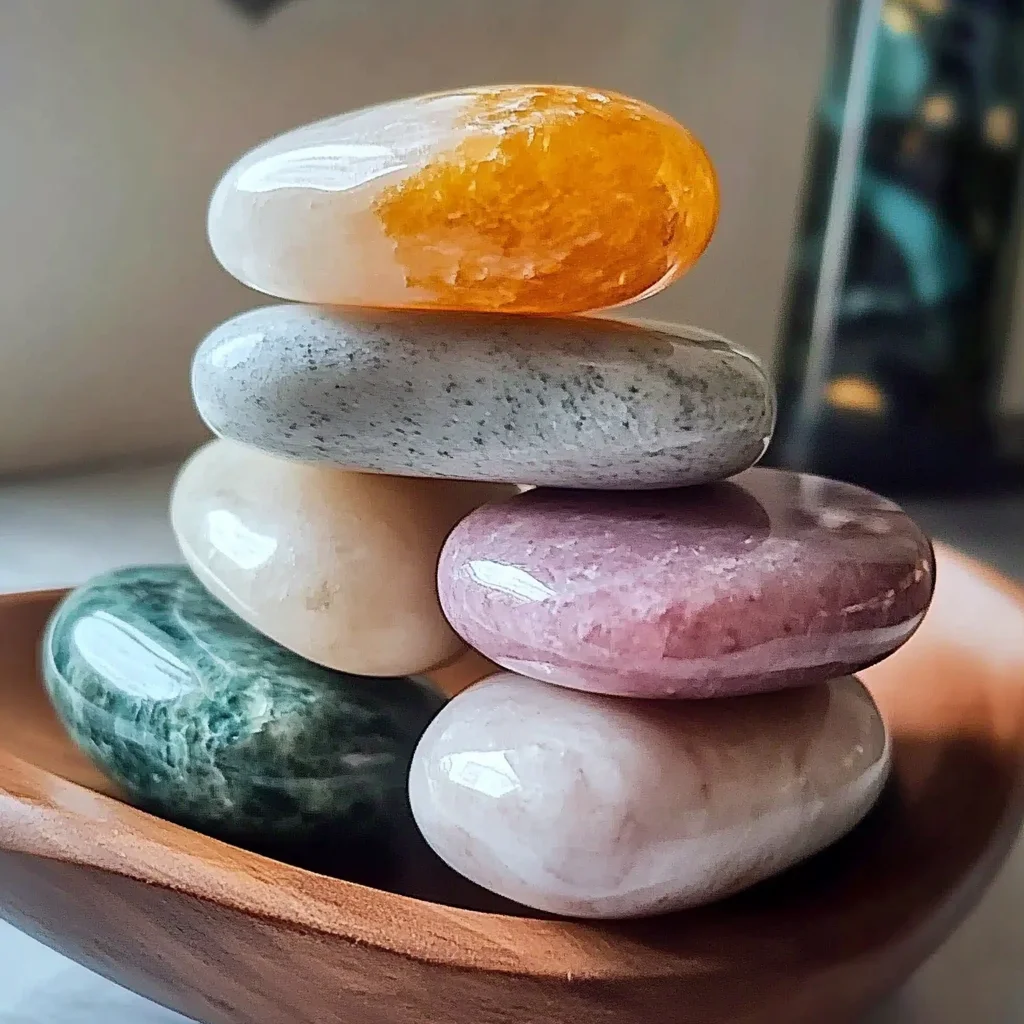
You can place your aroma stones in small dishes around your home – on your bedside table, in a bathroom, near your entryway, or even tucked into a linen closet. To keep the scent vibrant for longer, especially if you’re making a batch to gift or use later, store unused stones in an airtight container away from direct sunlight and extreme temperatures. While the stones themselves last indefinitely as long as they stay dry, the essential oil scent will naturally dissipate over time. When you notice the aroma fading, simply add a few more drops of your favorite essential oil directly onto the stone to refresh it!
FAQs
Q: Can I use different types of molds?
A: Absolutely! Silicone molds are ideal because they’re flexible and make unmolding a breeze, but you can experiment with other non-porous molds like plastic candy molds or even small cookie cutters (just make sure to line them with plastic wrap for easy removal).
Q: How long does the scent last?
A: The initial strong scent will last for several days to a week, depending on the essential oils used and the size of your stone. As mentioned, you can easily refresh them by adding more drops of oil whenever you feel the scent is fading.
Q: Are these safe to use around pets or children?
A: While the ingredients themselves are generally safe, always exercise caution with essential oils around pets and small children. Some essential oils can be toxic to pets, and strong scents can be overwhelming for little ones. Place your aroma stones in areas out of reach, and research pet-safe essential oils if you have furry friends.
Q: What if my stones crumble when I try to unmold them?
A: This usually means they weren’t fully dry. Place them back in their molds (or carefully re-press them if salvageable) and allow them to dry for a longer period, perhaps another 12-24 hours. Humidity can play a big role in drying time.
We hope you love making these DIY Aroma Stones as much as we do! They’re such a simple way to add a personal, cozy touch to your home or give a thoughtful gift. Happy crafting!
For more fun and creative ideas, follow us on Pinterest!
DIY Aroma Stones for Cozy, Natural Home Scents
Ingredients
Equipment
Method
- Step 1: Combine dry ingredients: In a medium mixing bowl, measure out your baking soda and cornstarch. Give them a good whisk with a fork or a spoon until they’re thoroughly combined. You want a consistent, lump-free base.
- Step 2: Slowly add water: Gradually pour in the water, stirring continuously. You're aiming for a smooth, thick paste – think pancake batter, but a bit thicker. If it seems too dry, add a tiny bit more water, a teaspoon at a time. If it's too wet, a touch more baking soda or cornstarch can fix it.
- Step 3: Introduce your essential oils: Add your 20-30 drops of essential oils to the mixture. Stir really well to make sure that delightful scent gets evenly distributed throughout the paste.
- Step 4: (Optional) Add a splash of color: If you're using food coloring, add a few drops now. Mix it in until you achieve a uniform color. A vibrant blue for a "fresh linen" scent, or a soft pink for rose – let your imagination guide you!
- Step 5: Prep your molds: Lay your silicone molds out on a flat, stable surface. A baking sheet works perfectly for easy transport later.
- Step 6: Fill 'em up: Carefully spoon your aroma stone mixture into the silicone molds. Use a small spatula or the back of a spoon to smooth out the tops, making them nice and neat.
- Step 7: Tap out the bubbles: Gently tap the filled molds on your counter a few times. This helps release any trapped air bubbles, ensuring your finished stones are smooth and flawless.
- Step 8: Let them rest and dry: Move your molds to a warm, dry area of your home. To keep dust bunnies from making a home on your beautiful creations, loosely cover the molds with a thin, clean towel.
- Step 9: Patience, dear friend: Allow your aroma stones to dry for a full 24 hours. They need this time to harden completely. Don't rush it!
- Step 10: Unmold with care: Once they are completely dry and firm, gently pop your aroma stones out of their silicone molds. Voila! You have beautiful, scented stones ready to brighten your space.