Oh, friend, there’s nothing quite like the crisp embrace of autumn, is there? The golden leaves crunching underfoot, the scent of woodsmoke dancing in the air, and that exhilarating chill that whispers tales of spooky fun and cozy nights. For me, fall means pulling out my coziest sweaters, lighting a pumpkin spice candle, and, of course, whipping up warm, comforting drinks that make the house smell absolutely divine. And when Halloween rolls around? We need something extra special, something that’s both deliciously warming and delightfully spooky!
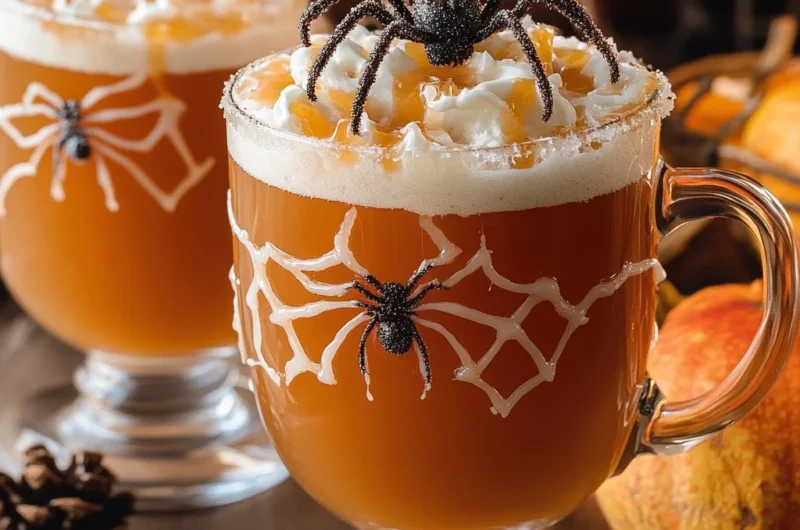
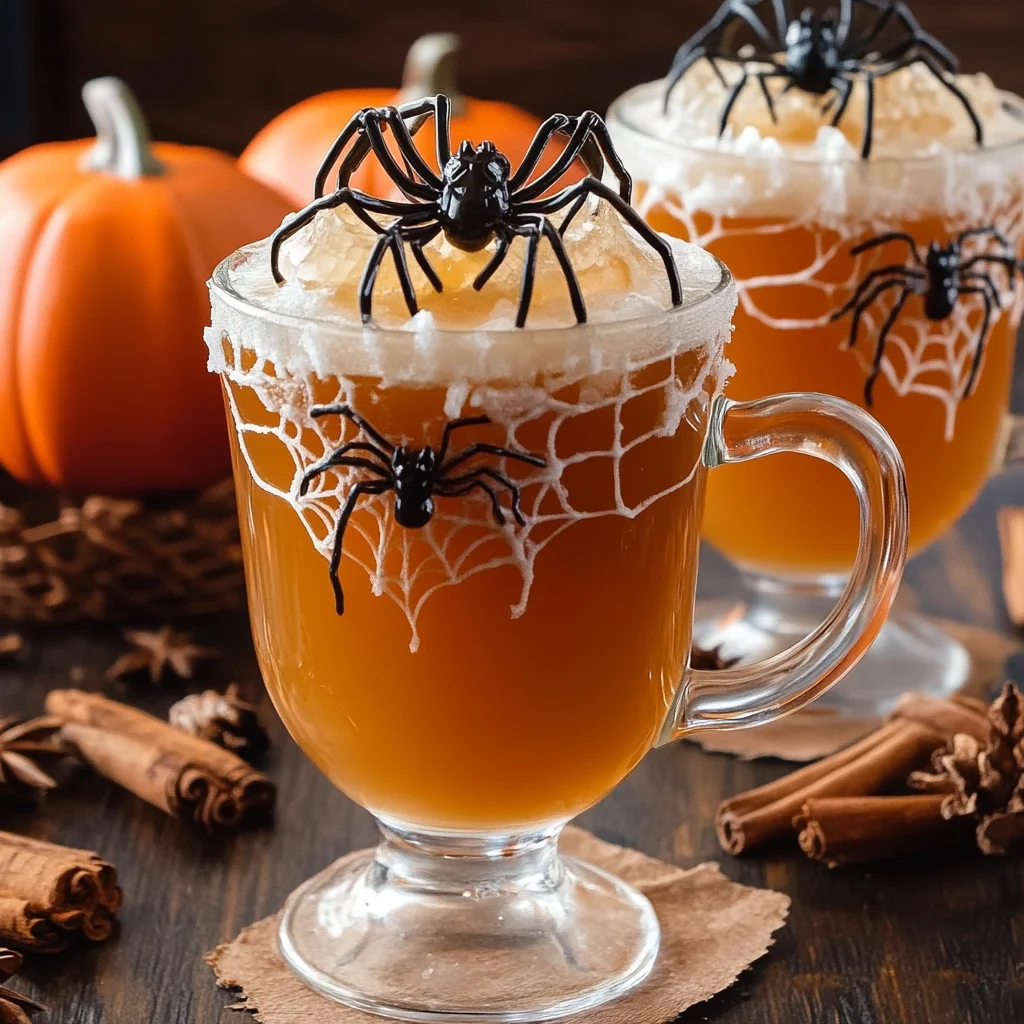
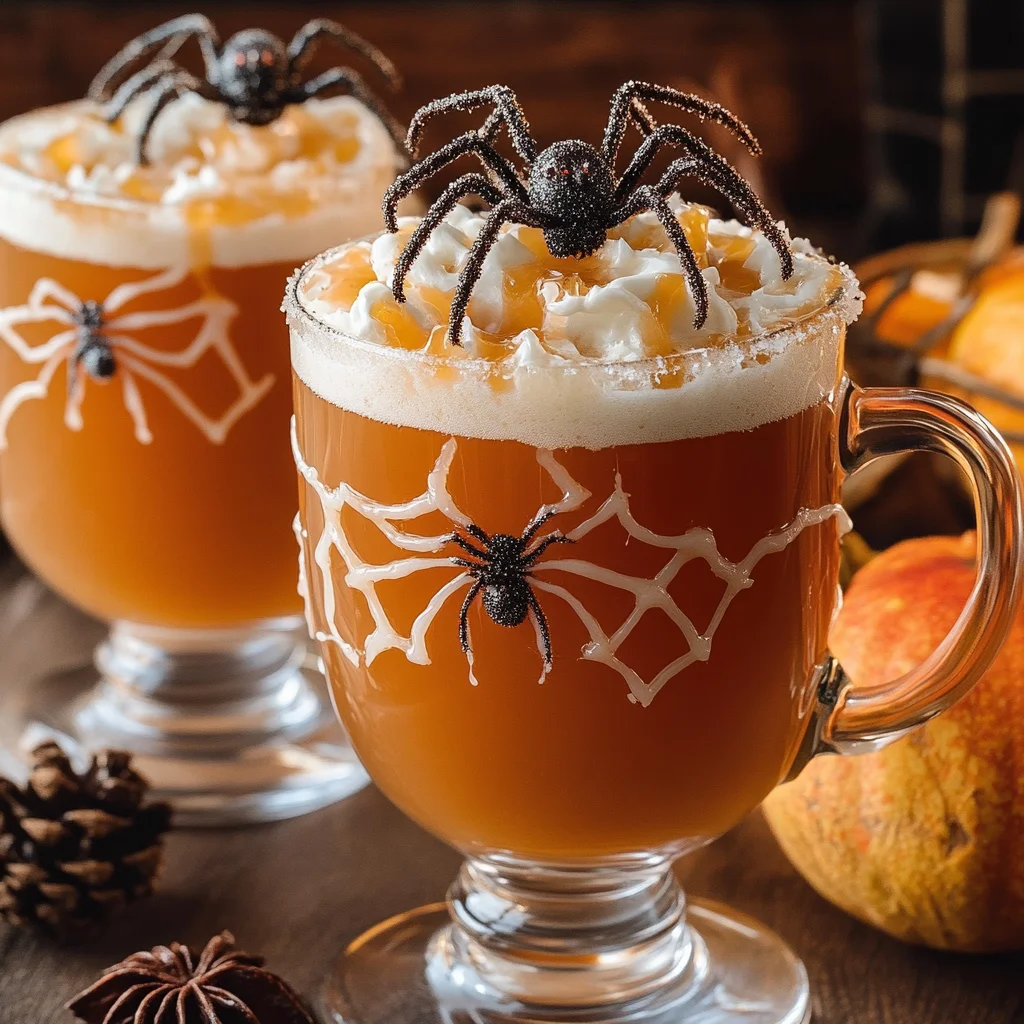
That’s where this incredible Spooky Spider Cider comes in. It’s not just a drink; it’s a hug in a mug, dressed up for the holiday. Imagine a mug of spiced apple and cranberry goodness, topped with a whimsical whipped cream spiderweb and an adorable little chocolate spider peeking over the rim. It’s quick, it’s easy, and it’s guaranteed to put a smile on everyone’s face, from your littlest goblins to the grown-up ghouls at your Halloween bash. Trust me, this will be the memorable, fuss-free treat you’ll look forward to making every year!
Why You’ll Love Spooky Spider Cider
- Fast: Ready in under 30 minutes, perfect for last-minute fun!
- Easy: Simple ingredients, straightforward steps – no culinary wizardry required.
- Giftable: Bottle the spiced cider (without garnishes) for a thoughtful fall gift.
- Crowd-pleasing: A delightful treat that kids and adults will adore, both hot and cold.
Ingredients
Gather your potions, witches and wizards! Here’s what you’ll need for this enchanting brew:
- Apple Cider: The star of our show! Grab your favorite brand – I love a good unfiltered apple cider for extra flavor.
- Cranberry Juice: Adds a beautiful crimson hue and a lovely tart tang that brightens up the sweetness of the apple.
- Cinnamon Sticks: For that quintessential fall aroma and warmth. Whole sticks are best for infusing.
- Whole Cloves: Small but mighty! These tiny spice bombs add depth and a touch of holiday cheer.
- Star Anise (Optional): If you want a hint of licorice-y warmth and a visually stunning spice, toss these in!
- Brown Sugar (Optional, adjust to taste): Just a little bit to sweeten things up. You might not even need it if your cider is already sweet enough.
- Vanilla Extract: My secret weapon for adding a layer of rich, comforting flavor that makes all the spices sing.
For Garnish & Spiders:
- Whipped Cream: The perfect fluffy cloud for our spiderweb design.
- Chocolate Syrup: For drawing those spooky, swirling webs.
- Pretzel Sticks: These make excellent, crunchy spider legs!
- Melted Chocolate: You’ll use this to “glue” your spider parts together. Dark or milk chocolate works beautifully.
- Candy Eyeballs: Because every good spider needs a few peepers!
- Chocolate Truffles or Donut Holes (Optional, for spider bodies): These make perfectly plump and delicious spider bodies. You can also use large chocolate-covered cherries or even just a blob of melted chocolate!
How to Make Spooky Spider Cider
Alright, let’s get brewing! This is so simple, you’ll feel like a kitchen wizard in no time.
- Start Your Brew: In a large pot, combine your apple cider, cranberry juice, cinnamon sticks, whole cloves, and if you’re using them, the star anise and brown sugar. Give it a gentle stir.
- Simmer to Perfection: Place the pot over medium-low heat and let it simmer ever so gently for about 20-25 minutes. You want it warm and aromatic, but not boiling rapidly. This allows all those wonderful spices to really infuse into the cider. Your kitchen is going to smell amazing!
- Finish with Vanilla: Once your cider has had a good, fragrant simmer, take the pot off the heat. Stir in the vanilla extract. This really rounds out the flavors.
- Strain and Pour: Carefully remove and discard the cinnamon sticks, cloves, and star anise. You don’t want to bite into a whole clove! Now, pour the warm, spiced cider into your favorite mugs.
- Whip Up a Web: Here’s where the fun really begins! Pipe whipped cream in concentric circles on top of each drink. Then, using a toothpick or the tip of a knife, drag lines outwards from the center of the whipped cream to form that classic, eerie spiderweb design. It’s surprisingly easy and so effective!
- Assemble Your Spiders: To create your adorable (or spooky, depending on your vibe!) spider garnish, break pretzel sticks into shorter leg-like pieces. Dip these pretzel “legs” into melted chocolate, then quickly attach them and a couple of candy eyeballs to a chocolate truffle or donut hole, forming a spider body. Let them set for a minute or two.
- Place and Serve: Carefully place your finished chocolate spiders on the rim of each mug, or directly on top of the whipped cream web. Serve warm and enjoy the gasps of delight! Alternatively, if you prefer a cold drink or it’s a warmer fall day, chill the cider and serve it over ice.
Substitutions & Additions
Get creative in your kitchen! Here are some ideas to tweak your Spooky Spider Cider:
- Spice It Up: Don’t have star anise? A pinch of ground nutmeg or allspice would also be lovely.
- Sweetener Swaps: Instead of brown sugar, try a splash of maple syrup or honey for a different kind of sweetness.
- Fruit Fun: Add some thinly sliced oranges, apples, or a handful of fresh cranberries to the pot while simmering for extra flavor and visual appeal.
- Boozy Brew: For an adult version, a splash of dark rum, bourbon, or even spiced apple brandy would be fantastic! Just add it to individual mugs after the cider is heated.
- More Spooky Garnishes: Instead of chocolate spiders, you could float a few gummy worms, or for an extra eerie effect (with caution!), place a small piece of dry ice in a larger punch bowl of cider to create a smoky fog. If you’re looking for another fantastic Halloween drink option, you might also love my Easy Hocus Pocus Punch Recipe!
Tips for Success
- Gentle Simmer is Key: Don’t let your cider boil vigorously. A gentle simmer is all you need to infuse those amazing spice flavors without cooking them away.
- Taste and Adjust: Always taste your cider before serving! Everyone has different preferences for sweetness and spice. Add a little more brown sugar if you like it sweeter, or another pinch of ground cinnamon if you want more spice.
- Prep Spiders Ahead: The chocolate spiders can be made a day or two in advance and stored in an airtight container at room temperature. This makes assembly a breeze right before serving.
- Web Practice: If you’re nervous about the spiderweb design, practice on a plate first! It’s easier than you think, and even imperfect webs look perfectly spooky.
- Pair with Spooky Treats: This cider is fantastic on its own, but it’s even better with a complementary spooky snack! I often pair it with something fun like these Oreo Eyeball Truffles for a complete Halloween spread.
How to Store Spooky Spider Cider
If you happen to have any leftover (which I doubt!), here’s how to keep it fresh:
- Cool Completely: Before storing, make sure the cider has cooled down completely to room temperature.
- Airtight Container: Transfer the cider (without garnishes) to an airtight pitcher or container.
- Refrigerate: Store in the refrigerator for up to 3-5 days.
- Reheating: When you’re ready for another cozy mug, gently reheat it on the stovetop over low heat until warm, or zap it in the microwave in individual mugs.
FAQs
Q: Can I make this Spooky Spider Cider alcoholic?
A: Absolutely! For an adult twist, add a shot of dark rum, bourbon, or even an apple brandy to individual mugs after the cider is hot. It makes for a delightfully cozy cocktail!
Q: Can I make the cider base ahead of time?
A: Yes, you totally can! Prepare the spiced cider up to 2-3 days in advance, let it cool, and store it in an airtight container in the fridge. When you’re ready to serve, just reheat gently and add your garnishes.
Q: What if I don’t have candy eyeballs for the spiders?
A: No problem! You can use mini chocolate chips, small dots of melted white chocolate with a tiny chocolate chip in the center, or even draw eyes with a food-safe marker on a small piece of white chocolate.
Q: Can I use ground spices instead of whole spices?
A: You can, but use them sparingly. Ground spices will make your cider a bit cloudy and can be overpowering. If you do use them, I recommend putting them in a tea infuser or a cheesecloth sachet so you can easily remove them before serving. Start with about ¼ teaspoon of ground cinnamon and a tiny pinch of ground cloves, then taste and adjust.
For more delicious and spooky recipe inspiration, be sure to follow us on Pinterest!
Spooky Spider Cider
Ingredients
Equipment
Method
- Step 1: Start Your Brew: In a large pot, combine your apple cider, cranberry juice, cinnamon sticks, whole cloves, and if you’re using them, the star anise and brown sugar. Give it a gentle stir.
- Step 2: Simmer to Perfection: Place the pot over medium-low heat and let it simmer ever so gently for about 20-25 minutes. You want it warm and aromatic, but not boiling rapidly. This allows all those wonderful spices to really infuse into the cider.
- Step 3: Finish with Vanilla: Once your cider has had a good, fragrant simmer, take the pot off the heat. Stir in the vanilla extract. This really rounds out the flavors.
- Step 4: Strain and Pour: Carefully remove and discard the cinnamon sticks, cloves, and star anise. Now, pour the warm, spiced cider into your favorite mugs.
- Step 5: Whip Up a Web: Pipe whipped cream in concentric circles on top of each drink. Then, using a toothpick or the tip of a knife, drag lines outwards from the center of the whipped cream to form that classic, eerie spiderweb design.
- Step 6: Assemble Your Spiders: To create your adorable (or spooky) spider garnish, break pretzel sticks into shorter leg-like pieces. Dip these pretzel "legs" into melted chocolate, then quickly attach them and a couple of candy eyeballs to a chocolate truffle or donut hole, forming a spider body. Let them set for a minute or two.
- Step 7: Place and Serve: Carefully place your finished chocolate spiders on the rim of each mug, or directly on top of the whipped cream web. Serve warm and enjoy. Alternatively, if you prefer a cold drink, chill the cider and serve it over ice.