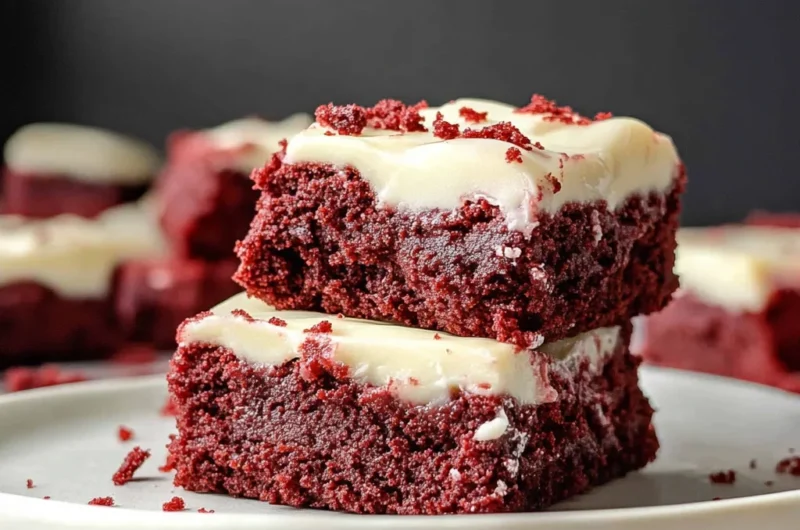
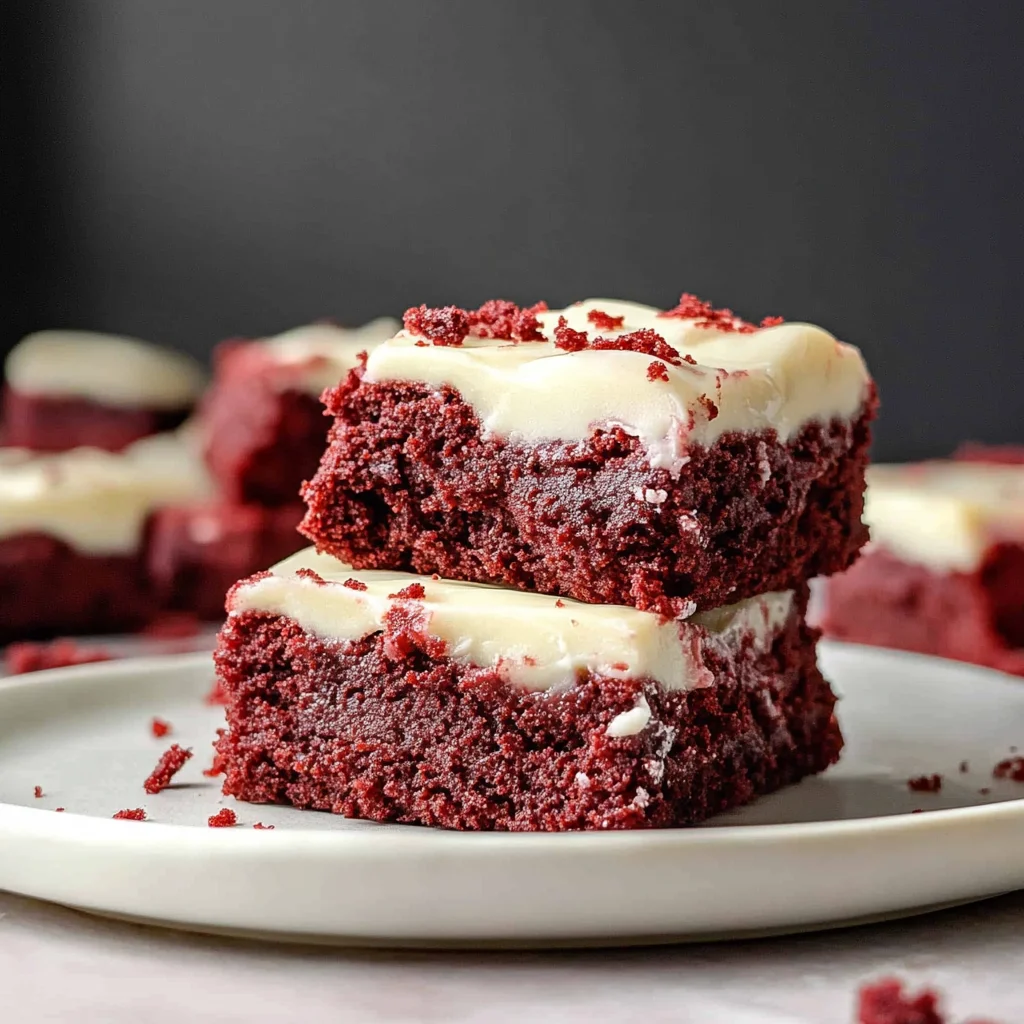
There’s something truly magical about the first bite of a rich, velvety red velvet brownie. It takes me right back to cozy afternoons spent with family, sharing stories and laughter over a homemade treat that’s both indulgent and comforting. If you’re craving a dessert that’s as beautiful as it is delicious, these red velvet brownies are just what you need. Plus, they’re surprisingly easy to make, so you can whip them up quickly and enjoy every luscious bite without fuss.
Whether you’re baking for a special occasion, a holiday gift, or just because you deserve a sweet pick-me-up, this recipe ticks all the boxes. The moist, tender brownie base with a subtle cocoa hint pairs perfectly with a creamy, dreamy cream cheese frosting that melts in your mouth. Trust me, once you try these, you’ll want to keep this recipe in your go-to dessert collection forever.
Why You’ll Love Red Velvet Brownies
- Fast: From mixing to baking, you’ll have these brownies ready in under an hour.
- Easy: No complicated steps or fancy equipment – just simple ingredients you probably already have.
- Giftable: Their gorgeous red hue and classic flavor make them a thoughtful, homemade gift.
- Crowd-pleasing: Perfect for parties, potlucks, or family gatherings where everyone will be asking for seconds.
Ingredients
Before you start, gather all your ingredients to make this process smooth and enjoyable. Here’s what you’ll need:
- Butter (3/4 cup, melted): I like to use salted butter for a little extra flavor, but unsalted works just fine too. For dairy-free options, coconut oil or vegan butter substitutes are great.
- Light brown sugar (3/4 cup): Adds a subtle molasses flavor and moisture to the brownies.
- Granulated sugar (1 cup): Balances sweetness and helps create that perfect texture.
- Eggs (2): These bind everything together and give structure.
- Vanilla extract (1 tbsp): Brings warmth and depth to the flavor.
- Liquid red food coloring (1/2 tsp): The signature red velvet color that makes these brownies pop.
- White vinegar (1 1/2 tsp): Reacts with the baking soda in the cocoa powder to give a tender crumb and slightly tangy flavor.
- Cocoa powder (1/4 cup): Use unsweetened natural cocoa powder for that classic red velvet taste.
- Salt (1/4 tsp): Enhances all the flavors.
- All-purpose flour (1 cup + 3 tbsp): Provides the structure—make sure to measure carefully for perfect texture.
For the cream cheese frosting:
- Cream cheese (4 oz, room temperature): This makes the frosting silky and tangy. You can find dairy-free cream cheese alternatives if needed.
- Butter (1/4 cup, softened): Adds richness and helps with the frosting’s smooth texture.
- Vanilla extract (1/2 tsp): Just a touch to brighten the frosting flavor.
- Salt (a pinch): Balances the sweetness.
- Powdered sugar (1 1/2 to 2 cups): Sweetens and thickens the frosting to your desired consistency.
- Cornstarch (2 tbsp, optional): Especially useful if you’re making a dairy-free frosting to help it hold together better.
How to Make Red Velvet Brownies
Ready to get baking? Follow along step-by-step, and I’ll share a few tips to make this process as smooth as possible.
- Preheat your oven to 350°F (175°C). Line an 8×8 inch square baking pan with parchment paper, leaving a bit of overhang on the sides. This makes lifting the brownies out a breeze once they’re baked and cooled.
- Melt the butter in a small saucepan or microwave. Transfer it to a medium mixing bowl. Add both the light brown sugar and granulated sugar. Whisk these together until the mixture forms a thick paste that pulls away cleanly from the sides of the bowl. This step is key to getting a fudgy texture.
- Mix in the eggs, white vinegar, vanilla extract, and red food coloring. Whisk until everything is combined and the batter is a vibrant red color. The vinegar might sound unusual in a brownie recipe but trust me—it’s what makes red velvet so special.
- Sift in the dry ingredients: cocoa powder, salt, and flour. Stir gently with a whisk or spatula just until combined. Be careful not to overmix here—you want a tender, not tough, brownie.
- Pour the batter into your prepared pan. Use a spatula to scrape every last bit from the bowl and smooth the top evenly.
- Bake for 30 to 40 minutes. Start checking at 30 minutes by inserting a toothpick into the center. It should come out with moist crumbs attached, but not wet batter. The top should develop a beautiful crinkly crust. This texture is what makes these brownies so irresistible!
- Let the brownies cool completely in the pan on a wire rack. This cooling time is important because it lets the brownies set so your frosting doesn’t melt when applied.
- Prepare the cream cheese frosting: Beat together the room temperature cream cheese, softened butter, salt, and vanilla extract until completely smooth and creamy.
- Gradually add the powdered sugar, beating well after each addition. Adjust the sweetness and thickness to your liking. If you’re making a dairy-free version, add cornstarch to help thicken the frosting and give it a lovely spreadable consistency.
- Chill the frosting until you’re ready to frost the brownies. Either spread it over the completely cooled brownies or keep it refrigerated and frost just before serving to maintain freshness.
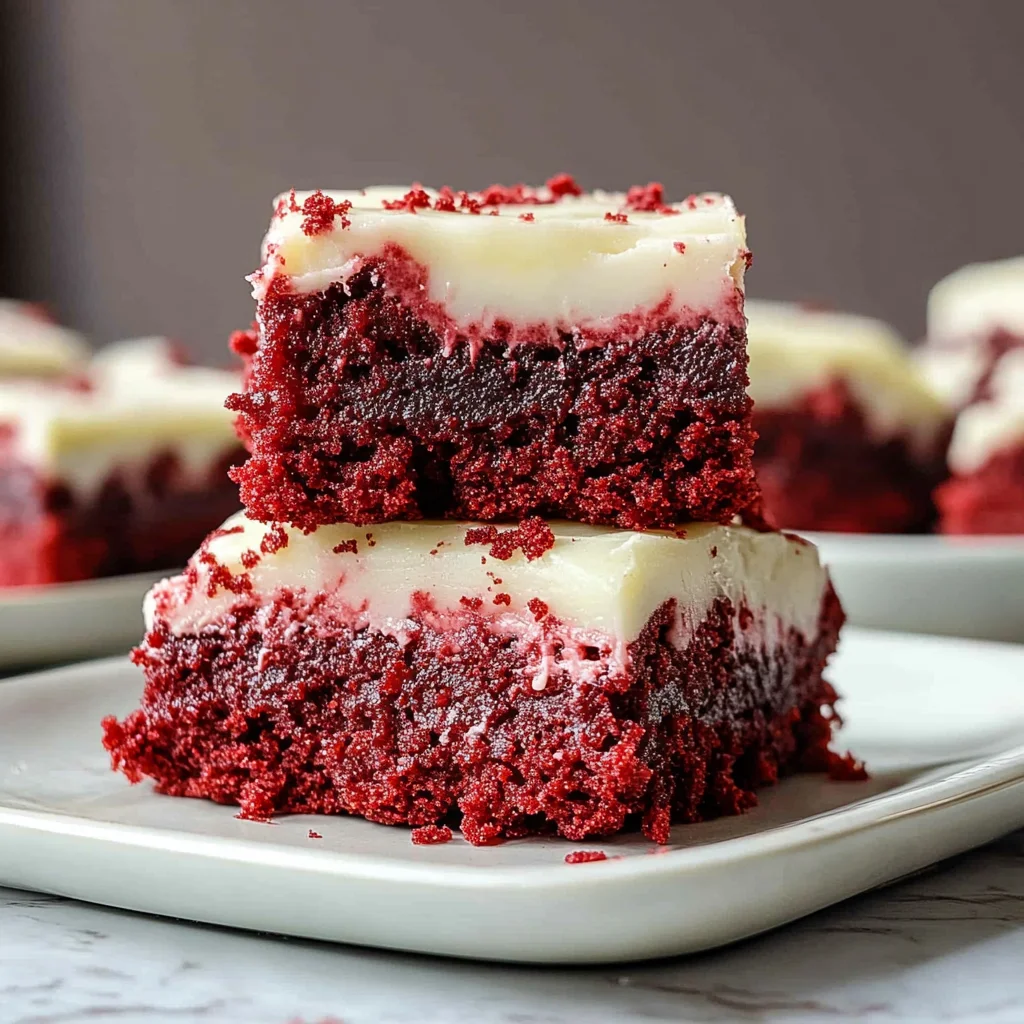
Once frosted, slice these brownies into squares and watch the smiles light up the room. The combination of that classic red velvet flavor and creamy frosting is simply unforgettable.
Substitutions & Additions
If you want to customize this recipe or accommodate dietary needs, here are some ideas to make these brownies your own:
- Dairy-free options: Swap butter and cream cheese for plant-based alternatives. I recommend using vegan butter and a dairy-free cream cheese to keep the rich taste and texture intact.
- Natural food coloring: If you prefer to avoid artificial dyes, beet juice or powder can be a beautiful natural alternative that still gives you that vibrant red color.
- Add mix-ins: Chocolate chips, white chocolate chunks, or even chopped pecans can add delightful texture and flavor. I love adding a handful of white chocolate chips for extra sweetness.
- Swirl it up: Try swirling some extra cream cheese frosting into the brownie batter before baking for a marbled red velvet cheesecake brownie effect.
- Flavor twists: Add a teaspoon of instant espresso powder to the batter for a mocha undertone that pairs wonderfully with the cocoa.
Tips for Success
Making brownies might sound straightforward, but a few insider tips can take your baking from good to amazing:
- Measure flour carefully. Too much flour can make your brownies dry. I suggest spooning the flour into the measuring cup and leveling it off rather than scooping directly with the cup.
- Don’t overmix. Once you add the dry ingredients, stir just until combined to keep the brownies tender.
- Watch your oven temperature. Oven heat varies, so start checking your brownies at 30 minutes to avoid overbaking. You want moist crumbs on your toothpick, never wet batter.
- Use parchment paper with overhang. This makes removing the brownies from the pan effortless and keeps the edges clean.
- Frost when completely cool. Warm brownies will melt the frosting and make a mess.
- Chill frosting if needed. If it gets too soft, pop it in the fridge for 10–15 minutes before spreading.
- Prep ahead: You can bake the brownies a day ahead and store them covered at room temperature. Frost just before serving for the freshest taste.
How to Store Red Velvet Brownies
Proper storage keeps your brownies moist and tasty for days. Here’s how I recommend storing them:
- Room temperature: Unfrosted brownies can be stored in an airtight container at room temperature for up to 3 days.
- Refrigerated: Once frosted, store the brownies covered in the fridge to keep the cream cheese frosting fresh. They will stay good for about 5 days.
- Freezing: For longer storage, you can freeze unfrosted brownies wrapped tightly in plastic wrap and foil for up to 3 months. Thaw overnight in the refrigerator, then frost before serving.
If you’re looking for other cozy dessert ideas to enjoy alongside these brownies, you might want to check out the simple chocolate dump cake recipe on FoodTD. It’s another quick and delicious treat that’s perfect for any occasion.
FAQs
Can I use natural cocoa powder instead of Dutch-processed?
Absolutely! This recipe is designed with natural cocoa powder in mind, which reacts with the vinegar to create that classic red velvet flavor and texture. Dutch-processed cocoa is less acidic and might affect the color and rise slightly.
What if I don’t have red food coloring?
You can try beet juice or beet powder as a natural alternative, but keep in mind it might slightly alter the flavor and color. If you skip the coloring altogether, you’ll still have delicious chocolate brownies without the signature red hue.
Can I make these brownies gluten-free?
Yes! Replace the all-purpose flour with a gluten-free flour blend that measures cup-for-cup. Make sure your blend contains xanthan gum for structure. The texture might be a little different but still delicious.
How thick should the cream cheese frosting be?
The frosting should be thick enough to spread easily without running off the brownies. If it’s too thin, add a little more powdered sugar or cornstarch (especially for dairy-free versions) until you reach the perfect consistency.
If you’re loving these red velvet brownies and want to explore even more fun and delicious recipes, you can find tons of inspiration on FoodTD. From cozy soups like the creamy tortellini soup to sweet treats like Oreo eyeball truffles, there’s something for every craving.
Happy baking, and don’t forget to share the love with friends and family—these brownies are the perfect way to brighten anyone’s day!
For more tasty recipes and kitchen inspiration, be sure to follow us on Pinterest.
Decadent Red Velvet Brownies
Ingredients
Equipment
Method
- Step 1: Preheat your oven to 350°F (175°C). Line an 8×8 inch square baking pan with parchment paper, leaving overhang on sides for easy removal.
- Step 2: Melt butter in a small saucepan or microwave. Transfer to a medium mixing bowl. Add light brown sugar and granulated sugar, whisk until thick paste forms and pulls from sides.
- Step 3: Mix in eggs, white vinegar, vanilla extract, and red food coloring. Whisk until combined and batter is vibrant red.
- Step 4: Sift in cocoa powder, salt, and flour. Gently fold with whisk or spatula until just combined. Do not overmix.
- Step 5: Pour batter into prepared pan. Smooth top evenly with spatula.
- Step 6: Bake for 30 to 40 minutes. Check at 30 minutes with toothpick; it should come out with moist crumbs but no wet batter. Surface should have a crinkly crust.
- Step 7: Let brownies cool completely in pan on wire rack before frosting.
- Step 8: Prepare cream cheese frosting by beating cream cheese, softened butter, salt, and vanilla extract until smooth and creamy.
- Step 9: Gradually add powdered sugar, beating after each addition until desired sweetness and thickness. For dairy-free frosting, add cornstarch for better consistency.
- Step 10: Chill frosting until ready to use. Spread over completely cooled brownies or refrigerate frosting and apply just before serving.