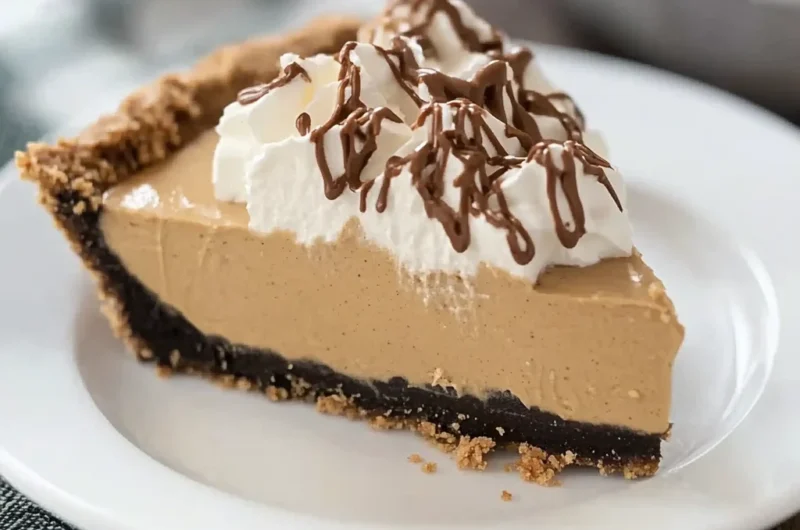
There’s something truly comforting about a slice of peanut butter pie that just takes you back to those cozy family gatherings or carefree summer evenings. Maybe it’s the creamy texture, the luscious peanut butter flavor, or the ease of making it without turning on the oven. Whatever it is, this No Bake Peanut Butter Pie has a way of wrapping you up in a warm, nostalgic hug with every bite. And the best part? It’s incredibly simple to whip up, making it perfect for those moments when you want a memorable dessert but don’t want to spend hours in the kitchen.
I remember the first time I made this pie for a potluck. Everyone asked for seconds, and soon enough, I had to jot down the recipe to share with friends and family. It’s a real crowd-pleaser, and I bet it’ll become one of your go-to desserts too. Whether you’re a peanut butter fanatic or just looking for a quick, no-fuss pie, this recipe is made for you.
Why You’ll Love No Bake Peanut Butter Pie
- Fast: Ready in under 10 minutes of prep time, then just chill.
- Easy: No baking skills required! Just mix, fold, and refrigerate.
- Giftable: Perfect for sharing with neighbors, friends, or as a sweet surprise.
- Crowd-pleasing: The creamy peanut butter filling and chocolate crust combo is a guaranteed hit.
Ingredients
Before you get started, here’s what you’ll need. Each ingredient plays a special role in making this pie creamy, rich, and utterly delicious:
- 1 chocolate graham cracker crust: This forms the perfect chocolatey base with a slight crunch that contrasts beautifully with the creamy filling.
- 8 oz cream cheese, at room temperature: Cream cheese adds a tangy richness and helps create that silky smooth texture.
- ½ cup sugar: Just enough sweetness to balance the peanut butter without overpowering it.
- 1 cup creamy peanut butter: The star of the show! Creamy peanut butter ensures every bite melts in your mouth.
- 1 teaspoon vanilla extract: Adds warmth and depth of flavor.
- 8 oz frozen whipped topping, thawed: Lightens the filling, giving it a fluffy, airy texture.
- Whipped cream (optional): For serving, to add an extra touch of indulgence.
Whenever I make this pie, I always make sure my cream cheese is softened to room temperature. It makes the mixing process so much easier and results in a lump-free, smooth filling. And if you’re a fan of a bit more chocolate, you can always sprinkle some chocolate shavings or mini peanut butter cups on top for an extra treat.
How to Make No Bake Peanut Butter Pie
Now, let’s get into the heart of it: making this dreamy pie. Don’t worry, I’ll walk you through each step so it’s smooth sailing from start to finish.
- Beat the cream cheese and sugar: Grab a large mixing bowl and use a hand mixer or stand mixer. Beat the room temperature cream cheese and sugar together until the mixture is smooth and creamy. This step is key to getting a silky texture without any lumps.
- Add peanut butter and vanilla extract: Next, add the creamy peanut butter and vanilla extract to the bowl. Beat everything together until fully combined. You’ll start to see that luscious peanut buttery color and smell that irresistible nutty aroma filling your kitchen.
- Fold in the whipped topping: Now, gently fold in the thawed whipped topping. This is where the pie gets its light and fluffy texture. Be careful not to overmix—fold just enough to combine.
- Spread into the crust: Pour the peanut butter mixture into the chocolate graham cracker crust. Use a spatula to spread it evenly, smoothing the top for a pretty finish.
- Chill to set: Place the pie in the refrigerator for at least 4 hours (overnight is even better if you have time). This step helps the pie firm up so it slices perfectly.
- Serve and enjoy: When you’re ready to serve, add a dollop of whipped cream if you like. It’s the perfect light topping to complement the rich peanut butter filling.
If you’re looking for a fun twist on this classic, check out the No Bake Amish Peanut Butter Pie recipe for a slightly different take with a nostalgic flair. Or if you want a no-bake dessert but feel like switching things up, the Easy No Bake Martha Washington Candy is a delightful treat that’s just as simple to make.
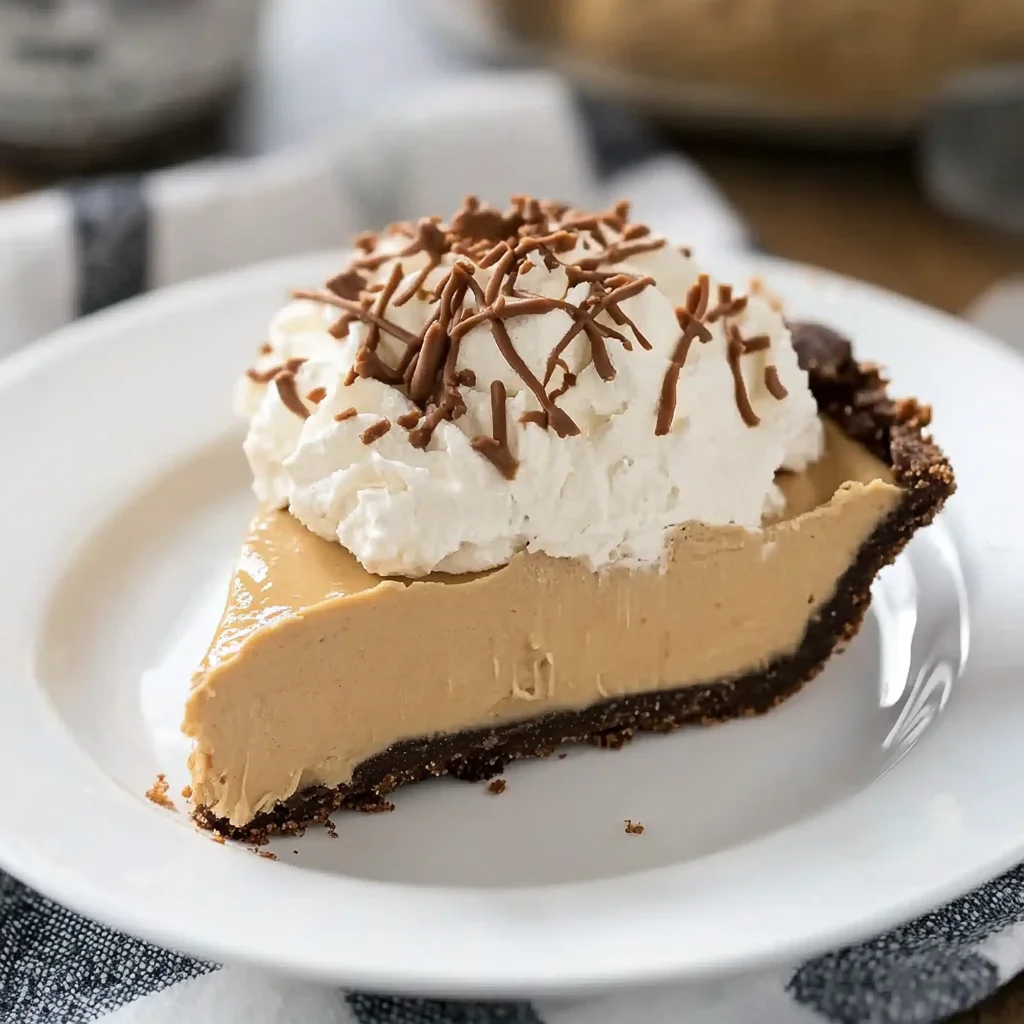
Substitutions & Additions
One of the things I love about this pie is how adaptable it is. Here are some substitutions or additions to make it your own or cater to dietary needs:
- Crust swap: Use a regular graham cracker crust or even a crushed cookie crust like Oreos for a different flavor profile.
- Peanut butter alternatives: If you’re allergic to peanuts, almond butter or sunflower seed butter works beautifully in this recipe.
- Sweetener changes: Swap granulated sugar for powdered sugar for a smoother filling, or use honey or maple syrup for a natural sweetness (adjust the amount to taste).
- Whipped topping substitute: Freshly whipped heavy cream can be used instead of frozen whipped topping for a fresher, homemade touch.
- Add some crunch: Fold in chopped peanuts, chocolate chips, or swirl in some melted chocolate or caramel before chilling.
- Chocolate lovers’ dream: Add a layer of ganache on top or drizzle chocolate syrup before serving for an extra decadent experience.
For a seasonal twist, try folding in a handful of mini candy-coated chocolates or crushed peppermint candies around the holidays. It’s a fun way to celebrate festive flavors without much extra effort.
Tips for Success
Here are some of my best tips to help you make the perfect No Bake Peanut Butter Pie, every single time:
- Soften your cream cheese: Take it out of the fridge about 30 minutes before you start to ensure it mixes smoothly.
- Don’t rush the chilling time: The pie needs at least 4 hours to set properly. If you cut it too soon, it might be too soft to slice nicely.
- Fold, don’t beat: When adding the whipped topping, gently fold it in to keep the airy texture intact.
- Prep ahead: This pie is a fantastic make-ahead dessert. You can prepare it the day before your event and keep it refrigerated until serving.
- Use a sharp knife: For clean slices, dip your knife in hot water and wipe it dry between cuts.
I often make this pie on busy weekends or when I’m hosting friends and want a no-fuss dessert that still feels special. It’s one of those recipes you can rely on to bring smiles without stress.
How to Store No Bake Peanut Butter Pie
Proper storage will keep your No Bake Peanut Butter Pie fresh and delicious for days. Here’s what you need to know:
- Refrigeration: Store the pie covered in the fridge. Use plastic wrap or a pie keeper to protect it from absorbing other fridge odors.
- Shelf life: The pie stays fresh for up to 4-5 days refrigerated. Beyond that, the texture may start to change.
- Freezing: You can freeze the pie for up to 1 month. Wrap it tightly in plastic wrap and then foil. Thaw in the fridge overnight before serving.
If you plan to serve this for a special occasion, making it a day ahead and storing it properly will save you last-minute kitchen chaos. Plus, chilling it overnight really helps the flavors meld beautifully.
FAQs
Can I use crunchy peanut butter instead of creamy?
Absolutely! Crunchy peanut butter will add a nice texture contrast with little peanut bits throughout the pie. Just be aware it might change the smoothness slightly, but it’s delicious either way.
Do I have to use a chocolate crust?
Not at all. While a chocolate graham cracker crust adds a lovely flavor pairing, you can use a traditional graham cracker crust or even a cookie crust like Oreo for a different vibe.
Can I make this pie vegan or dairy-free?
Yes! Use vegan cream cheese and dairy-free whipped topping substitutes. Also, choose a crust that’s free from animal products. There are great plant-based peanut butters and cream cheese alternatives nowadays that work wonderfully in this recipe.
How long should I let the pie chill?
For best results, chill for at least 4 hours. Overnight chilling is ideal because it allows the flavors to meld and the pie to firm up to the perfect sliceable consistency.
Now that you have this simple yet unforgettable no bake dessert recipe, I hope you’ll give it a try soon. It’s perfect to pair with a cozy soup or even a light dinner. For example, after enjoying a comforting bowl of creamy tortellini soup, this pie makes a sweet finale that everyone will love. And if you’re planning a fun Halloween party, you’ll find some spooky treats like Oreo eyeball truffles to keep your dessert table exciting!
Thanks for spending time in the kitchen with me today. This no bake peanut butter pie is truly a gem that’s easy to make, delightful to eat, and wonderful to share. Happy baking (or rather, no-baking)!
Don’t forget to follow us on Pinterest for more delicious recipes and kitchen inspiration!
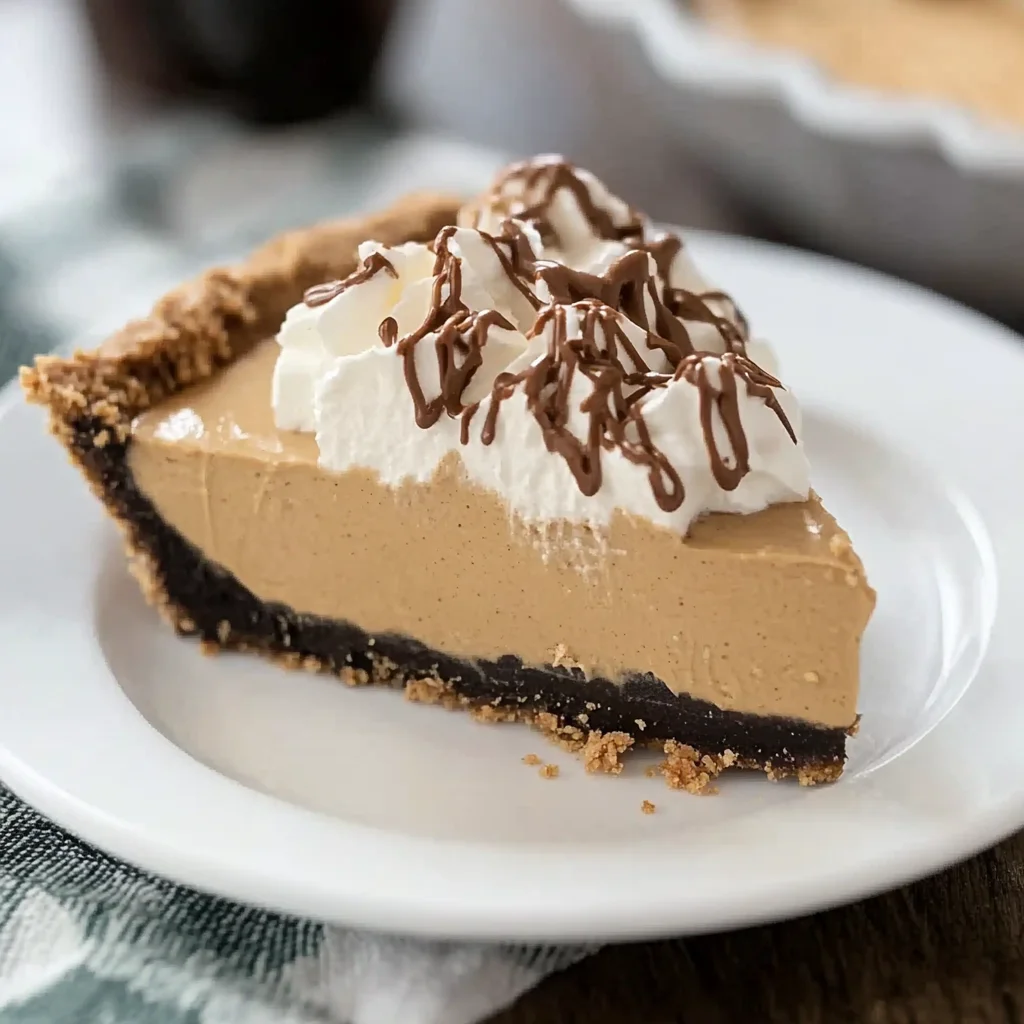
No Bake Peanut Butter Pie
Ingredients
Equipment
Method
- Step 1: In a large mixing bowl, beat the cream cheese and sugar together using a hand mixer or stand mixer until smooth and creamy.
- Step 2: Add the creamy peanut butter and vanilla extract to the bowl. Beat until fully combined and smooth.
- Step 3: Gently fold in the thawed whipped topping until just combined, being careful not to overmix.
- Step 4: Pour the peanut butter filling into the chocolate graham cracker crust. Spread evenly with a spatula and smooth the top.
- Step 5: Refrigerate the pie for at least 4 hours to allow it to set properly. Overnight chilling is recommended for best results.
- Step 6: Serve chilled, optionally topped with whipped cream for an extra touch of indulgence.