There’s something truly magical about Easter treats that bring back childhood memories of hunting for colorful eggs hidden in the grass, the excitement of tiny surprises tucked inside, and the joy of sharing sweets with loved ones. If you’ve ever wished to capture that feeling in a simple, homemade dessert, these Easter Egg Oreo Balls are your answer. They’re not just adorable and festive—they’re incredibly easy to make, quick to prepare, and absolutely delicious. Whether you’re planning a family gathering, looking for a fun project with the kids, or want a giftable treat to brighten someone’s day, these Oreo balls will become a memorable staple in your holiday celebrations.
I remember the first time I made these for Easter. Watching the Oreo crumbs transform with cream cheese into a smooth, moldable dough felt almost like magic. Then dipping those little egg-shaped bites into pools of pastel candy melts brought out my inner child, reminding me of decorating Easter eggs but with a much tastier reward at the end! Plus, they’re a fantastic bite-sized treat that everyone loves, no matter their age. If you’re ready, let me walk you through every step to make your own batch of these irresistible Easter Egg Oreo Balls.
Why You’ll Love Easter Egg Oreo Balls
- Fast: From start to finish, you can have these ready in under an hour, including chilling time.
- Easy: No fancy baking skills required—just some mixing, shaping, and dipping.
- Giftable: Wrapped in pretty bags or boxes, these make perfect Easter gifts or party favors.
- Crowd-pleasing: Oreo fans and candy lovers alike will be calling for seconds.
These little treats are the perfect blend of creamy, crunchy, and colorful. If you love the classic Oreo flavor but want to step up your dessert game, these balls are a must-try. You can even customize the colors and decorations to suit any spring theme or party vibe.
Ingredients
Let’s talk about what you’ll need to gather before we dive in:
- 36 Oreo cookies: The star of the show! I always use the classic Oreo, but feel free to experiment with other varieties if you want a twist.
- 8 oz cream cheese, softened: This adds that creamy richness and helps bind the crumbs together into a perfect dough. Make sure it’s softened to room temperature for easy mixing.
- 16 oz candy melts in assorted pastel colors: These melts are perfect for coating your Oreo eggs in beautiful spring shades. You can find them in most craft stores or online, and they melt quickly and smoothly for dipping.
- Sprinkles, edible glitter, and decorations: Here’s where you get to be creative! Choose pastel sprinkles, edible glitter, or even small candy pearls to give your Easter Egg Oreo Balls that extra festive sparkle.
Pro tip: If you don’t have candy melts, white chocolate chips work well too, and you can tint them with food coloring designed for candy or chocolate.
How to Make Easter Egg Oreo Balls
Ready to get started? Here’s a step-by-step guide to make these charming treats:
- Crush the Oreo cookies: Place your Oreos in a food processor and pulse until you get fine crumbs. If you don’t have a processor, no worries! Put the cookies in a large zip-top bag and crush them with a rolling pin until finely ground. I find the food processor a bit faster and less messy, but both work great.
- Mix Oreo crumbs with cream cheese: In a mixing bowl, combine the Oreo crumbs with the softened cream cheese. Use a spoon or your hands to mix until you have a smooth, uniform dough. This might take a few minutes to get everything evenly combined. It should feel like a soft, pliable dough that holds together well.
- Shape into egg shapes: Scoop out small portions of the mixture and roll them in your palms, then gently shape into little eggs. The size can vary, but I usually aim for about 1 to 1.5 inches long so they’re perfect bite-sized. Place each shaped egg on a parchment-lined baking sheet as you go.
- Freeze: Pop the tray of shaped eggs into the freezer for 20-30 minutes. This helps them firm up so they don’t fall apart when you dip them into the melted candy.
- Melt candy melts: While your Oreo eggs chill, melt the candy melts in separate bowls if you’re using different colors. You can do this in the microwave in 30-second bursts, stirring in between, until smooth. Be careful not to overheat, or the candy can seize up.
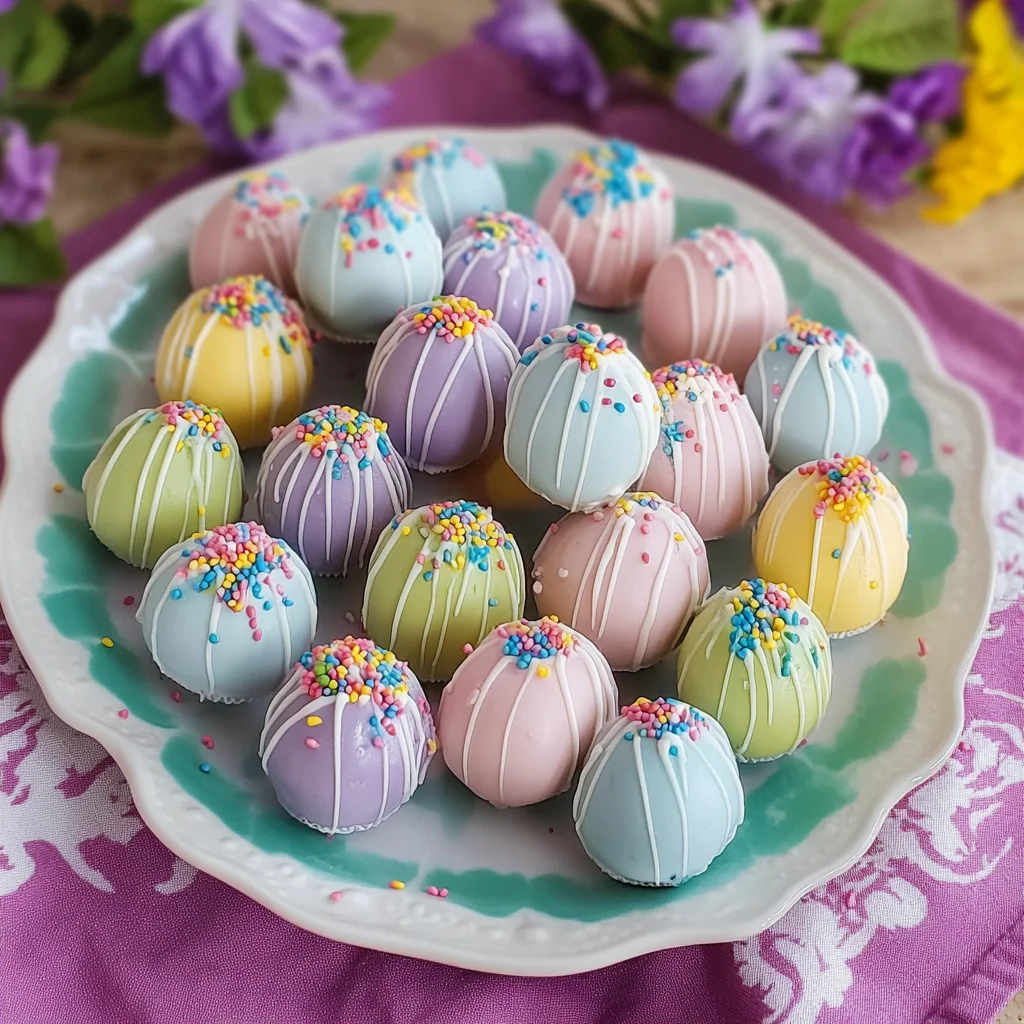
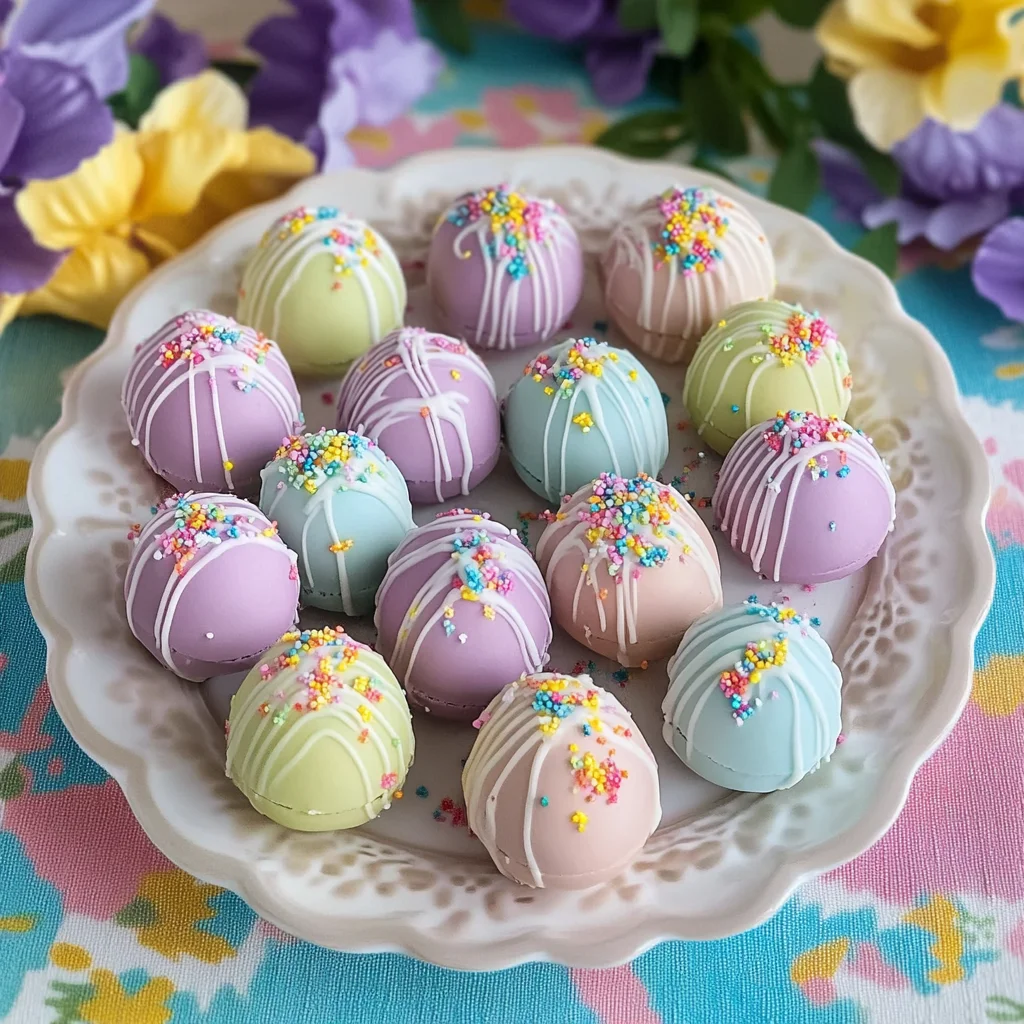
- Dip and decorate: Once the eggs are firm, use a fork or dipping tool to lower each egg into the melted candy melts, fully coating them. Let the excess drip off, then place them back on the parchment paper. While the coating is still wet, sprinkle on your decorations like sprinkles, edible glitter, or drizzle with a contrasting candy melt color to create fun patterns.
- Set and serve: Allow the candy coating to harden at room temperature or pop them in the fridge to speed things up. Once set, your Easter Egg Oreo Balls are ready to enjoy or package up for gifting!
I love how satisfying it is to see those smooth, shiny candy shells sparkle with sprinkles. If you’re a fan of creative sweets, you might want to check out other festive treats like these Oreo Eyeball Truffles for a spooky twist during Halloween!
Substitutions & Additions
One of the best things about this recipe is how flexible it is. Here are some ideas to make it your own or adapt based on what you have:
- Cookie variety: Swap out classic Oreos for Golden Oreos or flavored versions like mint or peanut butter Oreos for a new taste experience.
- Cream cheese alternatives: For a lighter or dairy-free option, try using mascarpone or a vegan cream cheese substitute. The texture might vary slightly but still delicious!
- Chocolate coating: If you prefer, use high-quality white chocolate or milk chocolate instead of candy melts. You can tint white chocolate with oil-based food coloring suitable for chocolate.
- Decorations: Go beyond sprinkles and edible glitter—try crushed freeze-dried raspberries, shredded toasted coconut, or mini chocolate chips for added texture and flavor.
- Flavor twists: Add a teaspoon of vanilla extract or a pinch of cinnamon to the Oreo-cream cheese mixture for a subtle but delightful flavor boost.
Feeling inspired? You might also enjoy pairing these Oreo balls with a cozy drink like the Easy Hocus Pocus Punch for a festive and colorful party spread!
Tips for Success
Making these Oreo balls is pretty straightforward, but a few little tips can help you get perfect results every time:
- Don’t skip softening the cream cheese: If your cream cheese is cold, it won’t mix well with the crumbs and can leave lumps. Let it sit at room temperature for 30 minutes before mixing.
- Freeze before dipping: This is key! If you try dipping right away, the balls may fall apart in the warm candy melts.
- Work quickly when decorating: Candy melts set fast, so have your sprinkles and decorating tools ready before you start dipping.
- Use parchment paper or silicone mats: This prevents sticking and makes cleanup a breeze.
- Prep ahead: You can make the Oreo mixture and shape the eggs up to 2 days ahead. Keep them frozen until ready to dip.
For a fun Easter baking day, set up a decorating station with different colored melts and toppings. Kids especially love this part, and it turns into a creative family activity. If you’re interested in more hands-on treats, you might want to explore other no-bake delights like the Easy No-Bake Martha Washington Candy.
How to Store Easter Egg Oreo Balls
Once you’ve made your beautiful Oreo eggs, you’ll want to keep them fresh and tasty. Here’s how to store them properly:
- Refrigeration: Store the Oreo balls in an airtight container in the fridge. They’ll stay fresh for up to one week. The cool temperature helps keep the cream cheese filling firm and the candy coating crisp.
- Freezing: You can freeze these treats for up to 3 months. Place them on a parchment-lined tray to freeze individually, then transfer to a freezer-safe container or bag. Thaw in the fridge overnight before serving.
- Avoid humidity: Candy melts can sometimes sweat if exposed to humidity, which may cause a dull finish. Keep them in a cool, dry place when serving.
When you’re ready to serve, bringing them to room temperature for about 10 minutes will soften the cream cheese center just enough for a delightful bite.
FAQs
Q: Can I use a different type of cookie instead of Oreos?
A: Absolutely! Chocolate wafer cookies or even crushed graham crackers mixed with cocoa powder can work, but Oreos give the best classic flavor and texture.
Q: What if I don’t have a food processor?
A: No problem! Just crush the Oreos in a sealed plastic bag with a rolling pin or the bottom of a heavy pan. It might take a little extra elbow grease, but it works just as well.
Q: How do I prevent the candy coating from cracking?
A: Make sure the Oreo balls are well chilled before dipping and avoid applying too thick a layer of candy melts. Also, don’t handle them too much while the coating sets.
Q: Can I make these without cream cheese?
A: Cream cheese is what binds the crumbs and adds creaminess, so leaving it out will affect the texture. You could try sweetened condensed milk as a binder, but results may differ.
If you enjoy making easy, no-fuss desserts like these Oreo balls, you might love exploring other quick sweet recipes like the Simple Chocolate Dump Cake for your next cozy baking day.
Thanks so much for stopping by and baking with me today! If you want to keep the inspiration flowing, don’t miss out on our collection of seasonal and everyday recipes at FoodTD. There’s always something new to try, from hearty dinners to sweet treats.
For more creative recipes and festive ideas, be sure to follow us on Pinterest and keep your kitchen full of inspiration all year round!
Delightfully Easy Easter Egg Oreo Balls
Ingredients
Equipment
Method
- Step 1: Crush the Oreo cookies into fine crumbs using a food processor or by placing them in a zip-top bag and crushing with a rolling pin.
- Step 2: In a mixing bowl, combine the Oreo crumbs with softened cream cheese until a smooth, uniform dough forms.
- Step 3: Scoop and roll the mixture into small egg-shaped balls about 1 to 1.5 inches long. Place on a parchment-lined baking sheet.
- Step 4: Freeze the shaped eggs for 20-30 minutes to firm up before dipping.
- Step 5: Melt candy melts in microwave-safe bowls in 30-second bursts, stirring until smooth.
- Step 6: Dip each frozen egg into the melted candy melts using a fork or dipping tool, fully coating them. Let excess drip off and place back on parchment paper.
- Step 7: While coating is wet, decorate with sprinkles, edible glitter, or drizzle with contrasting candy melts for patterns.
- Step 8: Allow candy coating to harden at room temperature or refrigerate to set faster before serving or packaging.