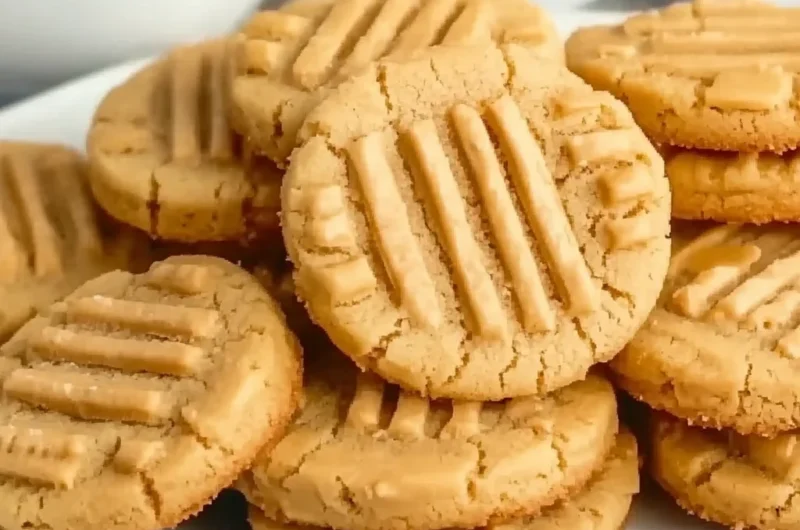
Hey there, baking buddies! Do you remember those classic Nutter Butter cookies from your childhood? The ones with the irresistible peanut butter flavor, those iconic ridged patterns, and that creamy, dreamy filling? Oh, just thinking about them transports me back to school lunchboxes and after-school snacks. There’s just something so comforting and familiar about them, isn’t there? Well, what if I told you that you can recreate that nostalgic magic right in your own kitchen, and it’s surprisingly easy? Forget store-bought; these homemade Copycat Nutter Butter Cookies are not only simple to whip up, but they taste even better than the original. Get ready to bake up some serious happiness!
Why You’ll Love Copycat Nutter Butter Cookies
- Fast: From mixing bowl to cookie jar in under an hour!
- Easy: No fancy equipment, just straightforward steps anyone can follow.
- Giftable: They make the perfect sweet treat to share with friends and family.
- Crowd-pleasing: Who doesn’t love a good peanut butter cookie, especially when it’s a sandwich?
Ingredients
These ingredients are probably already hanging out in your pantry, waiting to be transformed into pure peanut butter bliss!
- For the Cookies:
- 1/2 cup unsalted butter, softened: The base for that rich, tender cookie texture. Make sure it’s nice and soft, not melted!
- 1/2 cup creamy peanut butter: The star of the show! Use your favorite creamy variety.
- 1/2 cup granulated sugar: For sweetness and a little crispness.
- 1/2 cup brown sugar: Adds a deeper, molasses-rich flavor and keeps the cookies wonderfully chewy.
- 1 large egg: Helps bind everything together and adds richness.
- 1 teaspoon vanilla extract: A touch of warmth and flavor that complements the peanut butter beautifully.
- 1 1/4 cups all-purpose flour: Our structural hero.
- 3/4 teaspoon baking soda: Helps our cookies rise just right.
- 1/4 teaspoon salt: Balances the sweetness and enhances all those delicious flavors.
- Granulated sugar, for topping: For that signature sparkle and a little extra crunch!
- For the Filling:
- 1/2 cup creamy peanut butter: Double the peanut butter, double the fun! This makes the filling extra decadent.
- 1/4 cup unsalted butter, softened: For a smooth, creamy filling that holds its shape.
- 1 cup powdered sugar: Gives the filling its classic sweet, melt-in-your-mouth texture.
- 1 teaspoon vanilla extract: Another splash of vanilla to tie the flavors together.
- 1–2 tablespoons milk, as needed: To achieve that perfect spreadable consistency. Start with one and add more if you need to!
How to Make Copycat Nutter Butter Cookies
Ready to get your hands a little bit peanut buttery? Let’s dive in!
1. Get Ready to Bake! First things first, preheat your oven to 350°F (175°C). Then, grab a baking sheet and line it with parchment paper. This makes for easy cleanup and prevents sticking – nobody wants a stuck cookie! For another delicious and simple sweet treat, don’t miss our Simple Chocolate Dump Cake Recipe.
2. Cream the Wet Ingredients: In a large mixing bowl, combine your softened unsalted butter, 1/2 cup creamy peanut butter, 1/2 cup granulated sugar, and brown sugar. Beat these together with an electric mixer (or a strong arm!) until the mixture is beautifully light and fluffy. This step is key for a tender cookie!
3. Add the Egg & Vanilla: Next, crack in that large egg and pour in the vanilla extract. Mix everything until it’s thoroughly combined. Scrape down the sides of the bowl to make sure everything is incorporated evenly.
4. Whisk the Dry Ingredients: In a separate, medium-sized bowl, whisk together your all-purpose flour, baking soda, and salt. Giving them a good whisk ensures that the leavening and salt are distributed evenly throughout the dough.
5. Combine Wet and Dry: Now, gradually add the dry ingredients to your wet mixture. Mix on low speed until a cohesive dough forms. Be careful not to overmix here – just until everything comes together!
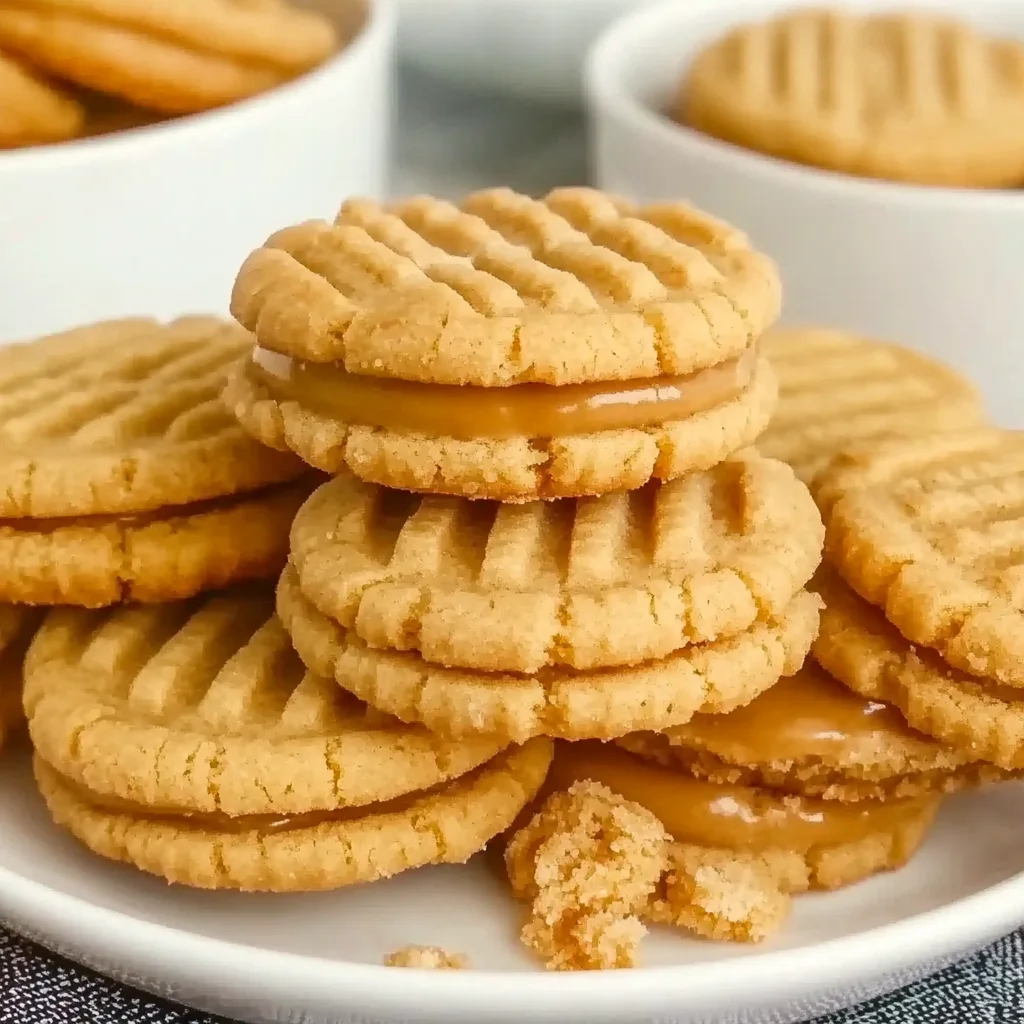
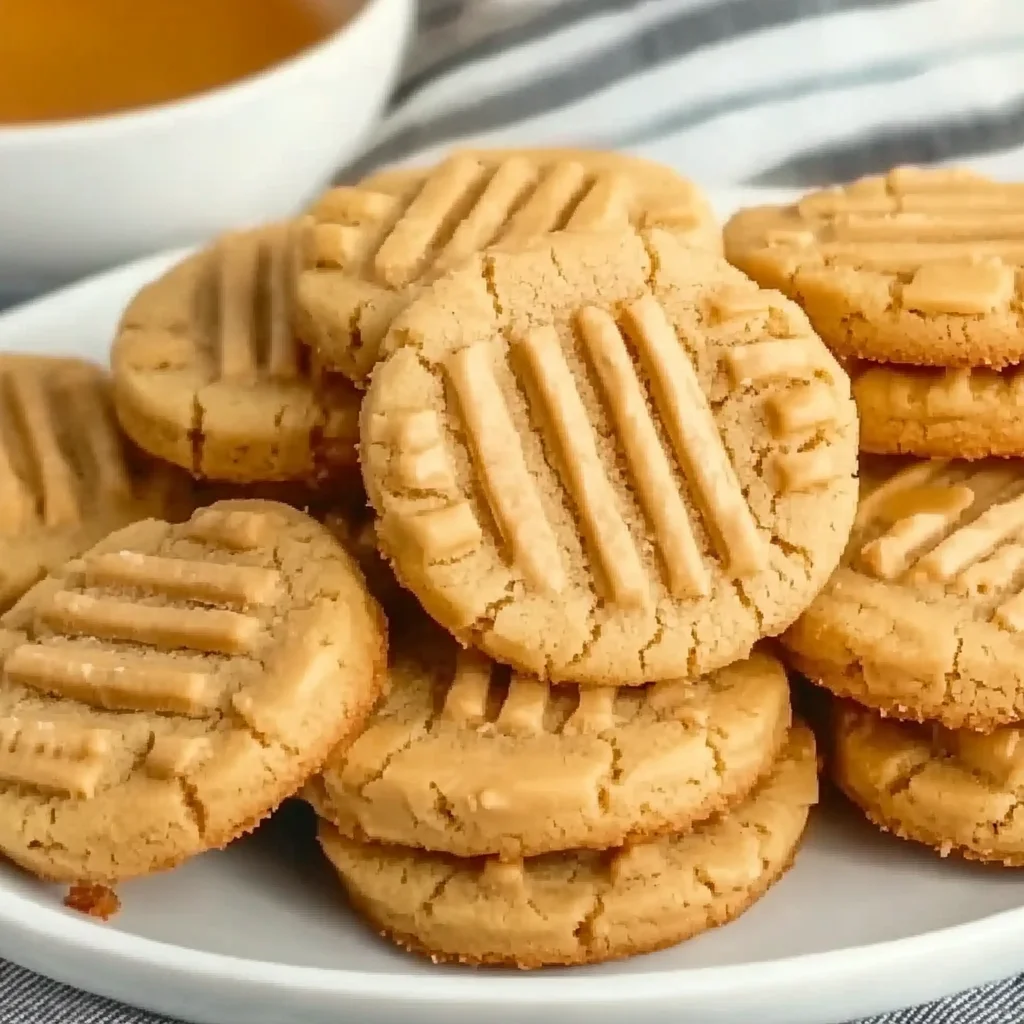
6. Shape Those Iconic Cookies: This is where the fun really begins! Roll the dough into small, 1-inch balls. Then, gently shape each ball into an oval – this is what gives them that classic Nutter Butter look. Flatten them slightly. Now, for the signature touch: take a fork and press it onto each cookie twice, creating that perfect crosshatch pattern. Before baking, lightly sprinkle the tops with a little extra granulated sugar for a lovely sparkle and a bit of extra sweetness.
7. Bake to Golden Perfection: Pop your cookies into the preheated oven and bake for 8–10 minutes. You’re looking for edges that are lightly golden. Every oven is a little different, so keep an eye on them! Once baked, remove them from the oven and let them cool completely on the baking sheet. They’ll be delicate when warm, so patience is a virtue here!
8. Whip Up the Filling: While your cookies are cooling down, it’s time to make that glorious peanut butter filling. In a medium bowl, beat together the remaining 1/2 cup creamy peanut butter and softened unsalted butter until it’s wonderfully smooth and creamy.
9. Sweeten the Filling: Add the powdered sugar and 1 teaspoon vanilla extract to your peanut butter and butter mixture. Beat it again until it’s perfectly creamy and lump-free.
10. Achieve Perfect Consistency: Here’s my personal tip: add the milk one tablespoon at a time, mixing after each addition, until you reach your desired spreadable consistency. You want it smooth and easy to spread, but not runny. If you’re a peanut butter fanatic like me, you might also swoon over our No-Bake Amish Peanut Butter Pie – another incredible way to enjoy this beloved flavor!
11. Assemble Your Sandwich Cookies: Once your cookies are completely cool, it’s assembly time! Spread or pipe a generous amount of filling onto the flat side of one cookie. Then, gently top it with another cookie to create a delicious sandwich. Repeat this magical process with all your remaining cookies. Now, stand back and admire your homemade masterpieces!
Substitutions & Additions
Feel free to get creative with these! After all, it’s your kitchen and your cookies!
- Peanut Butter Power-Up: For an even more intense peanut butter flavor in the cookies, you could try using crunchy peanut butter in the dough for a delightful texture contrast (though the filling should definitely stay creamy!).
- Chocolate Drizzle: Once assembled, melt some chocolate chips and drizzle them over your finished cookies for an extra touch of decadence.
- Nutella Swap: Feeling adventurous? You could try swapping out some of the peanut butter in the filling for Nutella for a chocolate-hazelnut twist.
- Spice it Up: A pinch of cinnamon or nutmeg in the cookie dough could add a warm, cozy note.
- Mini Cookies: Make smaller cookies for bite-sized treats perfect for parties or little hands.
Tips for Success
- Softened Butter is Key: For both the cookies and the filling, ensure your butter is truly softened (but not melted!). It should yield easily to a gentle press. This helps achieve that creamy, light texture.
- Don’t Overmix: When adding the flour to the wet ingredients, mix just until combined. Overmixing can lead to tough cookies.
- Cool Completely: This is crucial! If your cookies are even slightly warm when you add the filling, it will melt and make a mess. Patience, my friend!
- Parchment Paper is Your Friend: It makes cleanup a breeze and helps prevent sticking, ensuring your beautifully shaped cookies come off the tray perfectly.
- Storage Smart: If you’re prepping these ahead for a gathering, they hold up wonderfully.
How to Store Copycat Nutter Butter Cookies
Once assembled, these delicious Copycat Nutter Butter Cookies are best stored in an airtight container at room temperature for up to 3-4 days. If you want to keep them fresh for longer, you can pop them in the fridge for up to a week. For longer storage, you can freeze the unfilled cookies for up to 2 months. Just let them thaw and then fill them with fresh peanut butter cream!
FAQs
Here are a few common questions you might have:
Can I use natural peanut butter for these?
I recommend sticking with conventional creamy peanut butter (like Jif or Skippy) for this recipe. Natural peanut butter tends to separate and has a different consistency, which can affect the texture of both the cookie and the filling.
My cookie dough is too sticky – what should I do?
If your dough feels too sticky to handle, you can chill it in the refrigerator for 15-30 minutes. This will firm it up and make it easier to roll and shape.
How can I make the crosshatch pattern look perfect?
Dip your fork in a little granulated sugar between pressing each cookie. This helps prevent sticking and gives you a cleaner, more defined pattern.
Can I make the cookies and filling ahead of time?
Absolutely! You can bake the cookies a day or two in advance and store them in an airtight container. The filling can also be made ahead and stored in the fridge. Just let the filling come to room temperature and give it a quick whip before assembling your cookies.
For more delicious recipes and baking inspiration, be sure to follow us on Pinterest!
Copycat Nutter Butter Cookies
Ingredients
Equipment
Method
- Step 1: Preheat your oven to 350°F (175°C). Line a baking sheet with parchment paper.
- Step 2: In a large mixing bowl, combine the softened unsalted butter, 1/2 cup creamy peanut butter, 1/2 cup granulated sugar, and brown sugar. Beat with an electric mixer until light and fluffy.
- Step 3: Add the large egg and 1 teaspoon vanilla extract. Mix until thoroughly combined, scraping down the sides of the bowl.
- Step 4: In a separate, medium-sized bowl, whisk together the all-purpose flour, baking soda, and salt until evenly distributed.
- Step 5: Gradually add the dry ingredients to the wet mixture. Mix on low speed just until a cohesive dough forms. Be careful not to overmix.
- Step 6: Roll the dough into small, 1-inch balls. Shape each ball into an oval and flatten slightly. Press a fork onto each cookie twice to create a crosshatch pattern. Lightly sprinkle the tops with extra granulated sugar.
- Step 7: Bake for 8–10 minutes, or until the edges are lightly golden. Remove from the oven and let cool completely on the baking sheet.
- Step 8: While cookies cool, make the filling. In a medium bowl, beat the remaining 1/2 cup creamy peanut butter and softened unsalted butter until smooth and creamy.
- Step 9: Add the powdered sugar and 1 teaspoon vanilla extract to the peanut butter and butter mixture. Beat until perfectly creamy and lump-free.
- Step 10: Add milk one tablespoon at a time, mixing after each addition, until the filling reaches a desired spreadable consistency.
- Step 11: Once cookies are completely cool, spread or pipe a generous amount of filling onto the flat side of one cookie. Gently top with another cookie to create a sandwich. Repeat with all remaining cookies.