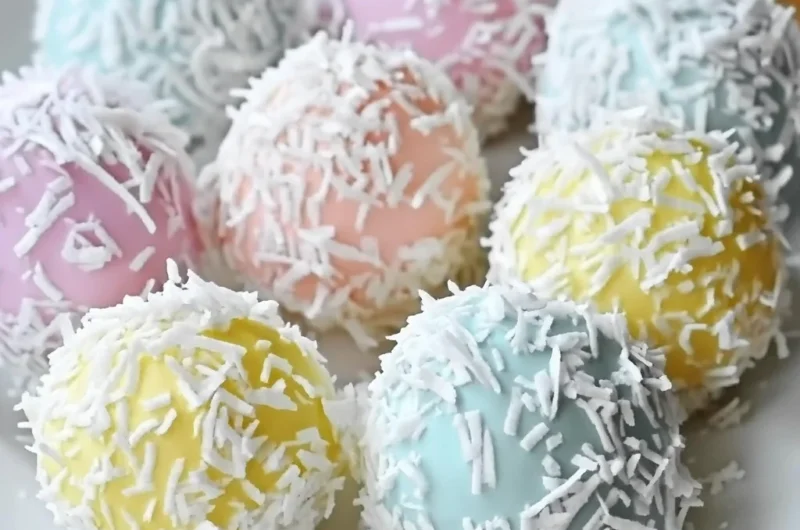
There’s something so charming and heartwarming about Easter treats that bring a smile not just because of how they taste, but because of the memories they evoke. I remember as a kid, the thrill of finding little coconut-covered bunny tails nestled among pastel-colored eggs in the Easter basket. Those fluffy, sweet bites felt like a little celebration of spring itself—a perfect blend of fun and flavor. Today, I’m excited to share with you my take on these delightful Easter Bunny Coconut Tails that are incredibly easy to make, quick to prepare, and oh-so-memorable to share with family and friends.
If you’re looking for a recipe that’s fuss-free yet festive, these coconut tails fit the bill perfectly. Whether you’re crafting treats for an Easter party, gifting neighbors, or just craving a nostalgic bite, this recipe will have you smiling just as much as those who get to taste these sweet little morsels. Let’s hop right into why these treats are so beloved!
Why You’ll Love Easter Bunny Coconut Tails
- Fast: From mixing to rolling, you’ll have these ready in under 30 minutes, plus chilling time.
- Easy: No baking, no complicated steps, just simple ingredients and sweet magic.
- Giftable: Wrapped in a cute box or cellophane bag, these make charming homemade gifts.
- Crowd-pleasing: Pastel colors, coconut’s sweetness, and bite-sized fun make them a hit with kids and adults alike.
Ingredients
Before you start, gather these simple ingredients. They come together beautifully to create a soft, chewy, and sweet coconut treat that’s perfect for springtime celebrations.
- 1 can (14 oz) sweetened condensed milk: This is the glue and sweetener that holds everything together with a creamy richness.
- 1 teaspoon vanilla extract: Adds warmth and depth to the sweetness—don’t skip this; it makes a difference!
- 4 cups shredded sweetened coconut (plus extra for rolling): The star ingredient, lending texture and that classic coconut flavor.
- Gel food coloring (pastel pink, yellow, blue, green, purple): These vibrant colors turn your coconut tails into adorable little Easter bunnies’ tails. Gel coloring works best to avoid thinning the mixture.
All these ingredients are easy to find at your local grocery store or online. I always keep sweetened shredded coconut on hand—it’s just so versatile. If you love coconut like I do, you might enjoy pairing these tails with a warm cup of tea or even a fun dessert like the Oreo Eyeball Truffles for a spooky twist during other holidays!
How to Make Easter Bunny Coconut Tails
Don’t worry, I’ll walk you through every step so you can make these cute treats with confidence and ease. This recipe is perfect for making with kids or prepping ahead for your Easter festivities.
- Mix the base: In a large bowl, combine the entire can of sweetened condensed milk with 1 teaspoon of vanilla extract. Stir gently until the vanilla is well distributed. This rich, sweet mixture is your coconut tails’ foundation.
- Add the coconut: Gradually add 4 cups of shredded sweetened coconut to the bowl. Stir continuously until the coconut is evenly coated and the mixture begins to stick together. It should be moist but firm enough to hold its shape when rolled.
- Divide the mixture: Separate the coconut mixture into 4 or 5 equal portions, depending on how many colors you want to use. I love using multiple pastel shades to make the tails extra festive and visually fun.
- Color the portions: Add a few drops of gel food coloring to each portion. Mix well until the color is evenly distributed. The gel colors are vibrant and won’t make the mixture too wet, unlike liquid food coloring.
- Roll into balls: Take small amounts from each colored portion and roll them into 1-inch balls. I find that using slightly damp hands helps prevent the coconut from sticking to your fingers.
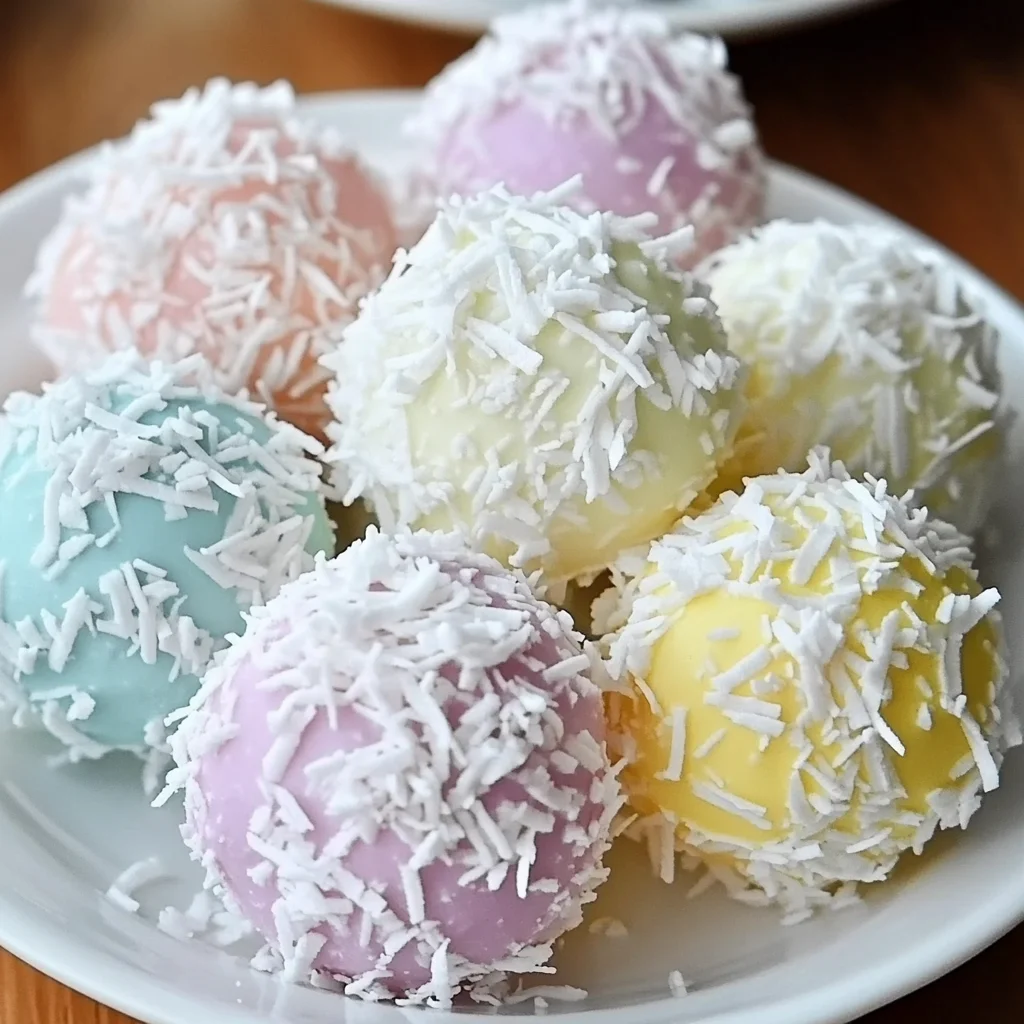
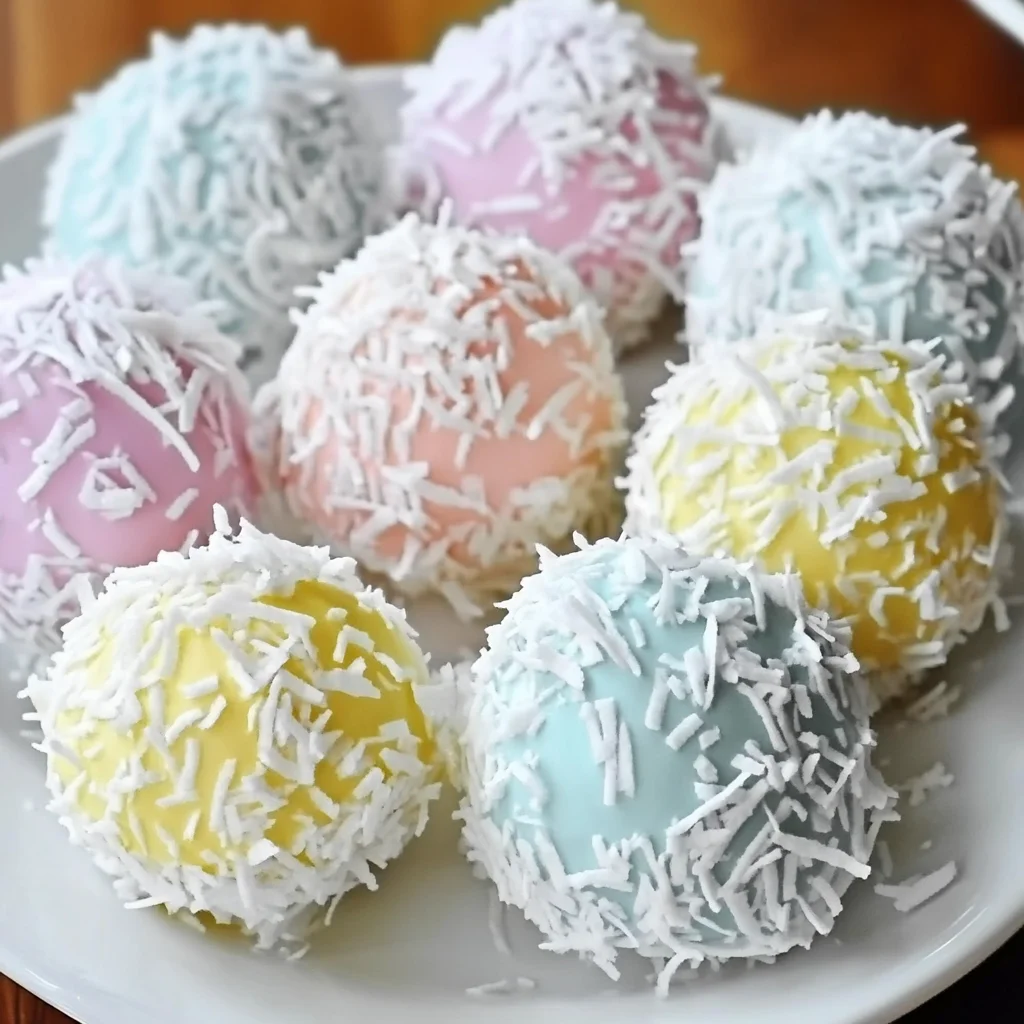
- Coat the tails: Roll each ball in the extra shredded coconut to give that fluffy, snowball-like appearance. This step is what makes these treats look like bunny tails—soft, light, and oh-so-sweet!
- Chill and set: Place the coated coconut tails on a parchment-lined tray or plate. Refrigerate for at least 1 hour. Chilling helps them firm up and hold their cute shape when you serve them.
- Serve and enjoy: You can serve these chilled or let them sit at room temperature for a bit before serving. They’re perfect on their own or paired with other spring treats.
One of my favorite memories making these is involving the kids in the coloring and rolling process. It’s a fun, sensory activity and a great way to sneak in a bit of creativity before the sugar rush!
Substitutions & Additions
Feel free to get creative with this recipe! While the classic version is lovely as is, here are some ideas to mix things up or accommodate dietary needs:
- Unsweetened shredded coconut: If you prefer less sweetness, try unsweetened coconut and add a little powdered sugar or honey to the mixture.
- Dairy-free sweetened condensed milk: For a vegan option, use coconut condensed milk or another plant-based condensed milk alternative. The texture might be slightly different but still delicious.
- Flavor twists: Add a teaspoon of almond extract instead of vanilla for a nutty nuance, or try a bit of lemon zest for a fresh citrus brightness.
- Chocolate dip: Once chilled, dip the coconut tails halfway in melted white or dark chocolate. Place them on parchment and chill again for a decadent finish.
- Nutty crunch: Roll the coconut balls in finely chopped pistachios or toasted almonds instead of extra coconut for a different texture and flavor.
- Colored sugar coating: For extra sparkle, roll the tails in colored sugar crystals after the coconut coating.
If you’re looking to pair these coconut tails with other crowd-pleasing desserts, you might enjoy trying the Easy No-Bake Martha Washington Candy, which offers a similarly nostalgic vibe but with a chocolate twist.
Tips for Success
Making these Easter Bunny Coconut Tails is straightforward, but a few tips will help you nail the texture and presentation every time.
- Use gel food coloring: This prevents the mixture from becoming too wet, which can make rolling tricky.
- Don’t add too much coloring at once: Start with a few drops and add more if needed to achieve pastel shades.
- Keep your hands slightly damp: This helps roll the coconut mixture more easily without it sticking to your fingers.
- Chill well: Refrigeration not only firms up the tails but also enhances their chewiness.
- Prepare ahead: You can make the tails a day in advance and keep them refrigerated. They actually taste better after a little resting time!
- Storage container: Use an airtight container lined with parchment paper to keep the tails fresh and prevent sticking.
If you’re planning an Easter gathering, preparing these coconut tails alongside a simple, cozy soup or main dish can round out your menu beautifully. For example, the Cozy Creamy Tortellini Soup is a comforting favorite that pairs nicely with light, sweet treats for dessert.
How to Store Easter Bunny Coconut Tails
Proper storage ensures your coconut tails stay fresh and delicious for several days, which is perfect if you’re preparing them ahead or want leftovers for snacking.
Refrigerator: Store the coconut tails in an airtight container, separated by layers of parchment paper to avoid sticking. They will keep well for up to one week in the fridge.
Freezer: You can freeze these treats if you want to make them well in advance. Place them on a parchment-lined tray to freeze individually before transferring to a freezer-safe container or bag. Frozen coconut tails will keep for up to 2 months. When ready to enjoy, thaw in the refrigerator overnight.
A little trick I use is to bring refrigerated coconut tails to room temperature for 10-15 minutes before serving. This softens them slightly and enhances the flavor and chewiness.
FAQs
Q: Can I use fresh coconut instead of shredded coconut?
A: Fresh coconut has higher moisture content and might make the mixture too wet to hold together properly. I recommend sticking with shredded sweetened coconut for the best results.
Q: What if I don’t have gel food coloring?
A: You can use liquid food coloring, but add very sparingly to avoid making the mixture too runny. Alternatively, natural colorings like beet juice or turmeric can work for pastel pink or yellow hues but will alter flavor slightly.
Q: Can I make these without sweetened condensed milk?
A: Sweetened condensed milk is key for both sweetness and binding. You could try a homemade vegan condensed milk substitute, but it’s tricky to replicate exactly. For a dairy-free option, look for plant-based condensed milk in stores.
Q: How do I shape the tails evenly?
A: Using a small cookie scoop or spoon can help portion the mixture evenly before rolling. Slightly damp hands also make shaping easier and neater.
Creating Easter Bunny Coconut Tails can be a joyful addition to your spring celebrations, pairing nostalgia with ease and a touch of whimsy. If you love easy, no-bake treats like this, don’t miss the No-Bake Martha Washington Candy or the vibrant Sweet Colorful Easter Popcorn Balls for more festive inspiration.
Thanks for stopping by the kitchen today! I hope these Easter Bunny Coconut Tails bring a little extra sweetness and joy to your springtime traditions. Happy baking—and even happier eating!
For more fun recipes and beautiful food ideas, don’t forget to follow us on Pinterest.
Easter Bunny Coconut Tails
Ingredients
Equipment
Method
- Step 1: In a large bowl, combine the sweetened condensed milk with vanilla extract. Stir gently until well mixed.
- Step 2: Gradually add shredded sweetened coconut to the bowl, stirring continuously until the mixture is moist but firm enough to hold shape.
- Step 3: Divide the coconut mixture into 4 or 5 portions depending on how many colors you want to use.
- Step 4: Add a few drops of gel food coloring to each portion and mix until color is evenly distributed.
- Step 5: Roll small amounts from each colored portion into 1-inch balls, using slightly damp hands to prevent sticking.
- Step 6: Roll each ball in extra shredded coconut to coat and create a fluffy appearance.
- Step 7: Place coated coconut tails on a parchment-lined tray and refrigerate for at least 1 hour to firm up.
- Step 8: Serve chilled or bring to room temperature for 10-15 minutes before serving. Enjoy!