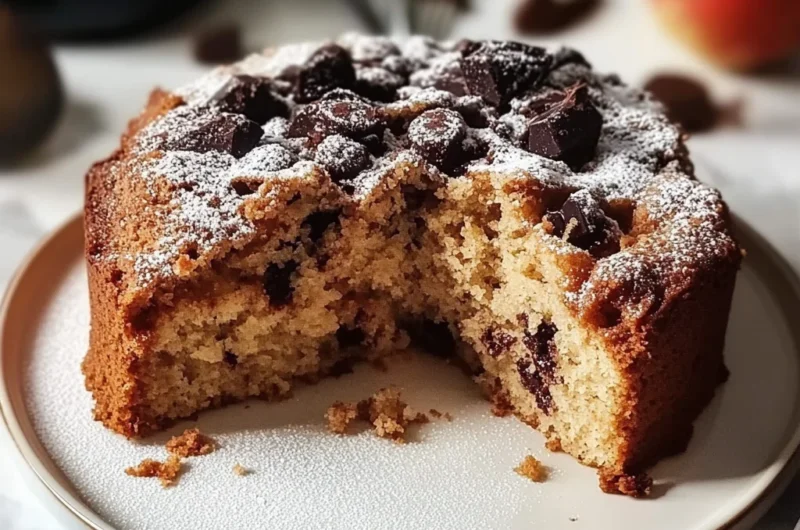
There’s something truly magical about the smell of chocolate baking in the oven—it takes me right back to cozy afternoons spent in my grandmother’s kitchen, sharing stories over a warm slice of cake. If you’re anything like me, you know that a rich, moist chocolate cake is pure comfort in dessert form. Today, I’m excited to share with you a recipe that’s a true celebration for anyone who adores dark chocolate: the Dark Chocolate Lovers Dream, also known as the Mount Doom Cake. This cake is not just a treat; it’s an experience, one that’s surprisingly easy to make, yet absolutely unforgettable.
Whether you’re baking for a special occasion, a cozy night in, or a last-minute gift, this cake is a showstopper. It’s fast enough to whip up on a weekday but indulgent enough to impress at any gathering. So put on your favorite apron, and let’s dive into a chocolate adventure that’s as rich and bold as your love for dessert.
Why You’ll Love Dark Chocolate Lovers Dream | Mount Doom Cake
- Fast: You can have this luscious cake ready in just over an hour from start to finish.
- Easy: No complicated techniques here—just straightforward steps that anyone can follow.
- Giftable: Wrapped up nicely, this cake makes a thoughtful and delicious gift for friends or family.
- Crowd-pleasing: Dark chocolate fans and casual dessert lovers alike will be asking for seconds.
Ingredients
Let’s take a look at the simple, pantry-friendly ingredients that come together to create this chocolate masterpiece. Each component plays its part in building layers of flavor and texture that will leave you swooning.
- 1 ¾ cups all-purpose flour: The base that gives the cake structure and crumb.
- 2 cups granulated sugar: Sweetness to balance the bitterness of dark cocoa.
- ¾ cup unsweetened Dutch-process cocoa powder: This is the heart of the cake, providing deep, rich chocolate flavor and velvety color.
- 2 teaspoons baking powder & 1 ½ teaspoons baking soda: These leavening agents ensure your cake is perfectly airy and moist.
- 1 teaspoon salt: Enhances all the flavors and balances the sweetness.
- 2 large eggs: Bind everything together and add richness.
- 1 cup whole milk: Adds moisture and tenderness—feel free to swap with plant-based milk if needed.
- ½ cup vegetable oil: Keeps the cake moist and soft.
- 2 teaspoons vanilla extract: Adds a warm, sweet aroma to complement the chocolate.
- 1 cup boiling water: Helps bloom the cocoa powder for intense chocolate flavor and creates a smooth batter.
- 1 ½ cups chopped dark chocolate: For the luscious ganache that ties the whole cake together.
- 1 cup heavy cream: The base for the silky ganache frosting.
How to Make Dark Chocolate Lovers Dream | Mount Doom Cake
Ready to get your hands a little messy? The process is delightfully simple, and I’ll be with you every step of the way.
- Preheat your oven to 350°F (175°C). This is the perfect temperature to bake your cakes evenly without drying them out. Don’t forget to grease and line three 8-inch cake pans with parchment paper—this step ensures your layers come out clean and intact.
- Mix the dry ingredients. In a large bowl, whisk together the flour, sugar, cocoa powder, baking powder, baking soda, and salt. The cocoa powder gives the cake that deep chocolate color and flavor, so make sure it’s well sifted to avoid lumps.
- Add the wet ingredients. Crack in the eggs, pour in the whole milk, vegetable oil, and vanilla extract. Using a hand mixer or stand mixer, beat everything until the batter is smooth and uniform. It might look a little thick now, but hold on—you’re about to add the magic.
- Gradually pour in the boiling water while mixing on low speed. This step thins out the batter wonderfully, making it pourable and silky. The hot water also intensifies the chocolate flavor by blooming the cocoa. Your batter will be thin—that’s exactly what you want!
- Divide the batter evenly into the three prepared pans. For even layers, I like to weigh the batter or use a measuring cup to split it equally. Place the pans in the oven and bake for 30 to 35 minutes. You’ll know it’s done when a toothpick inserted in the center comes out clean or with just a few moist crumbs.
- Cool your cakes. Let the cakes rest in the pans for 10 minutes before transferring them to wire racks to cool completely. Patience here is key—if the cake is too warm, your ganache won’t set properly.
- Make the ganache. Heat the heavy cream until it’s just simmering—don’t let it boil. Pour the hot cream over the chopped dark chocolate. Let it sit undisturbed for 5 minutes to melt the chocolate, then stir gently until smooth and glossy. For the best texture, chill the ganache until it’s slightly thickened but still spreadable.
- Assemble your cake. Place the first cake layer on your serving plate and spread a generous layer of ganache over the top. Repeat with the second layer, then top with the last cake layer. Use the remaining ganache to frost the top and sides of the cake, smoothing it out for a beautiful finish.
And voilà! You have a stunning, deeply chocolate cake that’s as rich in flavor as it is in love.
Substitutions & Additions
If you want to tweak this cake a bit or accommodate dietary preferences, here are some ideas to inspire your creativity:
- Milk alternatives: Swap whole milk with almond, oat, or soy milk for a dairy-free option (just make sure it’s unsweetened).
- Oil substitutes: Use melted coconut oil or avocado oil for a subtle twist in flavor.
- Chocolate upgrades: Mix in some bittersweet or semi-sweet chocolate chunks into the batter for extra melty pockets of yum.
- Flavor boosts: Add a teaspoon of espresso powder to the dry ingredients—it enhances the chocolate without tasting like coffee.
- Nutty crunch: Sprinkle chopped toasted pecans or walnuts between the layers for texture contrast.
- Fruity touch: Serve slices with fresh raspberries or a raspberry coulis to brighten the richness.
This cake is also a perfect canvas for seasonal flair—imagine a dusting of cinnamon or cayenne for a subtle spicy kick! If you want a quicker chocolate fix, you might also enjoy the Simple Chocolate Dump Cake Recipe, which is wonderfully fuss-free.
Tips for Success
Making the perfect Mount Doom Cake isn’t as daunting as it looks, but here are some insider tips I’ve picked up over the years to make your baking journey smooth and fun:
- Measure your ingredients carefully. Baking is a science, so using a kitchen scale for flour and cocoa powder can make a big difference.
- Don’t skip the parchment paper lining. It’s the best way to get clean cake layers without any sticking or breaking.
- Be gentle when mixing. Overmixing can lead to a dense cake. Mix just until combined, especially after adding the flour.
- Thin batter is normal. The boiling water thins it out—it’s what keeps the cake moist and tender.
- Cool cakes completely before frosting. Ganache spreads best and sets beautifully on cool layers.
- Make ganache ahead. Prepare the ganache a few hours in advance and chill it. This lets it thicken to the perfect spreading consistency.
- Room temperature ingredients blend better. Let your eggs and milk sit out for 15-20 minutes before mixing to avoid a curdled batter.
By following these little nuggets of wisdom, you’ll be rewarded with a cake that’s as gorgeous as it is delicious. If you love creamy soups and cozy meals to pair with your sweet treats, you might want to check out this Cozy Creamy Tortellini Soup—it’s like a hug in a bowl!
How to Store Dark Chocolate Lovers Dream | Mount Doom Cake
Now, we all know the struggle of keeping a chocolate cake fresh and moist, especially when you want to savor every bite over a few days. Here’s how to store your Mount Doom Cake so it stays absolutely perfect:
- Room temperature: If you plan to eat it within 1-2 days, keep the cake covered loosely with a cake dome or foil at room temperature. The ganache will protect the cake from drying out.
- Refrigeration: For longer storage (up to 5 days), wrap the cake tightly with plastic wrap and keep it refrigerated. Bring slices to room temperature before serving to enjoy that melt-in-your-mouth texture.
- Freezing: This cake freezes beautifully. Wrap each layer separately in plastic wrap and aluminum foil before freezing. Thaw overnight in the fridge, then assemble and frost as usual.
Proper storage ensures you get to enjoy this decadent cake multiple times without sacrificing flavor or texture. For a quick and easy chocolate dessert fix, you might also love the Easy No-Bake Martha Washington Candy, which stores well and satisfies your sweet tooth in minutes.
FAQs
Q: Can I use regular cocoa powder instead of Dutch-process?
A: You can, but Dutch-process cocoa powder has a smoother, less acidic flavor that really elevates the cake. If you use natural cocoa powder, you might notice a slightly different texture and taste.
Q: Can I make this cake gluten-free?
A: Absolutely! Substitute the all-purpose flour with a gluten-free flour blend. I recommend blends that include xanthan gum to help with structure. For more gluten-free treats, check out this Vegan Gluten-Free Pumpkin Mug Cake recipe for inspiration.
Q: How do I know when the ganache is the right consistency for frosting?
A: The ganache should be thick enough to spread without dripping but still soft. Chill it in the fridge for 20-30 minutes, stirring occasionally, until it reaches this consistency.
Q: Can I make this cake ahead of time?
A: Yes! Bake the cake layers a day ahead and wrap them well in plastic wrap. Prepare the ganache the day before too. Assemble the cake on the day you plan to serve it for the freshest results.
I hope you’re as excited as I am to try this Dark Chocolate Lovers Dream | Mount Doom Cake. It’s a recipe that’s sure to become a favorite in your home, a true testament to the magic of chocolate and love combined.
For more delicious recipes and baking inspiration, be sure to follow my Pinterest page where I pin all my latest finds and favorites. Happy baking!
Dark Chocolate Lovers Dream | Mount Doom Cake
Ingredients
Equipment
Method
- Step 1: Preheat oven to 350°F (175°C). Grease and line three 8-inch cake pans with parchment paper.
- Step 2: In a large bowl, whisk together flour, sugar, cocoa powder, baking powder, baking soda, and salt until well combined.
- Step 3: Add eggs, milk, vegetable oil, and vanilla extract to the dry ingredients. Beat with a mixer until smooth and uniform.
- Step 4: Gradually pour in boiling water while mixing on low speed. The batter will be thin and silky.
- Step 5: Divide batter evenly into the prepared pans. Bake for 30 to 35 minutes, or until a toothpick inserted in the center comes out clean or with moist crumbs.
- Step 6: Let cakes cool in pans for 10 minutes before transferring to wire racks to cool completely.
- Step 7: To make ganache, heat heavy cream until just simmering. Pour over chopped dark chocolate and let sit for 5 minutes, then stir until smooth and glossy. Chill until spreadable.
- Step 8: Assemble cake by spreading ganache between layers and over top and sides. Smooth for a beautiful finish.