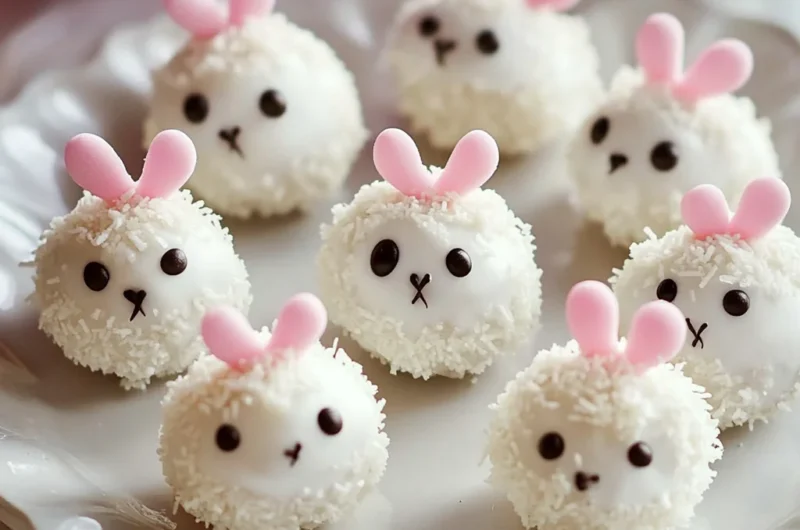
There’s something truly magical about those little treats that remind us of childhood joy and festive celebrations. Bunny Oreo Balls are one of those nostalgic goodies that bring a smile to anyone’s face—whether it’s Easter, a spring party, or just a fun day in the kitchen with family. I remember making these with my niece one year, and her eyes lit up the moment she saw those fluffy marshmallow ears and sweet little faces staring back at her. The best part? These bunny treats are incredibly easy and quick to whip up, making them perfect for last-minute celebrations or as a delightful homemade gift.
If you’re looking for a recipe that’s not only adorable but also a crowd-pleaser, these Bunny Oreo Balls are just the ticket. They combine the classic Oreo-cookie-and-cream-cheese base with a smooth white chocolate coating and charming decorations that will have everyone asking for more. Let me walk you through every step, share some substitutions, and sprinkle in some tips I’ve learned along the way to make your experience as fun and foolproof as possible!
Why You’ll Love Bunny Oreo Balls
- Fast: From start to finish, these treats come together in under an hour, including chilling time.
- Easy: No fancy baking skills needed—just mix, roll, dip, and decorate!
- Giftable: Packaged in a cute box or cellophane bag, they make charming presents for friends, teachers, or neighbors.
- Crowd-pleasing: The creamy Oreo filling and sweet chocolate coating are irresistible to kids and adults alike.
Ingredients
Every ingredient here plays a special role in making these Bunny Oreo Balls taste as delightful as they look. Here’s what you’ll need:
- 1 package (14.3 oz) Oreo cookies: The classic chocolate cookie base that crumbles into the perfect texture.
- 8 oz cream cheese, softened: This adds that creamy richness and binds the crumbs together beautifully.
- 12 oz white chocolate or candy melts: For a smooth, sweet coating that’s perfect for dipping and decorating.
- 1/2 cup pink candy melts: To create adorable bunny noses and other pink details.
- 1/2 cup black candy melts: Perfect for whiskers and other facial features.
- Mini marshmallows: These become your bunny ears after a quick cut and sprinkle dip.
- Pink sugar sprinkles (optional): For a fun, sparkly touch on the ears.
- Edible black food marker: To draw the bunny’s eyes and other fine details with precision.
How to Make Bunny Oreo Balls
Ready to dive in? Here’s a step-by-step guide to crafting these adorable Bunny Oreo Balls. Don’t worry, I’ll keep it simple and share some handy tricks along the way!
Step 1: Prepare the Oreo Mixture
Start by crushing the Oreo cookies into fine crumbs. I usually use my food processor for this because it’s fast and even, but if you don’t have one, no worries! Just pop the cookies into a sealed plastic bag and crush them with a rolling pin until they’re nice and crumbly. Then, mix these crumbs with the softened cream cheese in a bowl. Use a sturdy spoon or your hands to blend everything thoroughly until you have a smooth, dough-like mixture. This is the heart of your Bunny Oreo Balls, so make sure everything is well combined without lumps.
Step 2: Shape the Balls
Next, roll the mixture into 1-inch diameter balls. Try to keep them as uniform as possible so they look neat and bake evenly. Place each ball on a parchment-lined baking sheet. This is a great time to get the kids involved—they’ll love rolling and shaping these little bunnies! Once all the balls are shaped, pop the tray into the refrigerator for about 30 minutes to firm up. This step is crucial because it helps the balls hold their shape when you dip them in chocolate.
Step 3: Coat with Chocolate
While the balls chill, melt your white chocolate or candy melts. I recommend microwaving them in short bursts—about 20 seconds—stirring in between to avoid burning. Once smooth and silky, it’s time to dip! Using a fork or a dipping tool, carefully dunk each Oreo ball into the melted chocolate, making sure to coat it evenly. Gently tap off any excess chocolate and place the coated balls back on parchment paper. This coating is the canvas for your bunny decorations, so be patient and let the chocolate set completely. You can speed this up by placing the tray in the fridge.
Step 4: Decorate as Bunnies
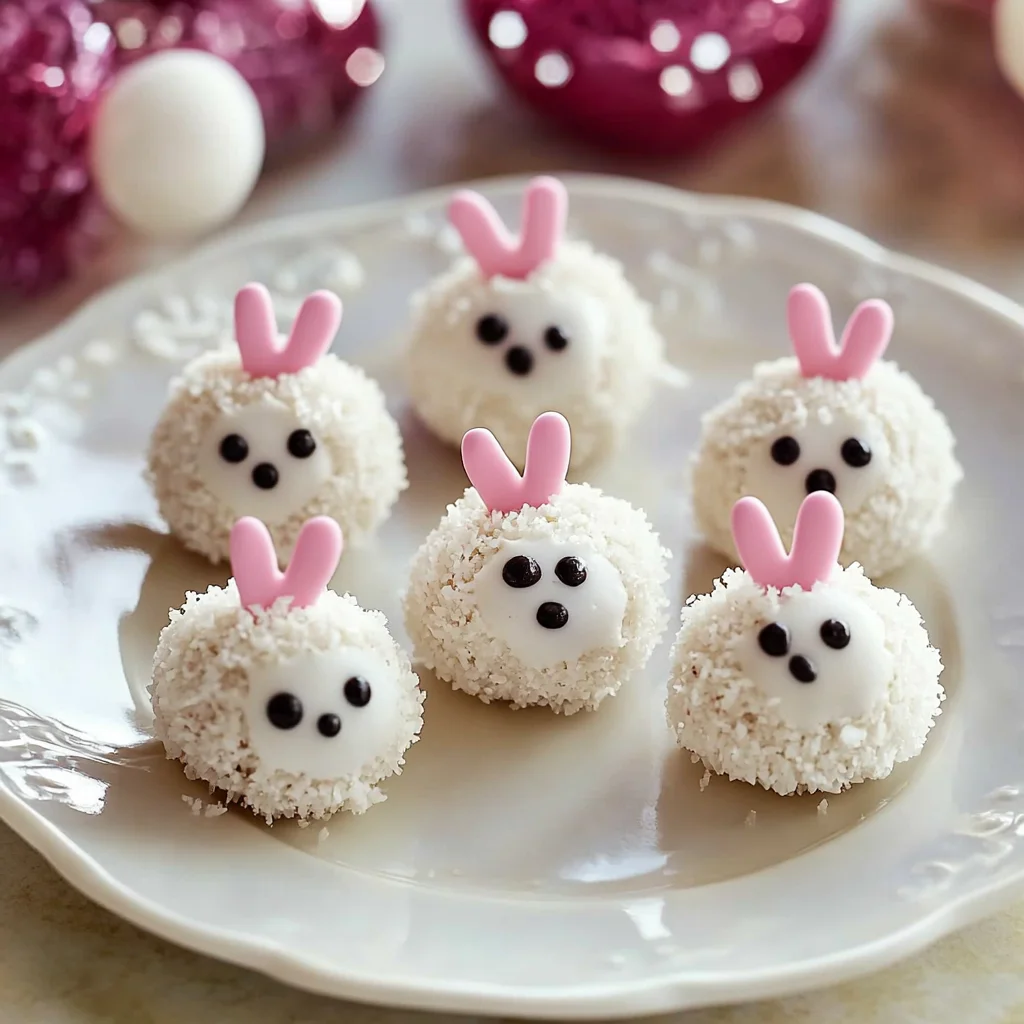
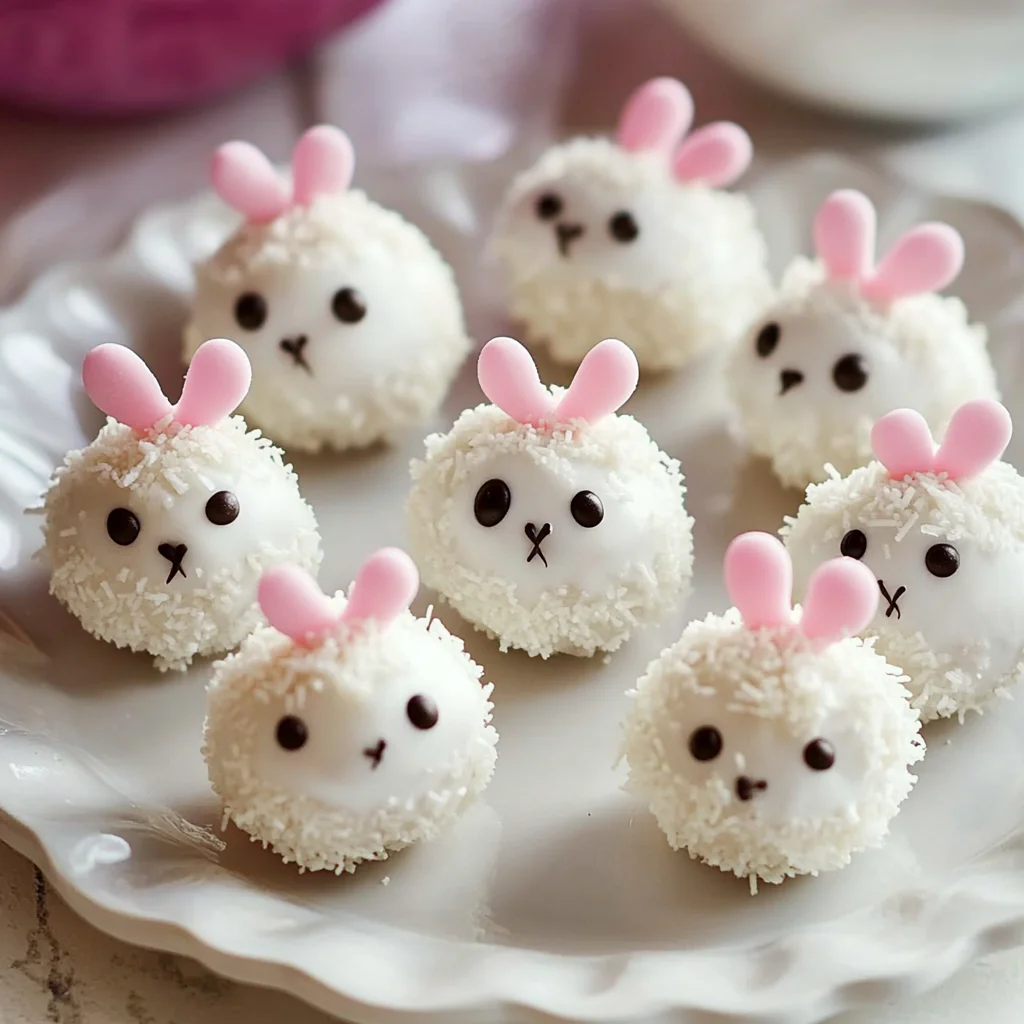
Here’s where the fun really begins! Cut mini marshmallows diagonally to create cute bunny ears. To add a little flair, dip the sticky side of each marshmallow ear into pink sugar sprinkles—this gives a sweet pop of color and texture. While the white chocolate coating on the Oreo balls is still slightly wet, gently press the marshmallow ears onto the top of each ball. They’ll stick perfectly as the chocolate hardens.
Next, melt your pink and black candy melts separately. Use a piping bag or a toothpick to add adorable pink noses and delicate whiskers. For the eyes, the edible black food marker is perfect for drawing tiny, expressive bunny eyes that give each Oreo ball its own personality. If you haven’t tried working with candy melts before, I suggest checking out this fun recipe for Oreo eyeball truffles to get some great tips on dipping and decorating Oreo-based treats!
Step 5: Final Touches
Allow your decorated bunnies to sit at room temperature or in the fridge until all the candy melts and chocolate have fully set. Once firm, your Bunny Oreo Balls are ready to enjoy! These treats are perfect for placing in decorative boxes for gifting, or simply arranging them on a festive platter for sharing with family and friends.
Substitutions & Additions
One of the best things about Bunny Oreo Balls is how adaptable they are. Don’t have white chocolate? No problem! You can use milk or dark chocolate for a different flavor profile—just keep in mind that the white coating gives that classic bunny look. If you want to get creative with the ears, try using white chocolate chips instead of marshmallows or even small pretzel sticks dipped in chocolate for a whimsical twist.
For a healthier tweak, swap regular Oreos for gluten-free or reduced-sugar versions. You might also try mixing in a bit of peanut butter or Nutella with the cream cheese for a richer, nuttier taste. If you love seasonal variations, adding pastel-colored candy melts for the coating can give these bunnies a festive spring vibe.
If you’re interested in other no-bake Oreo treats that are just as fun and flavorful, be sure to explore recipes like the easy No-Bake Martha Washington Candy. It’s another fantastic way to enjoy Oreo magic without turning on the oven.
Tips for Success
- Don’t skip chilling: The chilling step before dipping is crucial to prevent your balls from falling apart.
- Work quickly with candy melts: They can harden fast, so keep them warm by microwaving in short bursts as you work.
- Use parchment paper: This prevents sticking and makes cleanup a breeze.
- Personalize your bunnies: Feel free to add edible glitter or colored sprinkles for extra fun.
- Prep ahead: You can make the Oreo balls a day in advance and store them in the fridge until ready to dip and decorate.
How to Store Bunny Oreo Balls
Once your Bunny Oreo Balls are decorated and set, storing them properly will keep them fresh and delicious. Place them in an airtight container and keep them refrigerated. They should stay good for up to 5 days, making them perfect for prepping ahead of parties or gifting occasions.
If you want to freeze them, wrap the balls individually in plastic wrap before placing them in an airtight container or freezer bag. When ready to enjoy, thaw them in the refrigerator overnight. Just be mindful that the marshmallow ears might soften a bit after freezing, so it’s best to decorate after thawing if possible.
FAQs
Can I use a different cookie instead of Oreos?
Absolutely! Chocolate sandwich cookies work best for that classic flavor and texture, but you can experiment with other flavors like mint Oreos or golden Oreos for a fun twist.
What if I don’t have an edible food marker?
No worries! You can pipe the eyes with melted black candy melts using a toothpick or fine piping tip. It takes a bit more patience but looks just as cute.
Can I make these vegan or dairy-free?
Yes! Look for vegan Oreo cookies (most Oreos are dairy-free) and substitute cream cheese with a vegan cream cheese alternative. Use dairy-free candy melts or melt vegan chocolate chips for coating.
How do I prevent the marshmallow ears from falling off?
Attach the ears while the chocolate coating is still slightly wet so they stick well. If you find they’re wobbly, a tiny dab of melted chocolate can act as glue once the initial coating has set.
If you’re drawn to simple, sweet bites that bring smiles and warmth, these Bunny Oreo Balls are a must-try. For more cozy dessert ideas, you might also enjoy checking out the Simple Chocolate Dump Cake Recipe, which is just as comforting and easy to prepare.
And if you ever want to explore more quick, festive treats, you’ll find a treasure trove of inspiration on FoodTD—your go-to site for delicious, approachable recipes.
Happy baking, and may your Bunny Oreo Balls bring as much joy to your home as they do to mine!
Don’t forget to follow us on Pinterest for more delightful recipes and kitchen inspiration.
Delightfully Cute & Easy Bunny Oreo Balls
Ingredients
Equipment
Method
- Step 1: Crush the Oreo cookies into fine crumbs using a food processor or by placing them in a sealed bag and crushing with a rolling pin. Mix the crumbs with softened cream cheese until smooth and dough-like.
- Step 2: Roll the mixture into 1-inch balls, place them on a parchment-lined baking sheet, and refrigerate for about 30 minutes to firm up.
- Step 3: Melt the white chocolate or candy melts in short bursts in the microwave, stirring between each until smooth. Dip each chilled ball into the melted chocolate, tap off excess, and place back on parchment to set.
- Step 4: Cut mini marshmallows diagonally to form ears. Dip the sticky side in pink sugar sprinkles if desired and attach the ears to each ball while the chocolate is still wet. Let the chocolate harden.
- Step 5: Melt pink and black candy melts separately. Use a piping bag or toothpick to add pink noses and black whiskers. Draw eyes and fine details with an edible black food marker.
- Step 6: Allow decorated Bunny Oreo Balls to set completely at room temperature or in the fridge before serving or packaging for gifts.