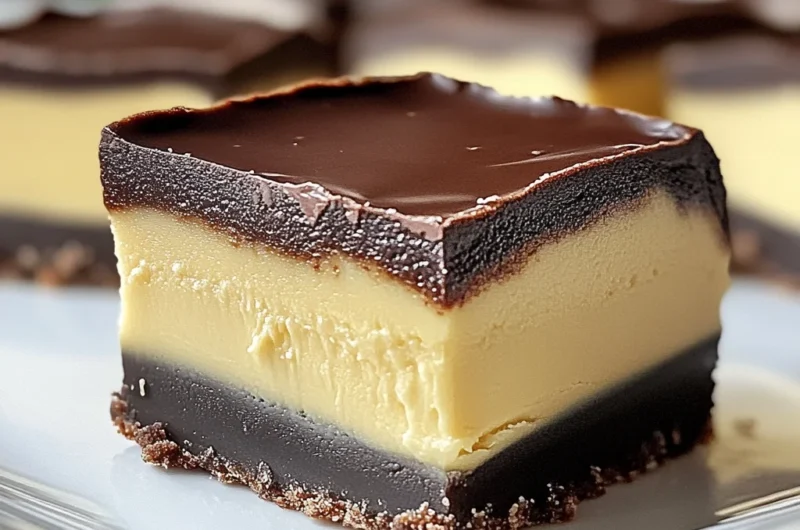
Do you ever get that warm, fuzzy feeling when you think back to a classic dessert that just hits all the right spots? Boston Cream Pie is one of those timeless favorites that brings back memories of cozy family gatherings and sweet indulgence. Now imagine all that creamy vanilla goodness and luscious chocolate swirls, but in a fudgy, melt-in-your-mouth form that’s quick and easy to make at home. That’s exactly what Boston Cream Pie Fudge delivers — a rich, creamy, and decadently sweet treat that’s perfect for sharing or savoring on your own.
This fudge is one of my absolute favorite recipes to whip up when I want to impress without the fuss. It’s straightforward, comes together in no time, and every bite tastes like a nostalgic hug. Whether you’re a fudge newbie or a seasoned candy maker, I’m here to walk you through every step so you can enjoy this delightful twist on a classic dessert. Plus, it’s a crowd-pleaser that makes a fantastic gift during the holidays or just because you want to brighten someone’s day.
Why You’ll Love Boston Cream Pie Fudge
- Fast: From start to finish, this recipe fits perfectly into a busy day or last-minute dessert plans.
- Easy: No complicated candy-making skills needed — just simple stirring and swirling.
- Giftable: Wrapped up in a pretty box or jar, this fudge makes a thoughtful homemade gift.
- Crowd-pleasing: The creamy vanilla base and chocolate swirl combo appeal to fudge lovers and dessert fans alike.
Ingredients
Before you start, gather everything you need to make this fudge. Here’s what goes into the magic:
- Granulated sugar: The classic sweet base that helps create that perfect fudge texture.
- Heavy cream: Adds richness and creaminess to the fudge — don’t substitute with milk for best results.
- Unsalted butter: Butter brings smoothness and depth to the flavor.
- White chocolate chips: These melt down to create a luscious vanilla fudge base.
- Marshmallow creme: This ingredient is a game-changer for creamy, fluffy fudge texture.
- Instant vanilla pudding mix: A secret ingredient that adds extra vanilla flavor and helps the fudge set perfectly.
- Vanilla extract: Enhances the warm vanilla notes to make the fudge taste just like Boston Cream Pie filling.
- Unsweetened cocoa powder: Used to create the beautiful chocolate swirl that contrasts the vanilla fudge.
- Semisweet chocolate chips: For the decadent chocolate glaze on top — smooth, shiny, and irresistible.
- Vegetable oil: Added to the glaze to give it a glossy finish and perfect pourable consistency.
How to Make Boston Cream Pie Fudge
Ready to get started? I promise this isn’t as intimidating as it looks. Here’s how you’ll create this dreamy fudge step by step:
- Prep your pan: Line an 8×8-inch square baking pan with parchment paper, leaving a 2-inch overhang on two opposite sides. This overhang will make it easy to lift the fudge out when it’s set.
- Cook your base: In a large, heavy-bottomed saucepan, combine the granulated sugar, heavy cream, and unsalted butter. Heat over medium heat, stirring constantly until the butter melts and the mixture reaches a full boil. This is the sweet foundation of your fudge.
- Boil and test: Reduce the heat to medium-low and keep stirring for 7 minutes. This step is crucial to get the right fudge consistency. You can test by dropping a small amount into ice-cold water — it should form a soft ball. If you have a candy thermometer, aim for 237-239°F. I find using a thermometer takes the guesswork out and helps prevent overcooking.
- Add white chocolate: Remove the pan from heat and add the white chocolate chips all at once. Stir vigorously until the chocolate melts completely and the mixture is silky smooth.
- Mix in marshmallow creme and pudding: Stir in the marshmallow creme until it’s fully incorporated, then add the dry vanilla pudding mix and vanilla extract. Keep stirring until the fudge thickens and everything is evenly combined.
- Layer the fudge: Pour about two-thirds of the vanilla fudge into your prepared pan, spreading it evenly with a spatula.
- Create the chocolate swirl: Whisk the unsweetened cocoa powder into the remaining fudge still in the saucepan until it’s fully blended and chocolatey. Drop spoonfuls of this chocolate fudge over the vanilla layer.
- Swirl it up: Use a knife or skewer to gently swirl the chocolate fudge into the vanilla layer, creating a beautiful marbled effect. This not only looks fantastic but gives you delicious bites of vanilla and chocolate in every square.
- Cool and set: Let the fudge cool at room temperature until firm, about 2 hours. Patience here pays off — rushing with the fridge can sometimes cause the texture to change.
- Cut into squares: Using the parchment overhang, lift the fudge out of the pan. Cut into 16 equal squares — a perfect size for sharing or nibbling.
- Make the chocolate glaze: In a microwave-safe bowl, combine the semisweet chocolate chips and vegetable oil. Microwave in 30-second intervals, stirring after each, until the mixture is melted and smooth.
- Dip each square: Let the glaze cool for about 15 minutes until it thickens slightly but is still pourable. Dip the top of each fudge square into the glaze, letting the excess drip off. Place each piece chocolate-side up on parchment paper or a wire rack.
- Set the glaze: Allow the glaze to set at room temperature until firm, about 1 hour.
- Store properly: Once fully set, store the fudge in an airtight container to keep it fresh and soft.
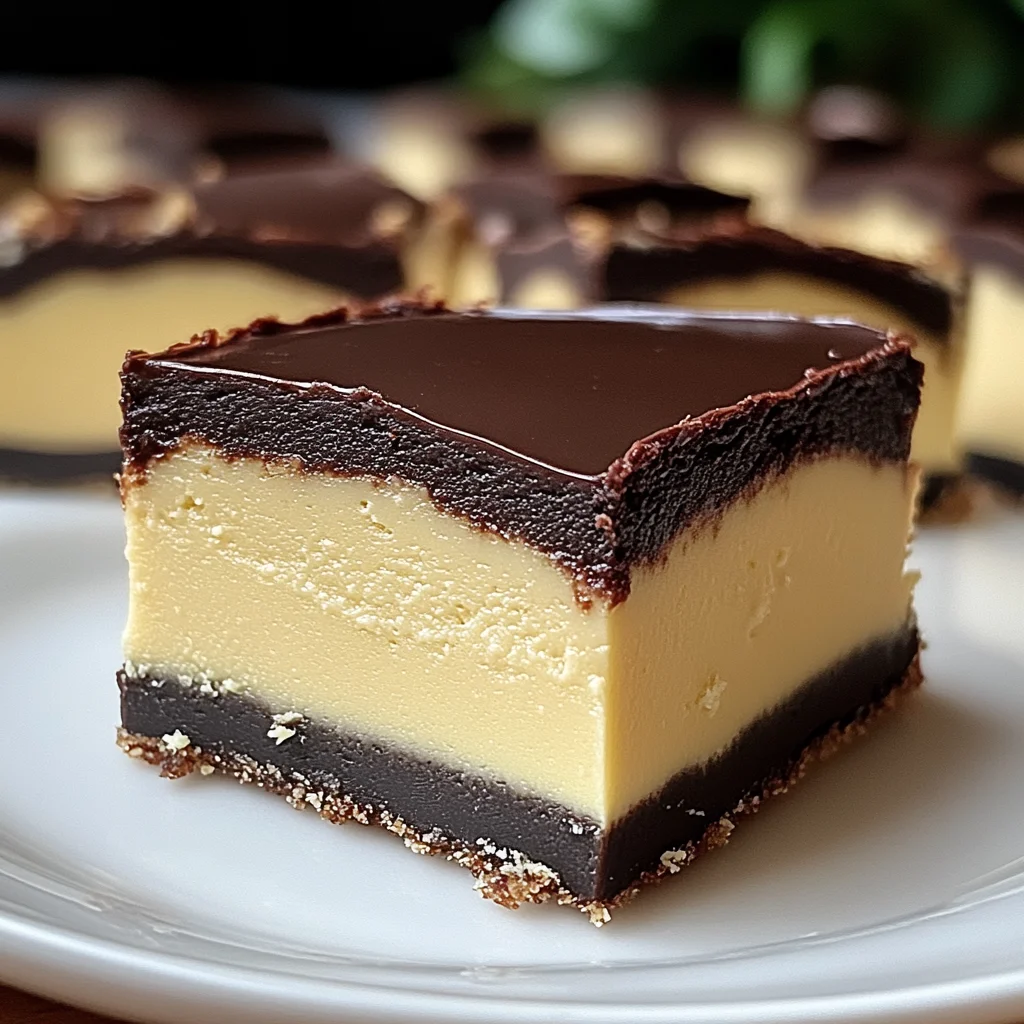
Substitutions & Additions
Feel free to get creative with this fudge! While the classic Boston Cream Pie flavor is a winner, here are some ideas to make it your own or accommodate what you have on hand:
- Milk Chocolate Swap: Replace semisweet chocolate chips in the glaze with milk chocolate for a sweeter finish.
- Dark Chocolate Upgrade: For a richer, more intense chocolate flavor, use dark chocolate chips in both the swirl and glaze.
- Flavor Variations: Try adding a tablespoon of coffee or espresso powder to the vanilla fudge base for a mocha twist that pairs beautifully with the chocolate swirl.
- Nuts or Crunch: Fold in chopped toasted pecans or almonds into the vanilla fudge layer before swirling for some delightful crunch and texture contrast.
- Marshmallow Creme Alternatives: If you can’t find marshmallow creme, you can substitute with an equal amount of mini marshmallows melted into the fudge base, but be sure to stir until smooth to avoid lumps.
- Instant Pudding Flavor: Vanilla pudding mix is classic, but you could experiment with butterscotch or banana pudding mix for a fun twist on the flavor profile.
Tips for Success
Making fudge may seem tricky, but with these tips, you’ll be a fudge-making pro in no time. Here are some common pitfalls and how to avoid them:
- Use a candy thermometer: This little tool is your best friend when making fudge. It ensures you hit the perfect temperature every time without guessing.
- Don’t rush the boiling step: Stir constantly and be patient to avoid burning or crystallizing the sugar. A steady, gentle boil is key.
- Room temperature ingredients: Using room temperature butter and cream helps everything melt and blend smoothly.
- Line your pan well: The parchment overhang is a small step that makes removing the fudge from the pan easy and mess-free.
- Swirling technique: When swirling the chocolate fudge into the vanilla layer, go gently with your knife or skewer. Over-swizzling can mix the layers too much and lose that beautiful marbled look.
- Glaze consistency: Let the chocolate glaze cool and thicken slightly before dipping, or it will be too thin and runny. But don’t let it get too thick or it won’t coat your fudge smoothly.
- Prep ahead: You can make the fudge base one day and store it in the refrigerator overnight. Bring it back to room temperature and gently reheat in a double boiler before adding your chocolate swirl and pouring into the pan.
How to Store Boston Cream Pie Fudge
Once your fudge is perfectly set and glazed, proper storage is essential to keep it fresh and delicious. Here’s what you need to know:
- Airtight is key: Store fudge in an airtight container at room temperature to maintain its soft, creamy texture.
- Refrigeration: If your house is warm, you can refrigerate fudge, but bring it back to room temperature before serving to soften the texture.
- Shelf life: Enjoy your fudge within 1 to 2 weeks for the best flavor and texture. It can also be frozen for up to 3 months — just thaw overnight in the fridge.
- Separators: If stacking fudge pieces in a container, use parchment or wax paper between layers to prevent sticking.
FAQs
Can I make this fudge without marshmallow creme?
Yes! You can substitute marshmallow creme with mini marshmallows melted into the fudge base. Just be sure to stir continuously over low heat until smooth to avoid lumps and burning.
Why does my fudge sometimes turn out grainy?
Grainy fudge usually happens when the sugar crystals aren’t dissolved properly or if the mixture cools too quickly. Stirring constantly and using a candy thermometer to ensure precise temperature can help prevent this.
Can I use a different size pan for this recipe?
You can, but an 8×8-inch pan is ideal for the thickness and texture of this fudge. Using a larger pan will make the fudge thinner and may affect its firmness.
Is it necessary to dip the fudge in chocolate glaze?
Not at all! The glaze adds a beautiful finished look and extra chocolate flavor, but the fudge is delicious on its own. You could also drizzle the glaze instead of dipping for a lighter touch.
If you love this fudgy twist on a classic dessert, you might also enjoy other sweet treats that bring that same cozy, comforting vibe. For example, check out my recipe for a no-bake Martha Washington candy that’s equally simple and satisfying. And if you’re in the mood for a sweet snack with a bit of a twist, the Oreo eyeball truffles are a playful treat perfect for any occasion.
For more delicious recipes that bring warmth and joy to your kitchen, visit FoodTd where you’ll find everything from cozy soups to decadent desserts. If you’re craving something savory afterward, their creamy tortellini soup is a comforting meal that pairs perfectly with a sweet treat like this fudge.
Thanks for stopping by and baking along with me! If you give this Boston Cream Pie Fudge a try, I’d love to hear how it turns out. Don’t forget to share the love and keep exploring new recipes that make your kitchen feel like home.
For more inspiration and sweet ideas, follow me on Pinterest where I pin all my favorite recipes and kitchen tips.
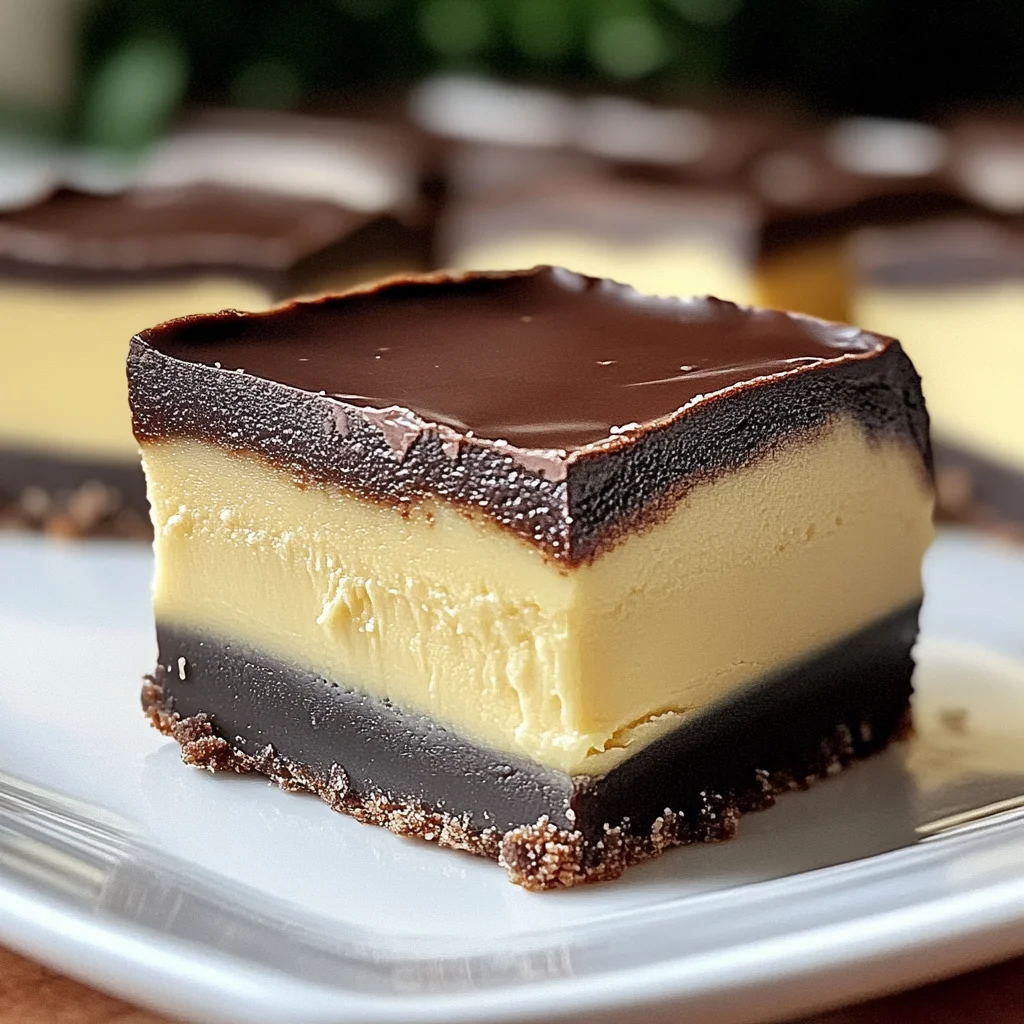
Boston Cream Pie Fudge
Ingredients
Equipment
Method
- Step 1: Line an 8x8-inch square baking pan with parchment paper, leaving a 2-inch overhang on two opposite sides for easy fudge removal.
- Step 2: In a large, heavy-bottomed saucepan, combine granulated sugar, heavy cream, and unsalted butter. Heat over medium, stirring constantly until butter melts and mixture reaches a full boil.
- Step 3: Reduce heat to medium-low and stir constantly for 7 minutes. Test fudge by dropping small amount into ice water; it should form a soft ball. Alternatively, use a candy thermometer aiming for 237-239°F.
- Step 4: Remove pan from heat. Add white chocolate chips and stir vigorously until melted and smooth.
- Step 5: Stir in marshmallow creme, then add instant vanilla pudding mix and vanilla extract. Continue stirring until fudge thickens and is well combined.
- Step 6: Pour about two-thirds of the vanilla fudge into the prepared pan and spread evenly with a spatula.
- Step 7: Whisk unsweetened cocoa powder into remaining fudge in the saucepan until fully blended and chocolatey.
- Step 8: Drop spoonfuls of the chocolate fudge over the vanilla layer in the pan.
- Step 9: Use a knife or skewer to gently swirl the chocolate fudge into the vanilla layer, creating a marbled effect.
- Step 10: Let fudge cool at room temperature until firm, about 2 hours. Avoid rushing with the fridge to preserve texture.
- Step 11: Use parchment overhang to lift fudge from pan. Cut into 16 equal squares.
- Step 12: In a microwave-safe bowl, combine semisweet chocolate chips and vegetable oil. Microwave in 30-second intervals, stirring after each, until melted and smooth.
- Step 13: Let glaze cool for about 15 minutes until slightly thick but still pourable. Dip each fudge square top into glaze, letting excess drip off. Place chocolate-side up on parchment paper or wire rack.
- Step 14: Allow glaze to set at room temperature until firm, about 1 hour.
- Step 15: Store fudge in an airtight container at room temperature to maintain freshness and soft texture.