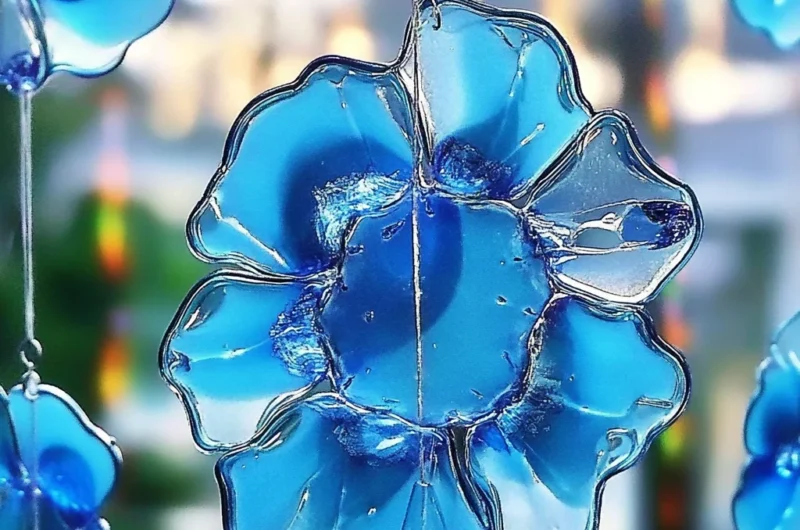
Oh, friend, do you ever just wish you could bottle up a piece of the clear blue sky and bring it right into your home? Or maybe you’re looking for a simple, joyful activity to do on a lazy afternoon, something that sparks creativity and leaves you with a little piece of sunshine, even on a cloudy day. Well, you’ve stumbled upon something truly magical today! We’re diving into the wonderful world of Blue Crayon Suncatchers, and trust me, they are every bit as enchanting as they sound.
I remember making these as a kid, feeling like a little artist with a secret superpower, turning humble crayons into shimmering jewels. And the best part? They’re incredibly easy, wonderfully quick, and create the most beautiful, light-catching art that will make your heart sing. It’s the perfect way to add a pop of color and a touch of whimsy to any window, and honestly, it’s just plain fun. Plus, if you’re looking for a sweet treat to enjoy while you craft, you might love making an easy chocolate pound cake with fudge frosting – pure comfort food to go with your cozy crafting session!
Why You’ll Love Blue Crayon Suncatchers
- Fast: You’ll be amazed at how quickly these come together, perfect for instant gratification!
- Easy: No complicated steps or fancy techniques here. Just simple, satisfying crafting.
- Giftable: Hand-making these makes for a thoughtful, personalized gift that friends and family will adore.
- Crowd-pleasing: Kids and adults alike will get a kick out of creating (and admiring!) these vibrant beauties.
Ingredients
Gathering your supplies for this project is part of the fun! You probably have most of these lying around your house already. Let’s make some magic!
- Blue Crayons (Assorted light and dark shades): This is where the magic truly begins! Don’t be shy – grab all your blues, from sky to navy. A few white or silver crayons can add a lovely frosty or shimmering effect, too.
- 2 Sheets Waxed Paper (per suncatcher): This is your canvas! Waxed paper is key because it holds the crayon shavings beautifully and allows them to melt just right.
- 1 Crayon or Pencil Sharpener: The tool that transforms your solid crayons into colorful confetti! Any basic sharpener will do.
- 1 Iron (for adult use, set to lowest heat with no steam): Your heat source! Remember, this part is strictly for the grown-ups to handle.
- 1 Pair Scissors: To cut out your delightful shapes.
- 1 Hole Punch: For creating the perfect spot to hang your creations.
- Embroidery Floss, String, or Thread (for hanging): Whatever you have on hand that’s strong enough to hold your suncatcher and looks pretty!
How to Make Blue Crayon Suncatchers
Alright, let’s get those hands busy and create some stunning pieces of art! Remember, the iron step is for adults only, so if you’re crafting with little ones, make sure a grown-up is in charge of that part.
- Prep Your Crayons: First things first, peel those paper labels off your blue crayons. This can be a bit therapeutic, don’t you think? Then, grab your sharpener and get to work! You want a mix of fine shavings and some chunkier bits. This variety will give your suncatchers a beautiful, textured look when melted.
- Set Up Your Canvas: Lay one sheet of waxed paper flat on a protected, heat-safe surface. I like to put down an old towel or a few layers of newspaper underneath, just in case.
- Sprinkle the Magic: Now for the fun part! Evenly sprinkle your crayon shavings over the surface of the waxed paper. Don’t overload it, but make sure you have good coverage. Play around with the different shades of blue, maybe adding a touch of white or silver for highlights – you’re creating a mini masterpiece!
- Seal the Deal: Gently place the second sheet of waxed paper directly over your crayon shavings. Take a moment to align the edges as best you can.
- Time to Iron (Adults Only!): Make sure your iron is set to its absolute lowest heat setting and that the steam function is OFF. This is important – we don’t want any scorches or excess moisture. With a gentle, even pressure, press the iron over the top sheet of waxed paper. Don’t hold it in one spot for too long.
- Watch the Colors Swirl: Continue ironing, moving the iron slowly and steadily. You’ll see the crayon shavings start to melt and fuse together, creating beautiful swirls and a smooth sheet of color. Once everything looks melted and blended to your liking, remove the iron.
- Cool and Cut: Let your melted crayon sheet cool completely for several minutes. It needs to firm up before you start cutting. Once cool, it’s time to get creative with your shapes! You can freehand some raindrop shapes, or if you prefer, sketch out some simple designs like clouds, stars, or even little fish onto the waxed paper.
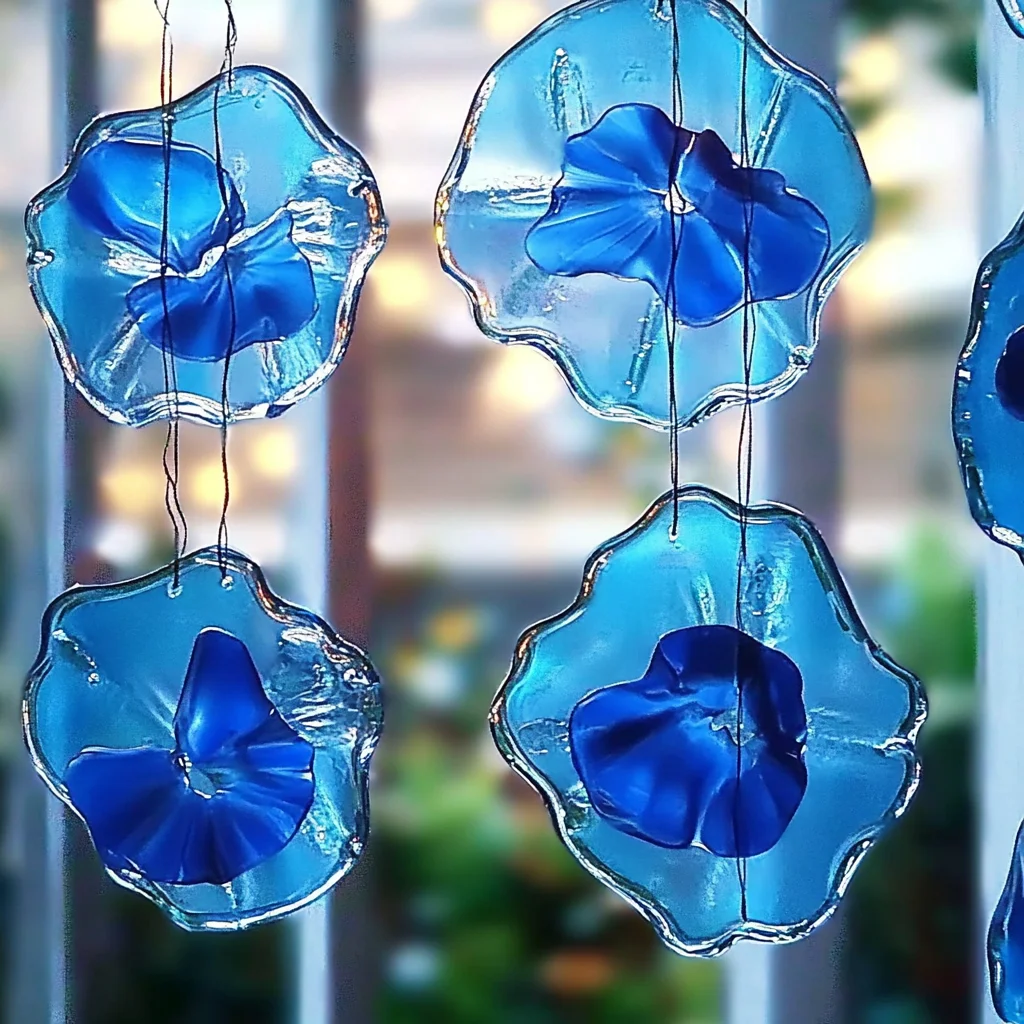
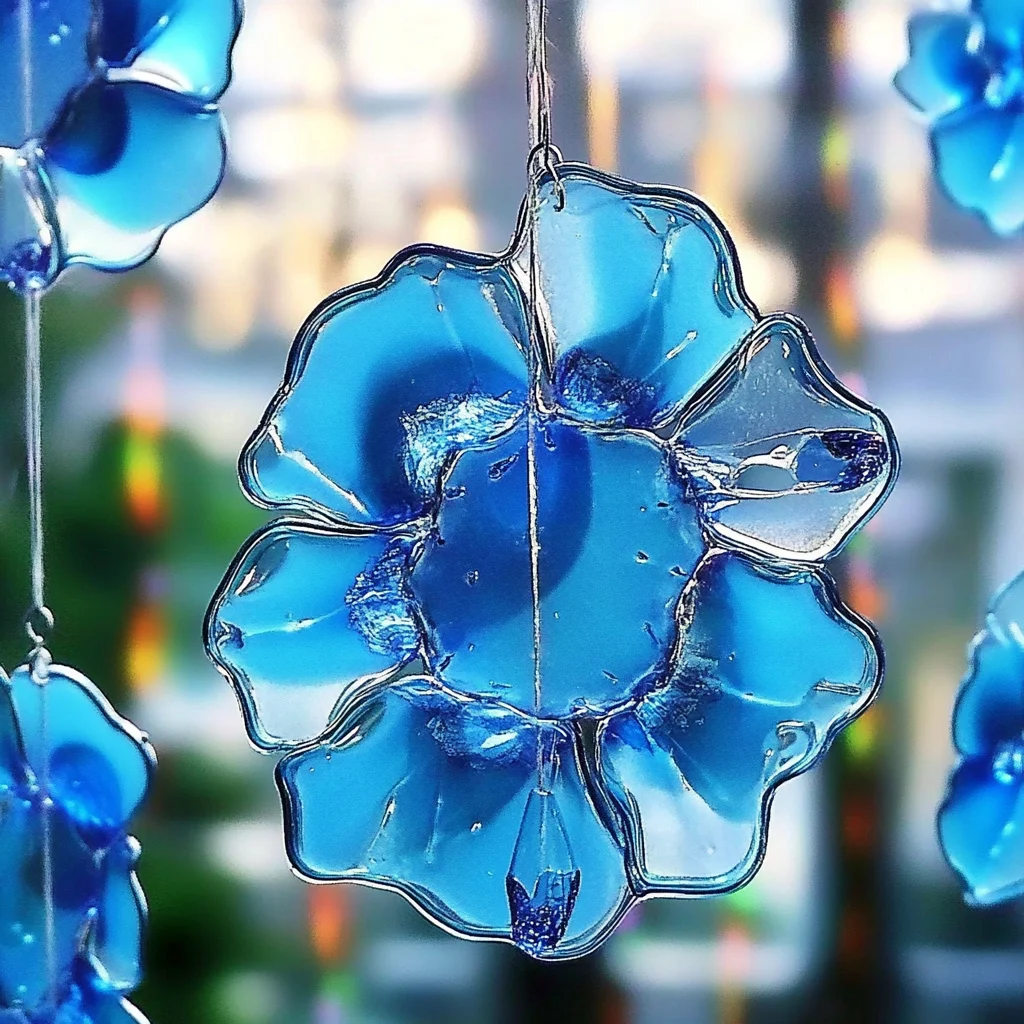
- Punch and Hang: Carefully cut out your beautiful blue shapes. Then, use your hole punch to make a small hole at the top of each suncatcher. Thread your string, embroidery floss, or thread through the hole, tie a loop, and find the perfect sunny window to display your new creations!
Substitutions & Additions
The beauty of this craft is how easily you can customize it! Don’t feel limited to just blue!
- Color Palette Swap: Instead of blue, why not try a rainbow assortment for a vibrant look? Or autumn tones for fall, pastels for spring, or even bright neons for a modern twist. You could even create themed suncatchers, like colorful bubbling rainbow bottles for a playful touch!
- Shape Shifters: Cookie cutters can make fantastic stencils for cutting out shapes. Think hearts for Valentine’s Day, leaves for autumn, or stars for a celestial theme.
- Sparkle and Shine: A tiny sprinkle of fine glitter (the kind that’s safe with heat, like craft glitter, not metallic flakes) before ironing can add a subtle shimmer. Just a pinch!
- Nature’s Touch: Experiment with very small, pressed flowers or thin dried leaves placed among the crayon shavings before ironing. Just be sure they are completely dry and flat.
Tips for Success
To ensure your Blue Crayon Suncatcher experience is smooth sailing and super fun, here are a few pointers I’ve picked up along the way:
- Crayon Label Removal: Sometimes those labels can be stubborn! If you’re having trouble, a quick soak in warm water can help loosen the adhesive. Just be sure to dry your crayons completely before sharpening.
- Iron Temperature is Key: Seriously, lowest setting, no steam. Too hot, and your wax paper can wrinkle or even melt unevenly. Patience is a virtue here!
- Adult Supervision: Especially with the iron, this project requires a grown-up in charge. Safety first!
- Don’t Rush the Cool Down: Letting the wax paper cool completely is crucial. If you try to cut it while it’s still warm, it might distort your shapes or smear the colors.
- Vary Your Shavings: As mentioned, a mix of fine and chunky shavings gives the most interesting texture. Don’t be afraid to experiment!
- Protect Your Workspace: Always put down newspaper or an old towel under your waxed paper before ironing. Melted crayon can be tough to clean! If you enjoyed this melted crayon craft, you might also love making DIY Melted Crayon Stars for another fun, colorful project!
How to Store Blue Crayon Suncatchers
Once your beautiful suncatchers are made, they’re really meant to be displayed! Hang them in windows, on a Christmas tree as unique ornaments, or even string several together to make a mobile.
If you need to store them, perhaps between seasons or if you’ve made a big batch:
- Lay Them Flat: Store them flat between sheets of tissue paper or plain paper to prevent them from sticking together.
- Avoid Extreme Heat: Remember, they’re made of melted crayon! Keep them away from direct heat sources or hot cars, which could cause them to melt or warp.
- Out of Direct, Intense Sunlight for Long Periods: While they are suncatchers, prolonged exposure to extremely intense, direct sunlight over months or years might cause the colors to fade slightly. For the longest lasting vibrancy, rotate them or choose a window with indirect bright light.
FAQs
Got a few questions buzzing in your head? Let’s clear them up!
Can kids make these suncatchers?
Absolutely! This is a fantastic kid-friendly craft, especially the crayon sharpening and sprinkling steps. The ironing, however, should always be done by an adult for safety.
What if I don’t have blue crayons? Can I use other colors?
Yes, please do! While the blue gives a lovely sky-like effect, any color or combination of colors will work beautifully. Imagine rainbow suncatchers, or even monochromatic ones in shades of green or purple!
How long do these suncatchers last?
Indefinitely, as long as they are handled gently and kept away from extreme heat. The colors are fairly stable, though as with any art, very prolonged, intense direct sunlight could cause slight fading over many years.
Do I have to use waxed paper?
Waxed paper is definitely the best choice for this project as its waxy coating helps the crayons melt and fuse without sticking. While parchment paper might work, it doesn’t have the same waxy quality, and results can be less consistent. Stick with waxed paper for guaranteed success!
I truly hope you have as much fun making these Blue Crayon Suncatchers as I do! They’re a wonderful way to bring a little bit of homemade joy into your world. Happy crafting, friend!
For more creative ideas and delicious recipes, be sure to follow us on Pinterest!
Blue Sky Magic: Easy DIY Blue Crayon Suncatchers
Ingredients
Equipment
Method
- Step 1: Prep Your Crayons: First, peel the paper labels off your blue crayons. Then, use a crayon or pencil sharpener to create a mix of fine shavings and chunkier bits from the peeled crayons.
- Step 2: Set Up Your Canvas: Lay one sheet of waxed paper flat on a protected, heat-safe surface (like an old towel or newspaper).
- Step 3: Sprinkle the Magic: Evenly sprinkle your crayon shavings over the surface of the waxed paper. Ensure good coverage without overloading, playing with different shades of blue and optionally adding white or silver for highlights.
- Step 4: Seal the Deal: Gently place the second sheet of waxed paper directly over your crayon shavings, aligning the edges as best you can.
- Step 5: Time to Iron (Adults Only!): Ensure your iron is set to its absolute lowest heat setting and the steam function is OFF. With gentle, even pressure, press the iron over the top sheet of waxed paper. Do not hold it in one spot for too long.
- Step 6: Watch the Colors Swirl: Continue ironing, moving the iron slowly and steadily. You will see the crayon shavings begin to melt and fuse together, creating beautiful swirls and a smooth sheet of color. Once everything looks melted and blended to your liking, remove the iron.
- Step 7: Cool and Cut: Let your melted crayon sheet cool completely for several minutes until it is firm. Once cool, use scissors to cut out your desired shapes (e.g., raindrops, clouds, stars, fish, or freehand designs).
- Step 8: Punch and Hang: Use a hole punch to make a small hole at the top of each suncatcher. Thread your string, embroidery floss, or thread through the hole, tie a loop, and find the perfect sunny window to display your new creations!