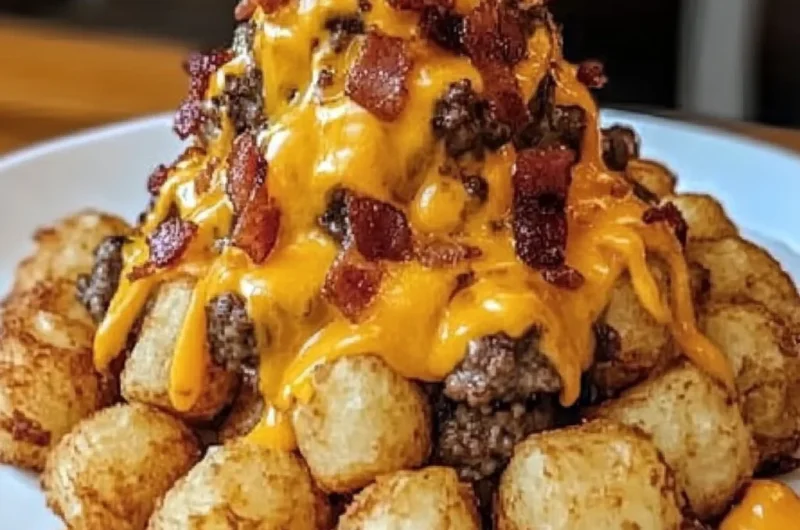
Remember those classic summer days, the joyful sound of laughter, the smell of burgers on the grill, and the satisfying crunch of crispy tater tots? Well, get ready to combine all those amazing memories into one incredible, bite-sized package! Today, we’re diving into a recipe that’s going to blow your mind and become an instant family favorite: Bacon Cheeseburger Tater Tot Cones. This isn’t just a snack; it’s a little nostalgic hug, a party in your mouth, and trust me, it’s easier to make than you think. Forget complicated appetizers; these cones bring all the savory, cheesy, bacony goodness of a classic cheeseburger, nestled perfectly into a crispy tater tot shell. Get ready to impress everyone, because these little beauties are not only super memorable but also incredibly quick to whip up!
Why You’ll Love Bacon Cheeseburger Tater Tot Cones
- Fast: From skillet to table in under 40 minutes, perfect for those sudden cravings or last-minute guests!
- Easy: No fancy techniques here, just simple steps and readily available ingredients.
- Crowd-pleasing & Shareable: Seriously, who can resist bacon, cheeseburger, and tater tots all in one? Kids and adults alike will devour them, making them ideal for potlucks or game day!
Ingredients
Gather ’round, friends, let’s get our ingredients ready. Most of these you probably already have lurking in your pantry or fridge!
- For the Cheeseburger Filling:
- 1 pound ground beef: I usually go for 80/20 for the best flavor, but lean ground beef works great too if you prefer a lighter option!
- 6 slices bacon, cooked and crumbled: You can cook this up ahead of time, or even use quality pre-cooked bacon bits for a super speedy shortcut.
- 1/4 cup diced onions: Adds a lovely savory kick and a bit of texture. If you’re not an onion fan, you can finely mince them so they practically disappear, or skip them entirely.
- 1/4 cup ketchup: The classic burger condiment, bringing that tangy sweetness we all love.
- 1/4 cup mayonnaise: For creaminess and a touch of richness – don’t skip it, it really makes the filling!
- 1/4 cup yellow mustard: That iconic mustardy zing that makes a cheeseburger, well, a cheeseburger!
- Salt, to taste: Season generously; it brings out all the flavors.
- Black pepper, to taste: Freshly ground is always best for that extra aroma.
- For the Crispy Cones and Cheese:
- 24 frozen tater tots: The adorable star of our show! Make sure they’re nice and frozen when you start.
- 4 ounces shredded cheddar cheese: For that melty, sharp cheddar flavor inside our cones.
- 4 ounces shredded mozzarella cheese: This gives us that beautiful, bubbly, golden-brown topping that stretches perfectly.
How to Make Bacon Cheeseburger Tater Tot Cones
Alright, let’s get cooking! You’re going to be amazed at how simple it is to bring these incredible Bacon Cheeseburger Tater Tot Cones to life. Just follow along, and we’ll have a delicious snack ready in no time!
- Get Your Oven Ready: First things first, preheat your oven to 425°F (220°C). We want it nice and hot for those crispy tots!
- Brown Your Beef: Grab a large skillet and pop it over medium heat. Toss in your 1 pound of ground beef and cook it until it’s beautifully browned all over. Once it’s done, make sure to drain any excess fat. No one wants greasy cones!
- Whip Up the Filling: Now, back to that skillet (off the heat for a moment!). Add in your crumbled bacon, diced onions, ketchup, mayonnaise, and yellow mustard. Give it a good seasoning with salt and black pepper. Stir everything together until it’s perfectly combined and smelling absolutely divine. This is your delicious cheeseburger filling!
- Hollow Out Your Tots: This is the fun part! Take each of your 24 frozen tater tots. Using a small paring knife or even a tiny spoon (like a melon baller or 1/4 tsp measuring spoon works wonders), carefully hollow out the center of each tater tot to create a little cone or cup shape. Be gentle so they don’t break!
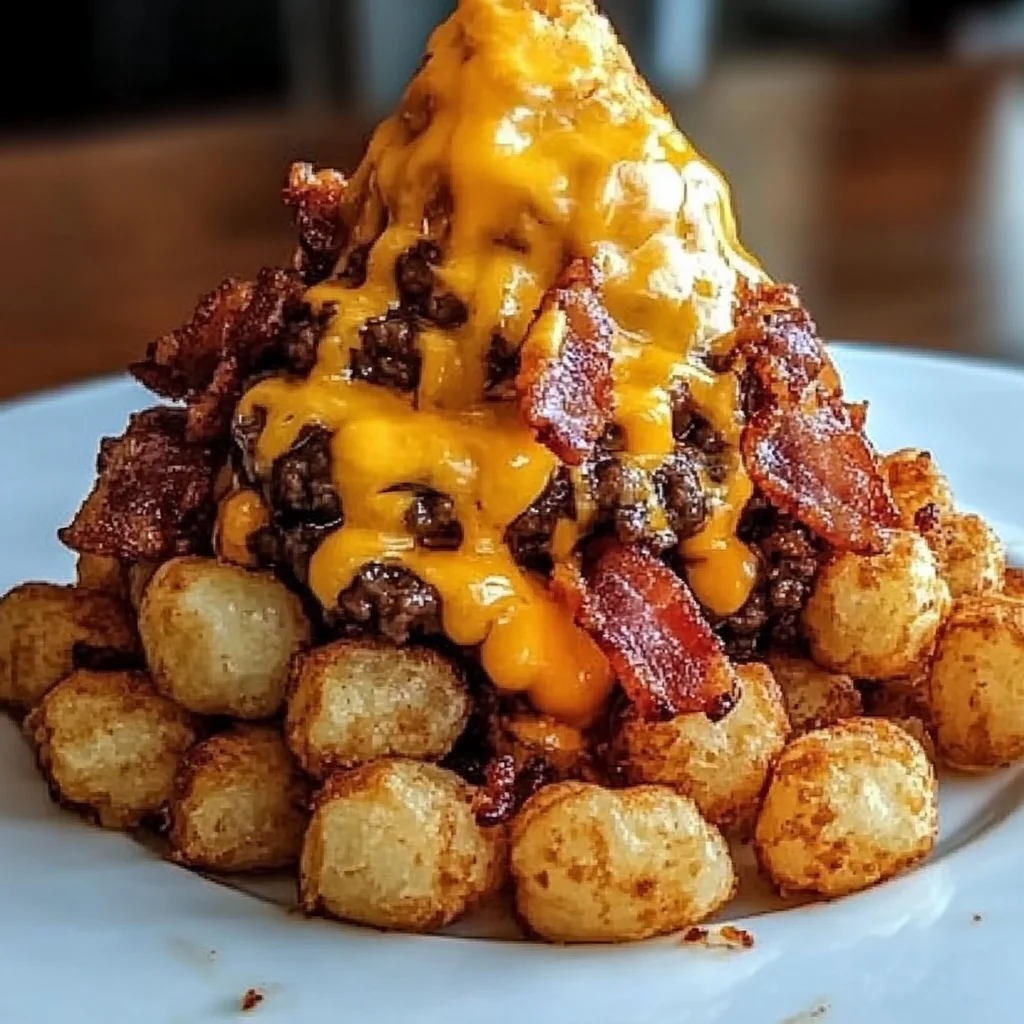
- Stuff ’em Up: Time to fill those tots! Spoon your glorious cheeseburger filling into each hollowed-out tater tot cone. Don’t be shy, but don’t overstuff them either. A nice, even scoop is all you need. Once they’re filled, top each one with a sprinkle of shredded cheddar cheese.
- First Bake: Arrange your stuffed tater tot cones neatly on a parchment-lined baking sheet. Pop them into your preheated oven for 15 to 20 minutes. You’re looking for the tater tots to turn golden and crispy, and that cheddar cheese to be wonderfully melted and gooey.
- Mozzarella Magic: While your cones are having their first bake, grab a bowl and combine the shredded mozzarella cheese with any remaining cheeseburger filling you might have. This extra topping is going to add another layer of cheesy goodness!
- Second Bake for Bubbly Perfection: Take your cones out of the oven. Evenly distribute the mozzarella and cheeseburger mixture over the tops of each cone. This is where we get that amazing stretchy, bubbly cheese. Return them to the oven for an additional 5 to 10 minutes, or until that mozzarella topping is gloriously bubbly and golden brown.
- Serve and Enjoy!: The hardest part is waiting! Once they’re out, let them cool just for a minute or two (they’ll be hot!). Then serve immediately and watch them disappear!
Substitutions & Additions
One of the best things about comfort food like these Bacon Cheeseburger Tater Tot Cones is how versatile they are! Don’t be afraid to get creative and make them truly your own. Think of these as a starting point for your culinary adventures!
- Spice It Up: A pinch of red pepper flakes in the filling, or a dash of your favorite hot sauce (like Sriracha or Tabasco) can add a lovely kick.
- Cheese Please: Feel free to experiment with other cheeses! Colby Jack, Pepper Jack (for a spicy twist), or even a smoky Gouda would be absolutely delicious.
- Veggie Boost: Want to sneak in some extra veggies? Finely diced bell peppers, mushrooms, or even a bit of fresh spinach can be stirred into the beef filling.
- Different Sauces: Swap out some of the ketchup/mustard for BBQ sauce for a smoky flavor, or a touch of Worcestershire sauce for extra umami. If you’re looking for another fantastic cheesy, meaty, and saucy snack idea, you absolutely have to try these Cheesy BBQ Bacon Bombs – they’re seriously addictive and perfect for parties!
Tips for Success
To ensure your Bacon Cheeseburger Tater Tot Cones come out perfectly every time, keep these little nuggets of wisdom in mind. A few simple tricks can make all the difference!
- Don’t Overstuff: While it’s tempting to cram as much filling as possible into those little tot cones, resist the urge! Overstuffing can cause them to break apart during baking. A nice, even scoop is all you need.
- Crispy Tots are Key: Make sure your oven is fully preheated to that 425°F temperature. The high heat is what gets those tater tots beautifully crispy. For another amazing crispy potato dish, check out our recipe for Crispy Roasted Baby Potatoes – they’re a revelation for potato lovers!
- Parchment Paper is Your Friend: Seriously, don’t skip it! It prevents sticking and makes cleanup a breeze. Plus, it ensures those precious cones don’t lose their bottoms.
- Prep Ahead for Parties: You can cook the ground beef and prepare the cheeseburger filling a day in advance. Store it in an airtight container in the fridge. This makes assembly super quick on game day or party day!
- Gentle Handling: When hollowing out the tater tots, be gentle. They’re delicate when frozen. If one breaks, don’t worry, just eat it as a chef’s snack and grab another!
How to Store Bacon Cheeseburger Tater Tot Cones
While these cones are definitely best enjoyed fresh and hot out of the oven, sometimes you might have a few leftovers, or you want to prep them for later. Here’s how to handle them:
- Refrigeration: Store any leftover Bacon Cheeseburger Tater Tot Cones in an airtight container in the refrigerator for up to 2-3 days.
- Reheating: To reheat, arrange them on a baking sheet and warm them in an oven preheated to 350°F (175°C) for about 10-15 minutes, or until heated through and crispy again. The microwave works in a pinch, but they won’t be as crispy.
- Freezing (Unbaked): You can assemble the cones (hollowed, filled, and topped with cheddar) and flash freeze them on a baking sheet until solid. Then transfer them to a freezer-safe bag or container for up to 1 month. When ready to bake, place them on a parchment-lined baking sheet and bake from frozen, adding about 10-15 minutes to the initial baking time, then proceed with the mozzarella topping step. This is a great way to have a delicious snack ready to go, just like a savory Tater Tot Cowboy Casserole you can easily freeze and bake later!
FAQs
- Can I use different types of ground meat?
- Absolutely! Ground turkey or chicken would work as a leaner alternative, though the flavor profile will be slightly different. Adjust seasonings as needed to ensure maximum deliciousness!
- What if I don’t have parchment paper?
- You can use aluminum foil, but I highly recommend lightly greasing it to prevent sticking. Parchment paper really is the best for non-stick baking and easy cleanup, so it’s worth having on hand!
- Can I make these vegetarian?
- Yes, you definitely can! You can substitute the ground beef with a plant-based ground “meat” alternative. Just cook it according to package directions before mixing in the other filling ingredients.
- Can I air fry these?
- Yes, you can! Air fry at 375°F (190°C) for about 10-15 minutes for the first bake, then add the mozzarella and air fry for another 5-7 minutes, keeping a close eye on them to prevent burning. You might need to cook them in batches to ensure even crisping.
Ready for more delicious, crowd-pleasing recipes? Make sure to follow us on Pinterest for endless inspiration!
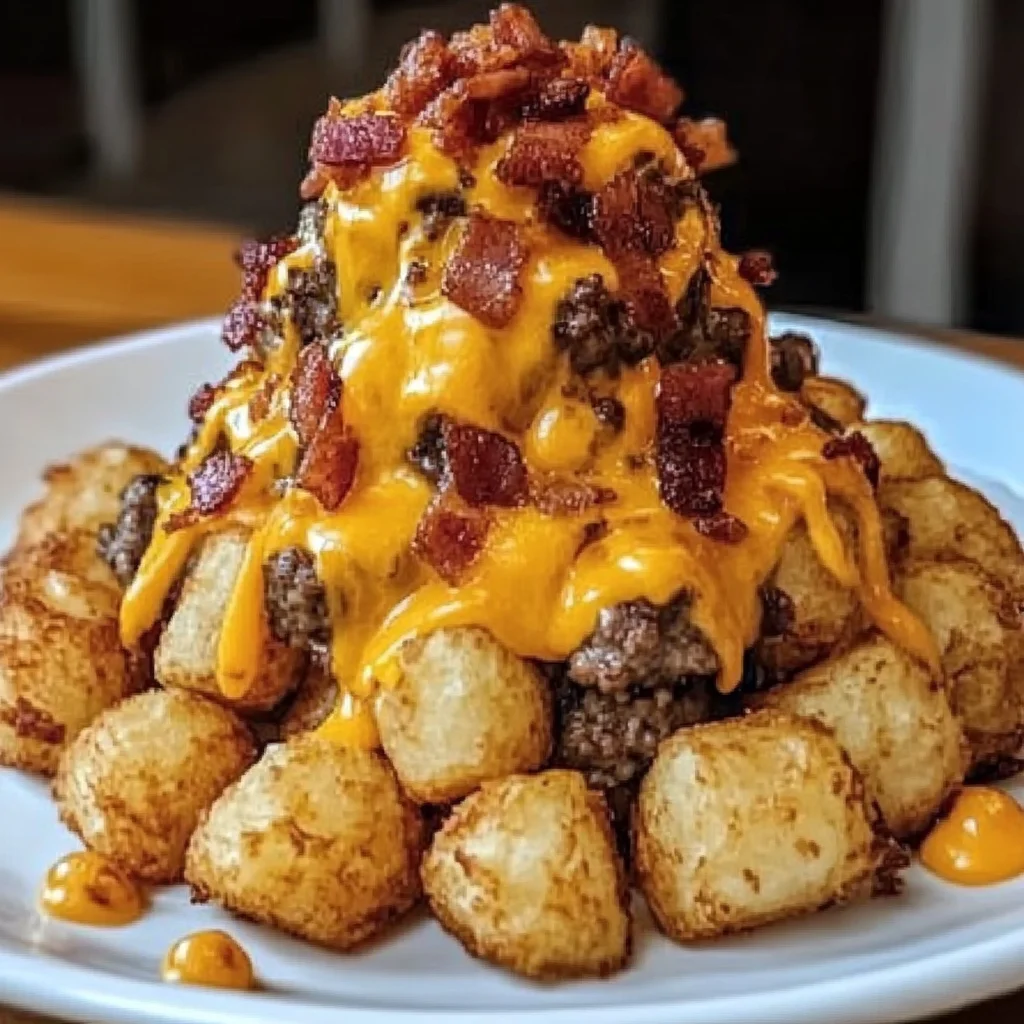
Irresistible Bacon Cheeseburger Tater Tot Cones
Ingredients
Equipment
Method
- Step 1: Get Your Oven Ready: First things first, preheat your oven to 425°F (220°C). We want it nice and hot for those crispy tots!
- Step 2: Brown Your Beef: Grab a large skillet and pop it over medium heat. Toss in your 1 pound of ground beef and cook it until it's beautifully browned all over. Once it's done, make sure to drain any excess fat.
- Step 3: Whip Up the Filling: Now, back to that skillet (off the heat for a moment!). Add in your crumbled bacon, diced onions, ketchup, mayonnaise, and yellow mustard. Give it a good seasoning with salt and black pepper. Stir everything together until it's perfectly combined. This is your delicious cheeseburger filling!
- Step 4: Hollow Out Your Tots: This is the fun part! Take each of your 24 frozen tater tots. Using a small paring knife or even a tiny spoon (like a melon baller or 1/4 tsp measuring spoon works wonders), carefully hollow out the center of each tater tot to create a little cone or cup shape. Be gentle so they don't break!
- Step 5: Stuff 'em Up: Time to fill those tots! Spoon your glorious cheeseburger filling into each hollowed-out tater tot cone. Don't be shy, but don't overstuff them either. A nice, even scoop is all you need. Once they're filled, top each one with a sprinkle of shredded cheddar cheese.
- Step 6: First Bake: Arrange your stuffed tater tot cones neatly on a parchment-lined baking sheet. Pop them into your preheated oven for 15 to 20 minutes. You're looking for the tater tots to turn golden and crispy, and that cheddar cheese to be wonderfully melted and gooey.
- Step 7: Mozzarella Magic: While your cones are having their first bake, grab a bowl and combine the shredded mozzarella cheese with any remaining cheeseburger filling you might have. This extra topping is going to add another layer of cheesy goodness!
- Step 8: Second Bake for Bubbly Perfection: Take your cones out of the oven. Evenly distribute the mozzarella and cheeseburger mixture over the tops of each cone. Return them to the oven for an additional 5 to 10 minutes, or until that mozzarella topping is gloriously bubbly and golden brown.
- Step 9: Serve and Enjoy!: Once they're out, let them cool just for a minute or two (they'll be hot!). Then serve immediately and watch them disappear!