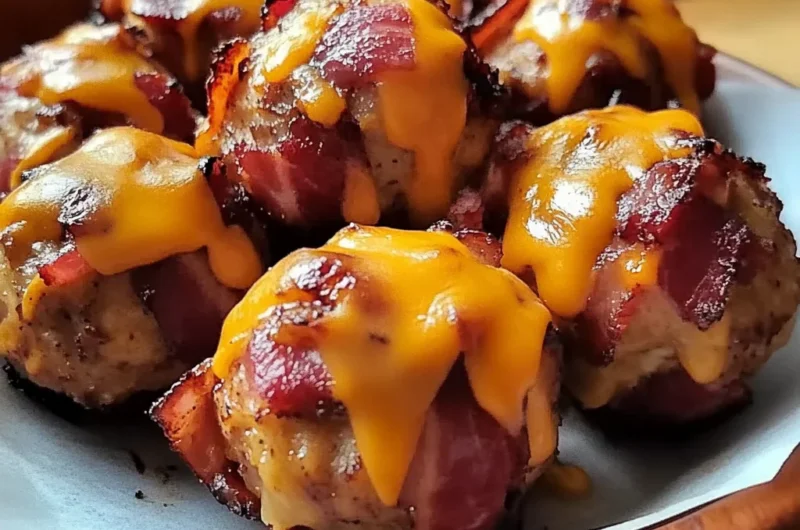
Oh honey, do you ever just crave that perfect bite? That savory, smoky, cheesy, utterly satisfying explosion of flavor that makes your taste buds sing? I know I do! And let me tell you, these Cheesy BBQ Bacon Bombs are exactly that. They take me right back to summer cookouts and easy, breezy evenings with friends, where the food was simple, delicious, and everyone just kept reaching for more. If you’re looking for a recipe that’s going to be the talk of your next gathering, or just a ridiculously tasty weeknight treat that feels like a cheat meal, you’ve stumbled upon gold. These little bundles of joy are incredibly easy to whip up, shockingly quick to cook, and guaranteed to be a memorable hit!
Why You’ll Love Cheesy BBQ Bacon Bombs
- Fast: From mixing bowl to oven in mere minutes, perfect for busy schedules!
- Easy: No complicated techniques here, just simple steps for delicious results.
- Giftable: (Or, you know, shareable!) Bring them to a potluck and watch them disappear. They make a fantastic appetizer alongside other party favorites like easy cheesy sausage balls.
- Crowd-pleasing: Seriously, who can resist the magic trio of cheese, BBQ, and bacon?
Ingredients
Gather ’round, because these ingredients are simple heroes ready to create something spectacular!
- 1 lb ground beef (80/20 blend): This blend gives you just the right amount of fat for juicy, flavorful bombs.
- 1/2 cup barbecue sauce: Your favorite kind! Sweet, tangy, smoky – whatever makes your heart happy.
- 1/2 cup grated sharp cheddar cheese: Sharp cheddar really pops here, but a medium or even a Colby Jack would be delicious too.
- 1 tsp garlic powder: A pantry staple for a reason, it adds that essential savory depth.
- 1 tsp onion powder: Complements the garlic perfectly, rounding out the savory notes.
- 1/4 tsp freshly cracked black pepper: Freshly cracked makes a big difference, trust me!
- 1/2 tsp kosher salt: Essential for bringing all those flavors to life.
- 12 strips thick-cut bacon: Thick-cut is key here for holding its shape and giving you that satisfying crunch.
- 12 toothpicks (soaked in water if grilling): These are our little helpers for keeping everything neat and tidy. Soaking prevents them from burning if you ever decide to grill these beauties!
- Additional barbecue sauce for dipping (optional): Because more BBQ sauce is never a bad idea!
- Diced green onions for garnish (optional): Adds a fresh pop of color and a mild oniony bite.
- Pickled jalapeños for extra flavor (optional): If you like a little kick, these are a game-changer!
How to Make Cheesy BBQ Bacon Bombs
Alright, let’s get cooking! This is going to be so much fun, and I promise you’ll be amazed at how quickly these come together.
- Get Ready to Roll: First things first, go ahead and preheat your oven to a cozy 375°F (190°C). While it’s warming up, grab a baking tray and line it with foil or parchment paper – this makes cleanup a breeze, which is always a win in my book! Then, place a wire rack on top of your lined tray. This little trick helps the bacon get extra crispy all around.
- Mix It Up: In a nice big bowl, gently combine your ground beef, grated sharp cheddar cheese, that yummy barbecue sauce, kosher salt, black pepper, garlic powder, and onion powder. Now, I say “gently” because you don’t want to overmix the beef; it can make it tough. Just bring everything together until it’s well combined.
- Form Your Bombs: It’s time to get your hands a little dirty (in the best way!). Divide your seasoned beef mixture into 12 equal portions. I usually eyeball it, but you can definitely use a scoop if you want them perfectly uniform. Roll each portion into a cute little 1.5-inch diameter ball. Think of them as tiny flavor grenades ready to explode with deliciousness!
- Wrap ‘Em Up: Now for the bacon! Take one strip of that glorious thick-cut bacon and wrap it around each meatball. You want a slight overlap to make sure the entire beef ball is covered. Secure each wrapped meatball with a toothpick. This keeps the bacon snug while it cooks and gets wonderfully crispy.
- Bake to Perfection: Arrange your bacon-wrapped meatballs on the prepared wire rack. Make sure there’s a little space between each one for even cooking. Pop them into your preheated oven and bake for 20-25 minutes. About halfway through, give them a flip to ensure both sides of the bacon get beautifully browned and crispy. You’re looking for an internal temperature of 160°F (71°C) – a meat thermometer is your best friend here! Speaking of satisfying, meaty, cheesy bites, if you love these, you’ll absolutely adore whipping up a batch of garlic parmesan cheeseburger bombs next!
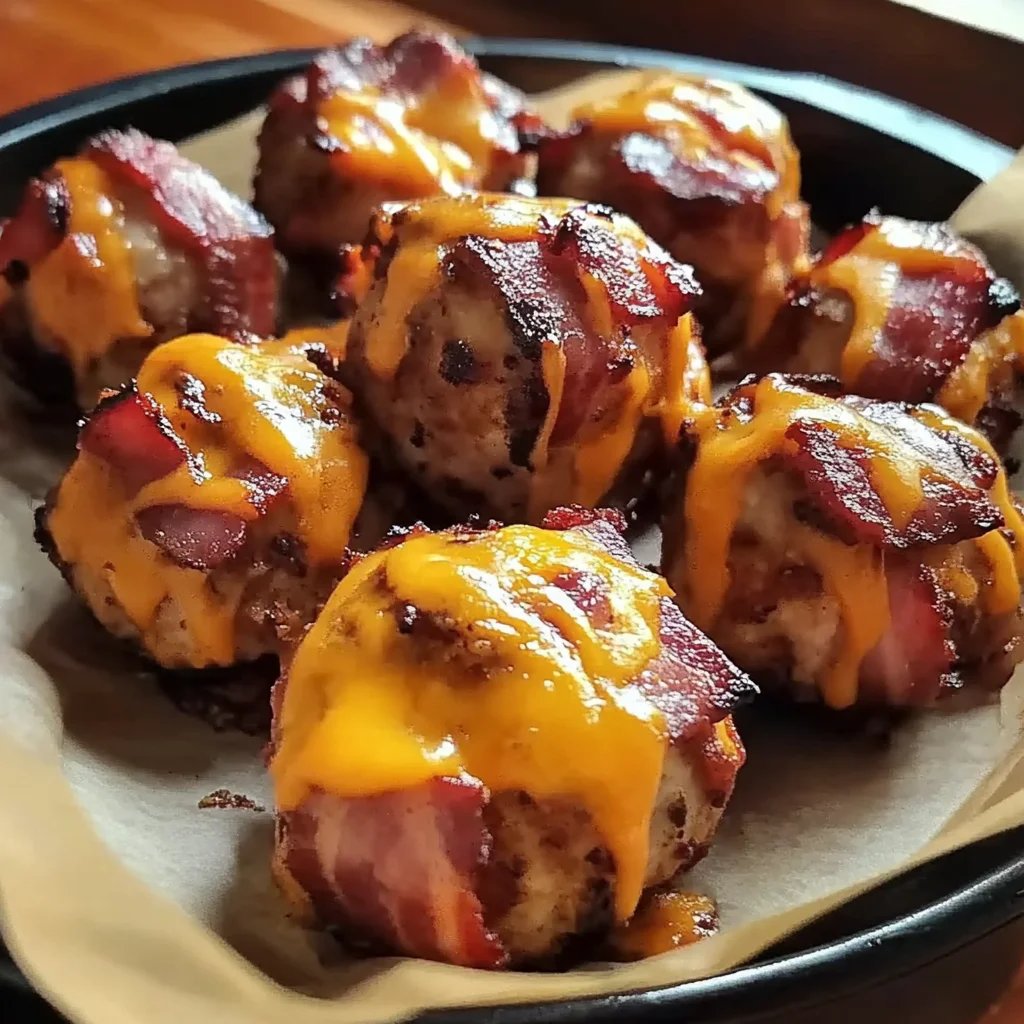
- Rest and Serve: Once they’re perfectly cooked, transfer those glorious bombs to a plate lined with paper towels to catch any excess grease. Let them rest for about 5 minutes. This allows the juices to redistribute, keeping them super moist. Before you dive in, remember to remove those toothpicks! Serve them up with extra barbecue sauce for dipping, a sprinkle of fresh diced green onions, or even some pickled jalapeños if you’re feeling adventurous.
Substitutions & Additions
This recipe is super versatile, so feel free to play around and make it your own! Here are some ideas to get your creative juices flowing:
- Cheese Swap: Not a cheddar fan? Try mozzarella for a gooey pull, pepper jack for a spicy kick, or even a smoked gouda for an extra layer of flavor.
- Spice It Up: Add a pinch of cayenne pepper or a dash of your favorite hot sauce to the meat mixture if you like things a little fiery. A sprinkle of smoked paprika could also be fantastic!
- Herbaceous Twist: A little finely chopped fresh parsley or chives mixed into the beef would add a lovely fresh element.
- Sauce Exploration: Experiment with different BBQ sauce flavors – a honey BBQ, a spicy chipotle, or even a Carolina gold mustard-based sauce would all offer unique profiles.
- Veggies Welcome: Finely minced bell peppers or onions can be added to the meat mixture for extra texture and flavor. Just make sure they’re super fine so the bombs hold their shape.
- Mini Meatballs: If you’re making these for a party and want them even more bite-sized, just make smaller meatballs and cut your bacon strips in half. They’ll cook a little faster, so keep an eye on them! You might even like them as much as crispy BBQ bacon cheeseburger tater tot bombs for a fun twist!
Tips for Success
Nobody wants a soggy bacon bomb, right? Here are my top tips for ensuring your Cheesy BBQ Bacon Bombs turn out perfectly every single time!
- Don’t Overmix: As I mentioned earlier, be gentle with your ground beef. Overmixing can lead to tough meatballs. Mix just until everything is combined.
- Crispy Bacon Secret: The wire rack is your best friend here! It allows air to circulate around the bacon, ensuring it crisps up nicely on all sides. If you don’t have one, you can still make them, but be prepared for the underside to be a little less crisp.
- Pat Bacon Dry: If your bacon seems a little wet, pat it dry with a paper towel before wrapping. This helps it crisp up better.
- Even Sizing: Try to make your meatballs roughly the same size so they cook evenly.
- Resting is Best: Don’t skip the resting step! It’s crucial for juicy meatballs.
- Prep Ahead: You can mix and roll the meatballs, wrap them in bacon, and store them uncooked in an airtight container in the fridge for up to 24 hours. Just bake them when you’re ready! This is a fantastic strategy for party prep or busy weeknights.
How to Store Cheesy BBQ Bacon Bombs
If by some miracle you have any leftovers (it’s rare, I know!), here’s how to keep them fresh:
- Refrigeration: Store any leftover Cheesy BBQ Bacon Bombs in an airtight container in the refrigerator for up to 3-4 days.
- Reheating: To reheat, I like to pop them in the air fryer at 350°F (175°C) for about 5-7 minutes, or in the oven for 10-15 minutes, until heated through and the bacon is crispy again. Microwaving works in a pinch, but the bacon won’t be as crisp.
- Freezing: You can freeze cooked Cheesy BBQ Bacon Bombs! Let them cool completely, then place them on a baking sheet in a single layer and freeze until solid. Once frozen, transfer them to a freezer-safe bag or container for up to 2-3 months. Reheat from frozen in the oven at 350°F (175°C) for about 20-25 minutes, or until thoroughly heated.
FAQs
Got questions? I’ve got answers!
Q: Can I use ground turkey instead of ground beef?
A: Absolutely! Ground turkey will work, but I recommend using a higher fat blend (like 85/15) or adding a little extra moisture like an additional tablespoon of BBQ sauce to prevent them from drying out, as turkey is leaner.
Q: My bacon isn’t getting crispy. What am I doing wrong?
A: Make sure you’re using a wire rack on top of your baking sheet. This allows the fat to drip away and the air to circulate, which is key for crispy bacon. Also, ensure your oven is fully preheated, and avoid overcrowding the pan!
Q: Can these be made on a grill?
A: Yes! Preheat your grill to medium heat. Remember to soak your toothpicks in water for at least 30 minutes beforehand to prevent them from burning. Grill for about 15-20 minutes, turning occasionally, until the bacon is crispy and the internal temperature reaches 160°F (71°C).
Q: What’s the best way to get even-sized meatballs?
A: For perfectly even meatballs, you can use a small cookie scoop or a kitchen scale. Divide the meat mixture into 12 equal weights and then roll them. It’s a little extra step but ensures consistent cooking!
For more delicious and easy recipes, be sure to follow us on Pinterest!
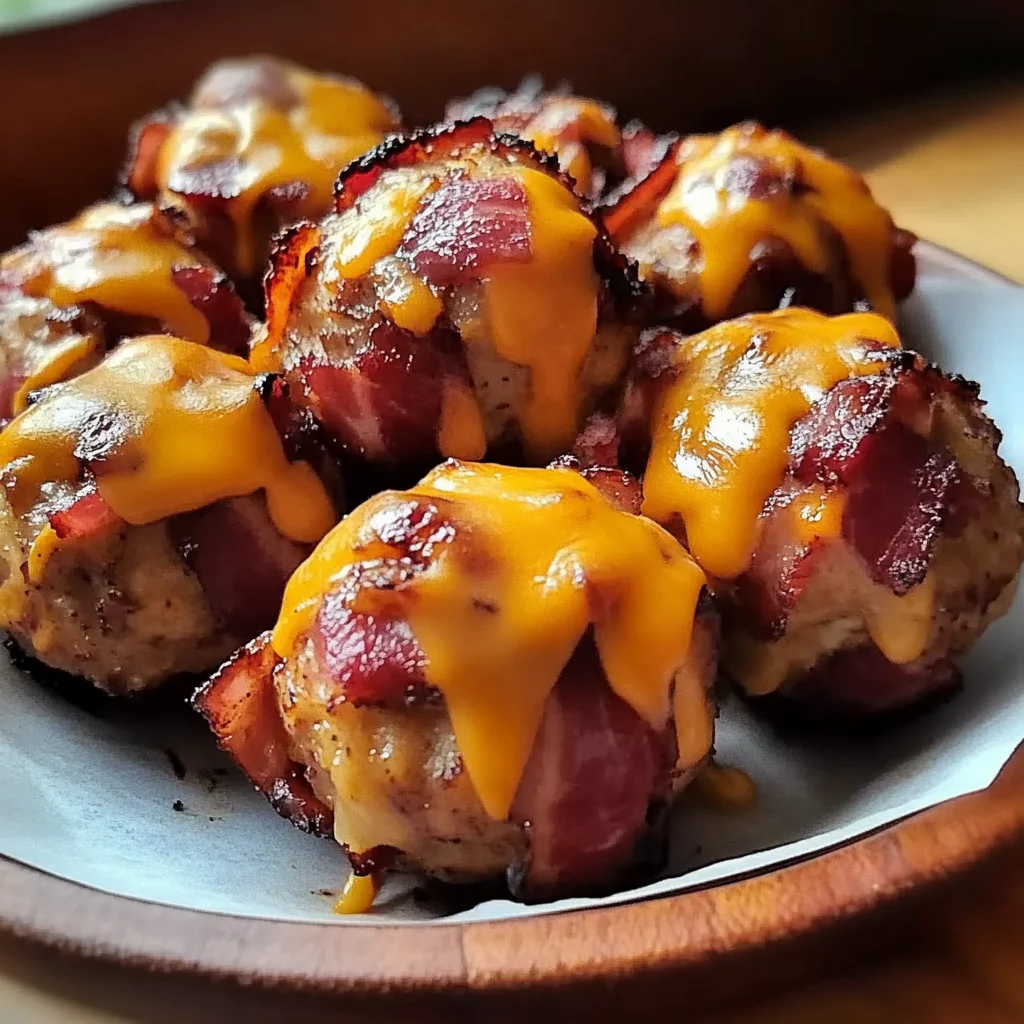
Cheesy BBQ Bacon Bombs
Ingredients
Equipment
Method
- Step 1: Get Ready to Roll: Preheat your oven to 375°F (190°C). Line a baking tray with foil or parchment paper and place a wire rack on top.
- Step 2: Mix It Up: In a large bowl, gently combine the ground beef, grated sharp cheddar cheese, barbecue sauce, kosher salt, black pepper, garlic powder, and onion powder until well combined. Avoid overmixing to keep the beef tender.
- Step 3: Form Your Bombs: Divide the seasoned beef mixture into 12 equal portions. Roll each portion into a 1.5-inch diameter ball.
- Step 4: Wrap 'Em Up: Take one strip of thick-cut bacon and wrap it around each meatball, ensuring a slight overlap to cover the entire ball. Secure each wrapped meatball with a toothpick.
- Step 5: Bake to Perfection: Arrange the bacon-wrapped meatballs on the prepared wire rack, leaving a little space between each for even cooking. Bake for 20-25 minutes. Flip them halfway through to ensure the bacon browns and crisps evenly. They are done when the internal temperature reaches 160°F (71°C).
- Step 6: Rest and Serve: Once cooked, transfer the bombs to a plate lined with paper towels to catch excess grease. Let them rest for about 5 minutes for juicy meatballs. Remove the toothpicks before serving. Serve with extra barbecue sauce for dipping, diced green onions, or pickled jalapeños, if desired.