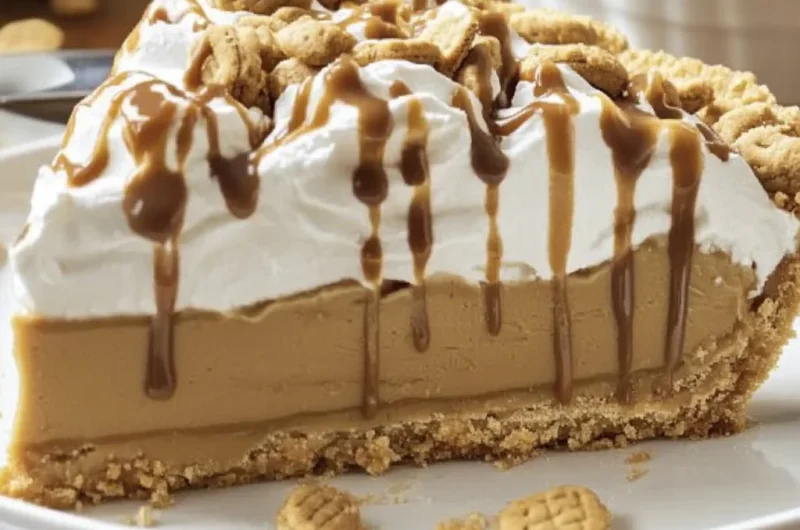
There’s something about the nostalgic crunch of Nutter Butter cookies that takes me right back to childhood afternoons spent sneaking snacks and dreaming up desserts. If you’re a peanut butter lover like me, you’re in for a real treat with this Nutter Butter Pie. It’s creamy, dreamy, and packed with that classic peanut butter flavor we all adore. Best of all? It’s a no-bake pie, which means you can whip it up quickly without heating up the kitchen or fussing over complicated steps. Whether it’s a last-minute dessert for a family gathering or a cozy night in, this pie is sure to become a beloved favorite.
Why You’ll Love Nutter Butter Pie
- Fast: Ready to enjoy after just a few minutes of prep, with some chill time.
- Easy: No baking skills required—just mixing and assembling.
- Giftable: Makes a thoughtful homemade gift that’s a total crowd-pleaser.
- Crowd-pleasing: Peanut butter fans and dessert lovers alike will be asking for seconds.
Ingredients
Let’s talk about what you’ll need. The star of this pie is obviously the Nutter Butter cookies. Their peanut buttery crunch forms the perfect base for the creamy filling. The cream cheese adds a lovely tang and richness that balances the sweetness. Using creamy peanut butter (and saving a bit for drizzling on top) gives the pie that signature flavor punch. Granulated sugar sweetens the filling just right, and whipped topping keeps everything light and fluffy.
- 1 (16 oz) package Nutter Butter bars, crushed and divided: These cookies make a delicious, sturdy crust and a little garnish on top.
- 6 tablespoons butter, melted: Helps bind the crust so it holds together nicely.
- 8 oz cream cheese, softened: Adds creaminess and a slight tang to the filling.
- 1 1/4 cups creamy peanut butter, divided: The peanut butter flavor shines here—use a good quality brand for best taste.
- 3/4 cup granulated sugar: Sweetens the filling perfectly without overpowering the peanut butter.
- 1 cup frozen whipped topping, thawed, or whipped cream (plus extra for topping): Gives the pie a light, airy texture that’s just delightful.
How to Make Nutter Butter Pie
Now let’s get into the fun part — making this luscious pie. I love how straightforward it is, and the results are always impressive. Here’s a step-by-step guide to help you nail it every time:
1. Prepare the crust
Start by crushing all the Nutter Butter cookies. I find using a food processor makes quick work of this, but you can also place them in a zip-top bag and use a rolling pin to crush them into fine crumbs. Just remember to set aside about 1/4 cup of those crumbs for garnishing later — they add such a pretty finishing touch. Mix the rest of the crumbs with the melted butter in a bowl until everything is evenly coated. Next, press this mixture firmly and evenly into the bottom and up the sides of a 9-inch pie pan. You want the crust to be compact so it holds together well when you slice the pie.
2. Make the filling
In a large mixing bowl, beat the softened cream cheese with 1 cup of creamy peanut butter and the sugar until the mixture is smooth and whipped up to fluffy perfection. I use an electric hand mixer for this to get the best texture without any lumps. Then, gently fold in the thawed whipped topping with a spatula, being careful not to deflate all that lovely fluffiness. This step makes the filling light yet rich and creamy, a balance that’s truly dreamy.
3. Assemble the pie
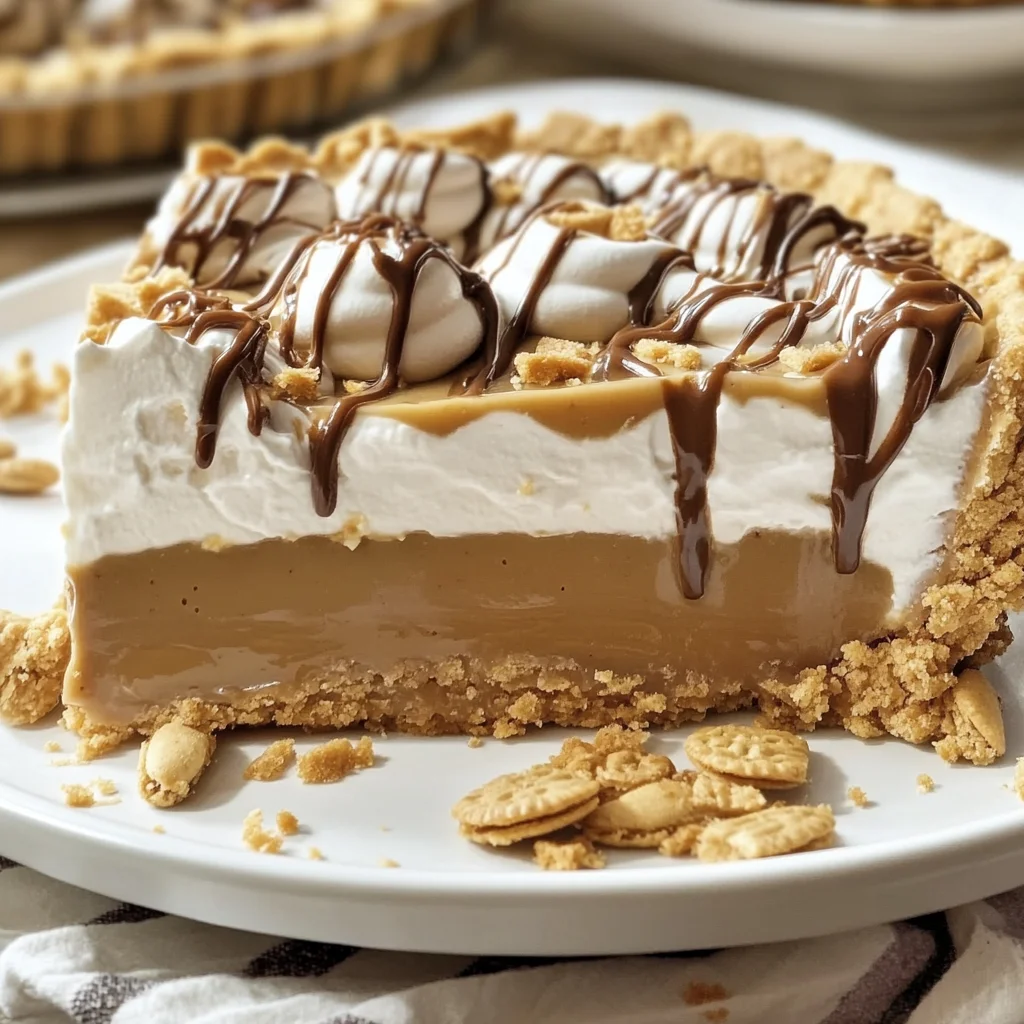
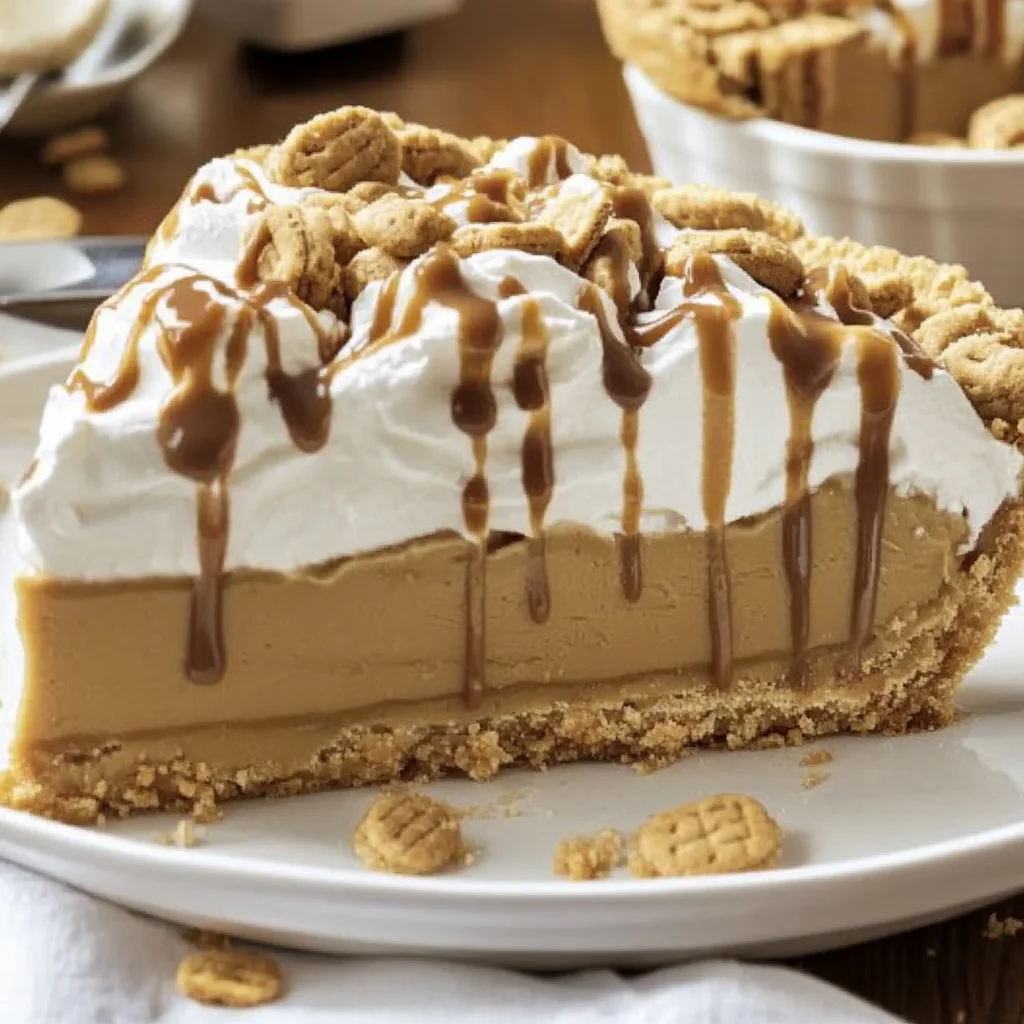
Spread the peanut butter filling evenly into your prepared crust. Take your time here — smooth the surface with the back of a spoon or an offset spatula to get it nice and even. Then, add a thin layer of whipped cream or whipped topping over the filling. This not only looks beautiful but also adds a fresh creaminess that complements the peanut butter perfectly.
4. Add toppings
Here’s where the pie gets its show-stopping finish. Warm the remaining 1/4 cup of peanut butter in the microwave just until it’s pourable—about 15-20 seconds usually does the trick. Drizzle it over the pie in a fun crosshatch or swirl pattern. Then sprinkle the reserved cookie crumbs around the edges for a little crunch and visual appeal. If you want to get fancy, pipe or dollop small swirls of whipped cream on top for a pretty, professional touch. It’s those small details that really make the pie special.
5. Chill
This pie needs some chill time to set perfectly. Refrigerate it for at least 6 hours, or even better, overnight. This allows the filling to firm up so you can slice clean, beautiful pieces that everyone will admire before devouring. Trust me, the wait is worth it!
Substitutions & Additions
While the classic version is perfection, I love to mix things up sometimes. Here are some substitutions and creative upgrades you might enjoy:
- Crust alternatives: If you want a bit more texture, try mixing some chopped peanuts into the crust for extra crunch. Or, swap out half the Nutter Butter crumbs for graham cracker crumbs for a slightly different flavor.
- Peanut butter swap: If you’re feeling adventurous, use natural peanut butter for a less sweet, more earthy taste. Just make sure to stir it well before measuring.
- Whipped topping alternatives: For a fresher option, use homemade whipped cream instead of frozen whipped topping. It adds a lovely richness and fewer preservatives.
- Chocolate lovers: Drizzle some melted semi-sweet chocolate over the top along with the peanut butter for a peanut butter-chocolate combo that’s hard to beat.
- Nut-free version: Try substituting sunflower seed butter and using a safe cookie crust if you have allergies—though the classic peanut butter flavor is really the star here.
Tips for Success
From one dessert lover to another, these tips will help you make the best Nutter Butter Pie every time:
- Soften your cream cheese properly: Take it out of the fridge about 30 minutes before starting, or microwave it in short bursts to avoid lumps in your filling.
- Don’t skip chilling: The pie needs time to set so it slices nicely and the flavors meld together beautifully.
- Press the crust firmly: Use the bottom of a glass or measuring cup to compact the crust evenly and firmly into the pan for a sturdy base.
- Be gentle folding in whipped topping: Fold carefully to keep the filling light and airy rather than dense.
- Prep ahead: This pie is great to make a day ahead, which makes it perfect for busy days or entertaining. Just keep it covered tightly in the fridge.
How to Store Nutter Butter Pie
Once your pie is made, storing it properly will keep it fresh and delicious. Always keep the pie refrigerated, covered tightly with plastic wrap or in an airtight container to prevent it from absorbing other odors. This pie is best enjoyed within 3-4 days, though if you’ve made it ahead, it holds up well overnight too. For longer storage, you can freeze the pie for up to a month. Just wrap it in plastic wrap and then foil to prevent freezer burn. When you’re ready to enjoy, thaw it in the fridge overnight. Keep in mind that freezing might slightly change the texture of the whipped topping, but the flavor remains just as amazing!
FAQs
Can I make this pie without cream cheese?
Cream cheese adds a nice tang and creaminess, but if you don’t have any on hand, you can try substituting with mascarpone or even Greek yogurt for a lighter texture. The flavor will be slightly different but still delicious.
What if I don’t have frozen whipped topping?
Freshly whipped cream is an excellent substitute. Just whip heavy cream with a bit of sugar until soft peaks form, then fold it into the filling. It’s a fresher and tastier option if you have the time!
Can I use crunchy peanut butter instead of creamy?
Absolutely! Crunchy peanut butter will add some little bits of texture inside the filling, which some people really enjoy. Just be sure to mix it well so the filling stays smooth overall.
How do I get clean slices when serving?
Use a sharp knife warmed in hot water and wiped dry before slicing. This helps the knife glide through the pie smoothly without dragging or crumbling the crust.
If you love peanut butter desserts, you might also enjoy trying the No Bake Peanut Butter Pie for another easy twist, or even treat yourself with some cute Oreo Eyeball Truffles for spooky fun. And if you’re in the mood for a cozy meal to pair with your sweet treat, check out this Cozy Creamy Tortellini Soup that’s perfect for chilly nights.
So grab your Nutter Butter cookies and get ready to whip up a pie that’s as comforting as it is delicious. I guarantee it’ll become your go-to dessert for peanut butter cravings and beyond!
For more inspiration and delicious recipes, don’t forget to follow us on Pinterest!
Irresistible Nutter Butter Pie
Ingredients
Equipment
Method
- Step 1: Crush all the Nutter Butter cookies, reserving about 1/4 cup of crumbs for garnish. Mix the rest with melted butter until evenly coated. Press firmly into the bottom and up the sides of a 9-inch pie pan to form the crust.
- Step 2: In a large mixing bowl, beat softened cream cheese, 1 cup of creamy peanut butter, and granulated sugar with an electric mixer until smooth and fluffy.
- Step 3: Gently fold in the thawed whipped topping with a spatula, being careful not to deflate the mixture.
- Step 4: Spread the peanut butter filling evenly into the prepared crust. Smooth the surface with a spoon or offset spatula.
- Step 5: Add a thin layer of whipped cream or whipped topping over the filling for a fresh creamy finish.
- Step 6: Warm the remaining 1/4 cup of peanut butter in the microwave until pourable, then drizzle it over the pie in a swirl or crosshatch pattern. Sprinkle reserved cookie crumbs around the edges. Optionally, pipe or dollop small swirls of whipped cream on top.
- Step 7: Refrigerate the pie for at least 6 hours or overnight to allow it to set before serving.