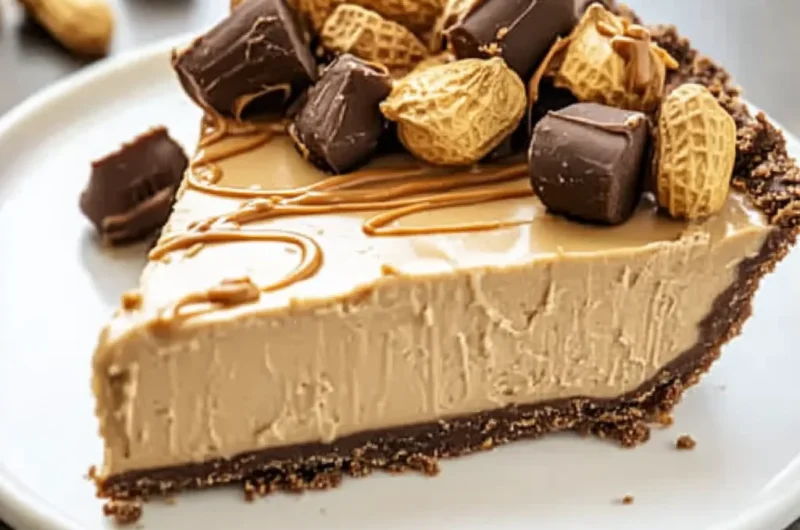
Oh, friend, there are some flavors that just take you right back, aren’t there? For me, a classic peanut butter and chocolate combo instantly conjures up memories of childhood afternoons, simple joys, and that undeniable comfort of a truly satisfying treat. Today, I’m so excited to share a recipe that brings all that nostalgic goodness right to your kitchen, but without any of the fuss: my incredibly easy No-Bake Peanut Butter Pie! Seriously, this dessert is pure magic – rich, creamy, utterly delicious, and it comes together in a flash. Forget turning on the oven, because this pie is all about effortless indulgence. Get ready to impress everyone with minimal effort, and watch those happy smiles appear!
Why You’ll Love No Bake Peanut Butter Pie
- Fast: No oven, no complicated steps. This pie comes together in minutes.
- Easy: If you can mix, you can make this pie. It’s truly fool-proof!
- Giftable: Who wouldn’t love a homemade, delicious pie? It’s perfect for sharing.
- Crowd-pleasing: Peanut butter and chocolate is a universally loved combination that always disappears fast.
Ingredients
You’ll be amazed at how a few simple ingredients transform into something so incredibly decadent. Here’s what you’ll need:
- 8 ounces (225 g) cream cheese, softened to room temperature: This is key to getting that smooth, luscious texture. Don’t rush it; set it out on the counter a good hour or two before you start.
- 1 ¼ cups (660 g) creamy peanut butter, divided: The star of our show! I always go for a good quality creamy peanut butter for the best, silkiest filling.
- ¾ cup (90 g) powdered sugar: Also known as confectioners’ sugar, this sweetens our pie without adding any grainy texture.
- 8 ounces (750 ml) whipped topping, thawed: A tub of cool whip works perfectly here to lighten the filling and make it wonderfully airy. Make sure it’s fully thawed before you start.
- 1 9-inch chocolate graham cracker crust: The perfect foundation! You can find these pre-made in most grocery stores. The chocolate is a must for that classic flavor pairing!
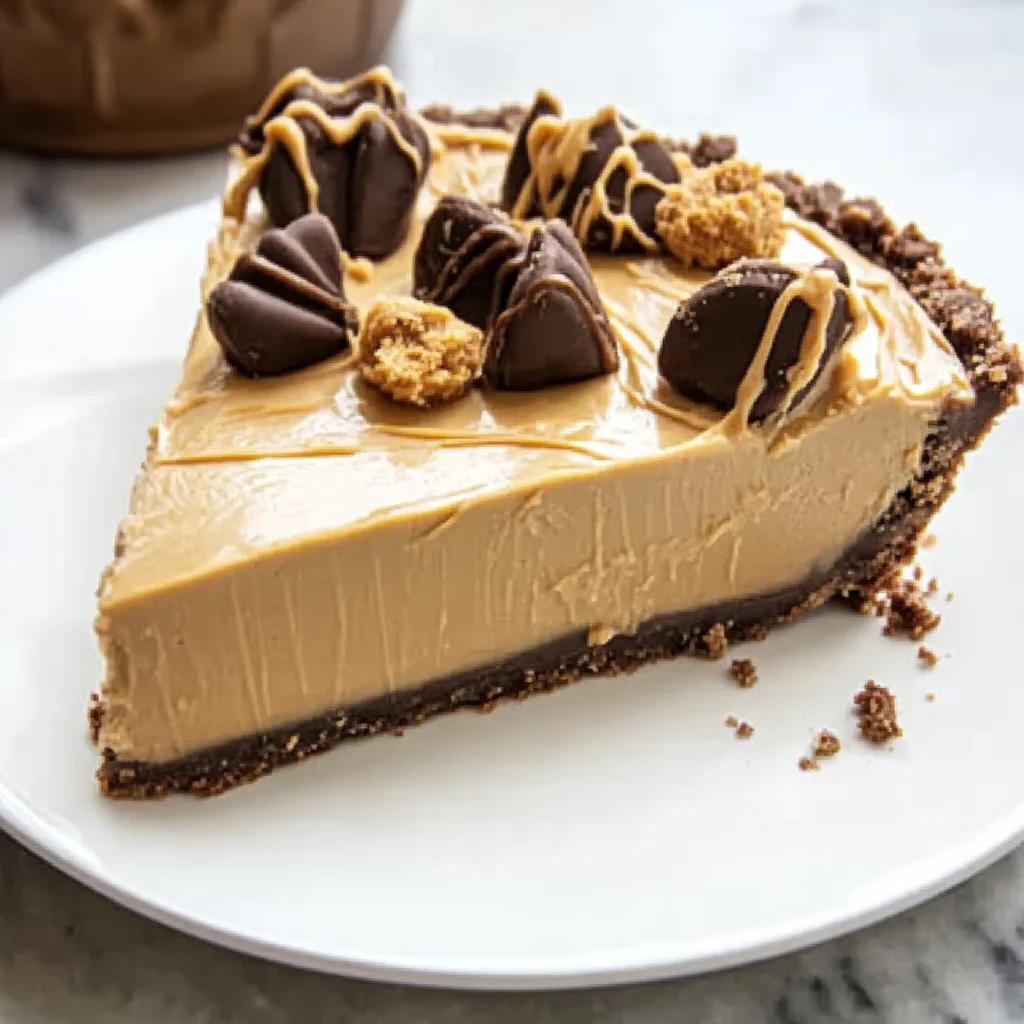
- 1 cup mini peanut butter cups, chopped (optional): For an extra layer of peanut butter bliss and a delightful texture. Trust me, you want these!
How to Make No Bake Peanut Butter Pie
Get ready for the easiest pie-making experience ever! Let’s dive in:
- Whip it good: In a large mixing bowl, grab your electric mixer. You’re going to beat the softened cream cheese, 1 cup of the creamy peanut butter, and the powdered sugar together until everything is super smooth and wonderfully creamy. Make sure there are no lumps of cream cheese left!
- Fold in the fluff: Now, this is where the magic happens! Gently, oh so gently, fold the thawed whipped topping into your peanut butter mixture. Use a spatula for this, not your electric mixer. You want to keep that airy lightness, so fold until it’s just combined and looks beautifully light and fluffy.
- Fill ‘er up: Carefully spoon your delightful peanut butter filling into the pre-made chocolate graham cracker crust. Take a spatula and smooth the top evenly. It doesn’t have to be perfect, but a nice flat surface makes for pretty slices!
- Chill out: This is the hardest part – the waiting! Pop your pie into the refrigerator for at least 4 hours, or even better, let it chill overnight. This is crucial for the pie to set up perfectly and become firm enough to slice. Think of it as a little beauty sleep for your dessert! If you’re looking for other amazing no-bake treats, you might also love these No-Bake Oreo Bars or these No-Bake Reese’s Peanut Butter Bars, which are equally simple and delicious.
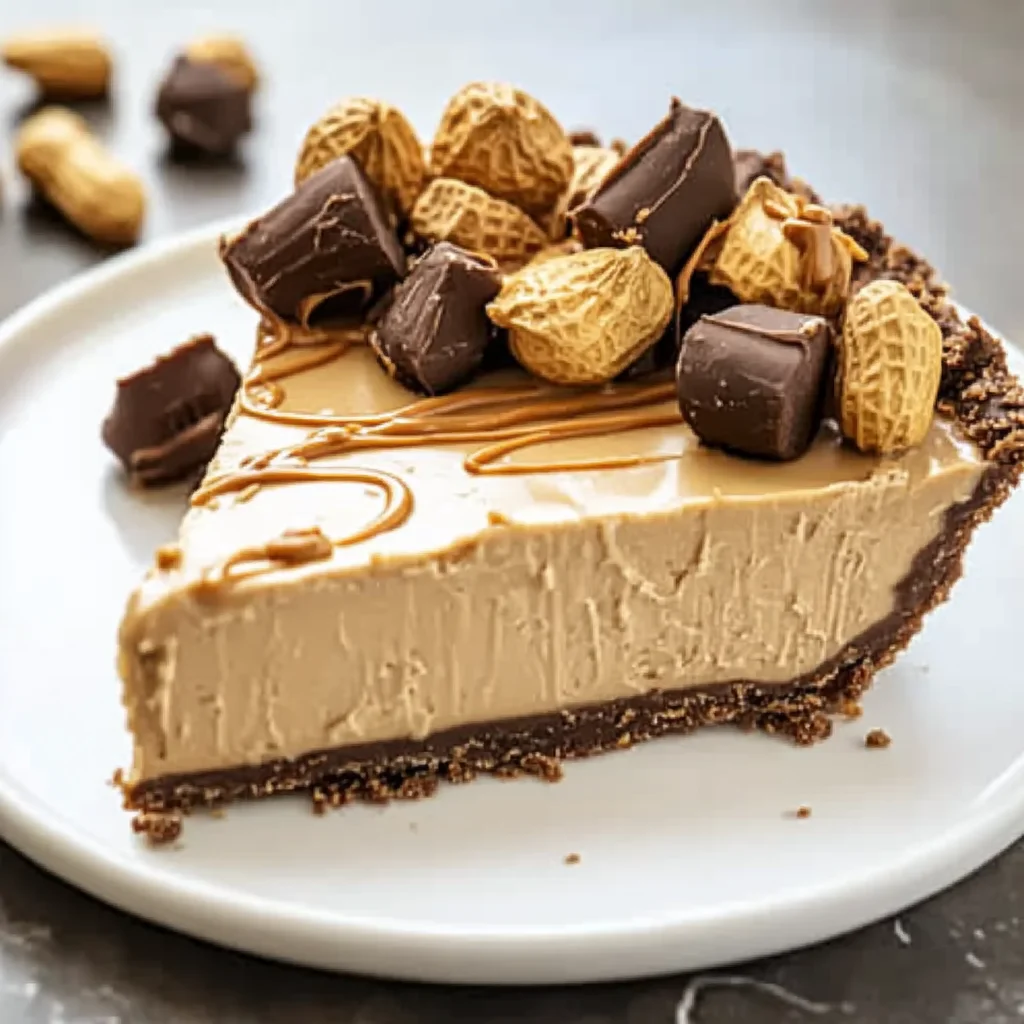
- The grand finale: Just before you’re ready to serve, take out your beautifully set pie. If you’re using them, generously sprinkle the top with those chopped mini peanut butter cups. For an extra touch, melt the remaining ¼ cup of peanut butter in the microwave for about 15-30 seconds until it’s drippy, then drizzle it over the top of the pie. It adds such a pretty finish and an extra pop of peanut butter flavor!
Substitutions & Additions
This recipe is wonderfully versatile, so feel free to play around and make it your own!
- Crust variations: While the chocolate graham cracker crust is divine, you could also use a regular graham cracker crust or even an Oreo cookie crust for a different twist.
- Nut butter alternatives: If you’re feeling adventurous (or have allergies), almond butter or cashew butter could work, though the flavor profile would obviously change. Just ensure it’s a creamy variety.
- Extra chocolate: Drizzle with melted chocolate ganache, sprinkle with chocolate shavings, or even add a layer of chocolate pudding on the bottom of the crust before the peanut butter filling for a truly rich experience. Check out our recipe for a decadent No-Bake Chocolate Lasagna for more chocolatey inspiration!
- Mix-ins: Instead of just topping, you can gently fold some chopped peanut butter cups, chocolate chips, or even some crushed pretzels into the filling before chilling for added texture.
- Flavor boosts: A tiny splash of vanilla extract (about ½ teaspoon) with the cream cheese can enhance the flavors even more.
Tips for Success
Even though this pie is super easy, a few little tips can ensure yours turns out absolutely perfect every time:
- Room temperature cream cheese: I can’t stress this enough! Cold cream cheese will result in a lumpy filling. Give it time to soften properly.
- Don’t overmix the whipped topping: When folding in the whipped topping, be gentle. Overmixing can deflate the air, making your pie denser instead of light and fluffy.
- Chill time is crucial: Resist the urge to cut into it early! The full chill time allows the pie to set up and develop its firm, sliceable texture.
- Garnish just before serving: Sprinkling toppings and drizzling melted peanut butter right before serving keeps them fresh and prevents them from sinking or getting soggy.
How to Store No Bake Peanut Butter Pie
Leftovers (if there are any!) are a delightful treat!
Store your No-Bake Peanut Butter Pie in an airtight container or tightly covered with plastic wrap in the refrigerator. It will stay fresh and delicious for 3-4 days. While you can freeze this pie for longer storage (up to 1 month), I find the texture is best when enjoyed directly from the fridge. Just let it thaw slightly in the refrigerator before serving if you do freeze it.
FAQs
Q: Can I use natural peanut butter for this recipe?
A: I recommend sticking with creamy, processed peanut butter (like Jif or Skippy) for the best texture and consistency. Natural peanut butter tends to separate and can make the filling a bit grainy or oily.
Q: Can I make this pie ahead of time for a party?
A: Absolutely! This pie is a fantastic make-ahead dessert. You can prepare it completely (without the final toppings) up to 1-2 days in advance. Just add the peanut butter cups and melted peanut butter drizzle right before serving.
Q: What if I don’t have a chocolate graham cracker crust?
A: No problem! A regular graham cracker crust works beautifully too. If you’re feeling ambitious, you could even make your own by crushing chocolate sandwich cookies (like Oreos) and mixing them with melted butter to press into a pie plate.
Q: Can I add a chocolate layer?
A: Yes, and it’s delicious! You could spread a thin layer of melted chocolate or chocolate ganache on the bottom of the crust and let it set before adding the peanut butter filling. Alternatively, a layer of chocolate pudding (allow it to set first) could also work beautifully.
For more delicious recipes and kitchen inspiration, follow us on Pinterest!
No-Bake Peanut Butter Pie
Ingredients
Equipment
Method
- Step 1: Whip it good: In a large mixing bowl, beat the softened cream cheese, 1 cup of the creamy peanut butter, and the powdered sugar together with an electric mixer until everything is super smooth and wonderfully creamy. Make sure there are no lumps of cream cheese left!
- Step 2: Fold in the fluff: Gently fold the thawed whipped topping into your peanut butter mixture using a spatula. Fold until it's just combined and looks beautifully light and fluffy, being careful not to overmix and deflate the air.
- Step 3: Fill 'er up: Carefully spoon your delightful peanut butter filling into the pre-made chocolate graham cracker crust. Use a spatula to smooth the top evenly.
- Step 4: Chill out: Pop your pie into the refrigerator for at least 4 hours, or even better, let it chill overnight. This is crucial for the pie to set up perfectly and become firm enough to slice.
- Step 5: The grand finale: Just before you're ready to serve, take out your beautifully set pie. If using, generously sprinkle the top with the chopped mini peanut butter cups. For an extra touch, melt the remaining ¼ cup of peanut butter in the microwave for about 15-30 seconds until it's drippy, then drizzle it over the top of the pie.