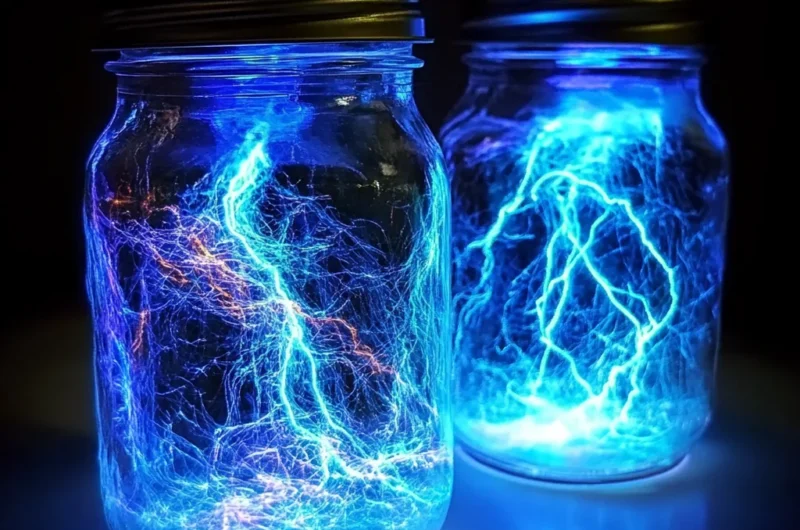
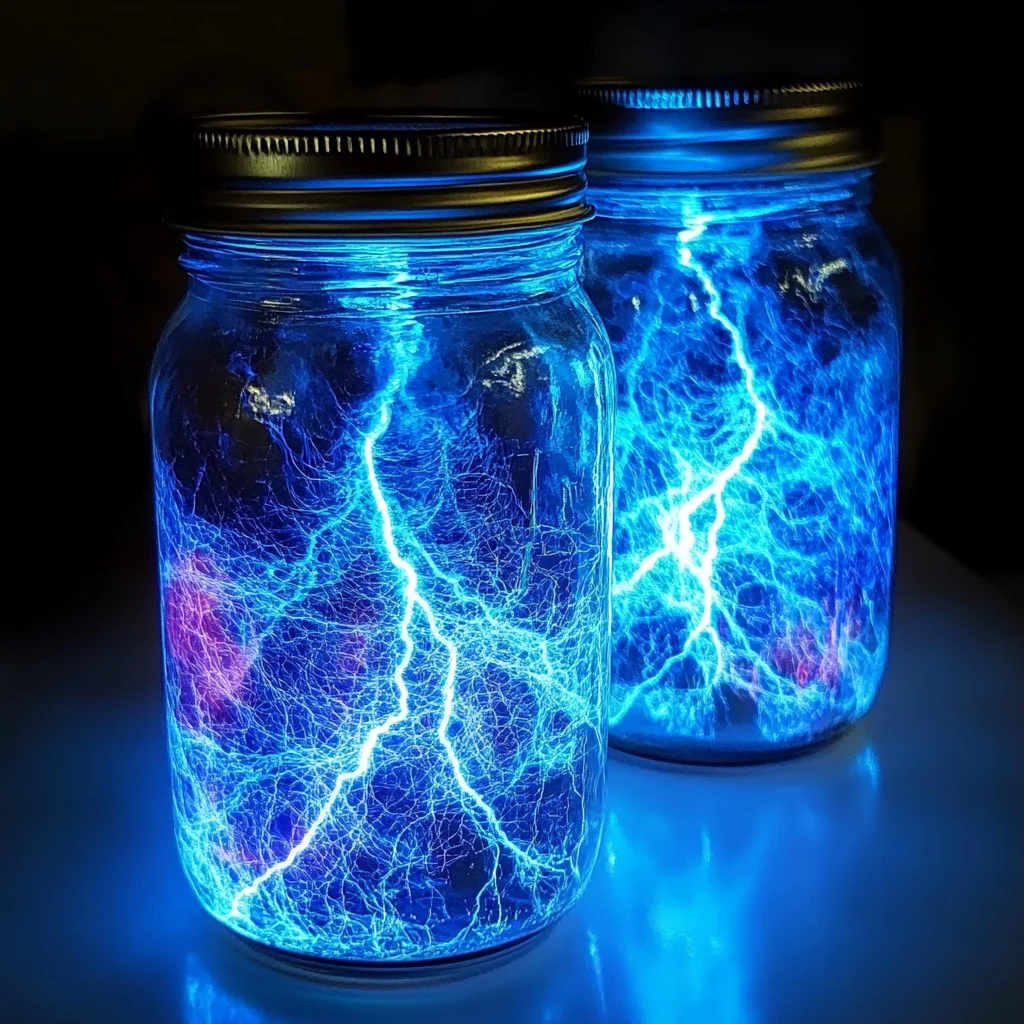
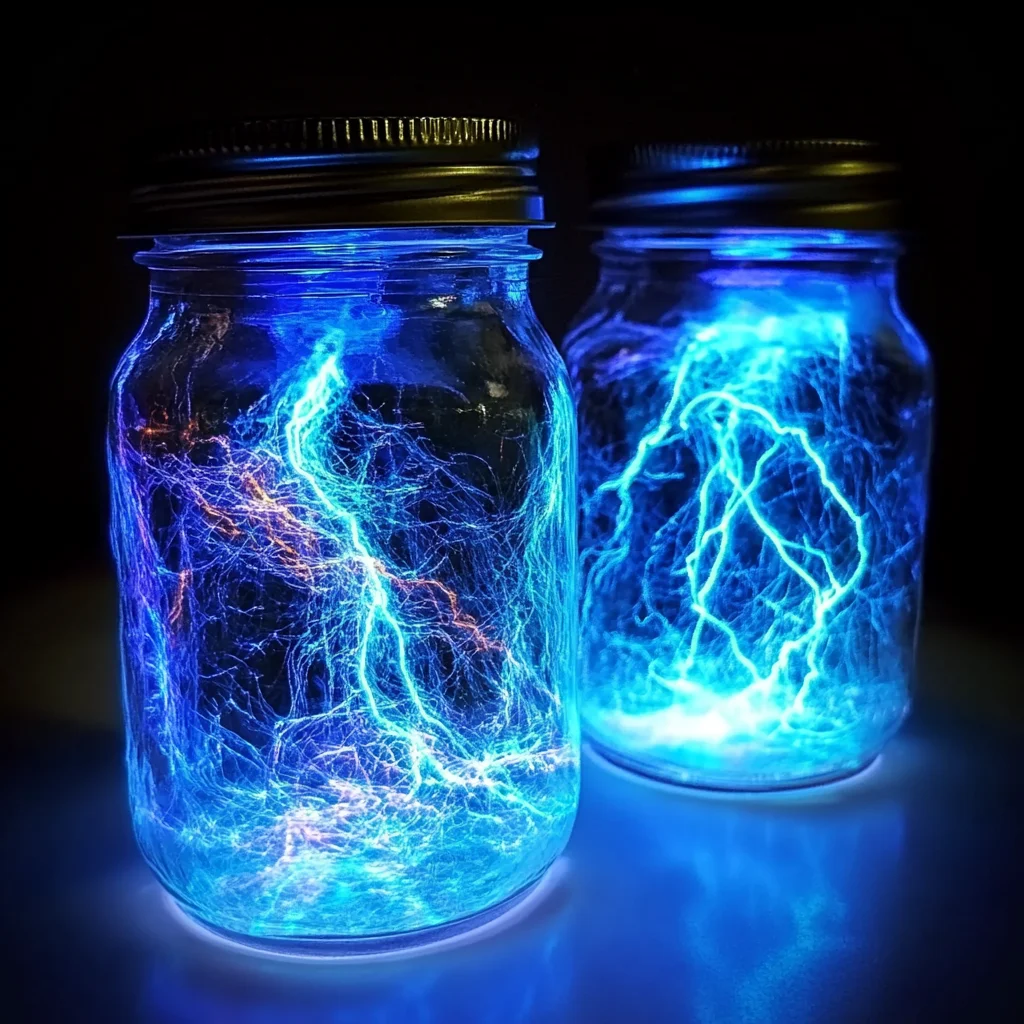
Do you ever just need a little bit of magic in your day? Something to spark wonder, bring a cozy glow to an evening, or simply entertain the kids (or your inner child!). Well, friend, you’re in for a treat. Today, we’re diving into a super easy, incredibly fun DIY project that creates the most enchanting “Electrified Thunder Glow Jars.” Think of it as a mini, mesmerizing lightning storm contained in a jar, complete with a beautiful, glowing effect. It’s the kind of craft that makes you feel like a wizard without needing a wand! This project is so quick, so simple, and the results are truly memorable. It’s perfect for a rainy afternoon, a unique gift, or just because you deserve a little extra sparkle.
Why You’ll Love Electrified Thunder Glow Jars
- Fast: You’ll have these glowing beauties ready in minutes!
- Easy: No complicated steps or fancy tools needed.
- Giftable: A thoughtful, handmade gift for friends, teachers, or party favors.
- Crowd-pleasing: Kids and adults alike are absolutely captivated by the glowing, swirling magic.
Ingredients
Gathering your supplies for these magical jars is a breeze. Most of these you might even have around the house!
- 1 clear glass jar with lid: Mason jars are perfect, but any clean, clear glass jar with a tight-fitting lid will do.
- 1/2 cup water: Just good old tap water!
- 1/2 cup vegetable oil (or baby oil for clarity): Vegetable oil works great, but if you want an even clearer separation and a slightly brighter look, baby oil is a fantastic alternative.
- A few drops of blue or purple food coloring: These colors give the best “thunderstorm” vibe, but feel free to experiment with any color you love!
- 1 teaspoon glow-in-the-dark paint or glowing powder (non-toxic): This is where the magic happens! Make sure it’s non-toxic, especially if little hands might be involved. You can find this at craft stores.
- 1 teaspoon silver or holographic glitter: For that extra sparkle and “electrified” look. The more glitter, the merrier, I say!
- 1 small LED tea light or flashlight: This will illuminate your jar and really make it glow. A battery-operated tea light is super convenient.
How to Make Electrified Thunder Glow Jars
Alright, let’s get crafting! You’ll be amazed at how quickly these come together.
- Color the Water: Grab a bowl and pour in your 1/2 cup of water. Add a few drops of your chosen food coloring (blue or purple works wonders for a stormy sky effect!). Stir it really well until the color is evenly blended throughout the water.
- Add the Glow: Now for the special ingredient! Stir the glow-in-the-dark paint or glowing powder into your colored water. Make sure it’s fully incorporated. You want that glowing goodness distributed everywhere!
- Fill the Jar (Halfway!): Carefully pour your glowing water mixture into your clean glass jar. You want it to fill the jar approximately halfway.
- Layer with Oil: Slowly, and I mean slowly, pour the vegetable or baby oil into the jar until it’s nearly full, leaving a little space at the top. You’ll see the water and oil form distinct layers – it’s like a mini science experiment right before your eyes! This creates a cool layered effect, similar to the principles you might remember from a Vibrant Oil & Water Experiment.
- Sprinkle the Sparkle: Now, for the fun part! Sprinkle your silver or holographic glitter into the jar. Watch it drift down through the oil, eventually settling on the water layer. It looks like tiny shimmering stars.
- Light It Up: Secure the lid tightly on your jar. Find a dark room or dim the lights. Place your LED tea light or flashlight underneath or directly behind the jar.
- Swirl and Marvel: Gently shake or swirl the jar. Watch in awe as the glitter dances, the colored water and oil create cool patterns, and the glow-in-the-dark elements come alive, creating an “electrified thunder” effect! It’s so mesmerizing, you won’t be able to look away.
Substitutions & Additions
Part of the joy of DIY is making it your own! Here are some ideas to customize your glow jars:
- Color Combo: Instead of blue or purple, try green for a mystical swamp glow, or pink and orange for a sunset thunder effect.
- Glitter Galore: Use different colors or sizes of glitter. Chunky glitter can add a really cool dimension, or try star-shaped glitter for extra magic.
- Aromatherapy Twist: Add a few drops of essential oil to the water phase for a calming aroma. Lavender or frankincense would be lovely for a nighttime glow.
- Beyond Jars: This concept can be adapted! You could use clear plastic bottles for smaller kids, or even make multiple jars with different colors for a whole glowing display. If you’re having a blast with these, you might also enjoy making DIY Glow-in-the-Dark Ghost Jars for spooky season or just year-round fun!
- Extra “Thunder”: For a more dramatic effect, try adding a tiny bit of effervescent tablet (like Alka-Seltzer) right before sealing the lid and shaking. It’ll create bubbles that look like tiny lightning strikes! Just be careful, as this creates pressure, so don’t add too much and ensure the lid is very secure.
Tips for Success
To make sure your Electrified Thunder Glow Jars are a dazzling success, keep these pointers in mind:
- Shake the Glow Paint: If you’re using glow-in-the-dark paint, give it a really good shake before adding it to the water to ensure the glowing pigments are well mixed.
- Tight Lid is Key: Seriously, make sure that lid is on TIGHT, especially if little hands will be swirling! You don’t want any oily leaks.
- Patience with the Pour: Pouring the oil slowly helps maintain that distinct layered effect. Rushing it can cause some initial mixing, which eventually separates, but the slow pour looks prettier.
- Best in the Dark: While they look pretty in daylight, these jars truly shine (pun intended!) in a darkened room. That’s when the glow-in-the-dark elements and LED light really pop!
- Clean Jars: Make sure your jars are sparkling clean and dry before you start. Any residue can affect the clarity.
How to Store Electrified Thunder Glow Jars
These glow jars are surprisingly low-maintenance! Simply keep the lid tightly sealed when not in use. Store them at room temperature, away from direct sunlight, which can cause the food coloring to fade over time. The glow-in-the-dark paint and glitter will last indefinitely, and you can recharge the glow effect by exposing the jar to light (especially bright light) before taking it into a dark room. If the glow seems to diminish over many uses, a quick shake and a fresh LED light usually does the trick! If you notice the water and oil getting cloudy after a very long time, you can always carefully empty and refresh the contents.
FAQs
Q: Is this safe for young children?
A: Yes, if you use non-toxic glow paint and ensure the lid is very tightly sealed. Always supervise young children with sensory jars to prevent accidental ingestion.
Q: Can I reuse the jar for food later?
A: It’s best not to. Once oil, food coloring, and glow paint have been in the jar, it’s safer to designate it solely for craft or decorative use.
Q: My glitter isn’t sinking! What’s wrong?
A: Some very fine glitters might float more in the oil layer initially. Give it some time and gentle swirls; eventually, most of it should make its way down or create a beautiful shimmering effect throughout both layers when agitated.
Q: How long does the glow last?
A: The glow from the paint itself typically lasts for a few hours after being “charged” by light. However, with the LED tea light illuminating it, your jar will appear to glow continuously as long as the light is on!
We hope you have an absolute blast creating these Electrified Thunder Glow Jars. They’re a simple way to bring a little bit of wonder into your home. Happy crafting!
For more amazing recipes and DIY ideas, be sure to follow us on Pinterest!
DIY Electrified Thunder Glow Jars
Ingredients
Equipment
Method
- Step 1: Color the Water: Grab a bowl and pour in your 1/2 cup of water. Add a few drops of your chosen food coloring (blue or purple works wonders for a stormy sky effect!). Stir it really well until the color is evenly blended throughout the water.
- Step 2: Add the Glow: Now for the special ingredient! Stir the glow-in-the-dark paint or glowing powder into your colored water. Make sure it's fully incorporated. You want that glowing goodness distributed everywhere!
- Step 3: Fill the Jar (Halfway!): Carefully pour your glowing water mixture into your clean glass jar. You want it to fill the jar approximately halfway.
- Step 4: Layer with Oil: Slowly, and I mean slowly, pour the vegetable or baby oil into the jar until it's nearly full, leaving a little space at the top. You’ll see the water and oil form distinct layers – it's like a mini science experiment right before your eyes!
- Step 5: Sprinkle the Sparkle: Now, for the fun part! Sprinkle your silver or holographic glitter into the jar. Watch it drift down through the oil, eventually settling on the water layer. It looks like tiny shimmering stars.
- Step 6: Light It Up: Secure the lid tightly on your jar. Find a dark room or dim the lights. Place your LED tea light or flashlight underneath or directly behind the jar.
- Step 7: Swirl and Marvel: Gently shake or swirl the jar. Watch in awe as the glitter dances, the colored water and oil create cool patterns, and the glow-in-the-dark elements come alive, creating an "electrified thunder" effect! It's so mesmerizing, you won't be able to look away.
Notes
- Color Combo: Instead of blue or purple, try green for a mystical swamp glow, or pink and orange for a sunset thunder effect.
- Glitter Galore: Use different colors or sizes of glitter. Chunky glitter can add a really cool dimension, or try star-shaped glitter for extra magic.
- Aromatherapy Twist: Add a few drops of essential oil to the water phase for a calming aroma. Lavender or frankincense would be lovely for a nighttime glow.
- Beyond Jars: This concept can be adapted! You could use clear plastic bottles for smaller kids, or even make multiple jars with different colors for a whole glowing display.
- Extra "Thunder": For a more dramatic effect, try adding a tiny bit of effervescent tablet (like Alka-Seltzer) right before sealing the lid and shaking. It'll create bubbles that look like tiny lightning strikes! Just be careful, as this creates pressure, so don't add too much and ensure the lid is very secure.
- Shake the Glow Paint: If you're using glow-in-the-dark paint, give it a really good shake before adding it to the water to ensure the glowing pigments are well mixed.
- Tight Lid is Key: Seriously, make sure that lid is on TIGHT, especially if little hands will be swirling! You don't want any oily leaks.
- Patience with the Pour: Pouring the oil slowly helps maintain that distinct layered effect. Rushing it can cause some initial mixing, which eventually separates, but the slow pour looks prettier.
- Best in the Dark: While they look pretty in daylight, these jars truly shine (pun intended!) in a darkened room. That’s when the glow-in-the-dark elements and LED light really pop!
- Clean Jars: Make sure your jars are sparkling clean and dry before you start. Any residue can affect the clarity.
- Q: Is this safe for young children?
A: Yes, if you use non-toxic glow paint and ensure the lid is very tightly sealed. Always supervise young children with sensory jars to prevent accidental ingestion. - Q: Can I reuse the jar for food later?
A: It's best not to. Once oil, food coloring, and glow paint have been in the jar, it's safer to designate it solely for craft or decorative use. - Q: My glitter isn't sinking! What's wrong?
A: Some very fine glitters might float more in the oil layer initially. Give it some time and gentle swirls; eventually, most of it should make its way down or create a beautiful shimmering effect throughout both layers when agitated. - Q: How long does the glow last?
A: The glow from the paint itself typically lasts for a few hours after being "charged" by light. However, with the LED tea light illuminating it, your jar will appear to glow continuously as long as the light is on!