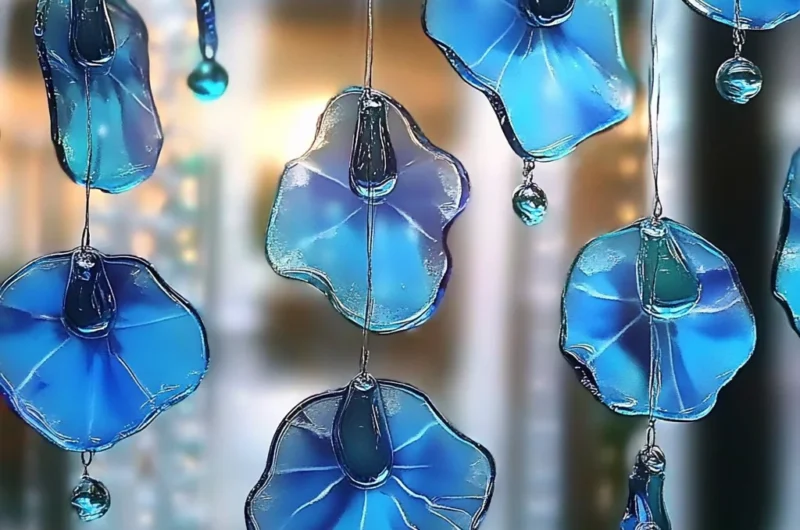
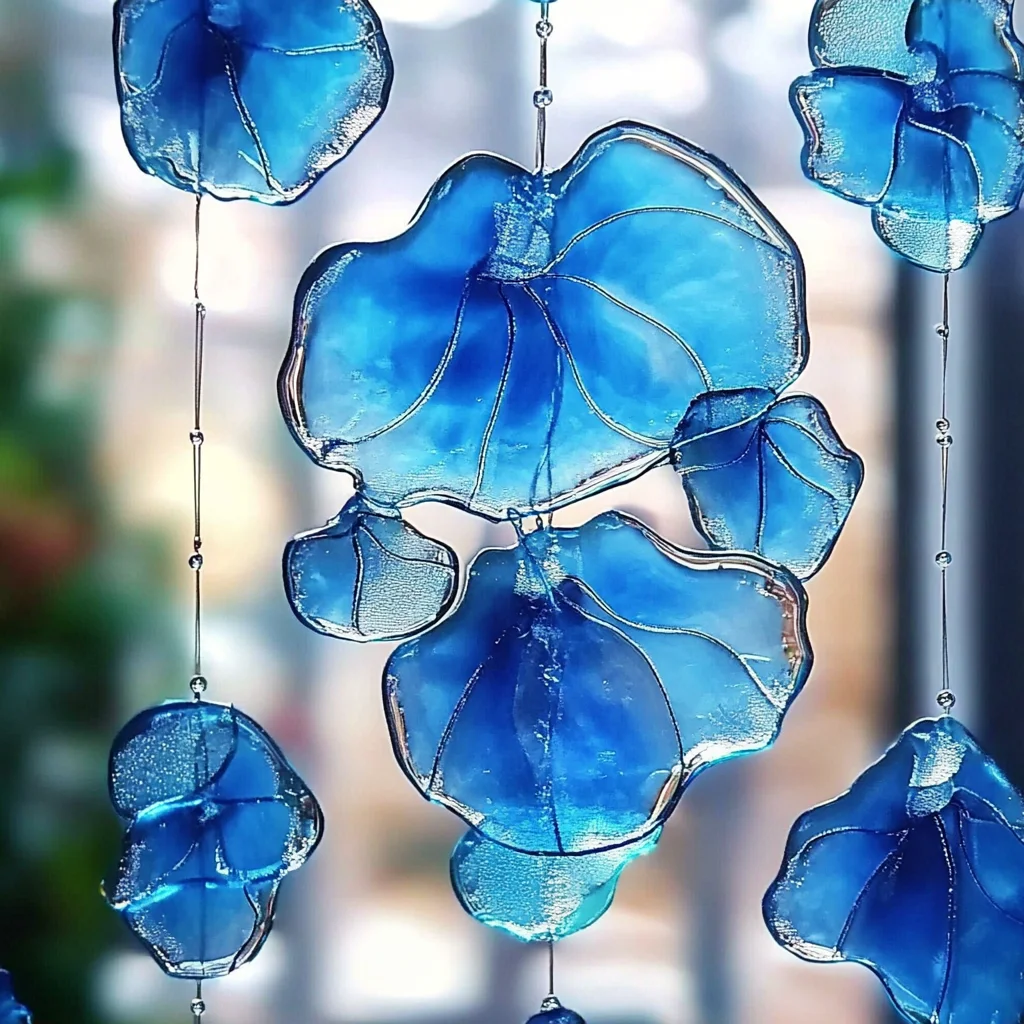
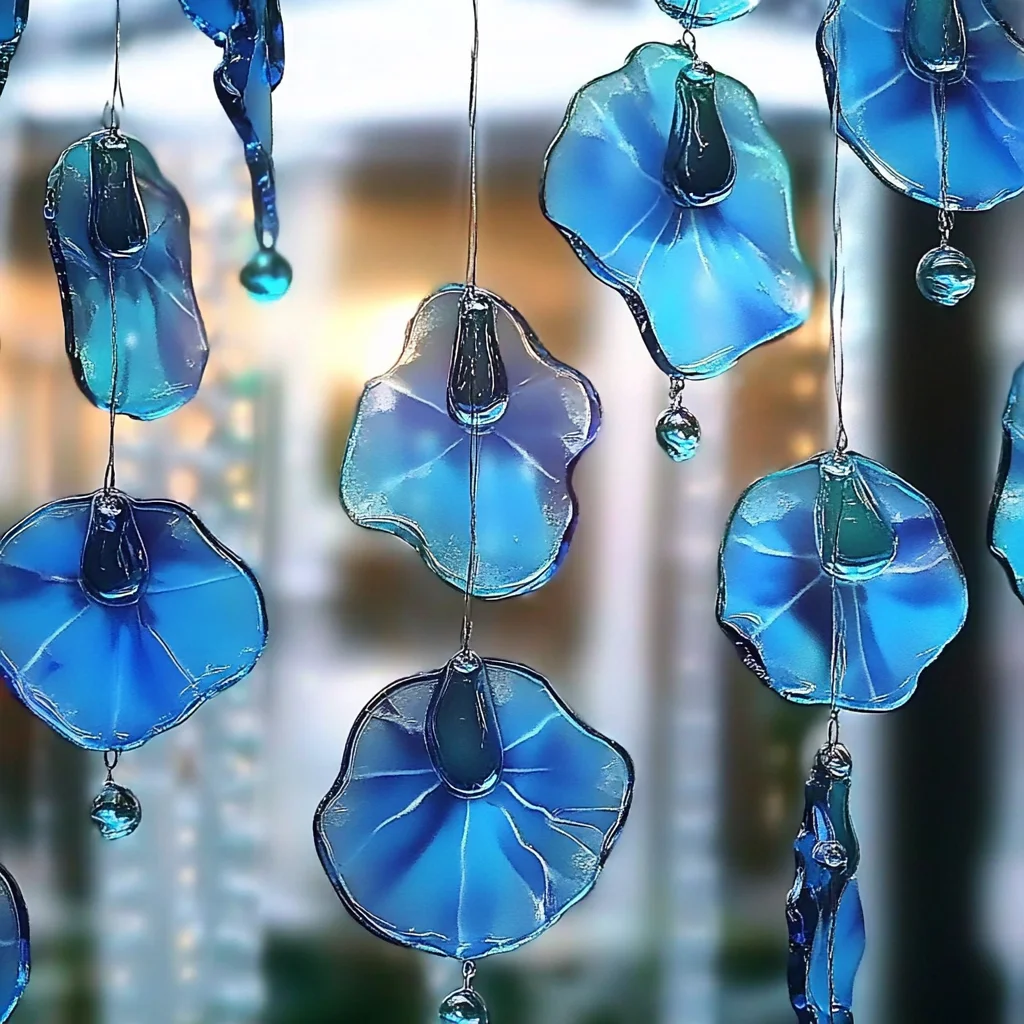
Hey there, sunshine lovers! Remember those childhood days filled with simple crafts, where a few basic supplies could transform into something truly magical? Well, today, we’re bringing back that nostalgic joy with a project that’s as enchanting as it is effortless: Blue Crayon Suncatchers! Imagine little stained-glass masterpieces, shimmering with all shades of blue, catching the sunlight and casting beautiful hues across your room. It’s a super quick activity that’s perfect for a lazy afternoon, a fun project with the kids, or even a thoughtful, handmade gift. Seriously, if you’re looking to add a touch of handmade charm and a pop of color to your home, you’ve found your new favorite DIY!
Why You’ll Love Blue Crayon Suncatchers
- Fast
- Easy
- Giftable
- Crowd-pleasing
Ingredients
Gathering your supplies for these gorgeous suncatchers is half the fun! You probably have most of these lying around already.
- Blue crayons: This is where the magic starts! Grab a mix of light blues (think sky and robin’s egg), medium blues (like denim), and deep blues (ocean or navy). Don’t be afraid to throw in a white or silver crayon for some sparkly effects – it really makes them pop!
- Waxed paper: You’ll need two sheets per suncatcher. This is our canvas, ready to hold all that beautiful melted color.
- Crayon or pencil sharpener: To get those perfect, fluffy crayon shavings. Any old sharpener will do the trick!
- Iron: This is for adult use only, please! Set it to its lowest setting, no steam. It’s how we’ll fuse our colors into a dazzling sheet.
- Scissors: For cutting out your chosen shapes.
- Hole punch: To create a little spot for hanging.
- Embroidery floss, string, or thread: To suspend your shimmering artwork in your sunniest window.
How to Make Blue Crayon Suncatchers
Ready to make some shimmering art? Let’s get started – it’s easier than you think!
- First things first, let’s get those crayons ready. Carefully peel all the paper labels off your blue crayons. This can be a fun little task in itself! Once they’re naked, use your sharpener to create a beautiful mix of fine and chunky crayon shavings. The more variety in size and color, the more interesting your finished suncatcher will be. Speaking of colorful crafts, if you’re looking for another fun crayon project, you might also love our DIY Melted Crayon Stars!
- Next, lay one sheet of waxed paper flat on a protected surface (like an old towel or newspaper). Now for the fun part: evenly sprinkle your crayon shavings all over the waxed paper. Don’t be shy with the patterns – you can create swirls, clusters, or just a random beautiful mess.
- Carefully place your second piece of waxed paper directly over the top of the crayon shavings, gently pressing down to make sure the edges align. It’s like creating a colorful crayon sandwich!
- Now, this is where an adult steps in. Grab your iron, set to its absolute lowest heat with no steam, and gently press it over the waxed paper. Keep the iron moving slowly across the surface.
- Continue ironing until you see all those lovely crayon bits melt and fuse together into a smooth, swirly sheet of vibrant color. It’s mesmerizing to watch! Try not to over-iron; you want the colors to blend, not become one muddy blob.
- Once your sheet is beautifully melted, let it cool for just a few minutes. It’ll stiffen up nicely. Now, grab a pencil and sketch out your desired shapes onto the cooled waxed paper. Raindrops are classic for blue, but don’t limit yourself! Think stars, circles, waves, or even little fish.
- Carefully cut out each suncatcher shape. The melted crayon makes the paper a bit thicker, so take your time. Then, use your hole punch to make a small hole at the top of each piece – this is how we’ll hang them!
- Finally, thread your string or embroidery floss through the hole, tie a loop, and find the perfect sunny window to display your brand-new, homemade Blue Crayon Suncatchers. Watch them shimmer!
Substitutions & Additions
While blue is beautiful, don’t be afraid to experiment and make these suncatchers uniquely yours!
- Color Palette: Go wild! Use rainbow colors for a vibrant look, warm reds and oranges for a sunset effect, or even fall colors like yellows, oranges, and browns for autumn decor.
- Sparkle & Shine: Sprinkle a tiny bit of fine glitter along with your crayon shavings before ironing for an extra magical touch. Just a little goes a long way!
- Nature’s Touch: If you’re feeling extra crafty, you could try carefully pressing tiny, flat dried flowers or leaves between the waxed paper before ironing. Just be sure they are completely dry to avoid moisture issues.
- Shape Shifters: Beyond raindrops, think outside the box! Hearts for Valentine’s Day, leaves for autumn, snowflakes for winter, or even abstract designs. Cookie cutters can be used as stencils on the cooled paper for perfect shapes! If you’re looking for even more creative endeavors that bring a little magic into your home, you could try making DIY bubbling rainbow bottles next!
Tips for Success
Even though this craft is super easy, a few little pointers can make sure your suncatchers turn out absolutely perfect!
- Low Heat is Key: Seriously, keep that iron on its lowest setting. Too much heat too quickly can scorch the waxed paper or cause the crayons to melt too fast and run off the edges. Slow and steady wins the race here.
- Protect Your Surface: Always place an old towel or a few layers of newspaper under your waxed paper sandwich before ironing. This protects your table from any accidental crayon seepage or heat.
- Adult Supervision is a Must: When the iron comes out, make sure an adult is in charge, especially if little hands are helping with the rest of the steps. Safety first!
- Even Shavings: Try to get a good mix of fine and slightly chunkier crayon shavings, and spread them as evenly as possible. This helps create that beautiful, smooth, fused look.
- Don’t Over-Iron: Once the colors are melted and fused into a relatively smooth sheet, stop ironing. Continuing to apply heat can make the colors blend too much, losing that lovely swirly effect.
How to Store Blue Crayon Suncatchers
These beauties aren’t like cookies you need to airtight store; they’re more like art! Once made, your suncatchers are quite durable. To keep them looking their best:
- Window Wonders: Hang them in your favorite sunny window! They’re designed to catch light and bring joy.
- Avoid Extreme Heat: While they’re made by melting, sustained extreme heat (like leaving them on a dashboard in direct summer sun) might cause them to soften or even re-melt slightly. They’re happiest at room temperature.
- Handle Gently: Once they’ve cooled and hardened, they’re pretty sturdy, but handle them with care to avoid bending or tearing the waxed paper.
FAQs
Got a few questions bubbling up? Let’s tackle them!
Q: Can I use other colors of crayons?
A: Absolutely! While we focused on blue for this post, feel free to use any and all colors to create a rainbow of suncatchers. Just imagine a mix of vibrant hues!
Q: Is this project safe for kids?
A: Yes, with proper adult supervision! Kids can handle peeling crayons, sharpening them, arranging the shavings, and cutting out shapes. The ironing step should always be done by an adult to ensure safety.
Q: What if my crayons don’t melt evenly?
A: Don’t worry! Sometimes uneven melting can happen if the crayon shavings aren’t evenly spread or if the iron isn’t moved uniformly. Just continue to gently iron, focusing on the areas that haven’t melted fully, until you achieve a smooth, fused look.
Q: How long do these suncatchers last?
A: Indefinitely! Once the crayons are melted and the paper is sealed, these suncatchers are quite permanent. As long as they’re kept out of extreme heat that could cause them to re-melt, they’ll keep shining for years to come.
For countless other inspiring recipes and DIY projects, you know where to find us – right here at Foodtd.com!
For even more delightful recipes and craft ideas, be sure to follow us on Pinterest!
DIY Blue Crayon Suncatchers
Ingredients
Equipment
Method
- Step 1: Prepare Crayons. Carefully peel all paper labels off your blue crayons. Use a sharpener to create a mix of fine and chunky crayon shavings. The more variety in size and color, the more interesting your finished suncatcher will be.
- Step 2: Arrange Shavings. Lay one sheet of waxed paper flat on a protected surface (like an old towel or newspaper). Evenly sprinkle your crayon shavings all over the waxed paper, creating swirls, clusters, or a random beautiful mess.
- Step 3: Create Crayon Sandwich. Carefully place your second piece of waxed paper directly over the top of the crayon shavings, gently pressing down to make sure the edges align.
- Step 4: Iron and Melt (Adult Step). With an adult supervising, grab your iron, set to its absolute lowest heat with no steam, and gently press it over the waxed paper. Keep the iron moving slowly across the surface.
- Step 5: Fuse Colors. Continue ironing until you see all the crayon bits melt and fuse together into a smooth, swirly sheet of vibrant color. Avoid over-ironing to prevent colors from becoming muddy. Let it cool for a few minutes until it stiffens up.
- Step 6: Cut Shapes. Once cooled, sketch your desired shapes (raindrops, stars, circles, waves, fish, etc.) onto the waxed paper. Carefully cut out each suncatcher shape. Then, use your hole punch to make a small hole at the top of each piece.
- Step 7: Hang Suncatchers. Thread your string or embroidery floss through the hole, tie a loop, and find the perfect sunny window to display your brand-new, homemade Blue Crayon Suncatchers. Watch them shimmer!