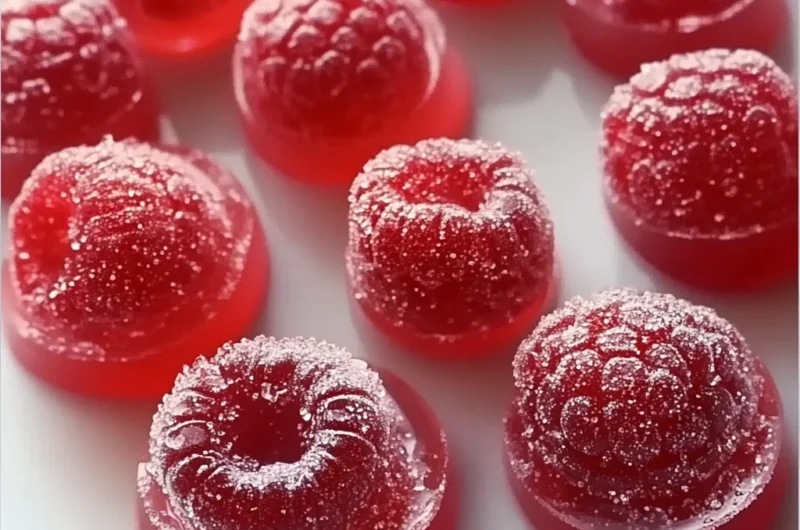
Oh, friend, do you ever find yourself craving that simple, pure taste of fruit candy from your childhood? That burst of sweet and tangy flavor that instantly brings a smile to your face? Well, get ready to dive into a little kitchen magic, because today we’re making homemade Raspberry Pectin Gummies! Trust me, these aren’t just any gummies; they’re a vibrant explosion of raspberry goodness, so delightful and surprisingly easy to make. Forget those store-bought versions; these little jewels are crafted with love and fresh fruit, making them utterly irresistible. They’re quick to whip up, an absolute blast to customize, and, honestly, they bring a touch of sunshine to any day. If you’re looking for more delicious inspirations to brighten your cooking, don’t forget to browse our other delicious creations at FoodTd.com!
Why You’ll Love Raspberry Pectin Gummies
- Fast: From puree to pouring into molds, these come together quicker than you might think.
- Easy: With just a few simple steps and a candy thermometer, you’ll be a gummy wizard in no time!
- Giftable: Package them up in cute bags or jars for a thoughtful, homemade present that everyone adores.
- Crowd-Pleasing: Kids and adults alike can’t resist these chewy, fruity delights. They disappear fast!
Ingredients
- 18-20 ounces fresh raspberries (or 20-22 ounces frozen raspberries, thawed): The star of our show! Fresh is lovely, but frozen works beautifully, too – just make sure they’re completely thawed.
- 1 ¾ cups granulated sugar, plus extra for coating: This gives our gummies their lovely sweetness and that classic sparkly coating.
- 3 tablespoons corn syrup: The secret weapon for chewiness and preventing crystallization.
- 6 tablespoons fruit pectin (e.g., Sure Jell Original): This is what gives our gummies their jiggle and structure. Don’t skip it!
- ½ cup filtered water: For dissolving our citric acid and helping everything come together.
- 1 teaspoon baking soda: Works with the pectin to achieve the perfect set.
- ¼ cup filtered water: To mix with our pectin and baking soda.
- 1 teaspoon powdered citric acid: Hello, tang! This brightens up the raspberry flavor beautifully.
How to Make Raspberry Pectin Gummies
Alright, let’s get our aprons on and make some magic! The process might seem a little scientific, but I promise it’s super straightforward and incredibly rewarding.
First things first, let’s get your molds ready. You’ll want to grab your silicone molds or a silicone cake pan and place them on a cookie sheet. This makes them much easier to move around once they’re filled. Trust me, you don’t want to try carrying a wobbly pan of liquid gummies!
Next up, the raspberries! If you’re using fresh, just give them a quick rinse. If frozen, make sure they’re completely thawed. Puree those gorgeous berries until smooth. Then, here’s a little trick for that silky-smooth gummy texture: strain your puree through a fine-mesh sieve. This removes all those tiny seeds, leaving you with about 1 ½ cups of pure, ruby-red raspberry deliciousness. It’s a small step, but it makes a big difference!
Now, grab a medium saucepan. Into it, you’ll combine your beautiful seedless raspberry puree, 1 ¾ cups of granulated sugar, and the corn syrup. Pop it on medium heat and stir constantly until that sugar is completely dissolved and the mixture comes to a full, rolling boil. Keep stirring, my friend!
While that’s bubbling away, in a separate, smaller saucepan, combine your fruit pectin, baking soda, and ¼ cup of filtered water. Bring this mixture to a gentle simmer, stirring well until everything is dissolved. Once it’s simmering, carefully add it to your boiling raspberry mixture in the larger saucepan. This is where the magic really starts to happen!
Time for your trusty candy thermometer! Insert it into the hot mixture. You’re going to continue cooking and stirring frequently. This is important to prevent scorching and ensure even cooking. Keep an eye on that thermometer until the mixture reaches between 230-240 degrees F. This temperature range is crucial for achieving the perfect gummy consistency, so don’t rush it.
Almost there! In that remaining ½ cup of filtered water, dissolve your powdered citric acid. Once your raspberry mixture hits the target temperature, remove it from the heat and quickly stir in the dissolved citric acid. Then, without a moment to lose, pour the hot mixture carefully into your prepared silicone molds. Work fast, as it will start to set pretty quickly!
Now, for the hardest part: patience! Allow your gummies to cool completely. This will take at least 2 hours, but honestly, leaving them overnight gives them the absolute best texture. You’ll be glad you waited!
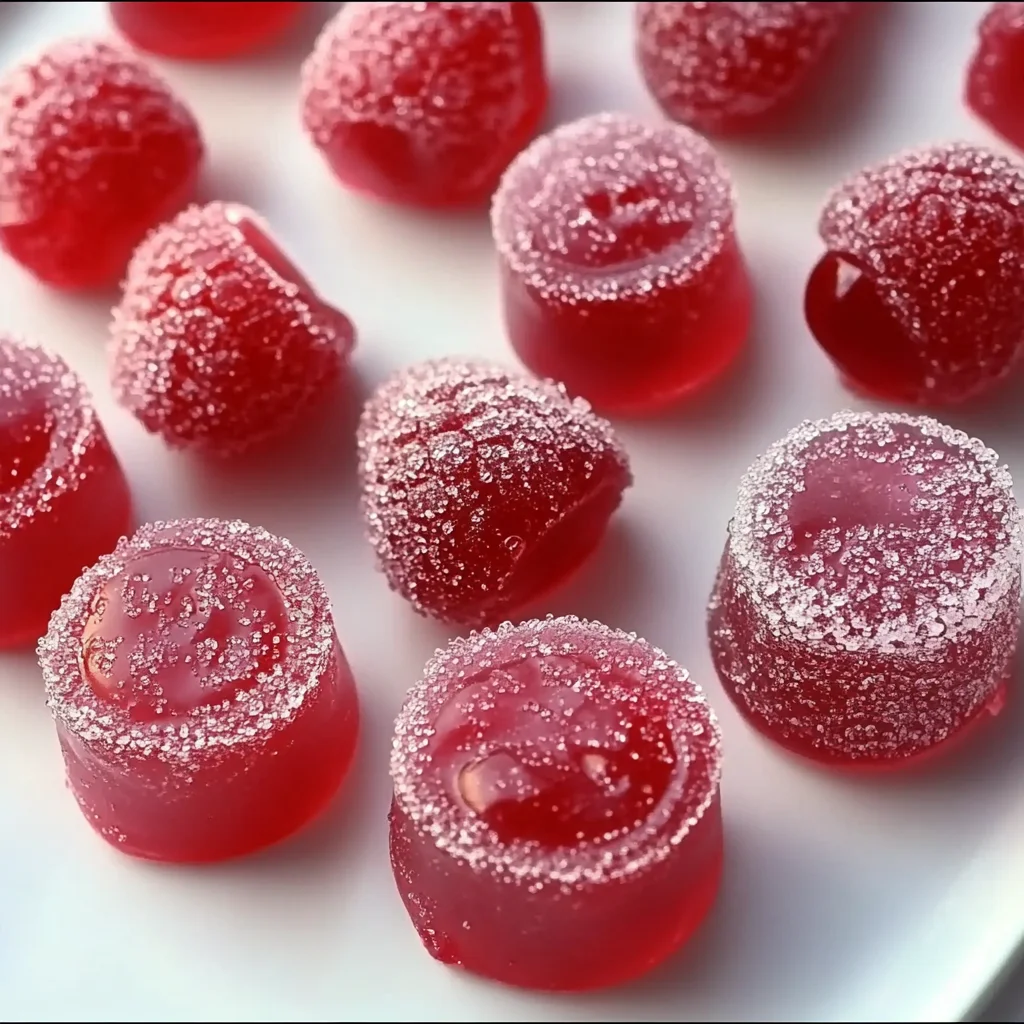
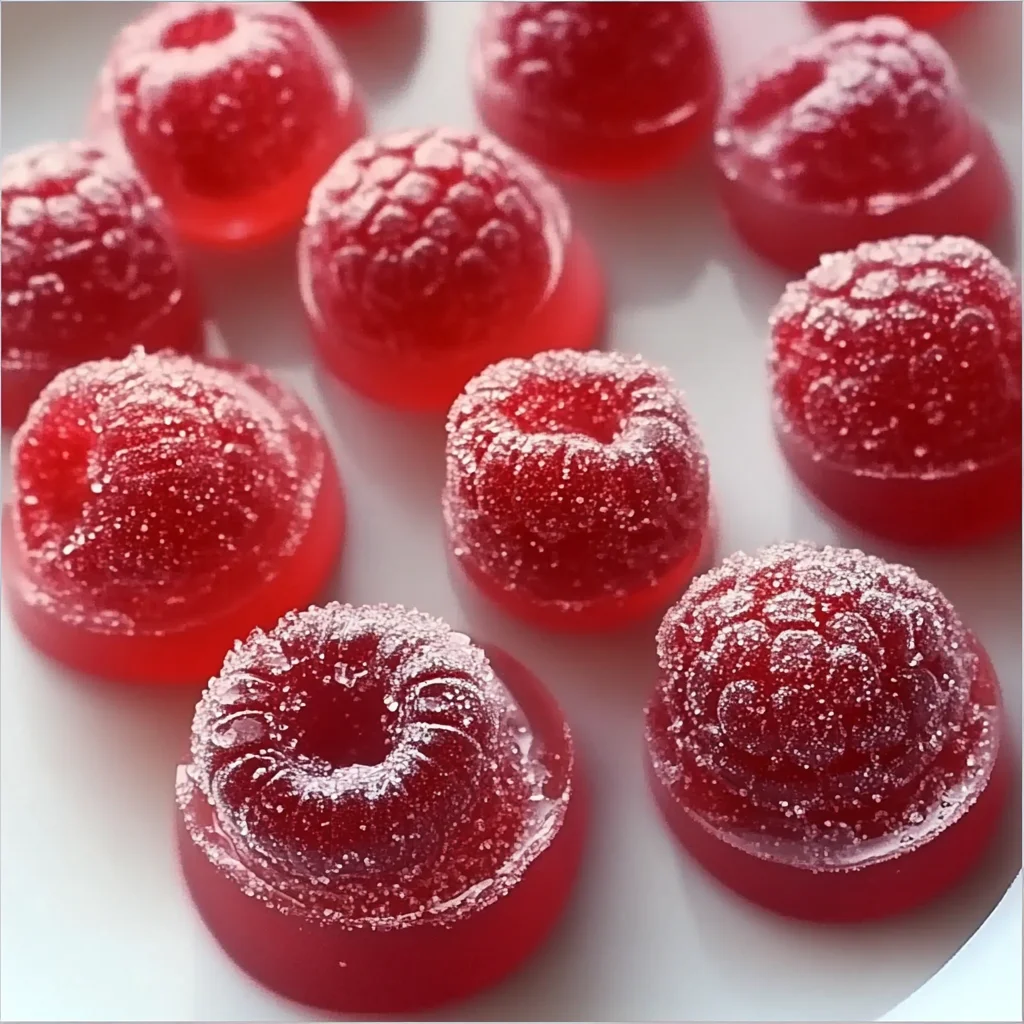
Once they’re perfectly cooled and firm, gently pop your gummies out of their molds. They should release easily. For that classic, sparkly finish, roll them in some extra granulated sugar. They’ll look as good as they taste!
And there you have it! Beautiful, homemade raspberry pectin gummies, ready to be enjoyed.
Substitutions & Additions
- Fruity Swaps: Feel free to experiment with other fruit purees! Strawberry, blueberry, or even a mixed berry blend would be absolutely delicious. Just ensure you still yield 1 ½ cups of seedless puree.
- Citrus Zest: For an extra zing, add a teaspoon of fresh lemon or orange zest to the raspberry puree at the beginning.
- Flavor Boosts: A few drops of natural raspberry extract (or vanilla extract) can amplify the flavor profile even more. Add it with the citric acid.
- Sour Power: If you love a really tart gummy, roll them in a mix of sugar and a tiny pinch of citric acid for an extra sour punch!
- Fun Shapes: Don’t limit yourself to basic squares! Use fun silicone molds like little hearts, stars, or even animal shapes. For different occasions, you can even find fun molds, and if you’re feeling extra festive, you could pair these with something like our spooky Oreo Eyeball Truffles for a themed treat spread!
Tips for Success
- Precision is Key: When working with pectin, measurements are important. Use proper measuring cups and spoons for the best results.
- Candy Thermometer is Your Best Friend: Seriously, don’t skip this! Hitting the right temperature (230-240°F) is crucial for the gummies to set properly and have that perfect chew. Too low, they’ll be too soft; too high, they might become brittle.
- Work Quickly: Once the citric acid is added, the mixture will start to set fairly fast. Have your molds ready and pour promptly.
- Don’t Rush the Cooling: As tempting as it is, give your gummies ample time to cool and set. Overnight really does yield the best texture.
- Clean Up Soon: Pectin can be sticky! Clean your saucepans and utensils soon after pouring the gummies, before everything fully hardens.
- Prep Ahead: You can make your raspberry puree a day in advance and store it in the fridge to save time on gummy-making day. If you love making homemade treats, you might also enjoy whipping up some easy no-bake Martha Washington candy – another fantastic giftable option!
How to Store Raspberry Pectin Gummies
Once your beautiful gummies are coated in sugar, you have a few options for storage to keep them fresh and delicious:
- Room Temperature: Store them in an airtight container at room temperature for up to 1-2 weeks. Make sure they are completely dry before storing to prevent sticking.
- Refrigerator: For a slightly firmer gummy, or if you live in a very warm climate, store them in an airtight container in the refrigerator for up to 3-4 weeks.
- Freezer: Yes, you can freeze them! Place them in a single layer on a parchment-lined baking sheet until solid, then transfer them to a freezer-safe bag or container. They’ll keep for several months. Thaw at room temperature when you’re ready to enjoy.
FAQs
Q: Can I use less sugar?
A: While you can slightly reduce the sugar, it plays a critical role in the texture and shelf life of pectin gummies. Significant reduction might result in a softer set or quicker spoilage. I recommend sticking to the recipe for the best results!
Q: What kind of pectin should I use?
A: For this recipe, I recommend using a powdered fruit pectin that is specifically designed for making jams and jellies, like Sure-Jell Original. Liquid pectin has different setting properties and won’t work the same way here.
Q: My gummies didn’t set, what went wrong?
A: The most common culprit is not reaching the correct temperature (230-240°F) or not using enough pectin. Ensure your candy thermometer is accurate and that you’re stirring consistently to prevent hot spots. Also, make sure you used the correct type and amount of pectin.
Q: Can I make these without a candy thermometer?
A: While possible with a lot of experience, I highly recommend using a candy thermometer. It takes the guesswork out and ensures your gummies achieve that perfect texture every single time. It’s truly an indispensable tool for candy making!
For more delicious recipes and kitchen inspiration, follow us on Pinterest!
Sweet & Tangy Homemade Raspberry Pectin Gummies: A Taste of Pure Joy!
Ingredients
Equipment
Method
- Step 1: Prepare your molds by grabbing silicone molds or a silicone cake pan and placing them on a cookie sheet.
- Step 2: Puree fresh or thawed frozen raspberries until smooth. Strain the puree through a fine-mesh sieve to remove seeds, yielding about 1 ½ cups of seedless raspberry puree.
- Step 3: In a medium saucepan, combine the seedless raspberry puree, 1 ¾ cups granulated sugar, and corn syrup. Heat on medium and stir constantly until the sugar is completely dissolved and the mixture comes to a full, rolling boil.
- Step 4: In a separate, smaller saucepan, combine the fruit pectin, baking soda, and ¼ cup filtered water. Bring this mixture to a gentle simmer, stirring well until everything is dissolved. Carefully add this pectin mixture to the boiling raspberry mixture in the larger saucepan.
- Step 5: Insert a candy thermometer into the hot mixture. Continue cooking and stirring frequently until the mixture reaches between 230-240 degrees F.
- Step 6: In the remaining ½ cup of filtered water, dissolve the powdered citric acid. Once the raspberry mixture hits the target temperature, remove it from the heat and quickly stir in the dissolved citric acid. Immediately pour the hot mixture carefully into your prepared silicone molds.
- Step 7: Allow your gummies to cool completely. This will take at least 2 hours, but leaving them overnight yields the absolute best texture.
- Step 8: Once cooled and firm, gently pop your gummies out of their molds. Roll them in some extra granulated sugar for a classic, sparkly finish.