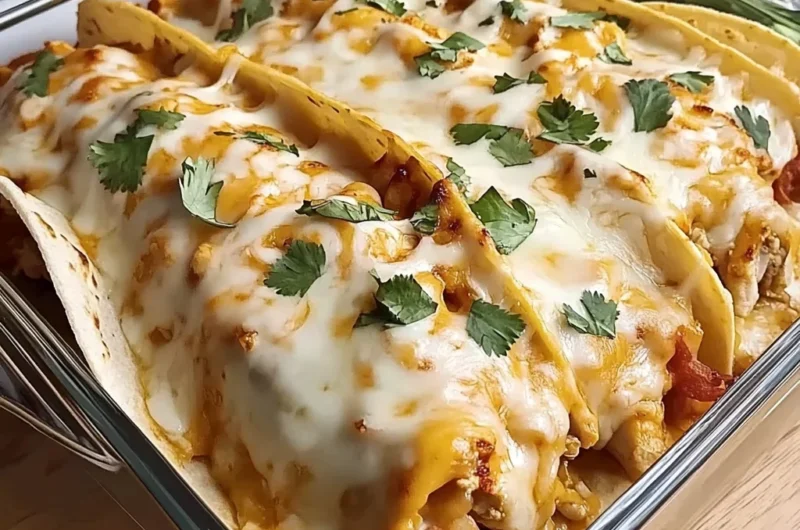
Hey there, food-loving friends! Remember those nights as a kid when a simple meal made everyone gather around the table, laughing and sharing stories? For me, there was nothing quite like taco night – the messy fun, the customizable toppings, and that feeling of pure comfort. Well, get ready to bring that magic back to your kitchen, because today I’m sharing a recipe that’s an instant classic: Cheesy Baked Chicken Tacos! This dish is so incredibly easy, wonderfully quick, and ridiculously memorable, it’s guaranteed to become a regular in your dinner rotation. It takes all the deliciousness of traditional tacos and bakes them into a warm, cheesy, comforting package that’s perfect for any night of the week.
Why You’ll Love Cheesy Baked Chicken Tacos
- Fast: From start to delicious finish, you’re looking at less than 30 minutes. Perfect for those busy weeknights!
- Easy: No complicated steps, just simple ingredients coming together for maximum flavor.
- Giftable: Need to bring a meal to a friend? These travel wonderfully and reheat beautifully.
- Crowd-pleasing: Who doesn’t love tacos? Especially when they’re baked to cheesy perfection. Kids and adults alike will ask for seconds!
Ingredients
Gather your ingredients, my friends! Most of these are probably already hanging out in your pantry and fridge, making this a super convenient meal.
- 2 cups cooked shredded chicken: This is where the “easy” comes in! Use a rotisserie chicken, leftover chicken, or quickly boil and shred some chicken breasts.
- 1 tbsp olive oil: Just a little bit to get things sizzling in the pan.
- 1 small onion, diced: Adds a lovely savory base to our chicken filling.
- 2 cloves garlic, minced: Because everything is better with garlic, right?
- 1 (10 oz) can diced tomatoes with green chilies, drained: This is a secret weapon for flavor, adding a little kick and tomato goodness without extra effort.
- 1 packet taco seasoning (or homemade blend): Your go-to for that authentic taco taste. Feel free to use your favorite brand or whip up your own.
- ½ cup chicken broth: Helps bind the filling together and keeps it moist and flavorful.
- 8–10 flour or corn tortillas: Pick your favorite! Flour tortillas are super soft for rolling, but corn works wonderfully for a gluten-free option.
- 2 cups shredded Mexican blend cheese (or cheddar + mozzarella mix): The more cheese, the merrier! This blend melts beautifully.
- ½ cup red onion, diced (optional): For a little fresh bite and color, if you like.
- ½ cup fresh cilantro, chopped: A must for that vibrant, fresh finish.
- Sour cream, salsa, or guacamole (for serving): Don’t forget the fun stuff! These are essential for customizing your perfect taco bite.
How to Make Cheesy Baked Chicken Tacos
Alright, let’s get cooking! You won’t believe how quickly these come together.
- Get Sautéing! Grab a large skillet and warm up your olive oil over medium heat. Toss in your diced onion and minced garlic. Sauté them gently for about 3-5 minutes, until they’re nice and tender and you can smell that amazing aroma filling your kitchen.
- Build the Flavorful Filling: Now, add your cooked shredded chicken, the drained diced tomatoes with green chilies, taco seasoning, and chicken broth to the skillet. Give it a good stir to combine everything. Let it simmer away for about 5-6 minutes. You’ll see the mixture thicken up nicely, absorbing all those incredible flavors. This filling is so versatile, it reminds me of the deliciousness in an easy sheet pan chicken and black bean nachos recipe!
- Preheat Your Oven: While your filling is simmering, go ahead and preheat your oven to a cozy 375°F (190°C).
- Prep Your Baking Dish: Lightly grease a 9×13-inch baking dish. This will prevent any cheesy goodness from sticking and make cleanup a breeze.
- Roll ‘Em Up! This is the fun part! Take each tortilla and spoon a generous amount of your chicken mixture down the center, then sprinkle a little bit of your shredded cheese on top of the filling. Roll up each tortilla snugly and place it seam-side down in your prepared baking dish. You want them to be snuggled close together!
- Cheesy Blanket Time: Once all your tacos are in the dish, sprinkle the remaining shredded cheese generously and evenly over the top of all the rolled tortillas.
- Optional Freshness: If you’re using them, now’s the time to scatter that diced red onion and chopped cilantro over the cheese. It adds a lovely pop of color and fresh flavor.
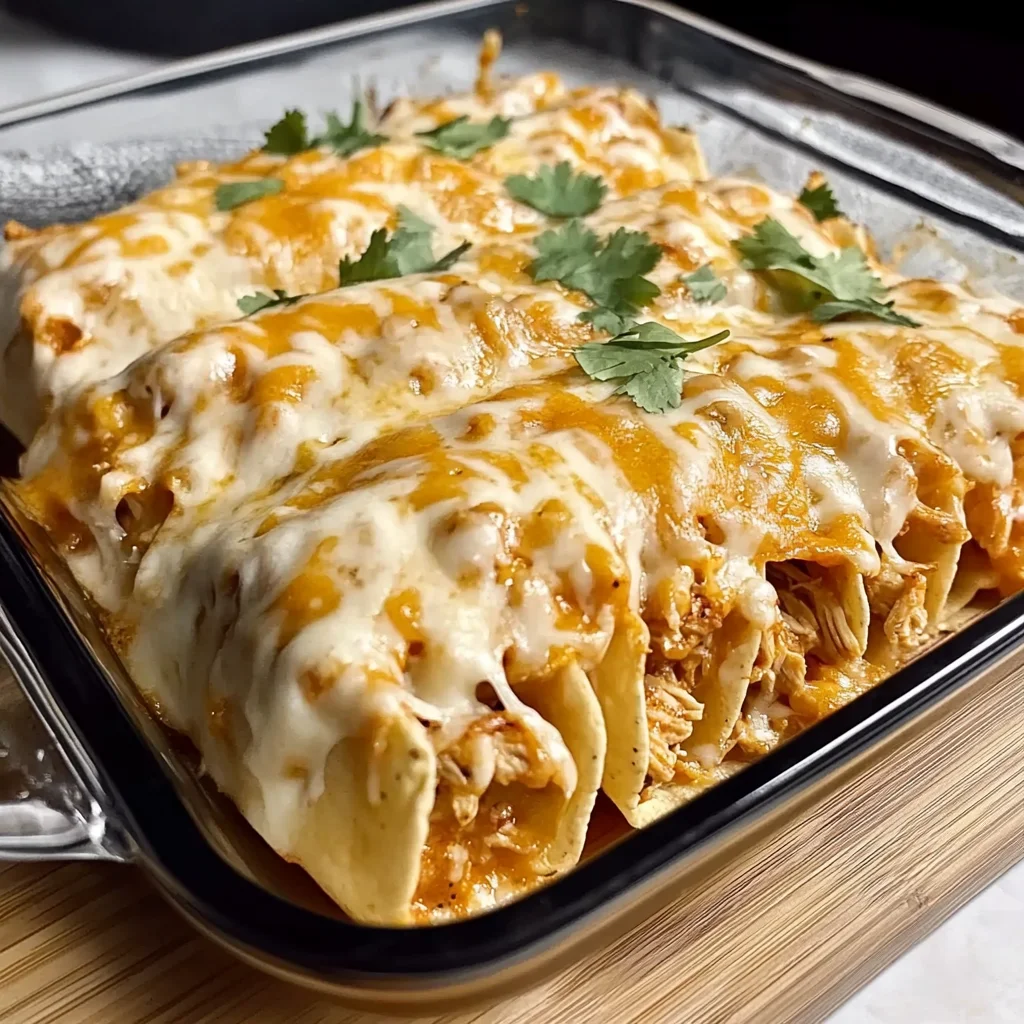
- Bake to Golden Perfection: Pop the baking dish into your preheated oven, uncovered. Let them bake for about 15-20 minutes, or until that cheese on top is beautifully bubbly and golden brown. You’ll know they’re ready when your kitchen smells absolutely divine!
- Serve It Up! Carefully remove the dish from the oven. Garnish with a little extra fresh cilantro, and serve immediately with bowls of sour cream, your favorite salsa, and creamy guacamole. Enjoy!
Substitutions & Additions
One of the best things about tacos is how customizable they are! Here are some ideas to make these Cheesy Baked Chicken Tacos truly your own:
- Protein Swap: Not a chicken fan? You can easily use cooked ground beef, shredded pork, or even black beans for a vegetarian twist. Just adjust cooking times as needed.
- Spice it Up: If you love a little extra heat, add a pinch of cayenne pepper or a dash of your favorite hot sauce to the chicken filling. You could also use a spicier diced tomato with green chilies.
- Veggies Galore: Feel free to sauté some diced bell peppers or corn along with your onion and garlic. You could even stir in some chopped spinach or black beans with the chicken filling for extra nutrition.
- Different Cheeses: While Mexican blend is fantastic, feel free to experiment with Monterey Jack, Colby, or a sharp cheddar for different flavor profiles.
- Topping Fun: Besides the classics, consider adding pickled jalapeños, a squeeze of lime juice, crumbled cotija cheese, or even a drizzle of avocado crema to your finished tacos.
Tips for Success
I want you to have the best experience making these tacos, so here are a few tips I’ve picked up along the way:
- Don’t Overfill: It’s tempting to stuff those tortillas to the max, but overfilling can make them hard to roll and prone to bursting in the oven. A good spoonful or two of filling is just right.
- Warm Your Tortillas: If your tortillas feel stiff or are cracking when you roll them, lightly warm them in the microwave for 10-15 seconds or quickly in a dry skillet. This makes them much more pliable and easier to work with.
- Prep Ahead: The chicken filling can be made a day or two in advance and stored in an airtight container in the fridge. This makes assembly on a busy weeknight even faster! It’s such a lifesaver, just like preparing the ingredients for a comforting bowl of cozy creamy tortellini soup.
- Crispiness Control: For softer tacos, you can cover the baking dish with foil for the first 10 minutes of baking, then remove it to crisp up the cheese. For extra crispy edges, leave them uncovered the whole time.
How to Store Cheesy Baked Chicken Tacos
If you happen to have any leftovers (which is a big “if” with these!), they store pretty well!
- Refrigerator: Once cooled, transfer any leftover baked tacos to an airtight container. They’ll keep well in the fridge for up to 3-4 days.
- Reheating: For best results, reheat them in the oven at 350°F (175°C) for about 10-15 minutes, or until heated through and the cheese is bubbly again. You can also microwave them, but the tortillas might get a bit softer.
- Freezing: You can freeze the baked tacos! Place cooled tacos in a single layer on a baking sheet to flash freeze, then transfer them to a freezer-safe bag or container. They’ll be good for up to 2-3 months. Reheat from frozen in the oven at 375°F (190°C) for about 25-30 minutes, or until hot and cheesy.
FAQs
Got questions? I’ve got answers!
Can I use corn tortillas instead of flour?
Absolutely! Corn tortillas work beautifully. I’d recommend warming them slightly before rolling to prevent cracking, as they tend to be a bit more delicate than flour tortillas.
What can I serve with these tacos?
These tacos are great on their own, but they also pair wonderfully with a simple green salad, Mexican rice, or some cheesy garlic butter skillet corn. Don’t forget all your favorite toppings!
Can I make the filling spicy?
Definitely! You can add a pinch of red pepper flakes, a few dashes of your favorite hot sauce, or even a diced jalapeño to the chicken mixture while it simmers for an extra kick.
Can I use raw chicken for the filling?
For this recipe, it’s best to use already cooked shredded chicken as the oven baking time is primarily for heating through and melting the cheese. If you’re starting with raw chicken, cook and shred it first before adding it to the skillet with the other ingredients.
I hope you and your family fall in love with these Cheesy Baked Chicken Tacos as much as I have! They’re truly a game-changer for busy nights and a surefire way to bring smiles to the dinner table. Happy cooking!
For more delicious and easy recipes, be sure to follow us on Pinterest!
Cheesy Baked Chicken Tacos
Ingredients
Equipment
Method
- Step 1: Get Sautéing! Grab a large skillet and warm up your olive oil over medium heat. Toss in your diced onion and minced garlic. Sauté them gently for about 3-5 minutes, until they’re nice and tender and you can smell that amazing aroma filling your kitchen.
- Step 2: Build the Flavorful Filling: Now, add your cooked shredded chicken, the drained diced tomatoes with green chilies, taco seasoning, and chicken broth to the skillet. Give it a good stir to combine everything. Let it simmer away for about 5-6 minutes. You’ll see the mixture thicken up nicely, absorbing all those incredible flavors.
- Step 3: Preheat Your Oven & Prep Baking Dish: While your filling is simmering, preheat your oven to a cozy 375°F (190°C). Lightly grease a 9×13-inch baking dish. This will prevent any cheesy goodness from sticking and make cleanup a breeze.
- Step 4: Roll 'Em Up! Take each tortilla and spoon a generous amount of your chicken mixture down the center, then sprinkle a little bit of your shredded cheese on top of the filling. Roll up each tortilla snugly and place it seam-side down in your prepared baking dish. You want them to be snuggled close together!
- Step 5: Cheesy Blanket Time: Once all your tacos are in the dish, sprinkle the remaining shredded cheese generously and evenly over the top of all the rolled tortillas.
- Step 6: Optional Freshness: If you're using them, now's the time to scatter that diced red onion and chopped cilantro over the cheese. It adds a lovely pop of color and fresh flavor.
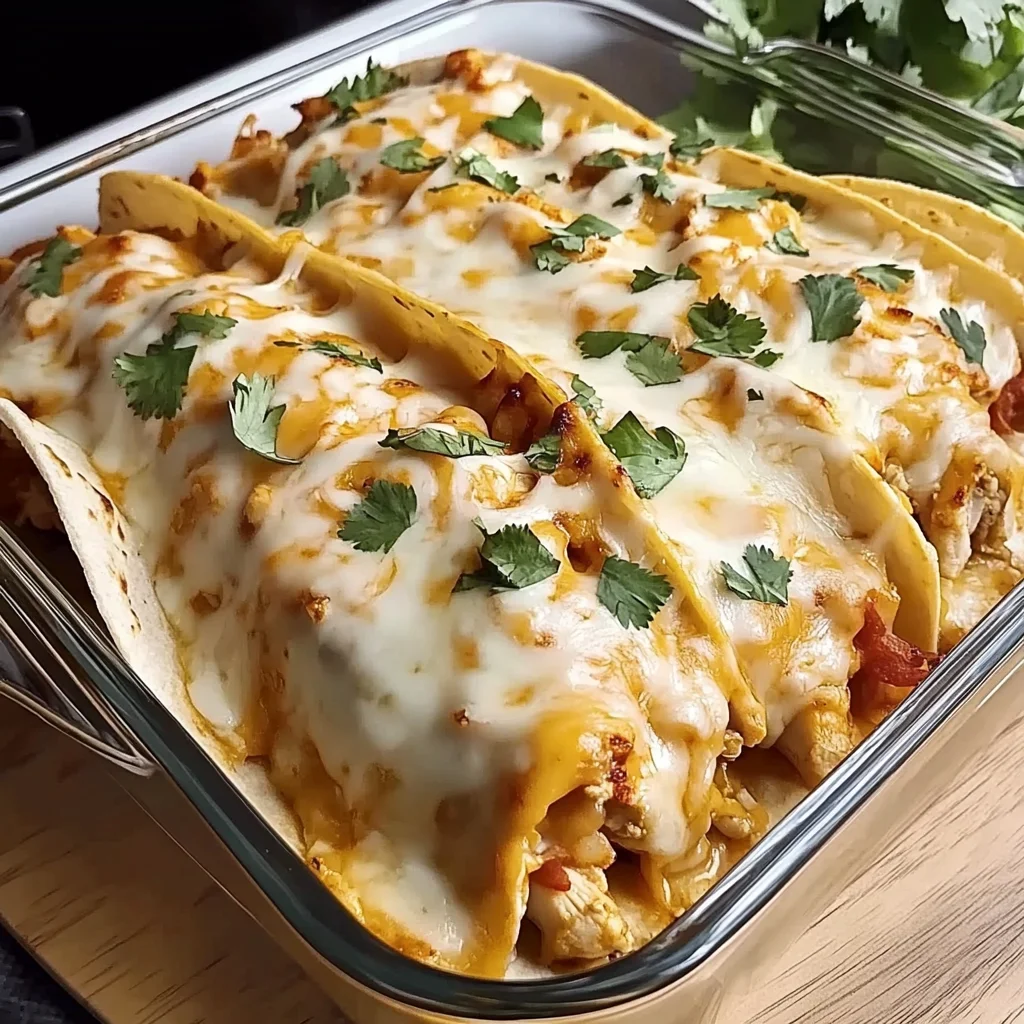
- Step 7: Bake to Golden Perfection: Pop the baking dish into your preheated oven, uncovered. Let them bake for about 15-20 minutes, or until that cheese on top is beautifully bubbly and golden brown. You'll know they're ready when your kitchen smells absolutely divine!
- Step 8: Serve It Up! Carefully remove the dish from the oven. Garnish with a little extra fresh cilantro, and serve immediately with bowls of sour cream, your favorite salsa, and creamy guacamole. Enjoy!