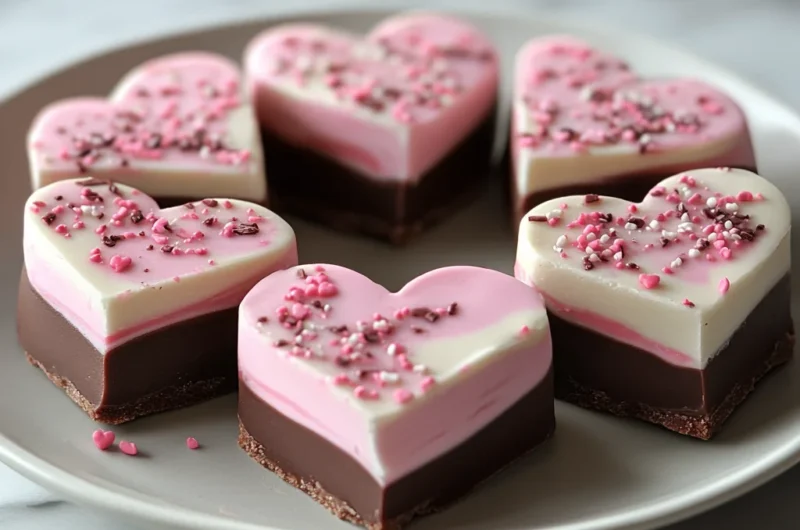
There’s something truly magical about Valentine’s Day desserts, isn’t there? Maybe it’s the soft pink hues, the heart shapes, or just the way a sweet treat can make someone’s day feel extra special. I remember when I first made Valentine Hearts Fudge for my family—it was quick, fun, and instantly became a favorite to share. Whether you’re making this fudge for a special someone, a group of friends, or just to treat yourself, this recipe is a cozy reminder that love really can be baked into every bite.
Best of all, Valentine Hearts Fudge is incredibly easy to whip up, requires just a few simple ingredients, and looks so impressive it could easily be mistaken for a fancy confection from a boutique candy shop. So, if you’re looking for a memorable, no-fuss dessert that’s as charming as it is delicious, you’re going to love this recipe.
Why You’ll Love Valentine Hearts Fudge
- Fast: You’ll have this fudge ready to chill in less than 20 minutes.
- Easy: No complicated techniques or baking skills needed.
- Giftable: Perfect for packaging up as a homemade Valentine’s Day gift.
- Crowd-pleasing: Everyone loves fudge, and the pink swirl adds a festive twist.
Ingredients
Before we dive in, let’s talk ingredients. This recipe uses two main layers—the rich chocolate base and a creamy pink swirl made with white chocolate. Here’s what you’ll need:
- 2 cups semi-sweet chocolate chips: These give your fudge that classic, deep chocolate flavor.
- 1 can (14 oz) sweetened condensed milk: The secret to fudge’s signature creamy texture and sweetness.
- 2 tbsp unsalted butter: Adds richness and makes the fudge silky smooth.
- 1 tsp vanilla extract: A little vanilla goes a long way in enhancing the chocolate flavor.
- Pinch of salt: Balances the sweetness perfectly.
- 1 cup white chocolate chips: Melted to create the lovely pink swirl.
- ½ cup sweetened condensed milk: For the pink layer—same creamy base, just less quantity.
- ½ tsp vanilla extract: Keeps the pink layer flavorful.
- 2 drops pink or red gel food coloring: To give the white chocolate that Valentine’s Day blush.
- Decoration options: 2 tbsp crushed nuts, dried raspberries, or cookie crumbs add a nice crunch and texture contrast.
- Optional: Heart sprinkles or edible shimmer for a festive finish.
These ingredients are easy to find at your local grocery store, and I love that they’re pantry staples for many home bakers. If you’re curious about other lovely no-bake treats, you might want to check out the easy no-bake Martha Washington candy recipe I recently shared, which also uses sweetened condensed milk for a luscious texture.
How to Make Valentine Hearts Fudge
Now, let’s get to the fun part—making the fudge! Don’t worry, I’ll walk you through it step by step, and I promise it’s simpler than it looks.
1. Preheat and prepare the pan
Start by lining an 8×8-inch baking pan with parchment paper. Make sure to leave an overhang on the sides—this will make lifting the fudge out a breeze later on. Lightly grease the parchment with butter or nonstick spray so the fudge won’t stick. This little step saves you a lot of frustration when it’s time to cut the fudge.
2. Prepare the chocolate fudge layer
In a microwave-safe bowl, combine your semi-sweet chocolate chips, butter, and the full can of sweetened condensed milk. Microwave in 20 to 30-second bursts, stirring between each, until everything is melted and smooth. It’s important to stir well so the mixture doesn’t burn or seize up. Once melted, stir in the vanilla extract and a pinch of salt.
3. Pour and level
Pour this luscious chocolate mixture into your prepared pan. Use a spatula to spread it out evenly, smoothing the surface as best you can. Let it sit at room temperature for a few minutes while you prepare the pink layer. This resting time helps the fudge layers hold their shape when we add the swirl.
4. Prepare the pink swirl layer
In a separate microwave-safe bowl, melt the white chocolate chips with the half cup of sweetened condensed milk using the same method—short bursts in the microwave, stirring well after each. When smooth, stir in the vanilla extract and add your gel food coloring. You want a soft pink color, so start with two drops and add more if needed, but be careful not to make it too dark.
5. Create the swirl
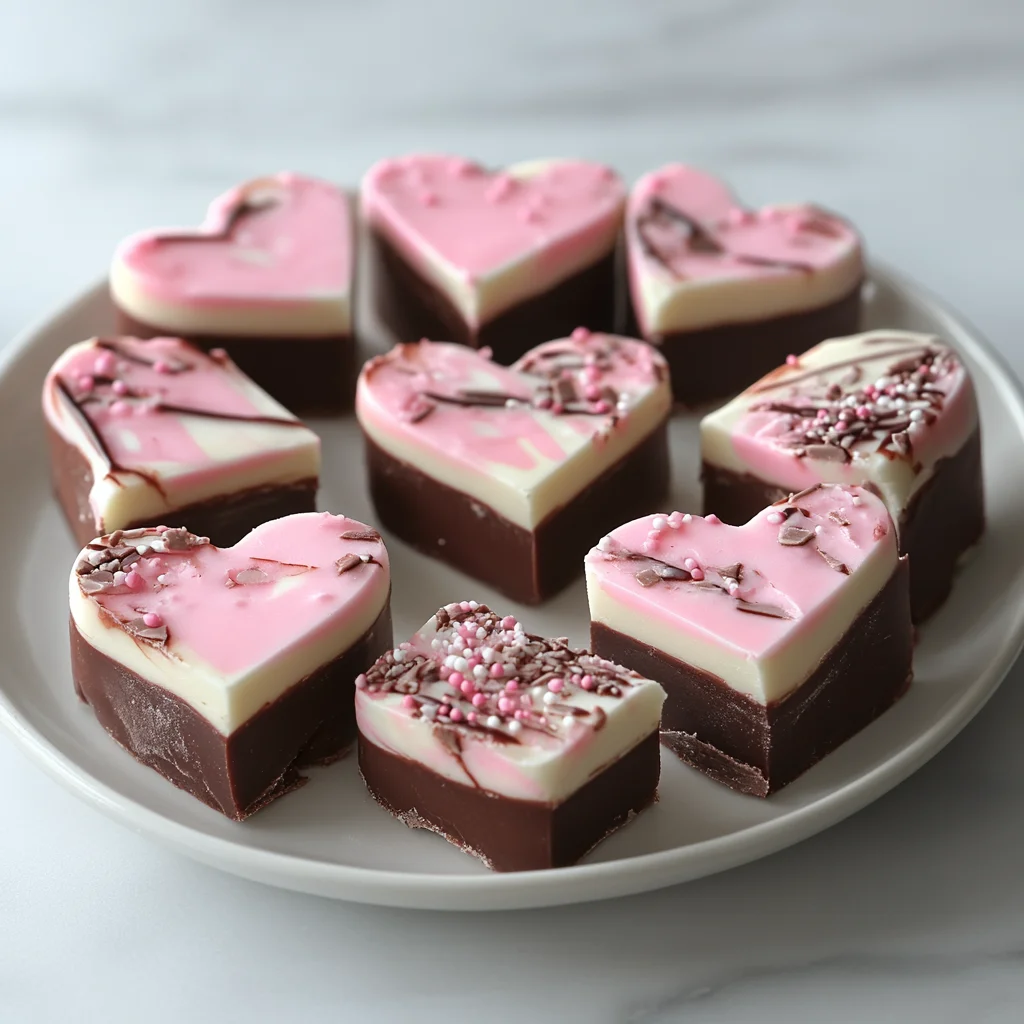
Drop spoonfuls of the pink fudge over the chocolate base in random spots. Then, use a skewer or toothpick to gently swirl the two layers together, creating beautiful marbled patterns. This is where your creativity can shine—no two batches will look exactly the same!
6. Decorate
Sprinkle crushed nuts, dried raspberries, or cookie crumbs evenly over the top. These add a bit of texture and a lovely contrast to the creamy fudge. If you want to add some extra Valentine flair, scatter heart-shaped sprinkles or edible shimmer for a little sparkle.
7. Chill and shape
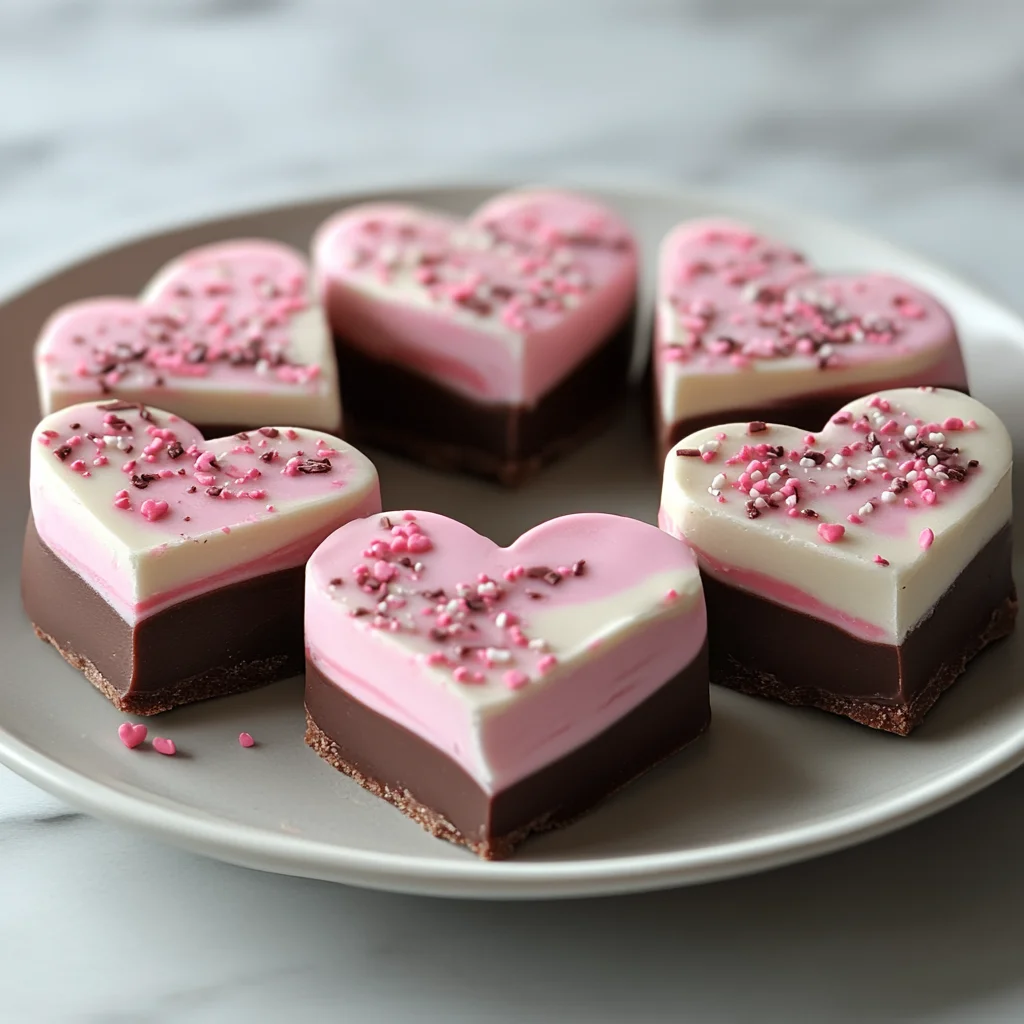
Pop the pan into the refrigerator and let the fudge chill for at least 2 hours, or until it’s firm to the touch. When it’s ready, gently lift the fudge out using the parchment paper edges. Then, use a heart-shaped cookie cutter to cut out your Valentine’s Day pieces. If you don’t have a heart cutter, squares or rectangles work just as well!
8. Serve
Arrange your Valentine Hearts Fudge on a pretty platter, or package it up in a gift box lined with tissue paper for a thoughtful homemade gift. Watching people’s faces light up when they see these gorgeous, tasty hearts is one of my favorite parts of making this recipe.
Substitutions & Additions
If you need to tweak the recipe or want to get creative, here are some swaps and fun additions to consider:
- Chocolate chips: Use dark chocolate or milk chocolate chips if you prefer a different flavor profile. White chocolate chips can be swapped with any good-quality melting white chocolate bar chopped up.
- Sweetened condensed milk: For a dairy-free or vegan version, try sweetened condensed coconut milk available in specialty stores.
- Gel food coloring: You can skip the coloring altogether or use natural alternatives like beet juice powder for a subtle pink tint.
- Add-ins: Fold in chopped nuts, dried cranberries, or mini marshmallows to the chocolate layer before setting for extra texture.
- Flavor twists: Add a teaspoon of peppermint extract to the pink layer for a festive touch, or a splash of orange extract for a citrusy surprise.
- Decorations: Swap out nuts or crumbs for crushed candy canes around the holidays or edible gold leaf for an elegant look.
For those who love experimenting with no-bake treats, you might enjoy the Oreo Eyeball Truffles recipe on the site as well—perfect for seasonal celebrations! It’s always exciting to play with colors and textures in your desserts.
Tips for Success
I’ve learned a few handy tips over the years that help make this fudge turn out just right every time, and I want to share them with you:
- Don’t overheat the chocolate: Chocolate burns easily in the microwave, so use short bursts and stir well after each one.
- Use good-quality chocolate: It really makes a difference in flavor and texture.
- Grease your parchment paper lightly: This helps the fudge release cleanly without sticking.
- Swirl gently: When marbling the pink layer, avoid overmixing or the colors will blend into a dull shade.
- Let fudge set fully: Be patient with chilling—it needs time to firm up for clean cutting.
- Prep ahead: You can make the fudge a day in advance and keep it refrigerated until serving.
If you want to elevate your dessert game even more, try pairing this fudge with a warm beverage like the cozy creamy tortellini soup I recently enjoyed on a chilly night; the sweet and savory combo is just divine.
How to Store Valentine Hearts Fudge
Once your fudge is cut into those adorable heart shapes, proper storage is key to keeping it fresh and delicious. Here’s what you need to know:
- Room temperature: Store fudge in an airtight container at room temperature for up to 5 days. Keep it away from direct sunlight or heat sources.
- Refrigeration: To extend shelf life, keep fudge refrigerated in an airtight container for up to 2 weeks. Let it sit at room temperature for a few minutes before serving for the best texture.
- Freezing: Fudge freezes well! Wrap pieces tightly in plastic wrap and place in a freezer-safe container or zip-top bag. Freeze for up to 3 months. Thaw overnight in the refrigerator before serving.
When packaging fudge as gifts, consider wrapping individual pieces in wax paper or cellophane bags tied with a ribbon. It’s a charming presentation that also keeps the fudge from sticking together.
FAQs
Can I make this fudge without a microwave?
Absolutely! You can melt the chocolate layers using a double boiler on the stovetop. Just combine the chocolate chips, butter, and sweetened condensed milk in the top of a double boiler over simmering water, stirring until smooth. This method gives you more control over the heat.
What if I don’t have gel food coloring?
You can use liquid food coloring, but be careful—too much liquid can change the fudge’s consistency. Start with a tiny amount and add more if needed. Alternatively, skip the coloring for plain white chocolate swirl.
Can I use other shapes instead of hearts?
Of course! Squares, rectangles, or even fun cookie cutter shapes like stars or flowers work just as well. It’s all about what makes you happy and fits your occasion.
How long does it take for the fudge to set?
Typically, fudge needs at least 2 hours in the refrigerator to firm up completely. For best results, chill overnight if you have the time.
For more fun and easy dessert ideas, you might want to explore the simple chocolate dump cake recipe that’s a breeze to make, especially when you want something sweet without fuss.
Thanks for spending time in the kitchen with me today! I hope this Valentine Hearts Fudge brings a little extra sweetness and love to your day. Don’t forget to check out the full range of recipes and inspiration at FoodTD where there’s always something cozy and delicious waiting for you.
Happy Valentine’s Day baking!
And hey, if you love saving recipes as much as I do, be sure to follow us on Pinterest for even more tasty inspiration and kitchen ideas.
Deliciously Easy Valentine Hearts Fudge
Ingredients
Equipment
Method
- Step 1: Line an 8×8-inch baking pan with parchment paper, leaving an overhang on the sides. Lightly grease the parchment with butter or nonstick spray.
- Step 2: In a microwave-safe bowl, combine semi-sweet chocolate chips, butter, and the full can of sweetened condensed milk. Microwave in 20 to 30-second bursts, stirring between each, until melted and smooth. Stir in vanilla extract and a pinch of salt.
- Step 3: Pour the chocolate mixture into the prepared pan and spread evenly with a spatula. Let sit at room temperature for a few minutes.
- Step 4: In a separate microwave-safe bowl, melt white chocolate chips with half cup sweetened condensed milk using the same microwave method. Stir in vanilla extract and gel food coloring to achieve a soft pink color.
- Step 5: Drop spoonfuls of the pink mixture over the chocolate base in random spots. Use a skewer or toothpick to gently swirl the layers together to create marbled patterns.
- Step 6: Sprinkle crushed nuts, dried raspberries, or cookie crumbs evenly on top. Add heart sprinkles or edible shimmer if desired.
- Step 7: Refrigerate the pan for at least 2 hours or until firm to the touch.
- Step 8: Use parchment overhang to lift fudge from pan. Cut into heart shapes with a cookie cutter or into squares/rectangles if preferred. Serve or package as gifts.