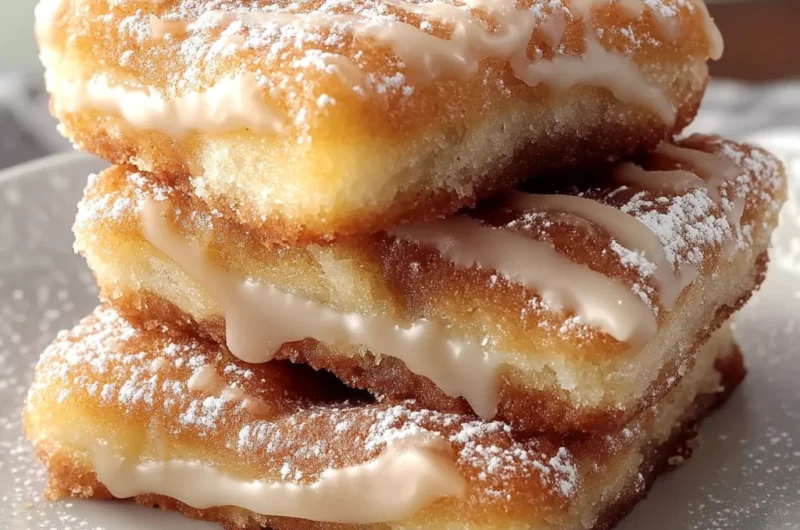
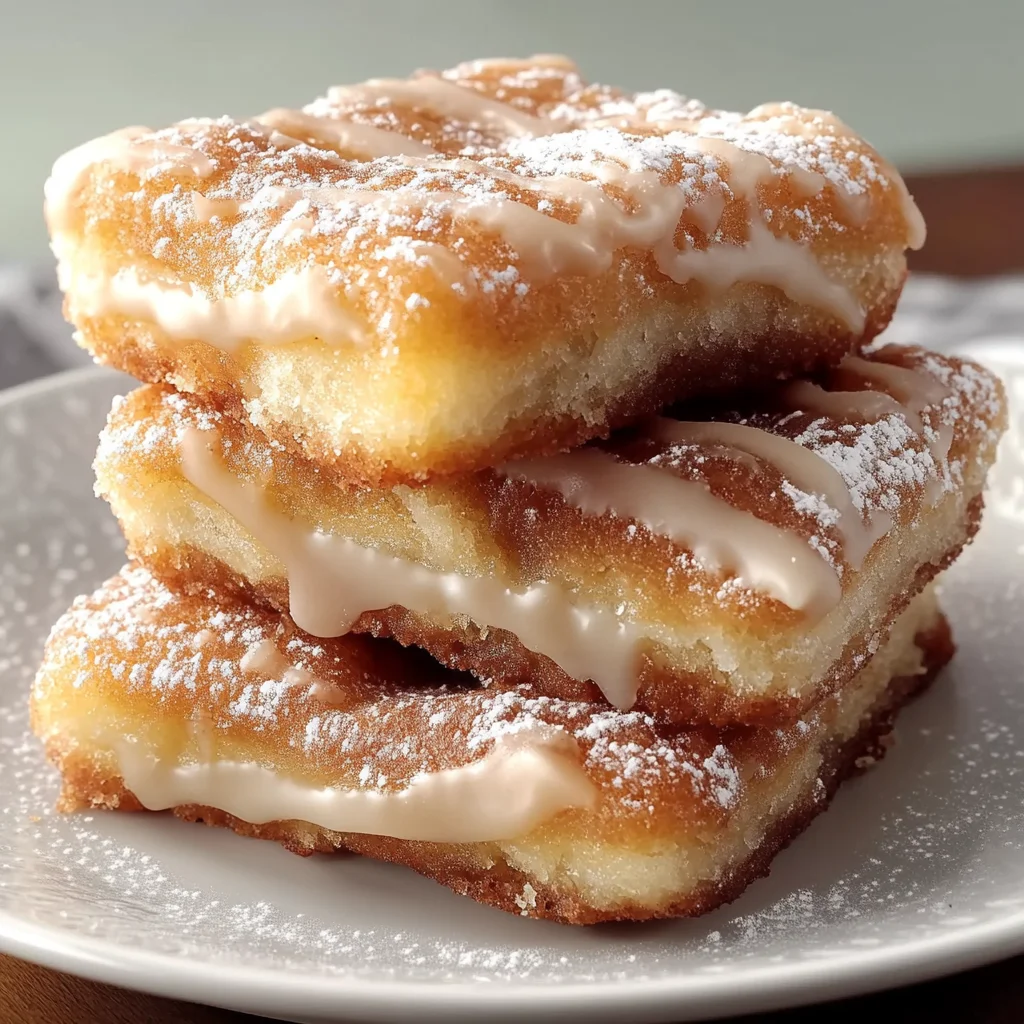
There’s something truly comforting about the smell of maple syrup wafting through the kitchen on a crisp morning. Maybe it reminds you of cozy weekends at grandma’s house or those simple moments when breakfast felt like a treat rather than a rush. Maple Donut Bars bring that warm nostalgia right to your countertop with a tender, cakey base topped with a luscious maple glaze that’s just begging to be devoured. And the best part? They’re incredibly easy and quick to make, which means you can whip them up for a last-minute brunch, a sweet snack, or even a thoughtful homemade gift.
I remember the first time I made these bars—I was craving a donut but didn’t want to leave the house or mess with frying oil. These bars were the perfect solution: all the maple flavor and that cozy donut vibe, but baked in a single pan. Whether you’re serving them alongside your morning coffee or packing them for a picnic, these Maple Donut Bars are guaranteed to become a staple in your kitchen.
Why You’ll Love Maple Donut Bars
- Fast: From mixing to baking, these bars come together in under an hour.
- Easy: Simple ingredients, straightforward steps—perfect for bakers of all skill levels.
- Giftable: Wrapped up nicely, these bars make a delightful homemade gift for friends and family.
- Crowd-pleasing: The sweet maple glaze and gentle spice notes make them irresistible to everyone.
Ingredients
Each ingredient in this recipe plays a special role in creating the perfect Maple Donut Bar. Here’s a little insight into what you’ll need and why:
- 2 cups all-purpose flour: The base of your bars, providing structure and tenderness.
- 1 cup granulated sugar: Adds sweetness and helps create a tender crumb.
- 1 tablespoon baking powder: The leavening agent that gives these bars a light, fluffy texture.
- 1/2 teaspoon salt: Balances the sweetness and enhances the flavors.
- 1/2 teaspoon ground cinnamon & 1/4 teaspoon ground nutmeg: These warm spices give a subtle fall-inspired touch that pairs beautifully with maple.
- 1/2 cup unsalted butter, melted: Adds richness and moisture.
- 1 cup whole milk: Keeps the batter smooth and helps the bars stay soft.
- 2 large eggs: Bind everything together and add a bit of richness.
- 1 teaspoon vanilla extract: Enhances the overall flavor with a sweet, mellow note.
- 1/2 cup maple syrup: The star of the show, infusing the bars with that unmistakable maple goodness.
- 1 cup powdered sugar: For the irresistible glaze that gives these bars their signature sweet finish.
- 1-2 tablespoons milk: Used to adjust the glaze consistency for perfect drizzling.
- Extra maple syrup for drizzling (optional): For those who want an extra maple kick.
How to Make Maple Donut Bars
Ready to dive in? Follow these steps closely, and I promise you’ll have a pan full of golden, maple-scented bars that everyone will adore.
- Preheat the oven to 350°F (175°C). Grease a 9×13 inch baking pan or line it with parchment paper for easy removal. I like using parchment because it makes cleanup a breeze and helps keep the bottoms from sticking.
- Mix the dry ingredients. In a large bowl, whisk together the all-purpose flour, granulated sugar, baking powder, salt, cinnamon, and nutmeg. This step ensures that the spices and leavening are evenly distributed throughout your batter.
- Combine the wet ingredients. In a separate bowl, whisk the melted butter, whole milk, eggs, vanilla extract, and maple syrup until smooth. I always make sure the melted butter isn’t too hot before mixing it with the eggs to avoid scrambling.
- Bring it all together. Pour the wet ingredients into the dry ingredients and gently fold with a spatula until just combined. The key here is not to overmix; a few lumps are fine. Overmixing can make the bars tough instead of tender and cakey.
- Spread the batter evenly in the prepared pan. Use your spatula to smooth the top so it bakes evenly.
- Bake for 25-30 minutes. Check doneness by inserting a toothpick in the center—it should come out clean. You want the edges to be lightly golden but the middle still soft and moist.
- Cool the bars. Let them cool in the pan for about 10 minutes—this helps them set up so they don’t crumble when you cut them. Then transfer to a wire rack to cool completely.
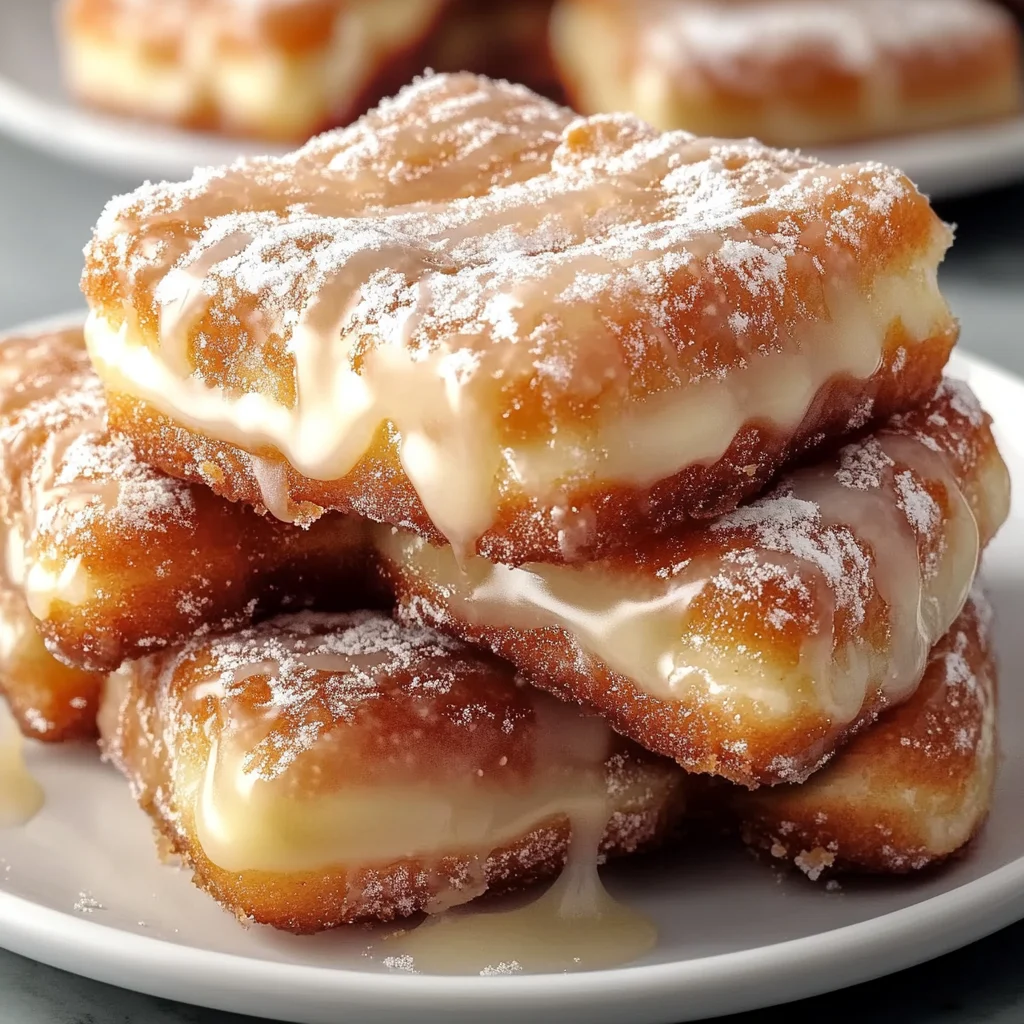
- Make the maple glaze. In a small bowl, whisk together the powdered sugar and 1 tablespoon of milk until smooth. Add more milk if needed to reach a pourable consistency. Stir in 2 tablespoons of maple syrup for that perfect sweet, sticky finish.
- Drizzle the glaze. Once the bars are completely cool, drizzle the maple glaze evenly over the top. If you’re feeling extra indulgent, add a little extra maple syrup on top.
- Let the glaze set. Allow 10-15 minutes for the glaze to firm up before slicing into bars and serving. This step prevents the glaze from sliding off and keeps your bars looking picture-perfect.
Substitutions & Additions
One of the best things about this recipe is how adaptable it is. Here are some swaps and creative upgrades you can try to make it your own:
- Flour alternatives: If you want a slightly nuttier flavor, try swapping half the all-purpose flour with whole wheat flour or oat flour. Just keep in mind the texture might be a bit denser.
- Milk swaps: Use almond milk, oat milk, or any plant-based milk for a dairy-free version. Just make sure it’s unsweetened to avoid over-sweetening the bars.
- Butter alternatives: Coconut oil works well here, adding a subtle tropical hint that pairs surprisingly nicely with maple.
- Spice it up: Add a pinch of ground ginger or cardamom to the dry mix for an extra layer of warmth and complexity.
- Maple glaze twists: Mix in a little cream cheese to the glaze for a tangy finish, or sprinkle chopped pecans or walnuts on top for crunch.
- Chocolate lovers: Swirl in some chocolate chips or drizzle melted dark chocolate over the glaze for a decadent touch.
Tips for Success
From my experience, a few simple tips can turn good Maple Donut Bars into unforgettable ones. Here’s what I’ve learned along the way:
- Don’t skip the parchment paper: It’s a small step that saves you a lot of heartache when removing the bars from the pan.
- Use room temperature eggs: They mix better and help the batter come together with fewer lumps.
- Watch your baking time: Every oven is different, so start checking your bars at 25 minutes. Overbaking makes them dry.
- Let the bars cool completely before glazing: Otherwise, the glaze might melt right off.
- Prep ahead: You can bake these bars a day in advance and store them at room temperature. Add the glaze right before serving to keep that fresh, shiny look.
- Pair with coffee or tea: These bars are a match made in heaven with a hot cup of coffee or your favorite chai. If you love cozy beverages, check out this cozy creamy tortellini soup recipe for another comforting treat perfect for chilly days.
How to Store Maple Donut Bars
Storage is easy and flexible with these bars, which makes them perfect to bake in advance or bring to gatherings.
Keep them in an airtight container at room temperature for up to 3 days. If your kitchen is warm, the glaze might get a little sticky, so refrigerate the bars in that case. They’ll last up to a week in the fridge and can be brought back to room temperature before serving.
If you want to save them for longer, wrap the bars tightly in plastic wrap and store in the freezer for up to 2 months. Thaw overnight in the fridge and add the glaze fresh before serving to keep that perfect texture.
FAQs
Can I make these bars gluten-free?
Yes! Swap the all-purpose flour with a gluten-free blend that’s designed for baking. Just make sure it contains xanthan gum or another binder to help with texture.
Can I use maple flavoring instead of real maple syrup?
While maple flavoring can be used in a pinch, real pure maple syrup gives the best depth of flavor and natural sweetness. The syrup also adds moisture and richness that’s hard to replicate.
Can I make these bars vegan?
Absolutely! Use a plant-based milk like almond or oat milk, replace the eggs with flax eggs (1 tablespoon ground flaxseed + 3 tablespoons water per egg), and swap the butter for coconut oil or vegan butter. The texture might be slightly different but still delicious.
How thick should the maple glaze be?
You want the glaze to be pourable but not too runny. It should drizzle slowly off your spoon. If it’s too thick, add a bit more milk; if too thin, add a little more powdered sugar.
If you love the comforting flavors of maple and are looking for more sweet treats to try, you might also enjoy the rich and decadent easy caramel brownie cheesecake recipe that’s perfect for any dessert table.
For a quick and satisfying snack that’s just as crowd-pleasing but savory, try the crispy roasted baby potatoes recipe that’s a staple in my kitchen and always disappears fast during get-togethers. You can find it right here.
Whether you’re baking these Maple Donut Bars for yourself, your family, or to share with friends, I hope they bring you a little extra warmth and sweetness to your day. Don’t forget to enjoy every bite slowly, maybe with a cozy blanket and your favorite cup of tea or coffee!
For even more delicious recipes and kitchen inspiration, be sure to follow me on Pinterest.
Maple Donut Bars
Ingredients
Equipment
Method
- Step 1: Preheat the oven to 350°F (175°C). Grease a 9×13 inch baking pan or line it with parchment paper for easy removal.
- Step 2: In a large bowl, whisk together the all-purpose flour, granulated sugar, baking powder, salt, cinnamon, and nutmeg until evenly combined.
- Step 3: In a separate bowl, whisk the melted butter, whole milk, eggs, vanilla extract, and maple syrup until smooth.
- Step 4: Pour the wet ingredients into the dry ingredients and gently fold with a spatula until just combined; avoid overmixing.
- Step 5: Spread the batter evenly in the prepared pan using a spatula to smooth the top.
- Step 6: Bake for 25-30 minutes until a toothpick inserted in the center comes out clean and edges are lightly golden.
- Step 7: Let the bars cool in the pan for about 10 minutes, then transfer to a wire rack to cool completely.
- Step 8: Prepare the maple glaze by whisking powdered sugar and 1 tablespoon of milk until smooth; add more milk if needed. Stir in 2 tablespoons maple syrup.
- Step 9: Once bars are completely cool, drizzle the maple glaze evenly over the top. Optionally drizzle extra maple syrup for added flavor.
- Step 10: Allow glaze to set for 10-15 minutes before slicing and serving.