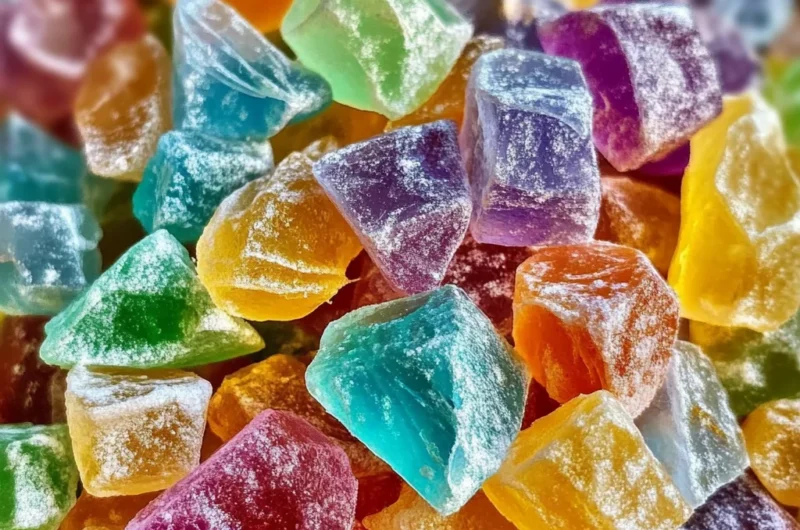
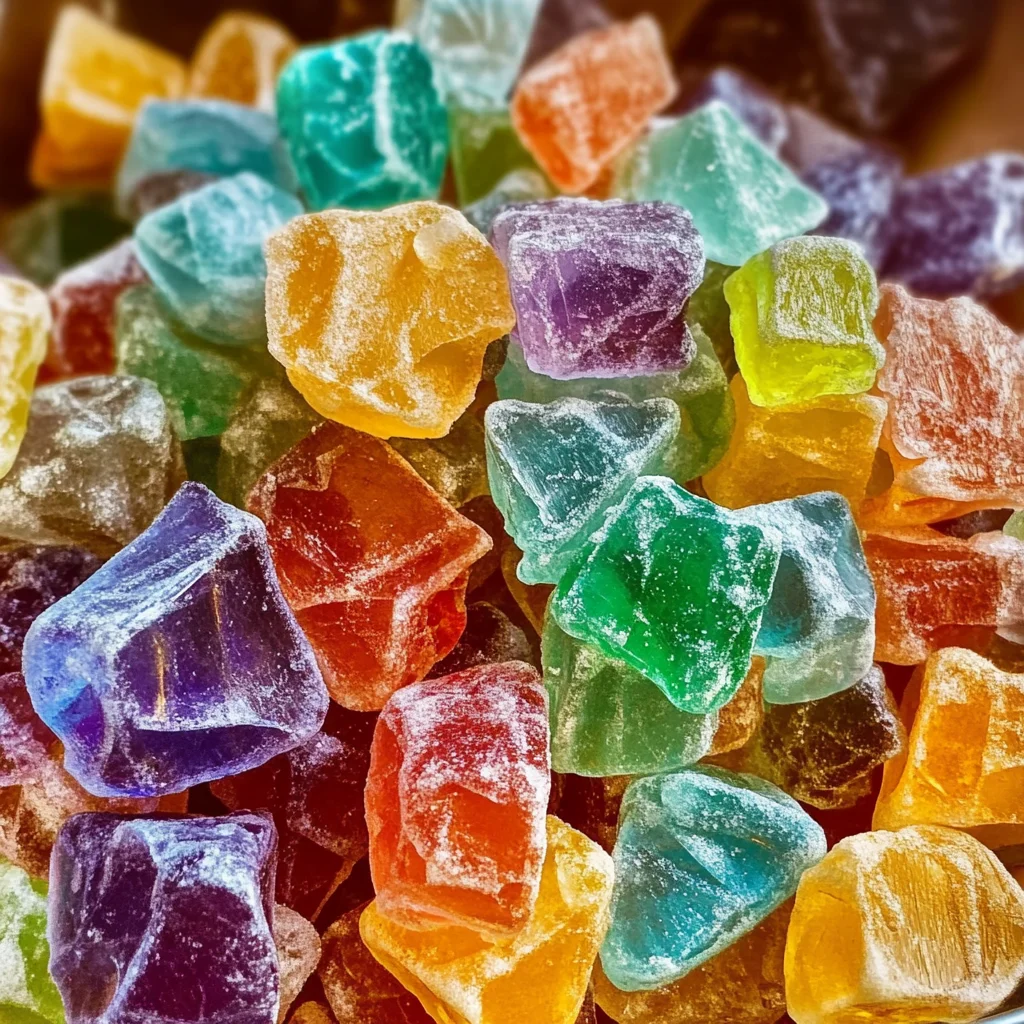
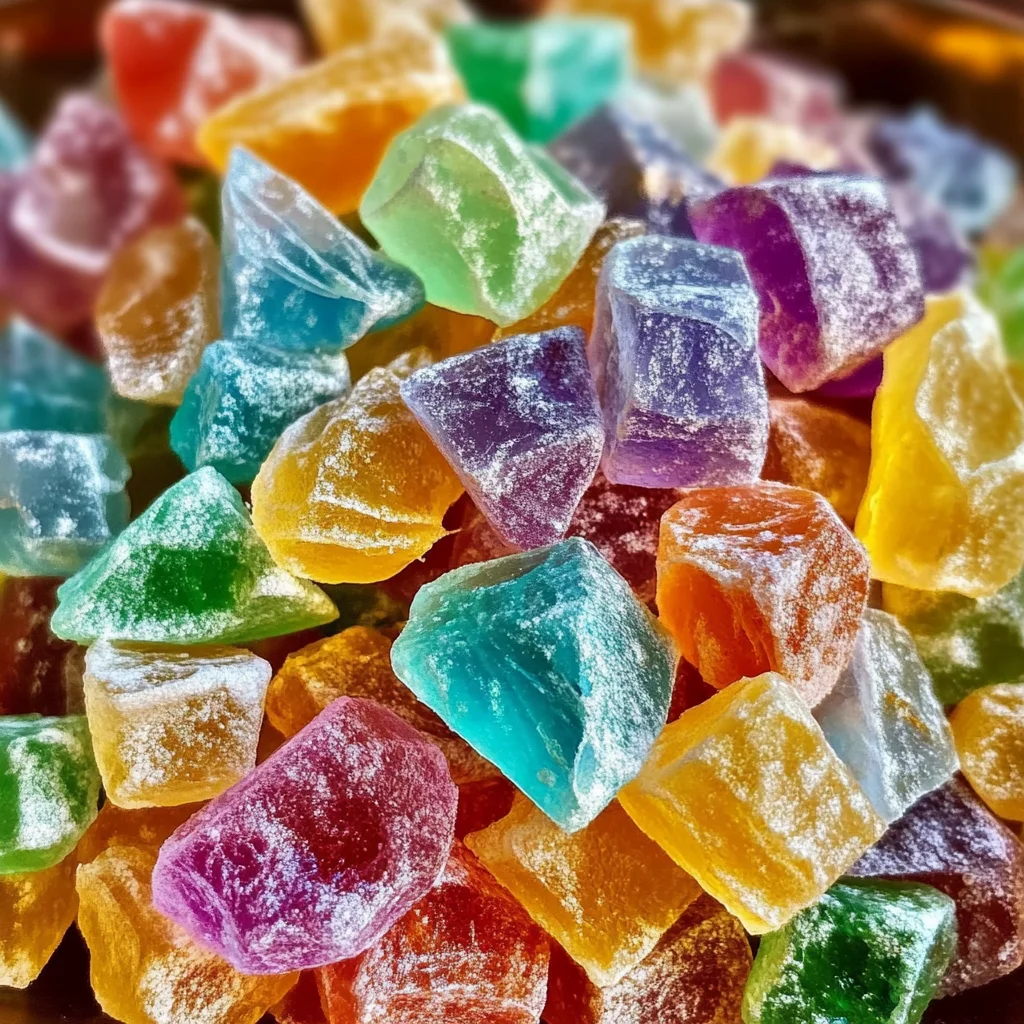
Do you remember the first time you saw a stained glass window bathed in sunlight, the colors glowing and sparkling like tiny jewels? That same magic can happen right in your kitchen with this delightful stained glass rock candy recipe. It’s not just candy—it’s a nostalgic, mesmerizing treat that transports you to childhood wonder and festive celebrations. Today, I’m excited to share how easy and fun it is to make this colorful confection yourself. Whether you’re crafting it for a party, holiday, or a special gift, this recipe will brighten your day and wow your friends.
What I love most about this recipe is how quickly it comes together and how stunning the final product looks. You don’t need fancy molds or complicated techniques—just a few simple ingredients, a little patience, and some creativity to customize your colors and flavors. So, let’s dive into the sweet science behind making your own stained glass rock candy that’s sure to become a memorable treat in your kitchen!
Why You’ll Love Stained Glass Rock Candy
- Fast: From start to finish, you can have gorgeous candy ready in just over an hour.
- Easy: The recipe uses common ingredients and straightforward steps perfect for beginners.
- Giftable: These colorful shards make charming homemade gifts for holidays, birthdays, and special occasions.
- Crowd-pleasing: Kids and adults alike will be captivated by the sparkling colors and sweet crunch.
Ingredients
Let’s take a look at the ingredients you’ll need. Each one plays a crucial role in achieving that perfect glassy texture and vibrant color:
- 1 cup water: The base that dissolves the sugar and helps create the syrup.
- 4 cups granulated sugar: Essential for sweetness and structure.
- 1 1/2 cups light corn syrup: Helps prevent crystallization and gives the candy a smooth, clear finish.
- 2 teaspoons flavored oil or 4 teaspoons flavored extract: This is where you add your favorite taste, like peppermint, lemon, or cherry.
- 1 teaspoon gel food coloring: Gel colors give you bright, vivid hues without watering down the syrup.
- 1 1/2 cups powdered sugar: Used to line the pan and prevent the candy from sticking, plus adds a soft snowy effect around the candy.
Pro tip: I usually pick gel food coloring because it’s much more concentrated than liquid, so your candy colors pop beautifully. If you’re after specific flavors, don’t hesitate to experiment with extracts like vanilla, almond, or even something fun like cotton candy extract!
How to Make Stained Glass Rock Candy
Ready to get started? Follow these steps carefully, and you’ll be rewarded with shimmering candy shards that look almost too pretty to eat (but trust me, you’ll want to!).
- Prepare your baking sheet: Line a baking sheet with foil and spread the powdered sugar evenly over the surface. Use your finger or the back of a spoon to create about nine swirling “S” shaped wells in the sugar—these will hold the hot syrup as it cools. If you’re planning to make multiple colors, prepare additional pans to keep them separate.
- Make the sugar syrup: In a heavy saucepan, combine water, granulated sugar, and light corn syrup. Place over medium-high heat and stir continuously until the sugar fully dissolves. This step ensures your candy will be smooth and free of graininess.
- Boil to the hard crack stage: Attach a candy thermometer to the saucepan. Allow the mixture to boil without stirring until it reaches 300°F (that’s the hard crack stage), which is perfect for rock candy.
- Remove from heat and wait: When the syrup hits the right temperature, take the pan off the stove and wait for all bubbling to stop completely. This is really important because pouring bubbling syrup can cause air bubbles and uneven candy.
- Add color and flavor: If you’re making more than one color, quickly divide the hot syrup into separate bowls. Stir in the gel food coloring and your chosen flavored oil or extract. The syrup cools and hardens fast, so you’ll want to move quickly at this stage.
- Pour the syrup: Carefully drizzle the colored syrup into the powdered sugar wells on your prepared pans. The sugar acts like a gentle bed, keeping the syrup in place and helping to form those beautiful stained glass shards.
- Let cool completely: Leave the candy at room temperature for about an hour until it hardens fully. Resist the urge to move or touch it too soon, or the candy might crack prematurely.
- Cut into shards: Once hardened, use kitchen scissors or a sharp knife to break the candy into small, jewel-like shards. Dust them with a bit more powdered sugar to prevent sticking.
- Store: Transfer your candy shards to an airtight container to keep them fresh and crunchy.
This process may sound detailed, but once you’ve made your first batch, you’ll find it’s a straightforward and rewarding experience. And the best part? The end result is stunning and delicious!
Substitutions & Additions
One of the things I love about stained glass rock candy is how adaptable it is. Here are some ideas if you want to switch things up or add your own creative twist:
- Flavored extracts vs. oils: If you can’t find flavored oils, extracts work just fine—just remember to stick to the recommended amounts so the candy doesn’t become too watery or soft.
- Natural food coloring: If you prefer natural ingredients, try beet juice powder for red, spirulina powder for green, or turmeric for yellow. Keep in mind that natural colors might not be as vibrant but add lovely earthy tones.
- Add edible glitter: Stir in a pinch of edible glitter into the syrup for extra sparkle that dazzles in the light.
- Mix colors: For a marbled stained glass effect, gently swirl two colors together in the sugar wells before the syrup hardens.
- Shape variations: Instead of “S” shaped wells, experiment with round or heart-shaped depressions for different candy shard shapes.
And if you’re inspired to keep the candy-making fun going, you might enjoy other creative DIY edible projects like the [easy no-bake Martha Washington candy](https://foodtd.com/easy-no-bake-martha-washington-candy/) or even the whimsical [DIY fizzy treasure stones](https://foodtd.com/diy-fizzy-treasure-stones/), which add a bubbly twist to your candy collection!
Tips for Success
Making rock candy can feel a bit intimidating at first, but with these tips, you’ll have a smooth experience and beautiful results every time:
- Use a heavy-bottomed saucepan: This helps distribute heat evenly and prevents burning the syrup.
- Don’t stir after the syrup starts boiling: Stirring can cause sugar crystals to form, leading to grainy candy. Just let it boil undisturbed.
- Keep a close eye on the temperature: Invest in a reliable candy thermometer. Hitting the hard crack stage of 300°F is key for that perfect crunchy texture.
- Work quickly when adding colors: The syrup sets fast, so have your pans ready before you start dividing and coloring.
- Prepare your workspace in advance: Powdered sugar can get messy, so have everything ready to avoid rushing at the last minute.
- Store properly: Keep your candy in an airtight container away from humidity to avoid stickiness or softening.
- Prep ahead: You can make the candy shards a day or two ahead of time. Just be sure to store them well to keep that crisp texture.
Once, I made these for a holiday party and forgot to dust the candy with powdered sugar before storing. The candies stuck together in a big colorful clump! Lesson learned—don’t skip that simple step.
How to Store Stained Glass Rock Candy
After all your hard work, you’ll want to keep your stained glass rock candy fresh and crunchy as long as possible. Here’s how to do it right:
- Let the candy cool completely before storing to avoid condensation inside the container.
- Use an airtight container or resealable plastic bags to keep moisture out.
- Store the candy in a cool, dry place away from direct sunlight, which can fade colors over time.
- Under proper storage, rock candy can last up to 2 weeks, but it’s best enjoyed within the first week for optimal crunch and flavor.
If you want to share your candy as gifts, wrapping individual shards in cellophane bags tied with ribbons adds a charming homemade touch that anyone would appreciate.
FAQs
Q1: Can I use regular food coloring instead of gel?
A: Regular liquid food coloring can be used, but it may dilute the syrup slightly and result in less vibrant colors. Gel food coloring is preferred for bright, intense hues.
Q2: What if my candy turns out sticky or soft?
A: This usually happens when the syrup isn’t cooked to the hard crack stage or is exposed to humidity. Make sure your candy thermometer reads 300°F and store the candy in a dry environment.
Q3: Can I make this recipe without corn syrup?
A: Corn syrup helps prevent crystallization and keeps the candy smooth. You can try substituting with honey or glucose syrup, but results may vary.
Q4: Is it safe to eat the candy right after pouring?
A: No! The sugar syrup is extremely hot and can cause burns. Always let the candy cool and harden completely before handling or tasting.
Speaking of sweet treats, if you love making candy at home, you should definitely check out the [easy no-bake Martha Washington candy](https://foodtd.com/easy-no-bake-martha-washington-candy/) recipe for another nostalgic delight that’s just as fun to make and share.
And for a savory snack to enjoy alongside your sweet creations, the [crispy roasted baby potatoes recipe](https://foodtd.com/crispy-roasted-baby-potatoes-recipe/) is a fantastic, easy crowd-pleaser that always hits the spot.
Making stained glass rock candy is a wonderful way to bring a little magic into your kitchen and create beautiful edible art that’s truly a feast for the eyes and the taste buds. I hope you enjoy crafting these colorful gems as much as I do!
Don’t forget to follow me on Pinterest for more inspiring recipes, kitchen tips, and creative food ideas!
Stained Glass Rock Candy
Ingredients
Equipment
Method
- Step 1: Line a baking sheet with foil and spread powdered sugar evenly over the surface. Use your finger or the back of a spoon to create about nine swirling “S” shaped wells to hold the syrup as it cools. Prepare additional pans if making multiple colors.
- Step 2: In a heavy-bottomed saucepan, combine water, granulated sugar, and light corn syrup. Place over medium-high heat and stir continuously until sugar fully dissolves.
- Step 3: Attach a candy thermometer to the saucepan. Allow the mixture to boil without stirring until it reaches 300°F (hard crack stage).
- Step 4: Remove from heat and wait for all bubbling to stop completely to avoid air bubbles in the candy.
- Step 5: Quickly divide the hot syrup into separate bowls if making multiple colors. Stir in gel food coloring and flavored oil or extract rapidly as syrup cools fast.
- Step 6: Carefully drizzle colored syrup into the powdered sugar wells on prepared pans. The sugar bed keeps syrup in place forming beautiful shards.
- Step 7: Let candy cool completely at room temperature for about one hour until fully hardened. Avoid moving or touching too soon.
- Step 8: Use kitchen scissors or a sharp knife to break hardened candy into small jewel-like shards. Dust with additional powdered sugar to prevent sticking.
- Step 9: Store candy shards in an airtight container to keep fresh and crunchy.