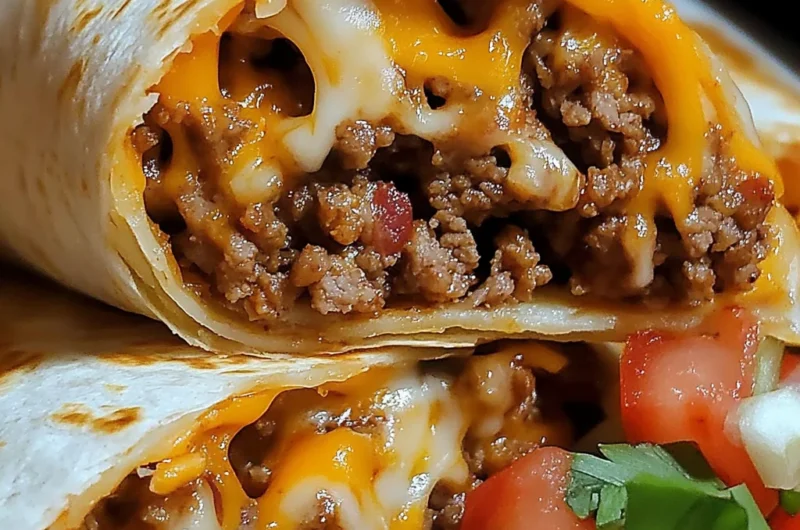
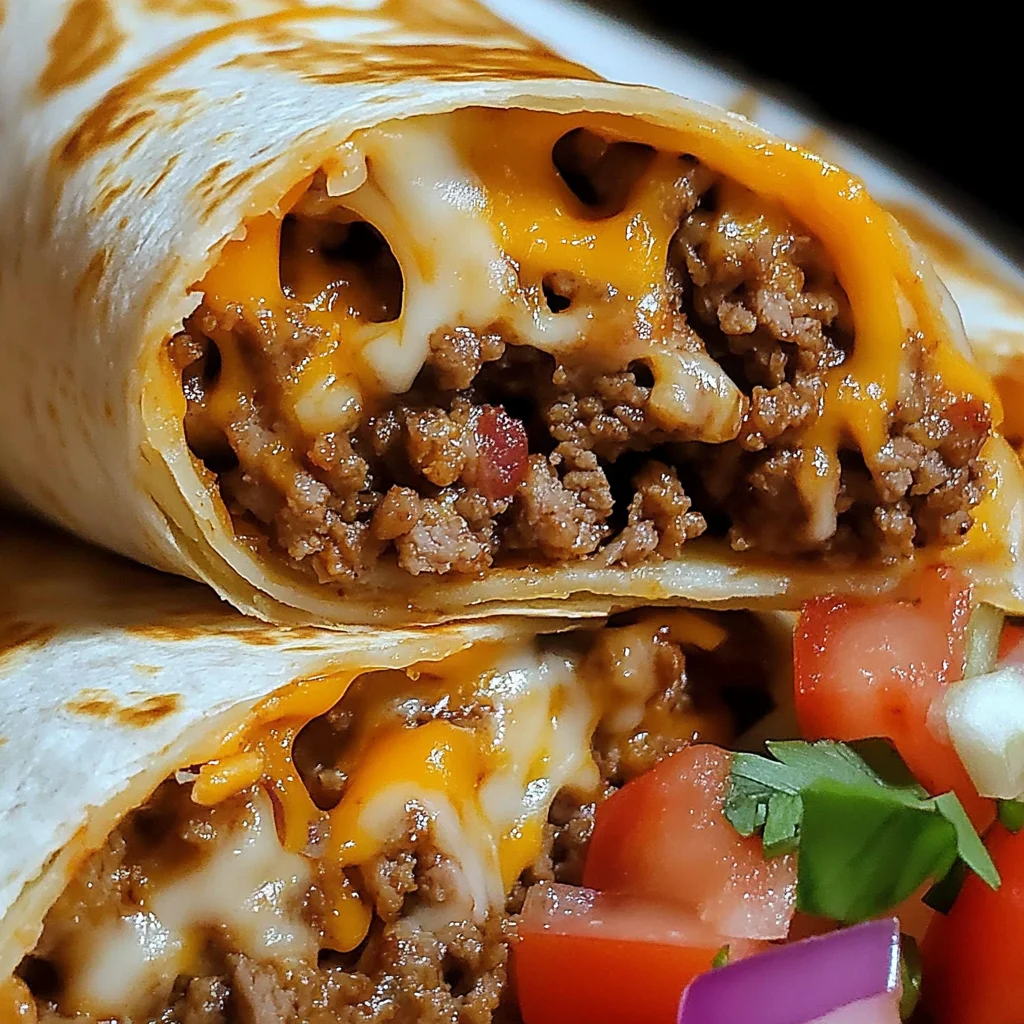
Remember those days when you’d come home, stomach rumbling, and just wished a delicious, warm, and comforting meal would magically appear? Or maybe it’s a busy weeknight, and you’re staring into the fridge, utterly stumped for dinner ideas? Well, my friend, I’m about to introduce you to a recipe that feels like a warm hug and a high-five all at once: the Nacho Cheese Beef Wrap! It’s got that irresistible gooey cheese, savory beef, a little crunch, and all wrapped up in a handheld package of pure joy. Trust me, this isn’t just a meal; it’s a mood-booster, super quick to whip up, and so memorable, you’ll be adding it to your weekly rotation. If you’re looking for another comforting classic that’s equally simple, you might also love our Cozy Creamy Tortellini Soup – perfect for chilly evenings!
Why You’ll Love Nacho Cheese Beef Wrap
- Fast: Dinner on the table in under 30 minutes!
- Easy: Simple steps, no fancy techniques needed.
- Giftable: Okay, maybe not “giftable” in the traditional sense, but they’re perfect for sharing with friends or bringing to a potluck!
- Crowd-pleasing: Who doesn’t love nacho flavors and savory beef all wrapped up?
Ingredients
Gather your delicious components, my friend. Here’s what you’ll need to create these amazing wraps:
- 1 lb lean ground beef: The hearty foundation of our wrap! Lean means less draining, but any ground beef works.
- 1 cup nacho cheese sauce: This is where the magic happens! Get that irresistible gooey, cheesy factor.
- 1/2 cup sour cream: Adds a lovely creamy tang that balances the richness.
- 1 can Rotel (diced tomatoes with green chilis): A secret weapon for flavor and a hint of spice without being overpowering.
- 1 green bell pepper, chopped: Adds a fresh crunch and a touch of sweetness.
- 1 small onion, diced: Essential for building that savory flavor base.
- 1 packet taco seasoning mix: Your one-stop shop for perfectly spiced beef!
- 1 cup crushed Nacho Cheese Doritos: Don’t skip this! It brings that epic nacho crunch and extra cheesy flavor.
- 4 large flour tortilla wraps: The perfect vessel for holding all this deliciousness.
- 1 cup shredded lettuce (for serving): A refreshing, crisp topping that adds freshness to every bite.
How to Make Nacho Cheese Beef Wrap
Alright, let’s get cooking! This is going to be so much fun, and you’ll be amazed at how quickly it comes together.
- First things first, grab your favorite skillet and place it over medium-high heat. Add your lean ground beef and cook it up, breaking it apart with a spoon as it browns. Once it’s fully cooked and beautifully browned, drain off any excess fat. We want all the flavor, none of the grease!
- Now that your beef is perfectly cooked, toss in your diced onions and chopped green bell peppers. Give them a good stir and sauté for about 4 minutes. You want them to soften up just a bit, releasing all their lovely aromas.
- Time to spice things up! Stir in your trusty packet of taco seasoning mix with the beef and veggies. Let it simmer for just 1-2 minutes, allowing all those incredible flavors to meld together. Your kitchen is going to smell amazing!
- While your beef mixture is simmering, grab a separate bowl. Pour in your nacho cheese sauce and add the can of Rotel (undrained, please – we want all that flavorful juice!). Mix it all together until it’s smooth and beautifully combined. This is your gooey, cheesy spread!
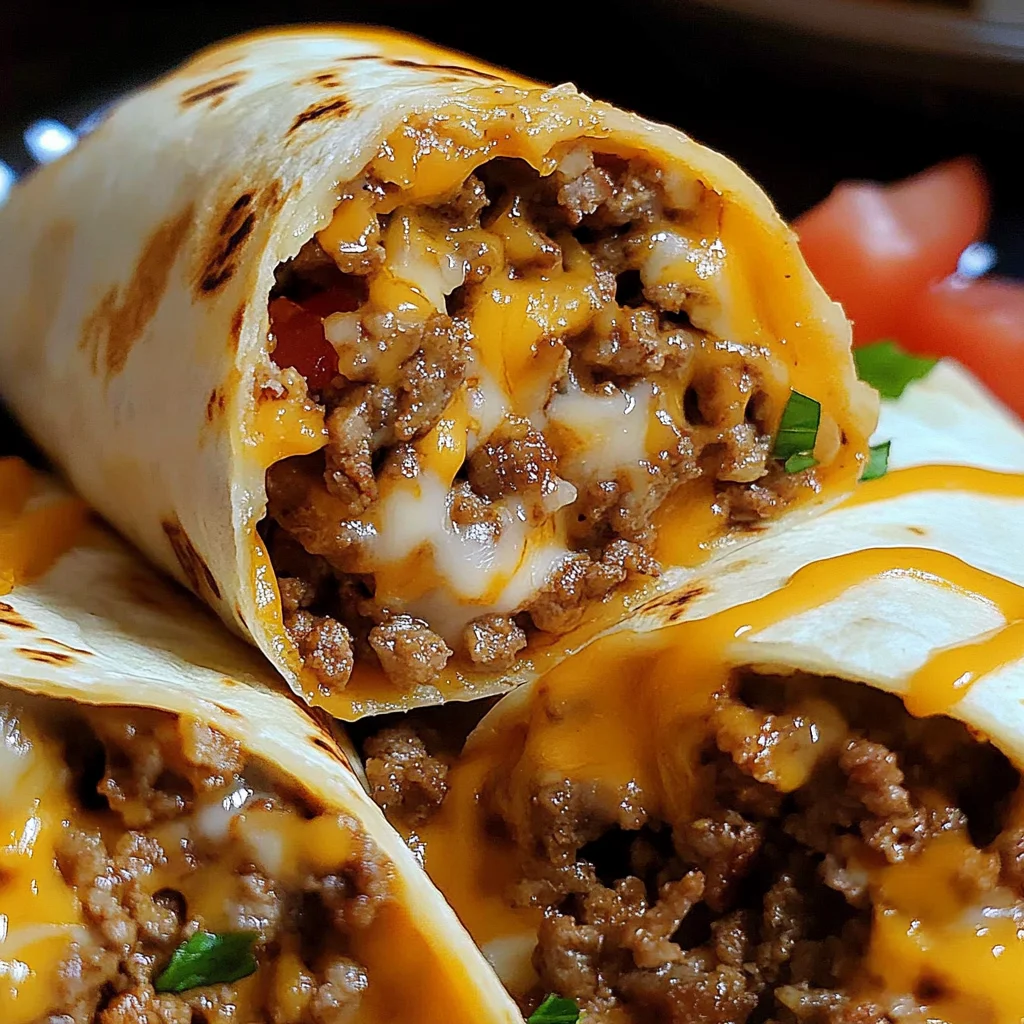
- Now for the fun part – assembly! Lay out your large flour tortillas on a flat surface. Spread a generous line of your cheesy Rotel mixture right down the center of each tortilla. Next, spoon a hearty portion of your seasoned beef mixture on top of the cheese. Add a lovely dollop of sour cream, and then, for that ultimate nacho experience, sprinkle some crushed Nacho Cheese Doritos over everything.
- It’s time to wrap ’em up! Carefully fold in the sides of your tortilla over the filling, then roll it up tightly from one end to the other. You want a nice, snug package. Place another skillet over medium heat (or use the one you cooked the beef in, wiped clean). Toast each wrap in the dry skillet for 2-3 minutes per side, or until they’re golden brown and wonderfully crispy. This step is key for that satisfying crunch!
- Serve these beauties immediately with a generous helping of shredded lettuce. If you’re feeling extra fancy (and why not?), you can add optional toppings like fresh salsa or creamy guacamole. Enjoy every single bite!
Substitutions & Additions
The beauty of a recipe like this is how easily you can make it your own! Don’t be afraid to get creative in your kitchen.
- Protein Power: Not a beef fan? No problem! You can easily swap the ground beef for ground turkey, ground chicken, or even black beans for a vegetarian option. If you’re looking for another hearty beef meal, our Cowboy Beef Potato Casserole is a total winner!
- Veggie Boost: Feel free to add more veggies! Diced red onion, corn, or even some finely diced jalapeños for an extra kick would be fantastic.
- Cheese Please: While nacho cheese sauce is the star, you can add a sprinkle of shredded Monterey Jack or Colby cheese to the wrap before rolling for extra cheesiness.
- Spice It Up: If you love heat, add a dash of hot sauce to your beef mixture, or use “hot” Rotel.
- Other Toppings: Besides lettuce, consider a sprinkle of fresh cilantro, diced avocado, or pickled jalapeños.
- Different Crunch: If you don’t have Doritos, plain tortilla chips will work in a pinch, though you’ll miss that signature nacho cheese flavor.
Tips for Success
Even the simplest recipes have little tricks to make them absolutely perfect. Here are my go-to tips for nailing these Nacho Cheese Beef Wraps every time:
- Don’t Overfill: It’s tempting to cram in as much delicious filling as possible, but resist! Overfilled wraps are harder to roll and prone to bursting. A good rule of thumb is to leave about an inch or two of space around the edges.
- Drain That Beef: Make sure you thoroughly drain the excess fat from your cooked ground beef. This prevents your wraps from becoming greasy and soggy.
- The Toasting is Key: Don’t skip the skillet toasting step! It gives the tortillas a beautiful golden crispiness and helps seal the wrap, preventing leakage. Plus, it just tastes better!
- Warm Tortillas: If your tortillas seem a bit stiff, gently warm them in the microwave for 10-15 seconds before filling. This makes them more pliable and easier to roll without cracking.
- Prep Ahead: You can cook the ground beef mixture and mix the cheese sauce and Rotel a day or two in advance. Store them separately in airtight containers in the fridge. When dinner time rolls around, all you have to do is assemble and toast! For another super easy and delicious meal that’s great for meal prep, check out our Easy Sheet Pan Chicken & Black Bean Nachos.
How to Store Nacho Cheese Beef Wrap
While these wraps are definitely best enjoyed fresh and hot, you might have some leftovers (though I doubt it!). Here’s how to store them:
- Refrigeration: Place any leftover wraps in an airtight container in the refrigerator for up to 2-3 days.
- Reheating: For the best results, reheat them in a dry skillet over medium heat until warmed through and crispy again. You can also pop them in a toaster oven or even a regular oven (at 350°F/175°C) for about 10-15 minutes. The microwave works for a quick reheat, but you might lose some of that wonderful crispiness.
- Freezing: I don’t recommend freezing assembled wraps, as the lettuce and crushed Doritos will get soggy upon thawing. However, you can freeze the cooked ground beef mixture separately in an airtight freezer-safe bag or container for up to 3 months. Thaw it in the fridge overnight before using.
FAQs
Q: Can I make these wraps less spicy?
A: Absolutely! Rotel comes in a “mild” variety, which will reduce the heat. You can also use plain diced tomatoes and add a tiny pinch of green chilis or just a dash of chili powder to control the spice level perfectly.
Q: What if I don’t have large tortillas?
A: You can use smaller fajita-sized tortillas, but you’ll end up with more wraps, and you might need to adjust the filling amounts per wrap slightly. Just be mindful not to overfill them!
Q: Can I add beans to the beef mixture?
A: Yes, definitely! A can of drained and rinsed black beans or pinto beans would be a fantastic addition to the beef mixture, adding more fiber and heartiness. Just stir them in with the taco seasoning.
Q: Do I have to crush the Doritos?
A: While you don’t have to, crushing them allows for a more even distribution of that amazing nacho crunch and flavor throughout the wrap. Whole chips might make the wrap harder to roll and eat.
For more delicious and easy recipe ideas, make sure to follow us on Pinterest!
Speedy Nacho Cheese Beef Wraps
Ingredients
Equipment
Method
- Step 1: Grab your favorite skillet and place it over medium-high heat. Add your lean ground beef and cook, breaking it apart with a spoon as it browns. Once fully cooked and beautifully browned, drain off any excess fat.
- Step 2: Add your diced onions and chopped green bell peppers to the cooked beef. Stir and sauté for about 4 minutes until they soften up slightly.
- Step 3: Stir in your taco seasoning mix with the beef and veggies. Let it simmer for just 1-2 minutes, allowing all those incredible flavors to meld together.
- Step 4: In a separate bowl, pour in your nacho cheese sauce and add the can of Rotel (undrained). Mix it all together until it’s smooth and beautifully combined.
- Step 5: Lay out your large flour tortillas on a flat surface. Spread a generous line of your cheesy Rotel mixture right down the center of each tortilla. Next, spoon a hearty portion of your seasoned beef mixture on top of the cheese. Add a dollop of sour cream, and then sprinkle some crushed Nacho Cheese Doritos over everything.
- Step 6: Carefully fold in the sides of your tortilla over the filling, then roll it up tightly from one end to the other for a nice, snug package. Place a clean skillet over medium heat and toast each wrap for 2-3 minutes per side, or until golden brown and wonderfully crispy.
- Step 7: Serve these beauties immediately with a generous helping of shredded lettuce. Optional toppings include fresh salsa or creamy guacamole.