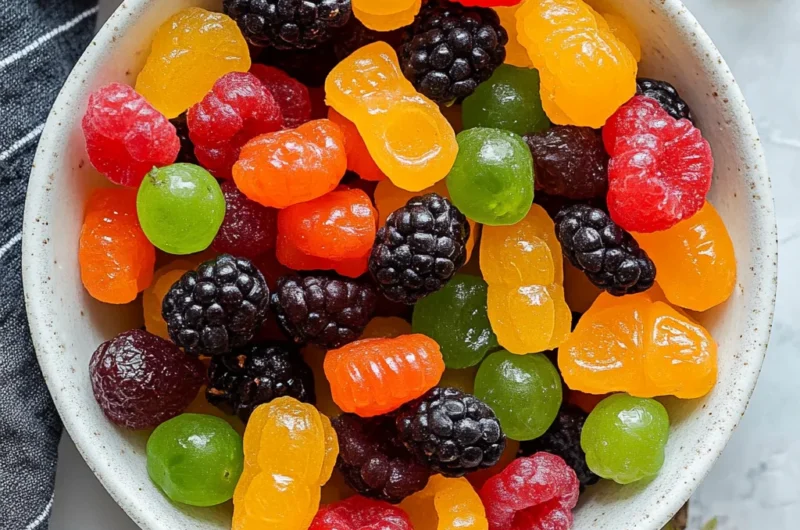
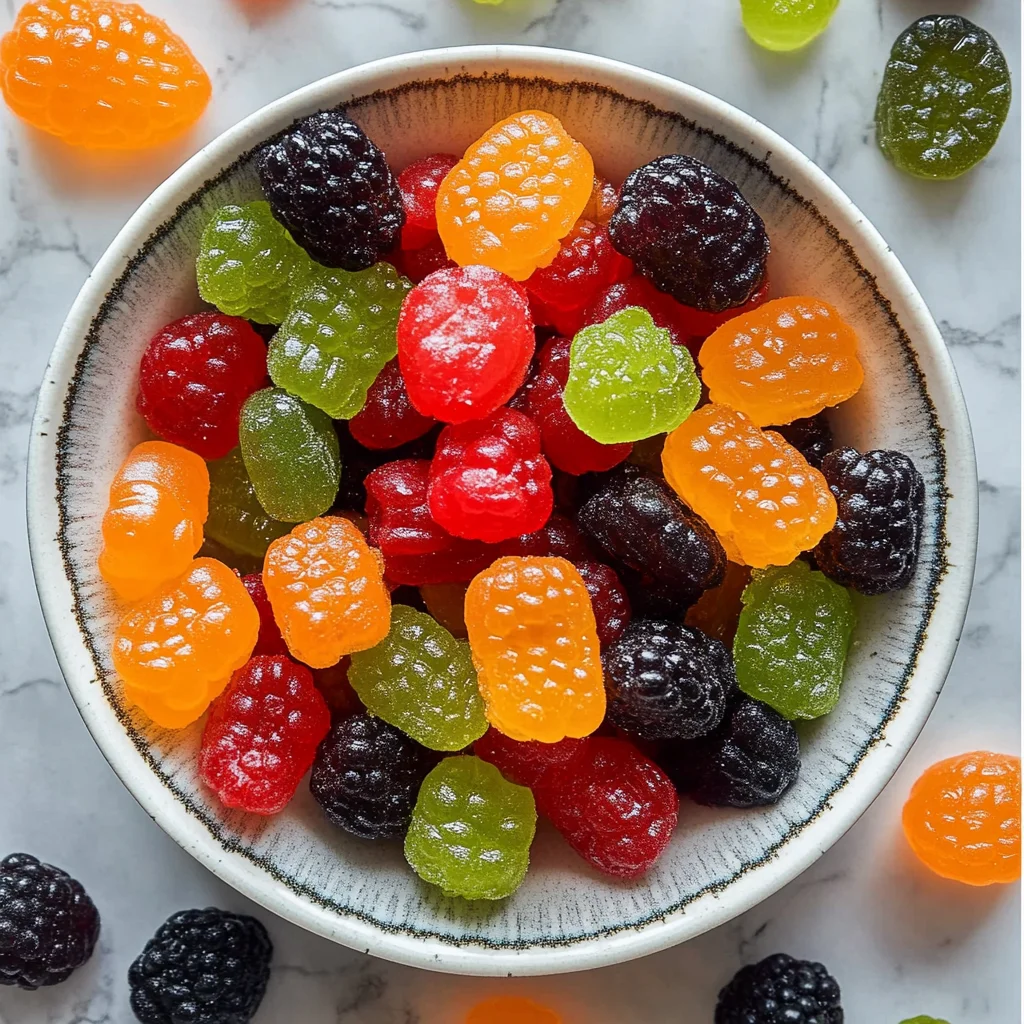
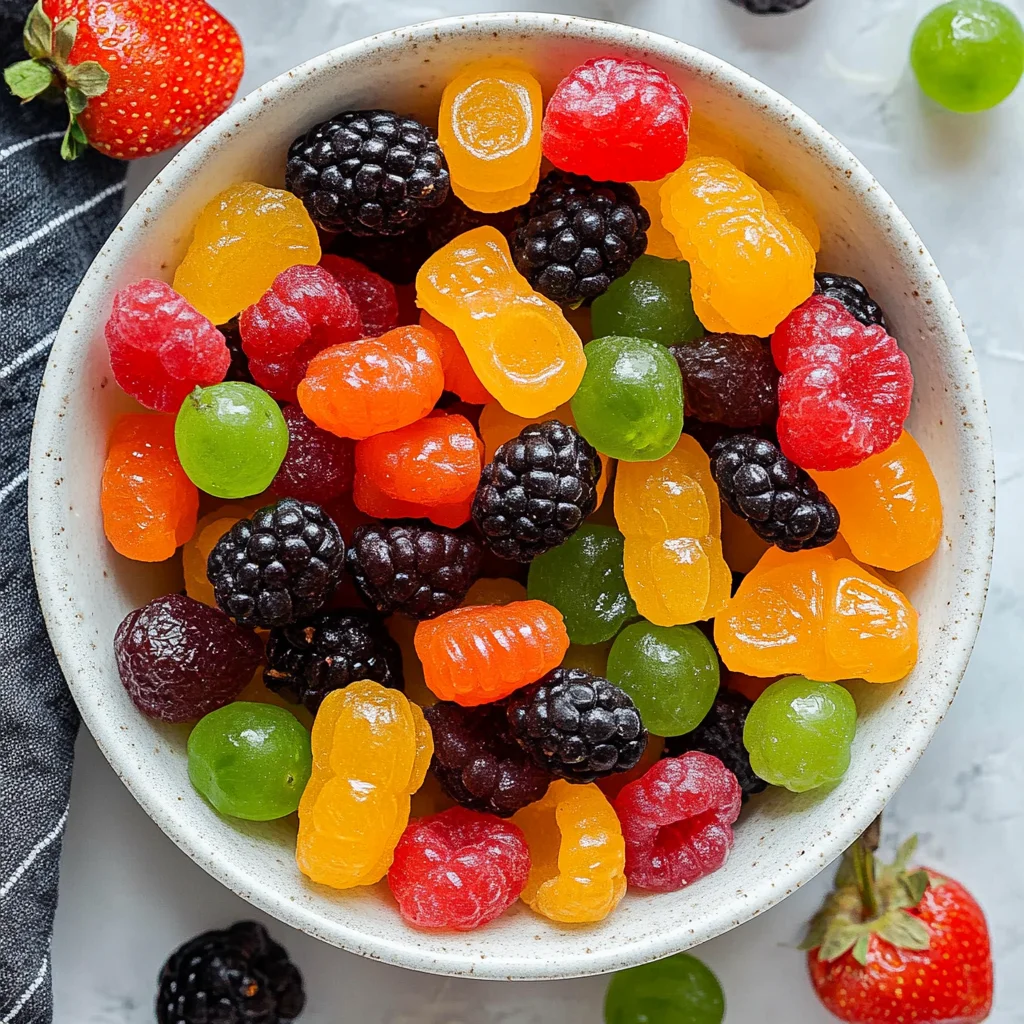
Remember those colorful, chewy fruit snacks from your childhood? The ones you’d sneak from the lunchbox or trade at recess? There’s something about that fruity chewiness that brings back a wave of nostalgia and comfort. But here’s the thing—those store-bought snacks often hide a long list of unpronounceable ingredients and extra sugars. That’s why I’m so excited to share this easy recipe for homemade fruit snacks with you. Not only are they quick and simple to make, but they’re also packed with real fruit flavor and the kind of wholesome goodness that makes you feel good about snacking.
Whether you’re looking for a fun activity to do with the kids, a healthy treat to stash in your bag, or a charming homemade gift for friends, these fruit snacks tick all the boxes. Plus, making them yourself means you can customize the flavors and sweetness exactly how you like. Trust me, once you try this recipe, you’ll wonder why you ever bought those store-bought versions in the first place!
Why You’ll Love Homemade Fruit Snacks
- Fast: You can whip these up in about 10 minutes plus a couple of hours to chill.
- Easy: Requires just a few simple ingredients and basic kitchen tools.
- Giftable: Packaged in pretty jars or tins, these make delightful, thoughtful gifts.
- Crowd-pleasing: Kids and adults alike adore these chewy, fruity bites.
One of my favorite memories is making these with my niece on a rainy afternoon. It’s such a fun, hands-on treat that also sneaks in some real fruit into snack time. If you’re a fan of quick recipes like my cozy tortellini soup, which warms you right up on chilly nights, you’ll appreciate how effortlessly these fruit snacks come together as a sweet little project.
Ingredients
Let’s talk about what you’ll need for these delightful homemade fruit snacks. The ingredient list is wonderfully short and straightforward — perfect for busy days or spontaneous kitchen adventures.
- 2 cups fruit puree: This is the heart of your snacks. You can use strawberries, mangoes, apples, or any fruit you love. Fresh or frozen fruit works great here—just blend until smooth.
- 2 tablespoons honey or maple syrup: Adds natural sweetness. Maple syrup is a great vegan option, and honey gives a lovely floral note.
- 2 tablespoons unflavored gelatin: The magic ingredient that gives your snacks their chewy texture. Make sure it’s unflavored so the fruit shines through.
- 1 teaspoon citric acid (optional): This adds a little tanginess and helps preserve the fruitiness. If you don’t have it, no worries—the snacks will still be delicious!
These ingredients are all pantry staples or easy to find at your local grocery store. And the best part? You control exactly what goes into your snacks—no artificial colors, flavors, or preservatives here!
How to Make Homemade Fruit Snacks
Now for the fun part—making your own fruit snacks! Don’t worry, I’ll walk you through every step so it’s super easy and stress-free.
- Prepare your ingredients: Measure out 2 cups of fruit puree. If you’re using fresh or frozen fruit, simply blend it in a food processor or blender until completely smooth. This is a great chance to experiment with different fruits or combos like strawberry-mango or apple-raspberry.
- Gently heat the mixture: In a medium saucepan over low heat, combine the fruit puree and your choice of honey or maple syrup. Stir constantly and warm it gently. Be careful not to let the mixture boil—you just want it warm enough to melt the gelatin later.
- Add the gelatin: Slowly sprinkle the unflavored gelatin into the warm fruit mixture while stirring continuously. This helps prevent lumps and ensures a smooth texture. Keep stirring and cook for about 5 minutes until the gelatin is fully dissolved. You’ll notice the mixture thickening slightly—that’s exactly what you want!
- Add the citric acid: If you’re using citric acid, stir it in now. It brightens the flavor and adds a subtle tartness that balances the sweetness beautifully.
- Mold the snacks: Pour your mixture into silicone molds for fun shapes or a flat dish if you prefer to cut them into squares later. I love using fun molds when making these with kids—it makes the whole process extra special.
- Chill and set: Allow the fruit snacks to cool at room temperature for about 15 minutes, then transfer them to the refrigerator. Let them chill for at least 2 hours, or until completely set and firm.
- Enjoy: Pop your homemade fruit snacks out of the molds or cut them into bite-sized pieces if you used a flat dish. Store them in an airtight container and enjoy as a wholesome snack anytime!
If you love quick and tasty homemade treats, you might also enjoy my recipe for easy no-bake Martha Washington candy—another delightful sweet that’s perfect when you want something simple yet impressive.
Substitutions & Additions
One of the best things about homemade recipes is how adaptable they are. Feel free to make this recipe your own with these ideas:
- Fruit swaps: Try blueberries, peaches, cherries, or even a tropical blend like pineapple and mango. Just make sure to puree the fruit thoroughly.
- Sweetener choices: If you want to avoid honey or maple syrup, agave nectar or even a splash of fruit juice concentrate can work well.
- Gelatin alternatives: For a vegan version, agar-agar powder can be used, but note it sets differently and might need some experimentation for perfect texture.
- Flavor boosts: Add a splash of lemon juice for brightness, or a pinch of cinnamon or ginger for a warm twist. A little vanilla extract can also add lovely depth.
- Add-ins: Tiny seeds like chia or finely chopped nuts can give a fun texture, but keep them small so the snacks remain chewy and easy to eat.
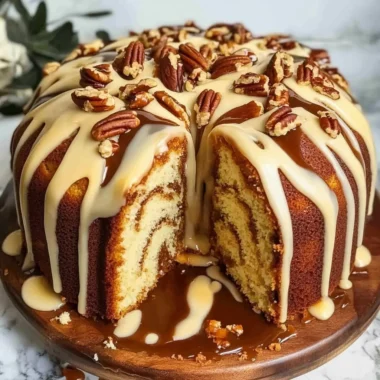
When I made these fruit snacks with mango and a hint of lime zest, they tasted like a tropical vacation in every bite! If you’re a fan of fruity desserts, you might also want to check out my pineapple pecan cream cheese pound cake recipe for another luscious treat.
Tips for Success
Making your own fruit snacks is pretty straightforward, but a few little pointers will help you get the best results every time.
- Use ripe, flavorful fruit: Since these snacks are all about the fruit, the better the fruit tastes, the better your snacks will be.
- Don’t boil the mixture: High heat can ruin the gelatin’s setting power, so keep the heat low and gentle while combining ingredients.
- Stir continuously: This prevents lumps and ensures the gelatin dissolves evenly, giving you a smooth texture.
- Room temperature first: Let the snacks cool a bit before chilling so they set up nicely without condensation forming inside your molds.
- Prep ahead: These fruit snacks can be made a day or two in advance and stored in the fridge, making them perfect for meal prep or party planning.
If you ever find yourself in a pinch for a quick snack recipe, these fruit snacks are a fantastic go-to. They’re also a great complement to cozy, comforting meals like the creamy zucchini soup I often make during cooler months.
How to Store Homemade Fruit Snacks
Once your fruit snacks are set and ready to go, storing them properly will keep them fresh and chewy for as long as possible.
- Use an airtight container: Store your fruit snacks in a glass or plastic container with a tight-fitting lid to keep out moisture and air.
- Refrigerate: These snacks are best kept in the fridge where they stay firm and fresh. They’ll last about 1 to 2 weeks when stored properly.
- Freeze for longer storage: If you want to keep them for a month or more, you can freeze the snacks in a single layer on a baking sheet, then transfer them to a freezer-safe bag or container. Thaw briefly at room temperature before enjoying.
- Keep away from heat and sunlight: These conditions can cause the gelatin to soften or melt, so keep your snacks cool and shaded.
When you’re ready for a sweet, wholesome bite, grab one from the fridge and enjoy the burst of fresh fruit flavor. If you’re looking for more homemade snack ideas, you might like my recipe for frozen Greek yogurt peanut butter bites—another easy, healthy option that’s perfect for on-the-go munching.
FAQs
Can I use frozen fruit for the puree?
Absolutely! Just thaw the fruit first and drain any excess liquid if needed before blending. Frozen fruit works great year-round and often costs less.
What if I don’t have citric acid?
No problem. The citric acid adds a little tang and helps preserve the snacks, but they’ll still taste delicious without it. You can also use a small splash of lemon juice instead.
How long do homemade fruit snacks last?
Stored in an airtight container in the fridge, they last up to two weeks. For longer storage, freezing is your best bet.
Can I make these fruit snacks vegan?
Yes! Swap the gelatin for agar-agar powder, which is plant-based, but keep in mind the texture may be a bit different and you might need to experiment with amounts.
If you enjoy making sweet treats at home, you’ll find lots of inspiration on FoodTD, where you can explore everything from easy pumpkin floats to cheesy BBQ bacon bombs.
Thanks for joining me in the kitchen today! If you try this recipe, I’d love to hear how you customize it. For more delicious recipes and creative kitchen ideas, be sure to follow my Pinterest board where I share all my favorite dishes and tips.
Homemade Fruit Snacks
Ingredients
Equipment
Method
- Step 1: Measure 2 cups of fruit puree by blending fresh or frozen fruit until smooth. Experiment with combos like strawberry-mango or apple-raspberry.
- Step 2: In a medium saucepan over low heat, combine fruit puree and honey or maple syrup. Stir constantly and warm gently; avoid boiling.
- Step 3: Slowly sprinkle unflavored gelatin into the warm fruit mixture while stirring continuously. Cook about 5 minutes until gelatin dissolves and mixture thickens slightly.
- Step 4: Stir in citric acid if using, to add tanginess and help preserve flavor.
- Step 5: Pour mixture into silicone molds for fun shapes or a flat dish for cutting later. Let cool at room temperature for 15 minutes.
- Step 6: Transfer to refrigerator and chill for at least 2 hours until completely set and firm.
- Step 7: Remove snacks from molds or cut into pieces if using flat dish. Store in airtight container in fridge and enjoy anytime.