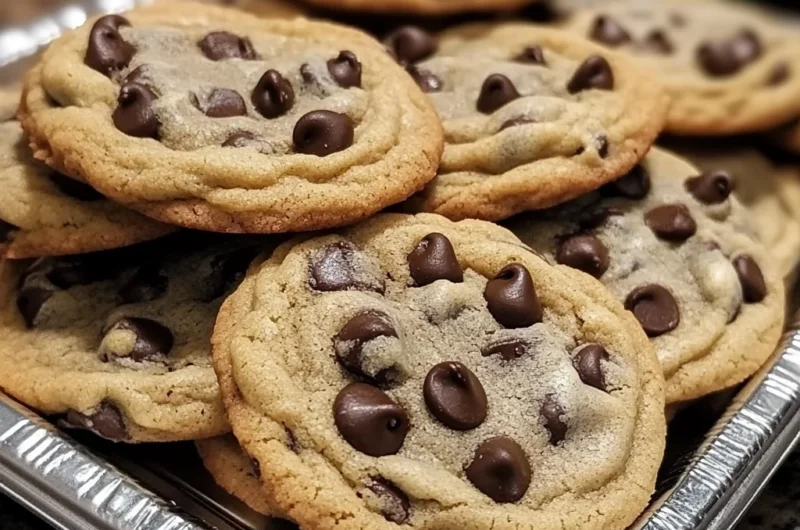
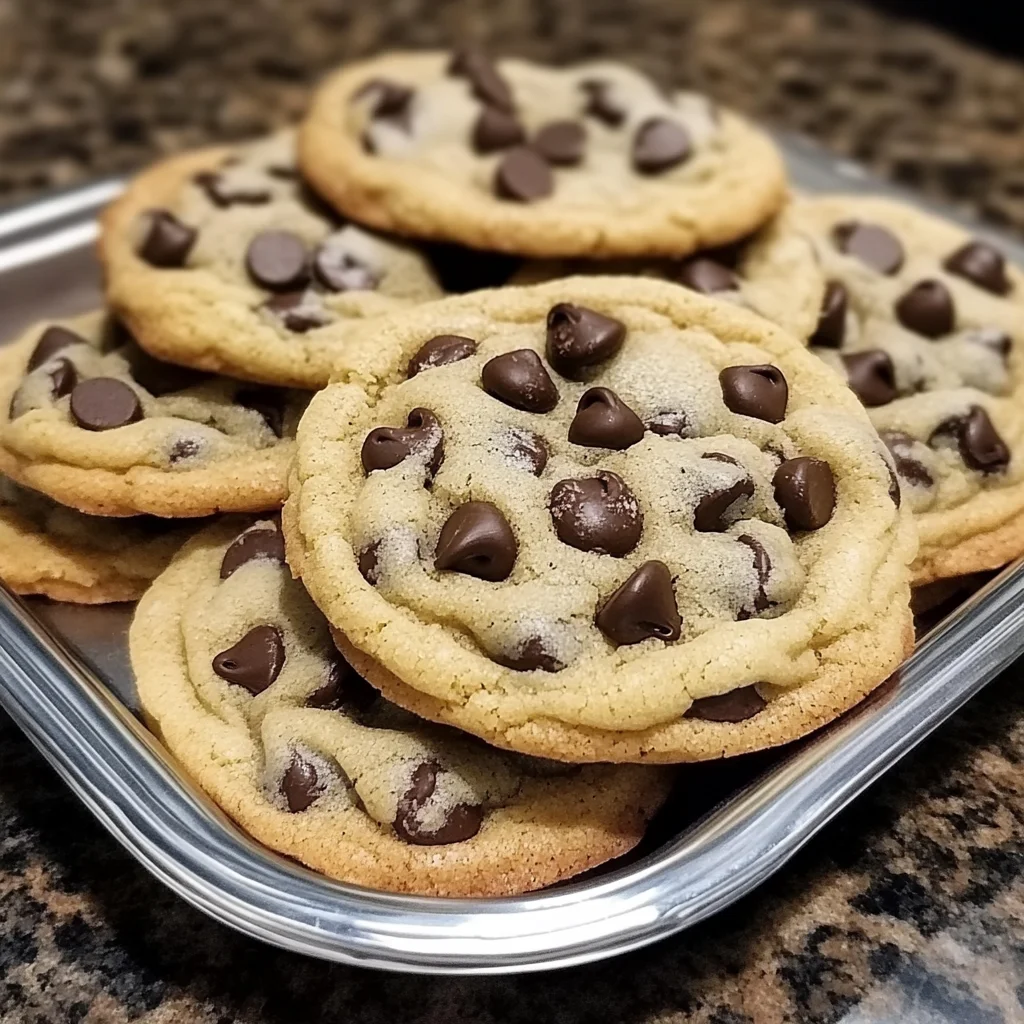
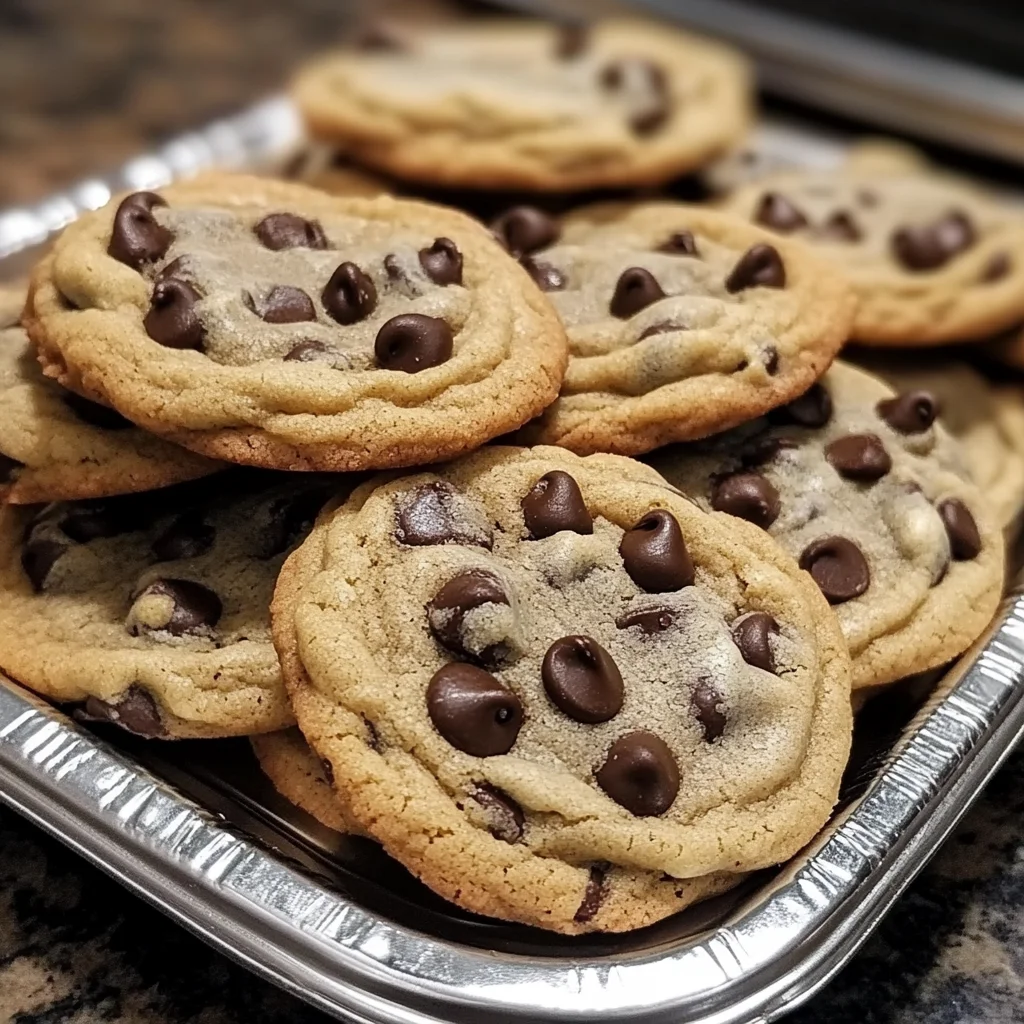
There’s something truly magical about the smell of freshly baked chocolate chip cookies wafting through your home. It instantly takes me back to cozy afternoons spent in my grandma’s kitchen, where the warmth of the oven and the sweet scent of chocolate promised comfort and happiness in every bite. If you’re looking for a recipe that brings that same nostalgic feeling — one that’s simple, quick, and absolutely unforgettable — you’re in the right place. These chocolate chip cookies are classic, soft in the center with just the right amount of crisp on the edges, and packed with gooey chocolate chips. Plus, they’re so easy to whip up that you’ll want to make them again and again!
Why You’ll Love Chocolate Chip Cookies
- Fast: From mixing to baking, you’ll have a batch ready in under 30 minutes.
- Easy: No fancy ingredients or techniques — just simple pantry staples.
- Giftable: Wrapped up in a cute tin or cellophane bag, they make a perfect homemade gift.
- Crowd-pleasing: Who doesn’t love a warm, chocolate-studded cookie? Perfect for parties, school snacks, or just a cozy night in.
Ingredients
Here’s what you’ll need to get started — don’t worry, these are all things you can find in most kitchens. I always keep these basics on hand because you never know when a cookie craving will hit!
- 2¼ cups all-purpose flour: The base of your cookie dough, providing that perfect chewy structure.
- 1 teaspoon baking soda: Helps the cookies rise and spread just right.
- ½ teaspoon salt: Balances the sweetness and enhances the flavors.
- 1 cup (2 sticks) salted butter, softened: Butter is key for rich flavor and tender texture. Make sure it’s at room temperature for easy mixing.
- ¾ cup granulated sugar: Adds sweetness and helps with that slight crispiness on the edges.
- ¾ cup packed brown sugar: Gives your cookies a deeper, caramel-like flavor and keeps them chewy.
- 1 large egg: Binds everything together and adds moisture.
- 1 teaspoon pure vanilla extract: Brings out all the warm, sweet notes in your cookie dough.
- 2 cups semisweet chocolate chips: The star of the show! Feel free to use chunks or a mix of dark and milk chocolate if you prefer.
- 1 cup chopped walnuts or pecans (optional): Adds a lovely crunch and nutty flavor, but totally optional if you’re nut-free or prefer classic chocolate chip only.
How to Make Chocolate Chip Cookies
Ready to get baking? Let me walk you through every step so your cookies turn out perfectly every single time. This process is straightforward, but I’ll share little tips that make all the difference.
- Preheat your oven to 375°F. Position a rack in the center for even baking. I like to line my baking sheets with parchment paper to prevent sticking and make cleanup a breeze.
- Mix the butter and sugars. In a large bowl, beat the softened butter with the granulated and brown sugars on medium speed until the mixture becomes light, fluffy, and pale — about 2 to 3 minutes. Scrape down the sides of the bowl as you go to keep everything evenly mixed.
- Add the egg and vanilla extract. Beat until the mixture is smooth and well combined. This step ensures your dough will be cohesive and flavorful.
- Combine the dry ingredients. In a separate bowl, whisk together the flour, baking soda, and salt. Add this mixture to your wet ingredients and stir or mix on low speed just until incorporated. Be careful not to overmix here — you want a stiff dough, but too much mixing makes the cookies tough.
- Fold in the chocolate chips and nuts. Gently fold these in until they’re evenly spread throughout the dough. This is when your kitchen starts smelling heavenly!
- Portion the dough. Drop rounded tablespoons or use a cookie scoop to place dough balls about 2 inches apart on your prepared baking sheets. This spacing helps the cookies spread without merging into one giant cookie.
- Bake one sheet at a time for 8 to 10 minutes. You’re aiming for edges that are light golden brown while the centers stay soft. Don’t worry if they look slightly underdone in the middle — they’ll firm up as they cool.
- Cool on the baking sheet for 2 minutes. This prevents the cookies from breaking apart when you transfer them.
- Transfer to a wire rack to cool completely. Give them about 30 minutes to cool down — if you can wait that long!
And just like that, you’ve got a batch of homemade chocolate chip cookies ready to enjoy. I love pairing them with a cold glass of milk or a cozy cup of coffee. If you want to try something a little different, check out this Oreo chocolate chip cookies recipe for a fun twist on the classic.
Substitutions & Additions
One of the best things about chocolate chip cookies is how versatile they are. Whether you have dietary preferences or just want to mix things up, here are some ideas to make this recipe your own.
- Butter alternatives: You can swap salted butter for unsalted butter — just add an extra ¼ teaspoon of salt to balance flavors.
- Sugar swaps: Try using coconut sugar instead of brown sugar for a subtle caramel flavor and a bit more moisture.
- Chocolate options: Use dark chocolate chunks for a richer taste or white chocolate chips for a sweeter, creamier cookie.
- Nuts: If you’re not a fan of walnuts or pecans, try toasted almonds or skip nuts altogether to keep it simple.
- Gluten-free: Substitute the all-purpose flour with a gluten-free baking blend. Just make sure it contains xanthan gum for the best texture.
- Add-ins: Mix in dried cranberries, shredded coconut, or even a sprinkle of sea salt on top before baking for an extra flavor boost.
If you enjoy experimenting with cozy baked goods, you might also love the soft and chewy Pumpkin Spice Sugar Cookies that are perfect for fall.
Tips for Success
When it comes to chocolate chip cookies, little things make a big difference. Here are some tips I’ve learned over the years to help you get those perfect cookies every time.
- Use room temperature butter: It creams better with the sugar, creating a lighter, fluffier dough.
- Don’t overmix the dough: Once you add the flour, stir just until combined to avoid tough cookies.
- Chill the dough (optional): If you have time, chill your dough for 30 minutes to an hour. This helps the cookies keep their shape and intensifies the flavors.
- Bake one sheet at a time: This ensures even heat distribution and prevents under- or overbaking.
- Use parchment paper or silicone mats: It keeps your cookies from sticking and helps with even browning.
- Let cookies cool slightly before moving: They’re delicate when hot and can break easily.
Don’t rush the process — patience is key for that tender, chewy texture we all crave. Also, if you love diving into warm, indulgent treats, you have to check out the Simple Chocolate Dump Cake, another wonderfully easy dessert to satisfy your chocolate cravings.
How to Store Chocolate Chip Cookies
One of the best things about chocolate chip cookies is how well they keep their flavor and texture, but proper storage is important to keep them fresh and delicious. Here’s what I recommend:
- Room temperature: Store your cookies in an airtight container at room temperature for up to 5 days. Adding a slice of bread inside the container can help keep them soft by absorbing excess moisture.
- Freezing: You can freeze baked cookies for up to 3 months. Just place them in a single layer on a baking sheet to freeze, then transfer to a freezer-safe bag or container with parchment paper between layers.
- Freezing dough: For quick baking later, scoop dough balls onto a tray, freeze until solid, then store in a freezer bag. When ready to bake, add a couple of minutes to the baking time and bake from frozen.
Having frozen dough on hand is a lifesaver when unexpected guests drop by or when you want fresh-baked cookies without the prep work. If you’re interested in more make-ahead ideas, don’t miss the cozy and creamy Tortellini Soup recipe — it’s a wonderful complement to any comfort food lineup.
FAQs
Can I use salted butter instead of unsalted butter?
Yes! This recipe calls for salted butter to add a nice balance to the sweetness, so it’s perfect to use. If you only have unsalted butter, just add an extra ¼ teaspoon of salt to your dry ingredients.
Why do my cookies sometimes turn out flat?
Flat cookies often result from melted butter or overmixing the dough. Make sure your butter is softened but not melted, and mix the dough just until combined. Chilling the dough before baking also helps maintain the cookie shape.
Can I substitute chocolate chips for something else?
Absolutely! You can use chocolate chunks, white chocolate, peanut butter chips, or even butterscotch chips. Feel free to get creative with your favorites.
How do I make my cookies chewier?
Using more brown sugar than granulated sugar helps with chewiness, as does slightly underbaking the cookies so the centers stay soft. Adding a tablespoon of molasses can also boost chewiness if you want to experiment.
For anyone who loves a sweet treat with a little bit of nostalgia and a lot of heart, this chocolate chip cookie recipe is a true winner. And if you want to explore more delightful recipes that bring warmth and happiness to your table, be sure to visit FoodTD for tons of inspiration.
Happy baking, and don’t forget to share your cookie creations with friends and family — nothing says “I care” quite like homemade chocolate chip cookies fresh from your oven!
For more delicious recipes and food inspiration, be sure to follow us on Pinterest.
The Ultimate Homemade Chocolate Chip Cookies
Ingredients
Equipment
Method
- Step 1: Preheat your oven to 375°F. Position a rack in the center. Line baking sheets with parchment paper.
- Step 2: In a large bowl, beat softened butter with granulated and brown sugars on medium speed until light, fluffy, and pale, about 2 to 3 minutes. Scrape down sides as needed.
- Step 3: Add egg and vanilla extract; beat until smooth and well combined.
- Step 4: In a separate bowl, whisk flour, baking soda, and salt. Add to wet ingredients and mix on low speed until just combined. Do not overmix.
- Step 5: Fold in chocolate chips and nuts (if using) until evenly distributed.
- Step 6: Drop rounded tablespoons or use a cookie scoop to place dough balls about 2 inches apart on prepared baking sheets.
- Step 7: Bake one sheet at a time for 8 to 10 minutes until edges are light golden brown and centers are soft.
- Step 8: Cool on baking sheet for 2 minutes to prevent breaking, then transfer to a wire rack to cool completely, about 30 minutes.