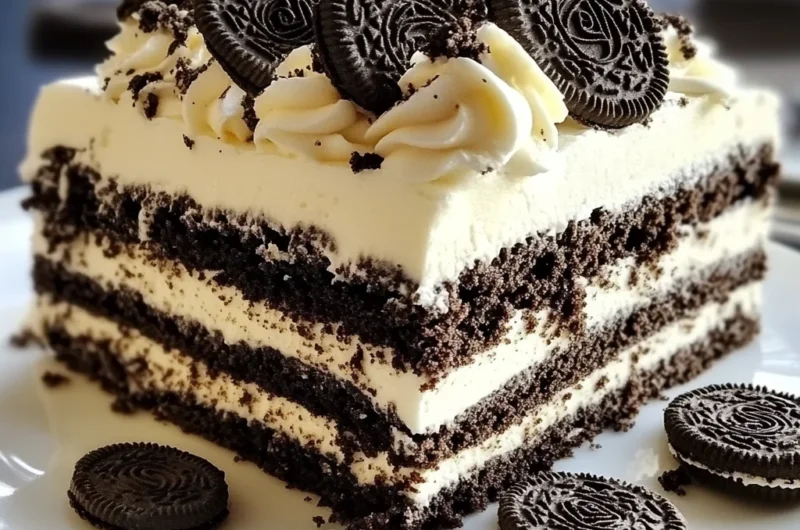
There’s something about a no-bake dessert that brings back the sweet memories of summer picnics and family gatherings. Today, we’re diving into a recipe that is as nostalgic as it is delicious—Oreo Icebox Cake! This delightful treat is not only easy to make but also a showstopper that will have your friends and family asking for seconds. Trust me, you will want to keep this recipe close at hand for all your future celebrations!
Why You’ll Love Oreo Icebox Cake
- Fast
- Easy
- Giftable
- Crowd-pleasing
Ingredients
- 2 packages of Oreo cookies – The star of the show, these cookies provide the perfect chocolatey crunch.
- 1 (8 oz) package cream cheese, softened – This gives the cake its rich and creamy texture.
- 1 (12 oz) container whipped topping – Light and fluffy, it balances the cream cheese beautifully.
- 1 cup powdered sugar – Sweetness is key, and powdered sugar blends smoothly into the mix.
- 1 teaspoon vanilla extract – A touch of vanilla adds warmth and depth of flavor.
- 2 cups milk – For dipping those Oreos to achieve that delightful softness!
How to Make Oreo Icebox Cake
Ready to get started? Let’s whip up this delicious Oreo Icebox Cake step by step!
- In a mixing bowl, beat the softened cream cheese until smooth.
- Add the powdered sugar and vanilla extract to the cream cheese, mixing until well combined.
- Gently fold in the whipped topping until the mixture is smooth and creamy.
- Dip each Oreo cookie in milk for a few seconds to soften, then layer them in the bottom of a 9×13 inch dish.
- Spread half of the cream cheese mixture over the layer of cookies.
- Repeat the process with another layer of dipped Oreos and the remaining cream cheese mixture.
- Finish with a final layer of dipped Oreos on top.
- Cover the dish with plastic wrap and refrigerate for at least 4 hours, or overnight for best results.
- Serve chilled, slicing into squares to enjoy.
Substitutions & Additions
If you want to mix things up a bit, here are some fun substitutions and additions:
- Try using gluten-free Oreo cookies for a gluten-free version.
- Add a layer of sliced bananas or strawberries between the cookie layers for a fruity twist.
- For a little crunch, sprinkle some chopped nuts or crushed candy bars on top before chilling.
Tips for Success
Here are some helpful tips to ensure your Oreo Icebox Cake turns out perfectly:
- Make sure your cream cheese is softened to room temperature to avoid lumps.
- Don’t soak the Oreos too long in milk; a quick dip is all you need for that perfect softness.
- For a richer flavor, you can add a tablespoon of coffee or espresso powder to the cream cheese mixture.
How to Store Oreo Icebox Cake
This cake is best enjoyed chilled. Store any leftovers in the refrigerator, covered with plastic wrap, for up to 3 days. Just remember, it tastes even better the next day as the flavors meld together!
FAQs
Can I make Oreo Icebox Cake in advance?
Yes, this is a great make-ahead dessert! It can be made a day in advance and stored in the fridge.
Can I freeze Oreo Icebox Cake?
While you can freeze it, the texture may change. It’s best enjoyed fresh or after a day in the fridge.
What can I serve with Oreo Icebox Cake?
Pair it with fresh berries or a drizzle of chocolate sauce for an extra special treat!
Now that you have this scrumptious Oreo Icebox Cake recipe, you are all set to impress your family and friends. For more delicious recipes, check out my cozy creamy tortellini soup or my easy no-bake Martha Washington candy for treats you will love!
If you love baking and discovering new recipes, be sure to follow us on Pinterest for more inspiration!
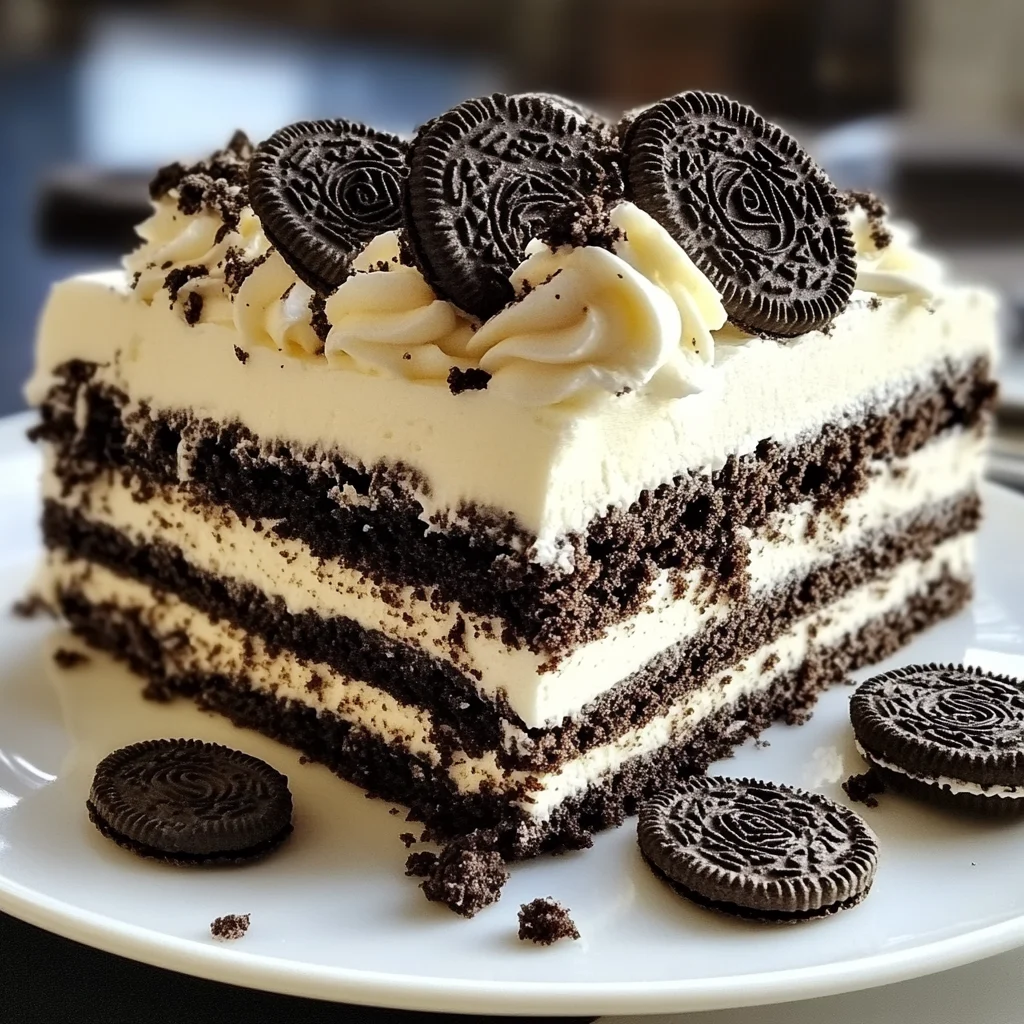
Oreo Icebox Cake
Ingredients
Method
- Step 1: In a mixing bowl, beat the softened cream cheese until smooth.
- Step 2: Add the powdered sugar and vanilla extract to the cream cheese, mixing until well combined.
- Step 3: Gently fold in the whipped topping until the mixture is smooth and creamy.
- Step 4: Dip each Oreo cookie in milk for a few seconds to soften, then layer them in the bottom of a 9x13 inch dish.
- Step 5: Spread half of the cream cheese mixture over the layer of cookies.
- Step 6: Repeat the process with another layer of dipped Oreos and the remaining cream cheese mixture.
- Step 7: Finish with a final layer of dipped Oreos on top.
- Step 8: Cover the dish with plastic wrap and refrigerate for at least 4 hours, or overnight for best results.
- Step 9: Serve chilled, slicing into squares to enjoy.