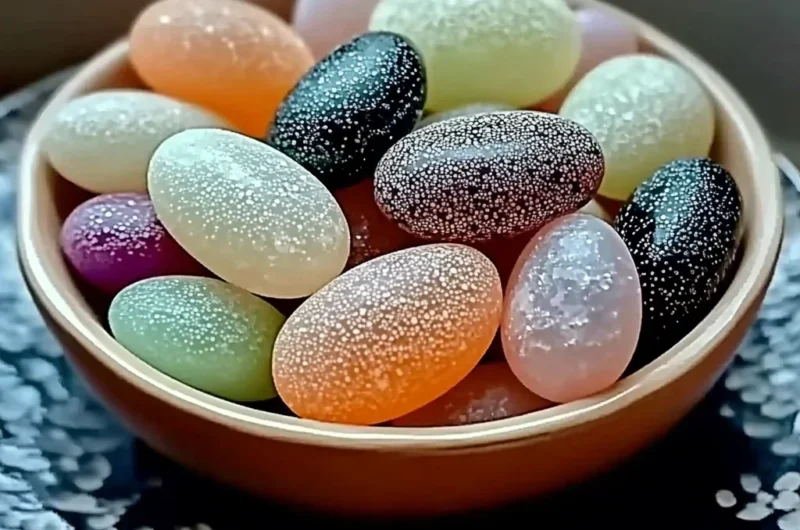
There’s something truly magical about walking into a home that smells just right, isn’t there? That perfect hint of lavender after a long day, a burst of fresh citrus in the morning, or the comforting aroma of pine during the holidays. For years, I’ve loved filling my home with beautiful scents, but sometimes store-bought options can feel a little… impersonal. That’s why I’m absolutely thrilled to share this recipe for DIY Aroma Stones with you today! It’s one of those projects that feels incredibly rewarding, is ridiculously easy to whip up, and will make your space feel so much more ‘you.’ Trust me, you’ll be wondering why you didn’t try these quick and memorable little scent boosters sooner!
Why You’ll Love DIY Aroma Stones
- Fast: Seriously, you’ll have these mixed up in minutes!
- Easy: No fancy equipment or skills needed, just a bowl and a spoon.
- Giftable: Who wouldn’t love a thoughtful, handmade gift that smells amazing?
- Crowd-pleasing: Customize the scents for everyone’s preference!
Ingredients
- 1 cup baking soda: Your gentle base that helps create a solid stone.
- 1/2 cup cornstarch: This buddy teams up with baking soda to give your stones their lovely smooth texture.
- 1/2 cup water: Just plain old tap water to bind everything together into a perfect paste.
- 15-30 drops essential oils (of your choice): This is where the magic happens! Think lavender for relaxation, lemon for energy, or peppermint for focus. Have fun experimenting!
- Food coloring or mica powder (optional): Want to add a pop of color? This is your chance! A little goes a long way.
- Dried herbs or edible flowers (optional): For an extra touch of beauty, sprinkle in some dried lavender buds, rose petals, or rosemary.
- Silicone molds, cookie cutters, or trays: Get creative with shapes! Ice cube trays work great, or even small cookie cutters on parchment paper.
How to Make DIY Aroma Stones
Alright, let’s get those hands a little messy – in the best way possible! You’re about to create some beautiful, fragrant little treasures.
- Combine the Dry Duo: Grab a medium mixing bowl. First things first, you’re going to pour in your baking soda and cornstarch. Give them a good stir with a spoon until they’re perfectly blended and you don’t see any lumps. Think of it as preparing a smooth canvas for your scent masterpiece!
- Add the Wet Wonder: Now, slowly, and I mean gradually, start pouring in your water. Keep stirring as you go. You’ll notice it transforming from a powder into a thick, moldable paste. We’re aiming for something akin to play-dough – firm enough to hold its shape but still pliable. Don’t rush this part; a little patience here makes all the difference!
- Infuse the Scent: This is my favorite part! Drip in your chosen essential oils. Start with about 15 drops, stir well, and then give it a sniff. If you want a stronger aroma, add a few more drops until it’s just right for you. Remember, the scent will be more subtle when dry, so don’t be afraid to be a little generous.
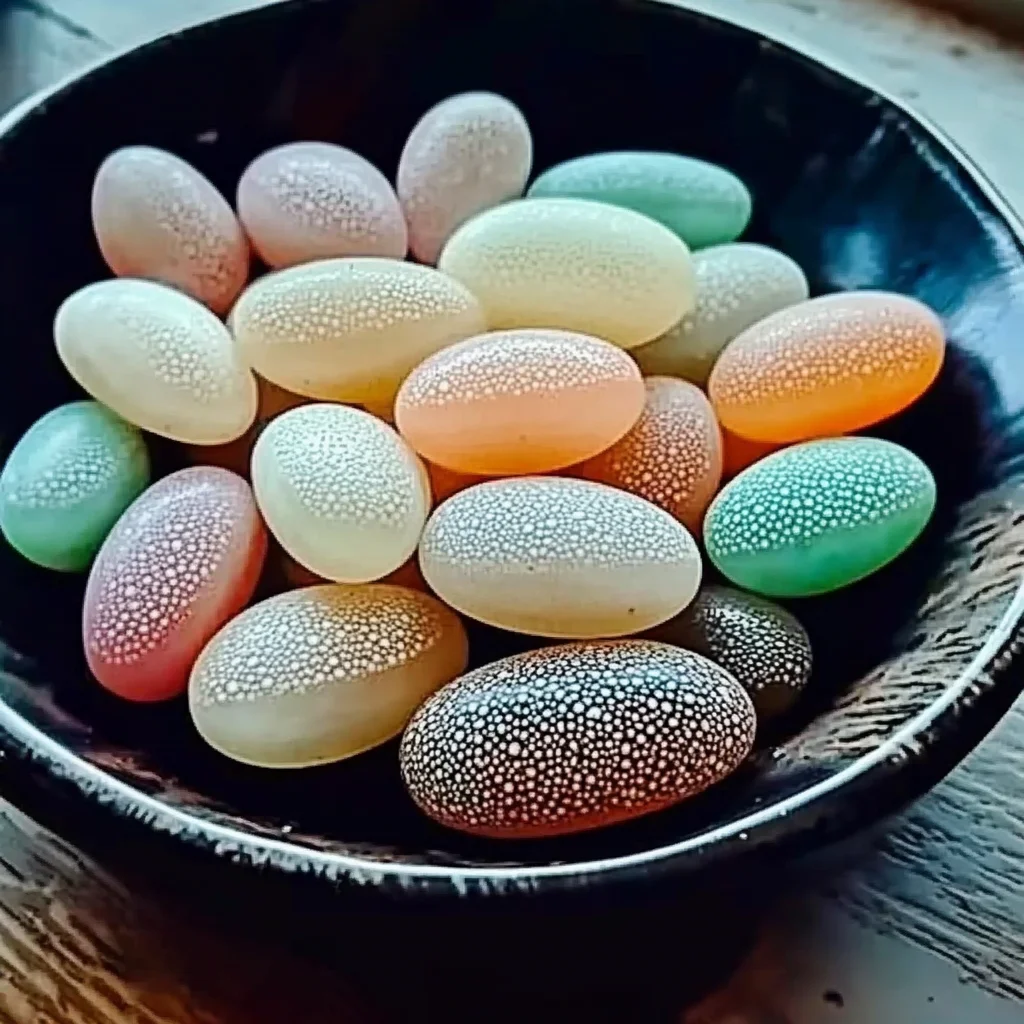
- Splash of Color (Optional): If you’re going for a colorful stone, now’s the time to add a tiny bit of food coloring or mica powder. Mix it in thoroughly until you achieve your desired hue. Imagine a soft pastel pink with rose essential oil – simply lovely!
- Shape Your Scent Stones: It’s time to get creative with your molds! Gently fill your silicone molds, cookie cutters, or even just shape small balls or discs on parchment paper-lined trays. Fill them about ¾ full and use the back of a spoon or your fingers to smooth the surface. This is where your stones really start to take their beautiful form. If you’re feeling adventurous, you can even press in a few dried herbs or edible flowers on top for a truly decorative touch, just like you might do when making DIY Fizzy Treasure Stones for a fun bath time treat!
- Patiently Dry: Place your filled molds (or shaped stones) on parchment paper in a dry, well-ventilated spot. This is the hardest part – waiting! They need anywhere from 6 to 24 hours to completely harden. You’ll know they’re ready when they feel firm and cool to the touch, without any dampness. Flipping them over gently after a few hours can help them dry evenly.
- Release Your Creations: Once they’re completely dry and hard, carefully pop them out of your molds. Voila! You now have your very own beautiful, fragrant aroma stones, ready to brighten any corner of your home.
Substitutions & Additions
One of the best things about DIY projects is making them totally yours! Feel free to experiment and customize these aroma stones to fit your style and scent preferences.
- Essential Oil Blends: Don’t stick to just one! Try blending lavender and chamomile for ultimate relaxation, lemon and peppermint for an energizing boost, or cinnamon and orange for a cozy, festive feel.
- Sparkle & Shine: A tiny pinch of cosmetic-grade glitter mixed into the paste can add a subtle shimmer to your finished stones.
- Textured Molds: Look for molds with intricate designs – think embossed patterns, floral shapes, or even small geometric figures.
- Natural Decor: Instead of or in addition to dried herbs, you could press tiny pebbles or seashells into the top of your stones before they dry, especially if you’re going for a beachy vibe!
- Packaging: If you’re gifting these, consider placing them in small organza bags or pretty little tins. They make wonderful stocking stuffers or thoughtful host gifts!
Tips for Success
Even the simplest recipes have a few tricks up their sleeve to ensure perfect results every time. Here are my go-to tips for making the best aroma stones:
- Measure Accurately: While this isn’t baking, getting your dry ingredients and water measurements right is key for a good, moldable consistency. Too much water and your paste will be runny; too little, and it’ll be crumbly.
- Don’t Over-Oil: Adding too many essential oils can sometimes affect the binding properties, making your stones more brittle. Stick within the recommended range and remember you can always refresh them later.
- Patience is a Virtue: Resist the urge to rush the drying process. Air drying is essential for solid, long-lasting stones. If they’re still damp, they’ll be fragile and won’t hold their shape. A warm, dry room or even near a fan (not direct heat) works best.
- Re-Scenting: The beauty of these stones is that you can easily refresh their scent! Once the aroma starts to fade, simply add a few more drops of your favorite essential oil directly onto the stone. It’s like new again!
- Batching It Up: These are so easy, I often make a large batch at once. You can dry them and store them away for future use or last-minute gifts.
How to Store DIY Aroma Stones
Once your beautiful aroma stones are fully dried and hardened, they’re pretty low maintenance! If you’re not using them right away, or if you’ve made a big batch for future use or gifting, you’ll want to store them properly to maintain their integrity and, most importantly, their lovely scent.
Keep your dry aroma stones in an airtight container at room temperature, away from direct sunlight or humidity. A glass jar with a tight-fitting lid or a sealed plastic container works perfectly. This helps to slow down the rate at which the essential oils evaporate, preserving their fragrance for longer. While the stones themselves can last indefinitely if kept dry, the scent will naturally fade over time (typically a few weeks to a couple of months, depending on the oil). But don’t worry, as I mentioned, they’re super easy to re-scent whenever you need a refresh!
FAQs
Got a few more questions buzzing around? Let’s tackle them!
Q: How long does the scent typically last on the aroma stones?
A: The initial strong scent usually lasts for about 1-2 weeks, but a lighter fragrance can linger for a month or two. The good news is you can easily refresh them by adding more essential oil!
Q: Can I use fragrance oils instead of essential oils?
A: While you technically could, I highly recommend sticking with essential oils. They are natural extracts with therapeutic benefits, whereas fragrance oils are often synthetic. For a pure, natural aroma in your home, essential oils are the way to go!
Q: My aroma stones crumbled after drying, what went wrong?
A: This usually happens if there wasn’t enough water to bind the dry ingredients properly, or if too much essential oil was added initially, which can sometimes interfere with the setting process. Make sure your paste is truly moldable and not too dry when you’re shaping them.
Q: Where are the best places to use these aroma stones?
A: Anywhere you want a subtle, refreshing scent! Think bathrooms, closets, drawers, bedside tables, entryways, or even tucked into a pretty dish on your desk. They’re also fantastic for keeping linens smelling fresh! If you’re looking for other ways to bring comfort into your home, you might also enjoy making a warm bowl of Cozy Creamy Tortellini Soup on a chilly evening.
Want even more amazing recipes, cozy DIY projects, and helpful kitchen tips delivered right to your feed? Be sure to follow us on Pinterest for daily inspiration!
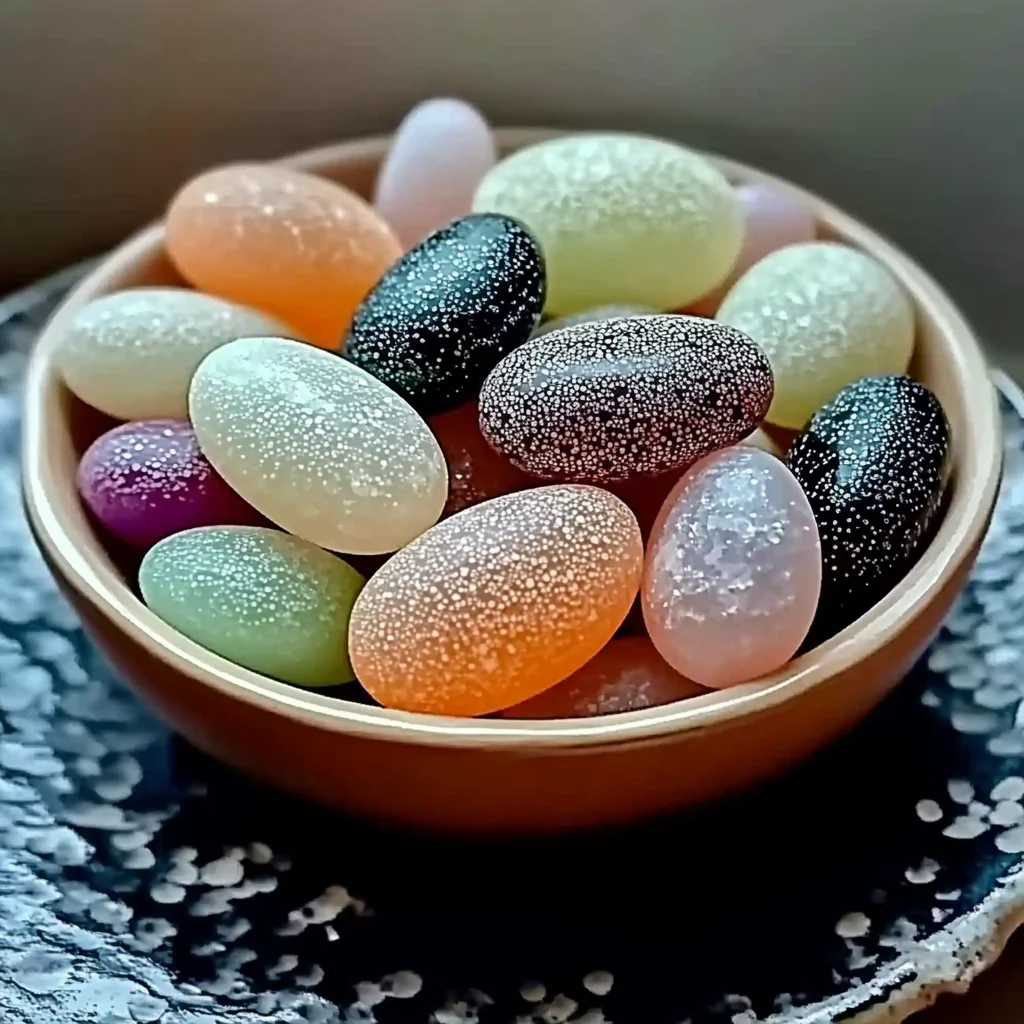
DIY Essential Oil Aroma Stones
Ingredients
Equipment
Method
- Step 1: Combine the Dry Duo: Grab a medium mixing bowl. Pour in your baking soda and cornstarch. Give them a good stir with a spoon until they’re perfectly blended and you don’t see any lumps.
- Step 2: Add the Wet Wonder: Slowly, and gradually, start pouring in your water. Keep stirring as you go. You’ll notice it transforming from a powder into a thick, moldable paste, akin to play-dough—firm enough to hold its shape but still pliable.
- Step 3: Infuse the Scent: Drip in your chosen essential oils. Start with about 15 drops, stir well, and then give it a sniff. If you want a stronger aroma, add a few more drops until it's just right for you.
- Step 4: Splash of Color (Optional): If you're going for a colorful stone, now’s the time to add a tiny bit of food coloring or mica powder. Mix it in thoroughly until you achieve your desired hue.
- Step 5: Shape Your Scent Stones: Gently fill your silicone molds, cookie cutters, or even just shape small balls or discs on parchment paper-lined trays. Fill them about ¾ full and use the back of a spoon or your fingers to smooth the surface. Optionally, press in a few dried herbs or edible flowers on top for a decorative touch.
- Step 6: Patiently Dry: Place your filled molds (or shaped stones) on parchment paper in a dry, well-ventilated spot. They need anywhere from 6 to 24 hours to completely harden. You’ll know they’re ready when they feel firm and cool to the touch, without any dampness. Flipping them over gently after a few hours can help them dry evenly.
- Step 7: Release Your Creations: Once they’re completely dry and hard, carefully pop them out of your molds. Voila! You now have your very own beautiful, fragrant aroma stones, ready to brighten any corner of your home.