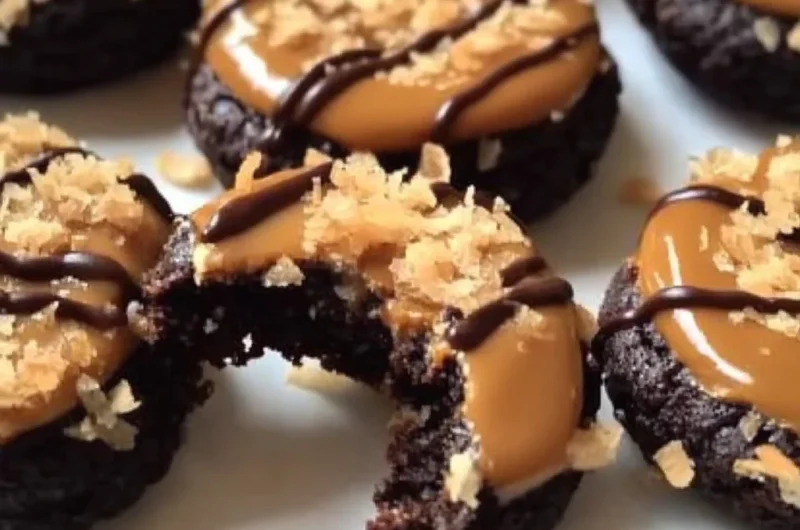
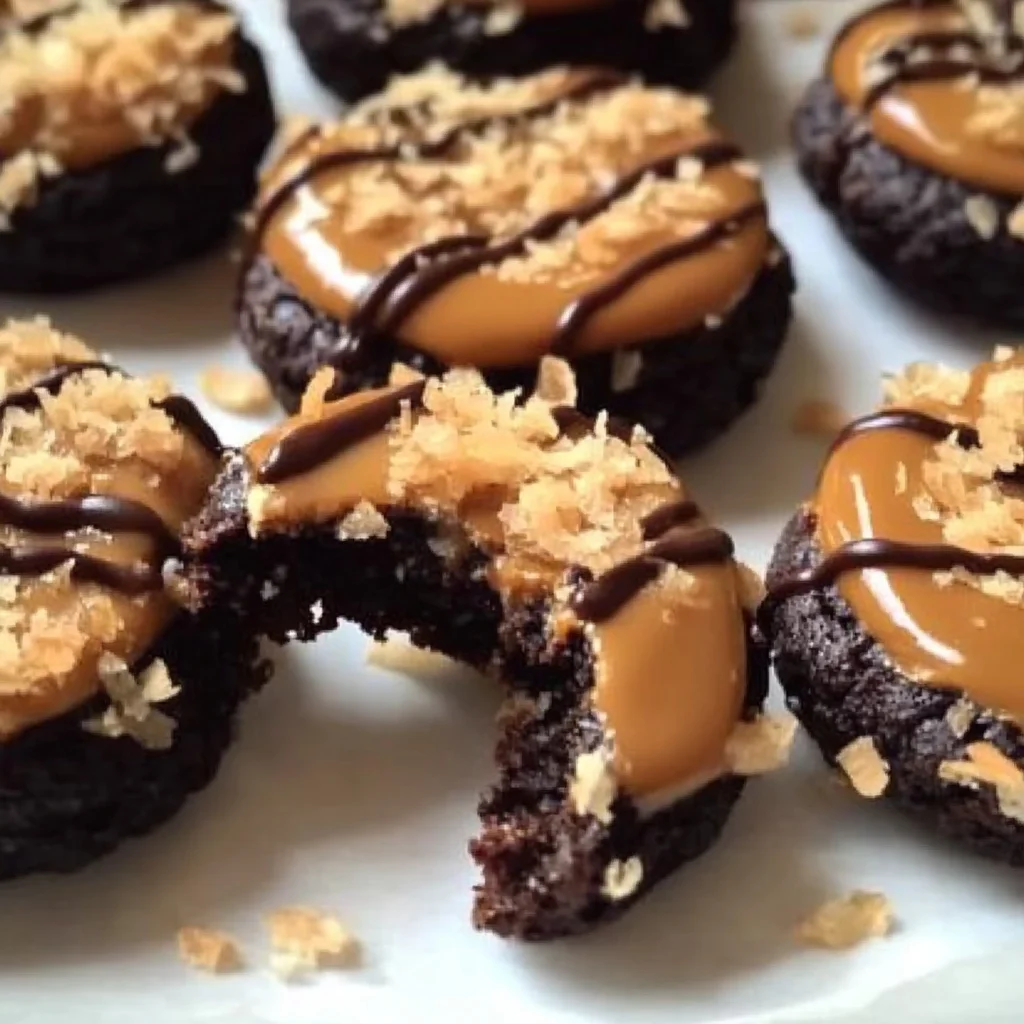
Oh, friend, there are some flavors that just transport you back in time, aren’t there? For me, it’s that magical moment when Girl Scout cookie season rolls around, and you get your hands on a box of Samoas. That irresistible blend of crisp shortbread, gooey caramel, toasted coconut, and decadent chocolate drizzle… pure bliss! But let’s be honest, those boxes disappear way too fast, and the season feels like it’s over in a blink.
What if I told you that you don’t have to wait for cookie season to enjoy that iconic taste? You can make these incredible homemade Samoas right in your own kitchen! This recipe captures all the magic of your favorite Girl Scout cookie, and it’s surprisingly easy to whip up. Get ready to bake a batch of pure nostalgia that tastes even better than you remember.
Why You’ll Love Homemade Samoas Girl Scout Cookies
- Fast: Once you get the hang of it, these come together quicker than you might think.
- Easy: No fancy techniques here, just straightforward steps for delicious results.
- Giftable: Pack them up in a pretty tin, and you’ve got the most thoughtful, delicious gift.
- Crowd-Pleasing: Seriously, who doesn’t love a Samoa? These will disappear from any gathering in a flash!
Ingredients
Gather your baking buddies! Here’s what you’ll need to create these little rings of heaven:
- 1 cup unsalted butter, softened: Make sure it’s nice and soft, but not melted, for that perfect creamy start to your cookie dough.
- 1/2 cup granulated sugar: Just enough sweetness to balance our buttery shortbread.
- 2 cups all-purpose flour: The backbone of our crisp cookie base.
- 1/4 teaspoon baking powder: Gives a tiny lift, keeping our cookies from being too dense.
- 1/4 teaspoon salt: Always essential for balancing flavors in sweet treats.
- 2 tablespoons milk: Helps bring our dough together smoothly.
- 1/2 teaspoon vanilla extract: A splash of warmth and classic cookie flavor.
- 3 cups shredded sweetened coconut: The star of our caramel topping – sweetened for extra deliciousness!
- 12 ounces chewy caramels: The kind you unwrap individually work best for that authentic gooey texture.
- 3 tablespoons heavy cream: Helps melt down the caramels into a smooth, dreamy sauce.
- 1/4 teaspoon salt (for topping): A little touch of sea salt cuts the sweetness and enhances the caramel.
- 8 ounces semi-sweet chocolate chips: For that signature rich chocolate coating and drizzle.
How to Make Homemade Samoas Girl Scout Cookies
Ready to bring these beauties to life? Let’s get baking!
- First things first, let’s get your oven ready. Preheat it to a cozy 350°F (175°C). While it’s warming up, grab a baking sheet and line it with parchment paper. This makes for easy cleanup and ensures your cookies don’t stick.
- In a large mixing bowl, take your softened butter and granulated sugar and cream them together. You want this mixture to be light and fluffy, almost pale in color. This is the secret to a tender shortbread!
- Now, slowly add in your flour, baking powder, and the first dash of salt. Mix it just until it starts to come together. Then, pour in your milk and vanilla extract and continue mixing until you have a cohesive dough. Be careful not to overmix; we want a tender cookie, not a tough one!
- Lightly flour your countertop or a clean surface. Roll out your dough to about 1/4-inch thickness. You’re aiming for a consistent thickness here so your cookies bake evenly.
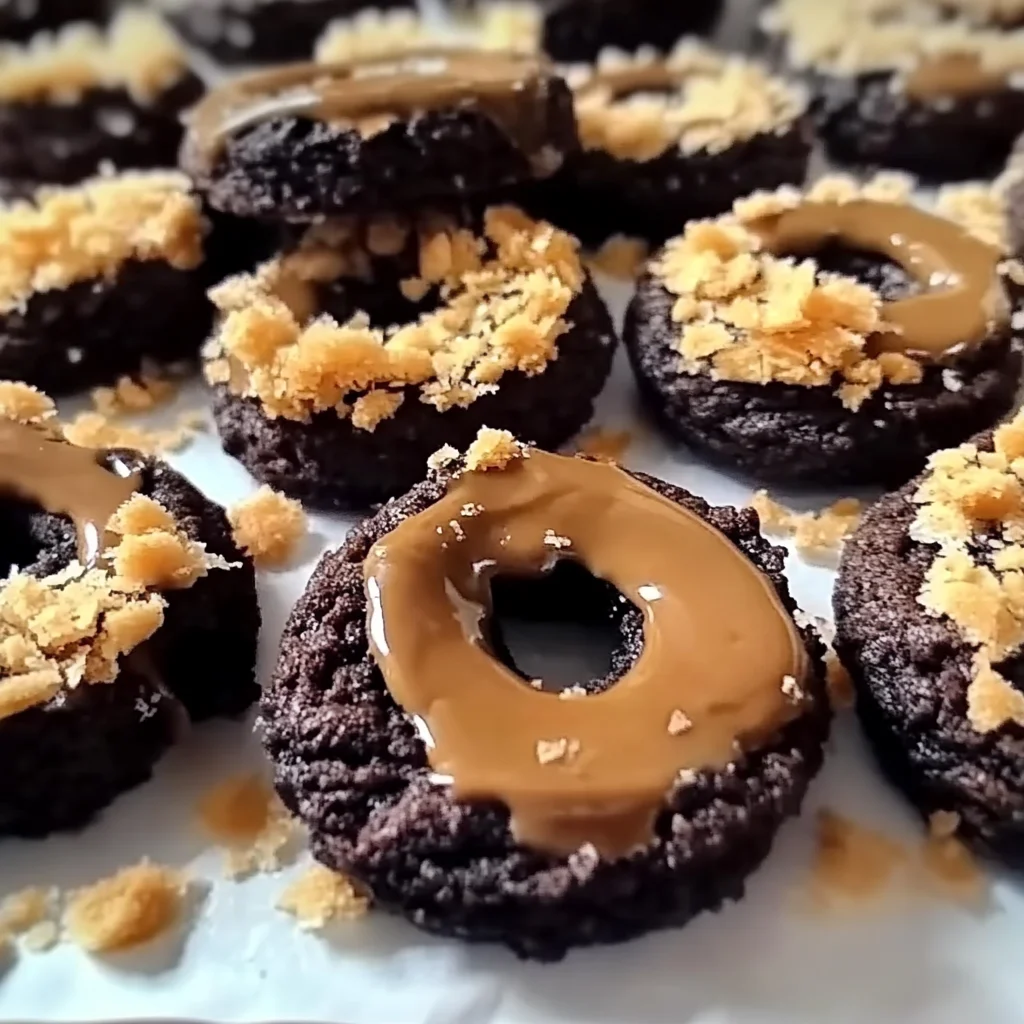
- Time for the signature Samoa shape! Use a 2-inch round cookie cutter to cut out your circles. Then, for the center hole, you can use a smaller cutter (about 1/2-inch) or even the cap of a clean plastic bottle. Carefully transfer these rings to your prepared baking sheet.
- Bake your cookies for 10–12 minutes, or until they’re just lightly golden around the edges. Don’t let them get too dark! Once baked, let them cool completely on a wire rack. Patience is key here.
- While your cookies are cooling, let’s work on that glorious topping. Spread your shredded coconut evenly on another baking sheet. Pop it into the oven (still at 350°F) for 5–7 minutes, stirring halfway through. Keep a close eye on it – coconut can go from toasted to burnt very quickly! You want it beautifully golden brown and fragrant.
- In a saucepan, combine your chewy caramels, heavy cream, and the second dash of salt. Heat this over low heat, stirring constantly, until the caramels are completely melted and smooth. This step can’t be rushed, so take your time.
- Once your caramel is smooth, gently fold in the toasted coconut. Stir it until every bit of coconut is coated in that luscious caramel.
- Now for the fun part! Take each cooled cookie and spread a generous amount of the warm caramel-coconut mixture on top. Press it gently to make sure it adheres well and covers the cookie evenly.
- Finally, let’s get chocolatey! Melt your semi-sweet chocolate chips. You can do this in the microwave (short bursts, stirring in between) or over a double boiler.
- Dip the bottom of each cookie into the melted chocolate, coating it nicely. Then, using a fork or a piping bag with a small hole, drizzle more melted chocolate over the top of the cookies in that classic stripe pattern.
- Place your finished Samoas on parchment paper and pop them into the fridge or freezer for 10–15 minutes. This chilling time helps the chocolate set beautifully. Once firm, they’re ready to enjoy!
Substitutions & Additions
Part of the joy of homemade is making it your own! Here are some ideas to play with:
- Chocolate Variations: Feel free to use milk chocolate, dark chocolate, or even white chocolate for a different flavor profile.
- Nutty Twist: For extra crunch and flavor, finely chop some pecans or almonds and mix them into the caramel-coconut topping.
- Caramel Shortcut: While the individual caramels offer the best texture, you can use a high-quality jarred caramel sauce if you’re in a pinch. Just be aware it might be a bit thinner, so you might need less heavy cream. If you love the sweet and salty combo, you might also adore these No-Bake Caramel Pretzel Bars – they’re another fantastic way to get that caramel fix!
- Gluten-Free: You can experiment with a 1:1 gluten-free flour blend for the cookie base.
Tips for Success
Want to make sure your homemade Samoas are absolutely perfect? Here are a few tricks I’ve learned along the way:
- Don’t Overmix the Dough: Seriously, once the dough comes together, stop mixing. Overworking the gluten can lead to tough cookies, and we want tender shortbread!
- Evenly Toast Your Coconut: This step is crucial for flavor! Keep a close eye on your coconut in the oven and stir it often. It browns quickly, and that nutty, toasted flavor is what makes Samoas so special.
- Melt Caramels Gently: Low and slow is the name of the game for melting caramels. If the heat is too high, the caramel can seize or burn.
- Chill the Cookies: Don’t skip the final chilling step! It ensures your chocolate sets beautifully and gives the cookies a nice, firm texture.
- Prep Ahead: You can bake the shortbread cookies a day or two in advance and store them in an airtight container. Then, on the day you want to serve, just do the topping and chocolate steps. This makes assembly even quicker! If you’re looking for another cookie recipe that truly melts in your mouth, don’t miss our Chocolate Chip Cheesecake Cookies.
How to Store Homemade Samoas Girl Scout Cookies
If there are any left (a big “if”!), here’s how to keep them fresh:
- At Room Temperature: Store your homemade Samoas in an airtight container at room temperature for up to 3-4 days. If your kitchen is particularly warm, the chocolate might soften, so the fridge might be better.
- In the Refrigerator: For a firmer cookie and to ensure the chocolate stays perfectly set, store them in an airtight container in the refrigerator for up to a week. Let them come to room temperature for a few minutes before serving, if you like.
- Freezing: These cookies freeze wonderfully! Once the chocolate is completely set, place them in an airtight freezer-safe container, separating layers with parchment paper. They’ll keep in the freezer for up to 2-3 months. Thaw them at room temperature for about 30 minutes before enjoying.
FAQs
Q: Can I use store-bought caramel sauce instead of melting caramels?
A: You can, but the texture will be different. Store-bought sauces are often thinner, so you might need to reduce or omit the heavy cream to achieve a thick enough consistency for the topping. Taste as you go!
Q: My cookie dough is too crumbly, what should I do?
A: If your dough seems too dry, add a tiny bit more milk, half a teaspoon at a time, until it comes together. Humidity and flour absorption can vary, so sometimes a little adjustment is needed.
Q: Why did my chocolate seize when melting?
A: Chocolate seizes when it comes into contact with even a tiny bit of water. Make sure your bowls and utensils are completely dry. If using a double boiler, ensure the water isn’t touching the bottom of the chocolate bowl.
Q: Can I make these without the hole in the middle?
A: Absolutely! They’ll still taste amazing. The hole just helps with the classic Samoa look and gives a bit more surface area for that delicious chocolate drizzle. Just like our beloved Ultimate Classic Carrot Cake, these Samoas are destined to become a go-to for celebrations.
We hope you enjoy making (and devouring!) these homemade Samoas as much as we do. They’re truly a labor of love that pays off in every single bite.
For more delicious recipes and kitchen inspiration, be sure to follow us on Pinterest!
Copycat Samoas Recipe: Your Ultimate Homemade Caramel Coconut Dream Cookies
Ingredients
Equipment
Method
- Step 1: Preheat oven to 350°F (175°C). Line a baking sheet with parchment paper.
- Step 2: In a large mixing bowl, cream softened butter and granulated sugar until light and fluffy.
- Step 3: Slowly add flour, baking powder, and the first dash of salt, mixing until just combined. Pour in milk and vanilla extract, then mix until a cohesive dough forms. Do not overmix.
- Step 4: Lightly flour a surface. Roll out dough to about 1/4-inch thickness.
- Step 5: Use a 2-inch round cookie cutter for circles and a smaller 1/2-inch cutter (or bottle cap) for the center holes. Carefully transfer rings to the prepared baking sheet.
- Step 6: Bake cookies for 10–12 minutes, or until lightly golden around the edges. Cool completely on a wire rack.
- Step 7: While cookies cool, spread shredded coconut on another baking sheet. Toast in the oven (still at 350°F) for 5–7 minutes, stirring halfway, until golden brown and fragrant. Watch carefully to prevent burning.
- Step 8: In a saucepan, combine chewy caramels, heavy cream, and the second dash of salt. Heat over low heat, stirring constantly, until caramels are completely melted and smooth.
- Step 9: Gently fold the toasted coconut into the smooth caramel, stirring until fully coated.
- Step 10: Spread a generous amount of the warm caramel-coconut mixture onto each cooled cookie, pressing gently to adhere evenly.
- Step 11: Melt semi-sweet chocolate chips (microwave in short bursts, stirring, or use a double boiler). Dip the bottom of each cookie into the melted chocolate, then drizzle more melted chocolate over the top in a classic stripe pattern.
- Step 12: Place finished Samoas on parchment paper and chill in the fridge or freezer for 10–15 minutes until chocolate is set. Serve immediately once firm.