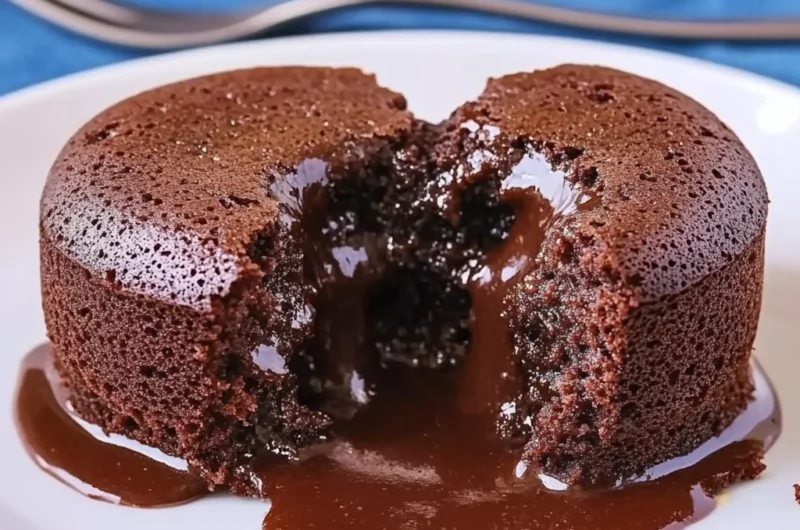
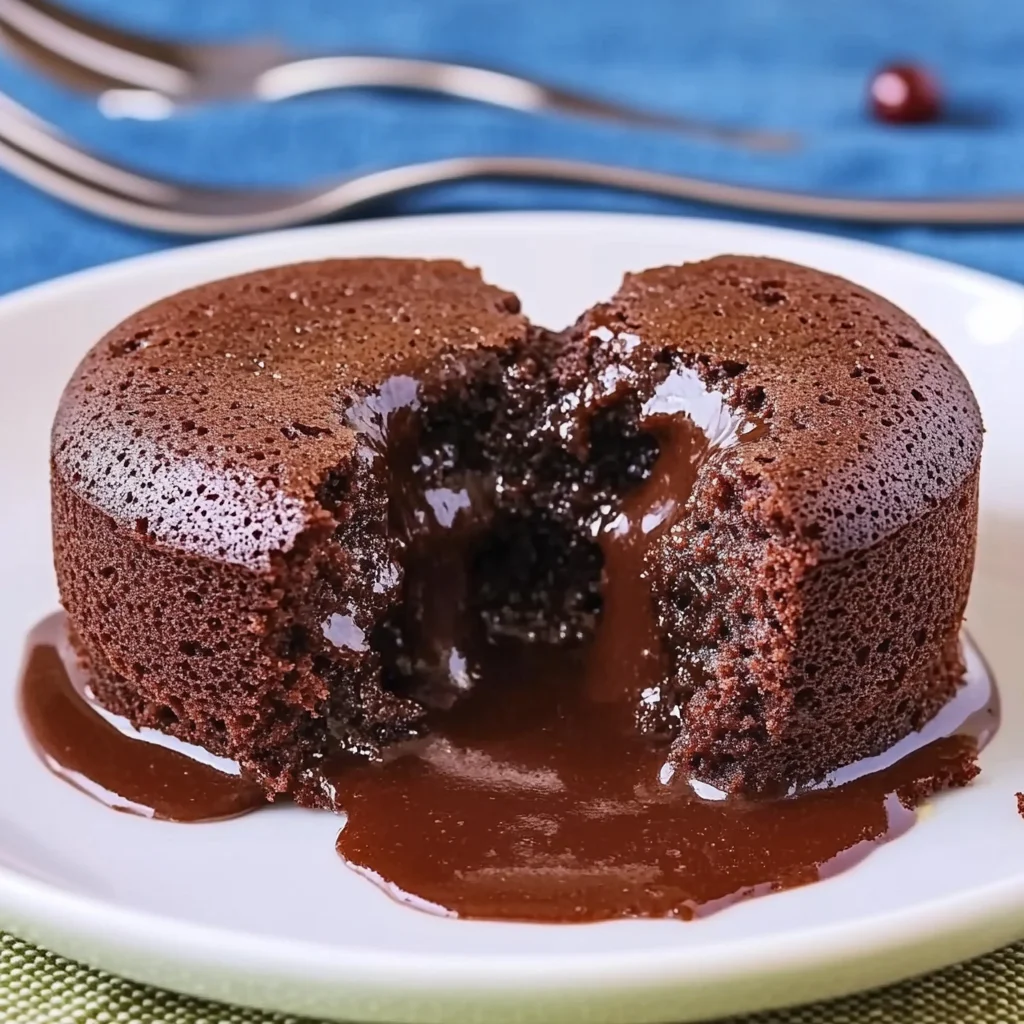
There’s something truly magical about a warm, gooey lava cake. Maybe it’s the way that molten chocolate center oozes out in the very first bite, or how the rich aroma of dark chocolate fills your kitchen, wrapping you in a cozy embrace. I remember the first time I made a lava cake for friends—everyone’s eyes lit up as the warm chocolate spilled onto their plates, and suddenly, the night felt extra special. Now, you can recreate that moment at home without turning on the oven for ages. Thanks to the air fryer, this molten chocolate delight is faster, easier, and just as indulgent as ever.
If you’ve been craving a dessert that feels like a hug but takes less time than a movie, my Air Fryer Lava Cake recipe is your new best friend. Whether you’re impressing guests, treating yourself after a long day, or surprising someone special, this recipe delivers big on flavor with minimal fuss. Let’s get right into why you’re going to adore this dessert!
Why You’ll Love Air Fryer Lava Cake
- Fast: Ready in under 20 minutes from start to finish, this dessert is perfect for last-minute cravings or unexpected company.
- Easy: With simple ingredients and straightforward steps, even beginners can master this decadent treat.
- Giftable: Make a batch in pretty ramekins and share the love with friends or family—it’s a thoughtful homemade gift that tastes luxurious.
- Crowd-pleasing: Chocolate lovers of all ages will swoon over the molten center and tender cake exterior.
Ingredients
Every ingredient in this recipe plays a special role in creating the perfect lava cake texture and flavor. Here’s what you’ll need:
- 160 g dark chocolate (70%): The star of the show! Using good-quality dark chocolate gives the cake a rich, intense flavor with just the right bittersweet balance.
- 100 g butter: Adds moisture and a silky texture. I always use unsalted butter so I can control the saltiness in the recipe.
- 25 g brown sugar: A touch of brown sugar brings warmth and depth, complementing the chocolate beautifully.
- 3 eggs: These provide structure and richness. Room temperature eggs help the batter come together smoothly.
- 30 g all-purpose flour: Just enough flour to set the cake without making it dense or cakey. Sifting ensures no lumps.
- A pinch of salt: Enhances the chocolate flavor and balances the sweetness.
- 1 teaspoon vanilla extract: A subtle hint of vanilla rounds out the flavors and adds warmth.
How to Make Air Fryer Lava Cake
Ready to get your hands a little chocolatey? Don’t worry, this recipe is totally manageable and fun to make. Here’s how you do it:
- Melt the chocolate: Use a double boiler or microwave in short bursts (about 20 seconds at a time), stirring between each to get a smooth, glossy consistency. I love this step because the smell of melting chocolate is like instant comfort.
- Mix in the butter: Stir the butter into the warm chocolate until it melts completely and blends in. This creates a luscious base for the batter.
- Add the sugar: Whisk in the brown sugar until fully dissolved. This helps the cake caramelize slightly on the edges.
- Beat in the eggs: Add eggs one at a time, whisking well after each addition until smooth and shiny. Then stir in the vanilla extract.
- Fold in dry ingredients: Sift the flour and add a pinch of salt. Gently fold the mixture until just combined. Remember, don’t overmix—you want a thick, shiny batter that holds air bubbles.
- Prepare your ramekins: Generously butter three small ramekins and dust them lightly with sugar. This extra step ensures your cakes won’t stick and adds a bit of crunch to the edges.
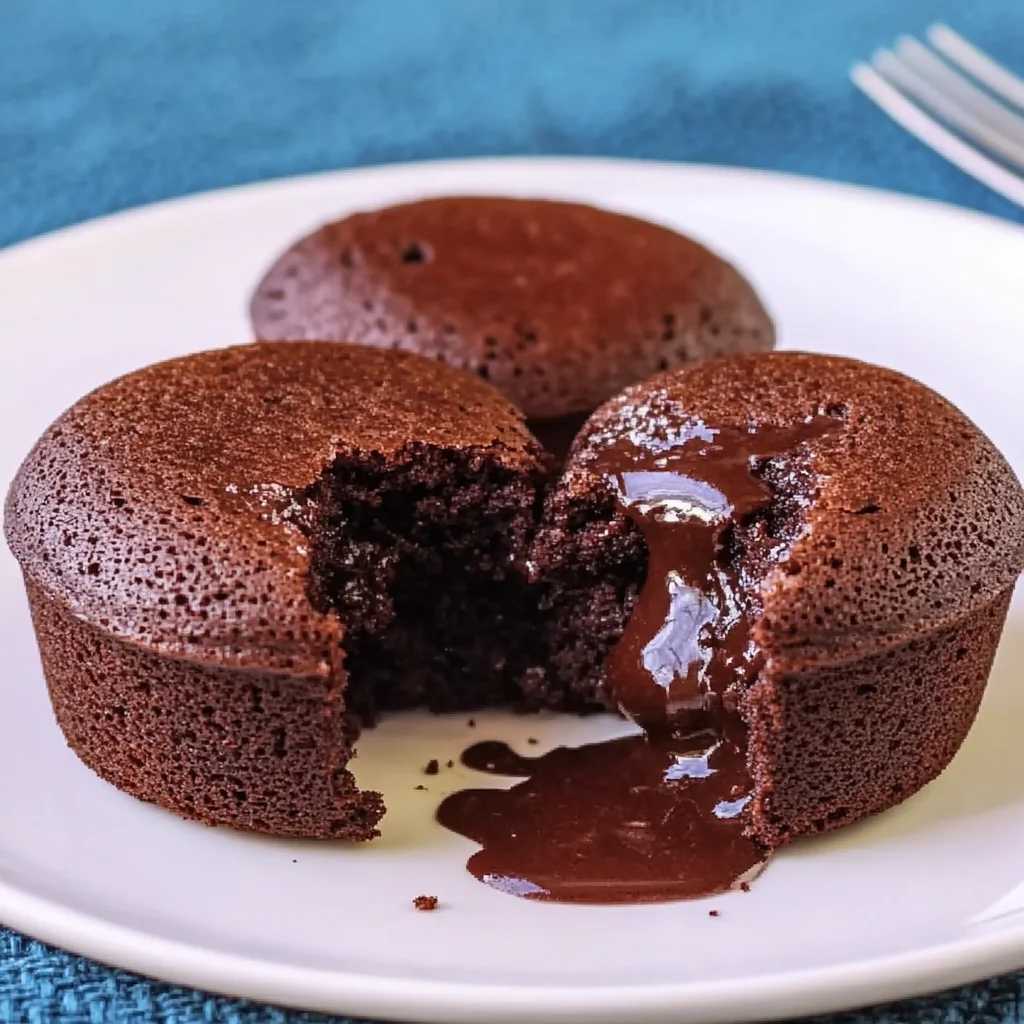
- Fill and cook: Divide the batter evenly among the ramekins, filling each about three-quarters full. Pop them in your air fryer at 180°C (356°F) for about 9 minutes. The edges will be set, but the centers should still look soft and jiggly.
- Rest and invert: Let the cakes rest for 1–2 minutes after cooking. Then gently run a knife around the edges and invert each cake onto a plate. It’s like unveiling a little chocolate treasure!
- Serve: Dust with icing sugar and enjoy immediately while warm and molten. Pair with a scoop of vanilla ice cream or fresh berries for an extra special touch.
One of my favorite things about this lava cake is how versatile it is—while you’re waiting for the cakes to cook, it’s a great time to prepare a quick coffee or even whip up a fresh fruit salad to balance the richness. If you love cozy desserts like this, you might also enjoy the Simple Chocolate Dump Cake Recipe, which is just as easy and perfect for chocolate cravings.
Substitutions & Additions
If you want to customize your lava cake or accommodate what’s in your pantry, here are some tasty substitutions and creative ideas:
- Chocolate: Swap dark chocolate for semi-sweet or even milk chocolate for a sweeter, creamier cake. For an intense flavor, try adding a tablespoon of espresso powder to the batter.
- Butter alternatives: You can replace butter with coconut oil for a subtle tropical twist, which pairs nicely if you add a sprinkle of toasted coconut on top after baking.
- Flour substitutes: For gluten-free options, try almond flour or a 1-to-1 gluten-free baking blend. Just be mindful the texture might be slightly different, but still delicious!
- Add a surprise center: Place a piece of caramel candy, peanut butter cup, or a spoonful of fruit jam in the middle of the batter before cooking for a delightful surprise.
- Spices and flavorings: A pinch of cinnamon or a splash of orange liqueur can elevate the flavor profile beautifully.
For those who enjoy experimenting in the kitchen, you might also want to explore other indulgent treats like the Easy Caramel Brownie Cheesecake—another crowd-pleaser with layers of chocolatey goodness.
Tips for Success
Making the perfect lava cake in an air fryer is easier than you think, but a few tips can help you avoid common pitfalls and make sure every bite is pure perfection:
- Don’t overbake: The hallmark of lava cake is that molten center, so keep a close eye during those last few minutes. It’s better to undercook slightly than overcook.
- Prep ramekins well: Butter and sugar the ramekins generously to prevent sticking and create a caramelized crust.
- Use room temperature eggs: This helps the batter come together smoothly and creates a tender crumb.
- Let cakes rest: Allow the cakes to cool just a bit before inverting; this helps them release cleanly and keeps the molten center intact.
- Test your air fryer: Every air fryer model is a bit different. If it’s your first time, check the cakes a minute or two before the recommended cooking time.
- Prep ahead: You can prepare the batter in advance and keep it in the fridge for up to 24 hours. Just give it a gentle stir before portioning into ramekins.
Taking your time with these steps will pay off in a dessert that tastes like it came from a fancy restaurant but was made right in your own kitchen. If you love simple, cozy desserts, you might enjoy the tips in my Cozy Creamy Tortellini Soup post, where I share how to turn easy ingredients into comfort food magic.
How to Store Air Fryer Lava Cake
While lava cake is best enjoyed fresh and warm, sometimes you might want to make it ahead or save leftovers. Here’s how to keep your molten magic:
- Refrigerate: Store any leftover cakes in an airtight container in the fridge for up to 2 days. The molten center will firm up, but you can gently rewarm the cakes in the microwave for about 20 seconds to revive some of that gooey goodness.
- Freeze: You can freeze baked lava cakes by wrapping them tightly in plastic wrap and aluminum foil. Freeze for up to 1 month. Thaw overnight in the fridge and warm gently before serving.
- Don’t assemble too early: If you want the freshest lava cake experience, it’s best to cook the batter just before serving. The air fryer cooks so quickly that prepping the batter ahead and cooking last-minute is a great strategy.
Because this dessert is so quick to make, I usually recommend making it fresh, but these tips come in handy if you’re prepping for a party or want to surprise someone with a chocolate treat later on.
FAQs
Can I make this lava cake without an air fryer?
Absolutely! You can bake these lava cakes in a conventional oven at 425°F (220°C) for about 10-12 minutes. Keep a close eye to catch the perfect molten center.
What size ramekins should I use?
Standard 6-ounce ramekins work best for this recipe. They hold the right amount of batter to create that delicate balance of cake and molten center.
Can I use milk chocolate instead of dark chocolate?
Yes! Milk chocolate will give a sweeter, creamier lava cake. Just be aware the flavor won’t be as intense as with dark chocolate.
How do I know when the lava cake is done?
The edges should look set and slightly firm, while the center remains jiggly but not liquid. If it’s too runny, it might need an extra minute; too firm means it’s overbaked.
For more delicious and easy recipes to try alongside your lava cake, check out the variety of comforting dishes on FoodTD. From savory mains to sweet treats, there’s inspiration for every craving.
Enjoy this delightful recipe and don’t forget to share your baking adventures with friends and family. And if you’re looking for even more sweet inspiration, be sure to follow me on Pinterest for a daily dose of cozy, chocolatey goodness and beyond!
Decadent Air Fryer Lava Cake
Ingredients
Equipment
Method
- Step 1: Melt the dark chocolate using a double boiler or microwave in short bursts, stirring until smooth and glossy.
- Step 2: Stir butter into the warm melted chocolate until completely blended to create a luscious base.
- Step 3: Whisk in the brown sugar until fully dissolved, helping the cake caramelize on the edges.
- Step 4: Beat in eggs one at a time, whisking well after each, then stir in vanilla extract until smooth and shiny.
- Step 5: Sift in flour and add a pinch of salt, gently folding until just combined. Do not overmix to keep batter thick and airy.
- Step 6: Butter three 6-ounce ramekins generously and dust with sugar to prevent sticking and add crunch to edges.
- Step 7: Divide batter evenly among ramekins, filling about three-quarters full.
- Step 8: Air fry at 180°C (356°F) for approximately 9 minutes until edges are set but centers remain soft and jiggly.
- Step 9: Let cakes rest for 1–2 minutes, then run a knife around edges and invert each cake onto a plate.
- Step 10: Dust with icing sugar and serve immediately while warm and molten. Optional: pair with vanilla ice cream or fresh berries.