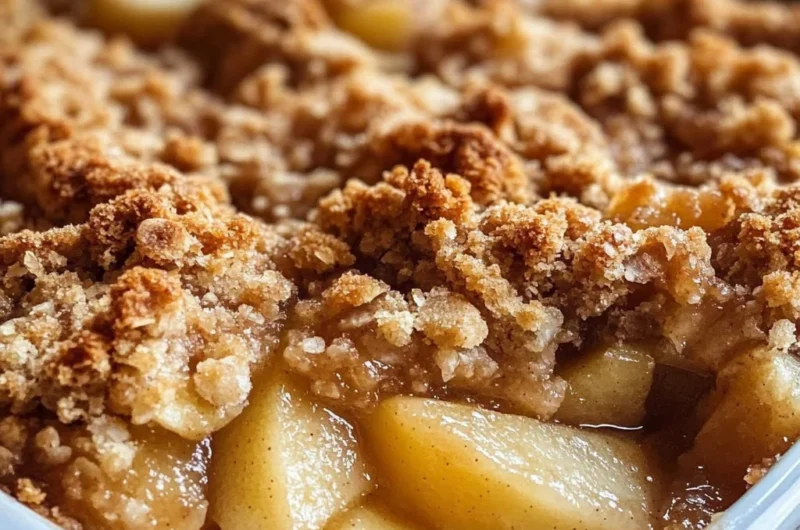
Oh, friend, there are just some smells that instantly transport you, aren’t there? For me, it’s the warm, sweet scent of cinnamon and baked apples wafting from the kitchen. It conjures up memories of crisp autumn days, cozy evenings by the fire, and gatherings with loved ones. And at the heart of those memories? A perfect, bubbling apple crumble. It’s that kind of dessert that feels like a warm hug on a plate – comforting, familiar, and utterly delicious. But here’s the best part: it looks fancy enough to impress, but it’s so unbelievably easy to make, you’ll wonder why you haven’t been making it every week! Forget complicated pie crusts; this apple crumble is your new go-to for a quick, memorable, and utterly delightful treat.
Whether you’re looking for a simple weeknight dessert or something special for guests, this recipe truly hits the spot. It’s the kind of dish that warms you from the inside out, much like a hearty bowl of cozy creamy tortellini soup on a chilly evening. Get ready to fill your home with the most amazing aromas and your belly with pure comfort!
Why You’ll Love Apple Crumble
- Fast: From prep to oven, you’re looking at minimal hands-on time. Perfect for those spontaneous dessert cravings!
- Easy: No fancy techniques or equipment needed. If you can chop an apple and mix some ingredients, you can make this!
- Giftable: Bake it in a pretty dish, tie a ribbon around it, and you’ve got a thoughtful homemade gift that everyone adores.
- Crowd-pleasing: Seriously, who can resist warm, spiced apples topped with a buttery, crunchy oat crumble? It’s a guaranteed hit!
Ingredients
Gathering your ingredients is half the fun! Here’s what you’ll need to create this magic:
- 6 large apples: I love using a mix of sweet and tart, like Honeycrisp and Granny Smith, for the best flavor balance. Make sure they’re peeled, cored, and sliced – aim for about 1/4 inch thick so they cook evenly.
- 1 tablespoon lemon juice: This isn’t just for flavor; it helps prevent your apples from browning and brightens up the whole dish.
- 1/2 cup granulated sugar: Just enough sweetness to complement the apples without being overly sugary.
- 1 teaspoon ground cinnamon: The quintessential apple spice! Don’t skimp on this one.
- 1/4 teaspoon ground nutmeg: Cinnamon’s best friend. It adds that extra layer of warmth and coziness.
- 1 cup all-purpose flour: The base for our delicious, crumbly topping.
- 1/2 cup rolled oats: These give the topping fantastic texture and a lovely chew. Old-fashioned oats work best here.
- 1/2 cup packed brown sugar: This adds a deeper, molasses-rich sweetness to the crumble.
- 1/2 cup unsalted butter, cold and cut into small cubes: Keeping the butter cold is crucial for a perfectly crumbly, not soggy, topping.
- Pinch of salt: Don’t forget this! It really enhances all the other flavors.
How to Make Apple Crumble
Alright, let’s get this deliciousness started! You’ll be amazed at how quickly this comes together.
- Get Your Oven Ready: First things first, preheat your oven to 350°F (175°C). This ensures it’s perfectly hot and ready when your crumble is assembled.
- Prep Those Apples: In a large mixing bowl, gently toss your peeled, cored, and sliced apples with the lemon juice, granulated sugar, cinnamon, and nutmeg. Give it a good mix so every apple slice is beautifully coated in those warming spices. Oh, the smell already!
- Into the Dish They Go: Now, grab a greased 9-inch baking dish and transfer your spiced apple mixture into it. Spread it out evenly so you have a nice, consistent layer.
- Whip Up the Crumble Topping: In a separate bowl (because we keep things organized!), combine the flour, rolled oats, brown sugar, and that all-important pinch of salt.
- Butter It Up: Add your cold butter cubes to the flour mixture. Now, get your hands in there! Or use a pastry cutter if you prefer. You want to work the butter into the dry ingredients until the mixture resembles coarse crumbs. Think pea-sized bits of butter throughout – this is what makes it so wonderfully crunchy.
- Crown Your Apples: Sprinkle that glorious crumble topping evenly over the apples in your baking dish. Make sure every bit of apple gets a cozy blanket of deliciousness.
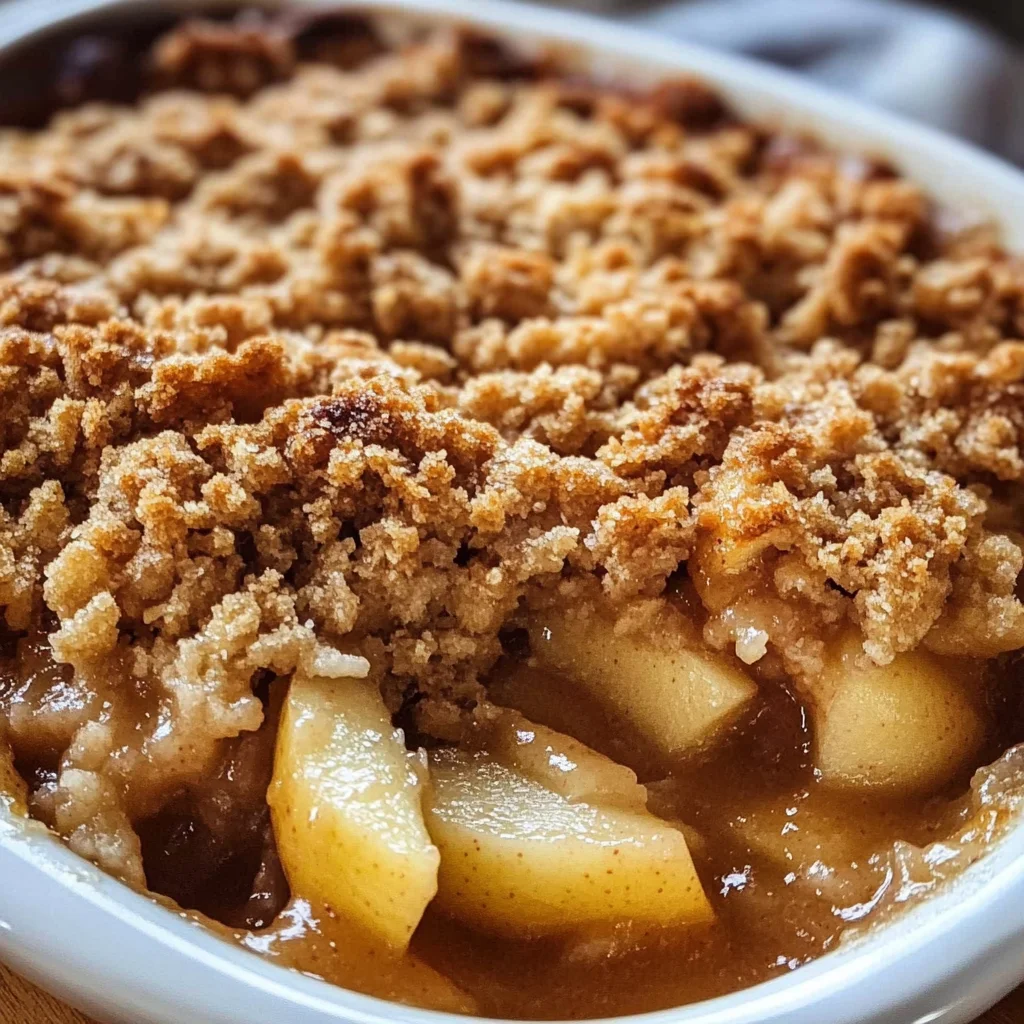
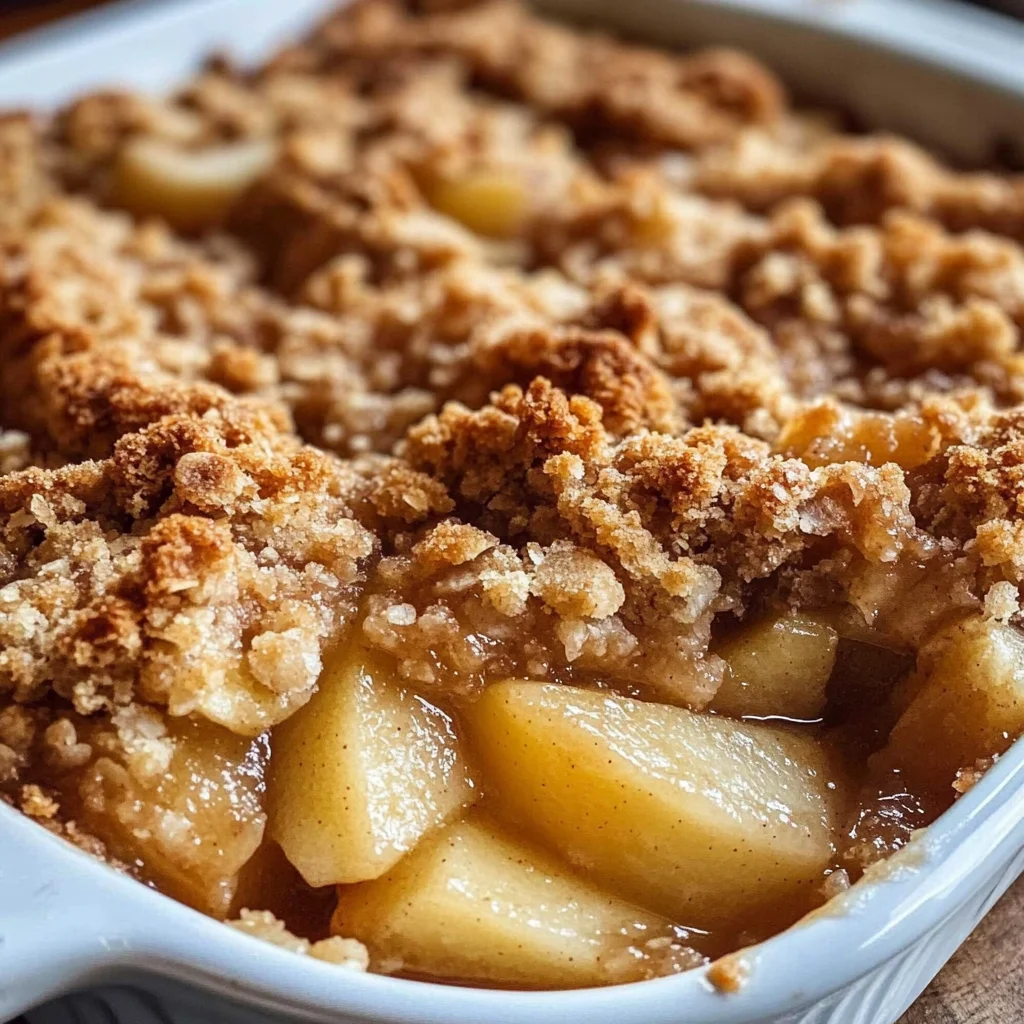
- Bake Until Golden: Pop your dish into the preheated oven and bake for 40-45 minutes. You’ll know it’s ready when the topping is a beautiful golden brown and the apples underneath are super tender when you poke them with a fork. You might even see some delicious apple juices bubbling up around the edges!
- A Moment of Patience: It’s tempting, I know, but try to let it cool slightly before serving. This allows the filling to set a bit and prevents you from burning your tongue (speaking from experience!).
Substitutions & Additions
This recipe is super versatile, so feel free to play around and make it your own! Here are some ideas:
- Fruit Swaps: Not an apple fan today? You can absolutely use other fruits! Pears, peaches, berries, or a mix of any of these would be divine. Just adjust sugar levels based on the sweetness of your fruit.
- Nutty Crunch: Add 1/2 cup of chopped pecans or walnuts to your crumble topping for an extra layer of texture and flavor. Toasted nuts are even better!
- Spice It Up: A tiny pinch of ground cloves or allspice can add even more depth to the apple filling. Or, for a different twist, a splash of vanilla extract with the apples is always lovely.
- Zesty Boost: A teaspoon of orange or lemon zest mixed into the apple filling can really brighten the flavors.
- Chocolate Lover? For a rich twist, try adding some chocolate chips to the crumble topping. It’s an unexpected but delightful surprise, much like finding a new favorite dessert like this easy chocolate pound cake with fudge frosting!
Tips for Success
Even though this recipe is easy-peasy, a few little pointers can make it absolutely perfect every time:
- Cold Butter is Key: I can’t stress this enough! Cold butter creates pockets of steam in the oven, which leads to that wonderfully crisp and crumbly topping. If your butter is too warm, the topping will be dense and less appealing.
- Don’t Overmix the Topping: Once you’ve got those coarse crumbs, stop mixing! Overmixing can develop the gluten in the flour and make your topping tough.
- Apple Variety Matters: As I mentioned, a mix of apples (like tart Granny Smith with sweet Honeycrisp or Fuji) gives the most complex and delicious flavor. Granny Smiths hold their shape well, too.
- Even Slices: Try to slice your apples as evenly as possible. This ensures they all cook at the same rate and you don’t end up with some mushy and some firm pieces.
- Prep Ahead: You can slice your apples and toss them with the lemon juice ahead of time (store them in an airtight container in the fridge for up to a day). You can also make the crumble topping mixture and store it in the fridge for a few days, or even freeze it for a quick dessert later!
How to Store Apple Crumble
If you somehow manage to have leftovers (a rare feat!), here’s how to keep your apple crumble delicious:
- At Room Temperature: Covered tightly with plastic wrap, it will last for up to 1-2 days.
- In the Refrigerator: For longer storage, cover and refrigerate for up to 3-4 days. The topping might soften a little, but it will still be tasty.
- Reheating: To bring back that glorious crispness, reheat individual servings in the microwave for a minute or two, or pop the whole dish back in a 350°F (175°C) oven for 15-20 minutes until warmed through and the topping is crisp again.
FAQs
Got questions? I’ve got answers!
Can I use canned apple pie filling?
While you can, I highly recommend using fresh apples for the best flavor and texture. Canned fillings tend to be much sweeter and softer, and the fresh apple experience is truly unbeatable in a crumble!
What do you serve with apple crumble?
Oh, the possibilities! It’s absolutely divine on its own, but a scoop of vanilla bean ice cream, a dollop of fresh whipped cream, or a drizzle of warm caramel sauce takes it to another level of indulgence. It’s the perfect ending to any meal, just like a fun seasonal drink such as an easy pumpkin float might be a fun treat to start it!
Can I freeze apple crumble?
Yes! You can freeze it baked or unbaked.
- To freeze unbaked: Assemble the crumble in a freezer-safe baking dish, cover tightly with plastic wrap and then foil, and freeze for up to 3 months. Bake from frozen, adding an extra 20-30 minutes to the baking time.
- To freeze baked: Let it cool completely, then cover tightly and freeze for up to 3 months. Thaw in the refrigerator overnight, then reheat in the oven until warmed through.
What kind of apples are best for apple crumble?
For the best texture and flavor, I recommend using a mix of apples. Firmer, tart apples like Granny Smith, Honeycrisp, Braeburn, or Gala work wonderfully because they hold their shape and offer a nice tang. Using all soft apples might result in a mushy filling. A mix gives you that perfect balance!
I hope you love this Easy Homemade Apple Crumble as much as I do! It’s truly a labor of love that brings so much joy to the table. Happy baking, my friend!
For more delicious recipes and kitchen inspiration, be sure to follow us on Pinterest!
Easy Homemade Apple Crumble Recipe: Your New Favorite Cozy Dessert
Ingredients
Equipment
Method
- Step 1: Get Your Oven Ready: Preheat your oven to 350°F (175°C).
- Step 2: Prep Those Apples: In a large mixing bowl, gently toss your peeled, cored, and sliced apples with the lemon juice, granulated sugar, cinnamon, and nutmeg. Mix well to coat every apple slice.
- Step 3: Into the Dish They Go: Transfer your spiced apple mixture into a greased 9-inch baking dish. Spread it out evenly.
- Step 4: Whip Up the Crumble Topping: In a separate bowl, combine the flour, rolled oats, brown sugar, and a pinch of salt.
- Step 5: Butter It Up: Add the cold butter cubes to the flour mixture. Work the butter into the dry ingredients using your hands or a pastry cutter until the mixture resembles coarse, pea-sized crumbs.
- Step 6: Crown Your Apples: Sprinkle the crumble topping evenly over the apples in your baking dish.
- Step 7: Bake Until Golden: Bake for 40-45 minutes in the preheated oven. The topping should be golden brown and the apples tender (test with a fork). You might see apple juices bubbling around the edges.
- Step 8: A Moment of Patience: Let it cool slightly before serving to allow the filling to set and prevent burns.