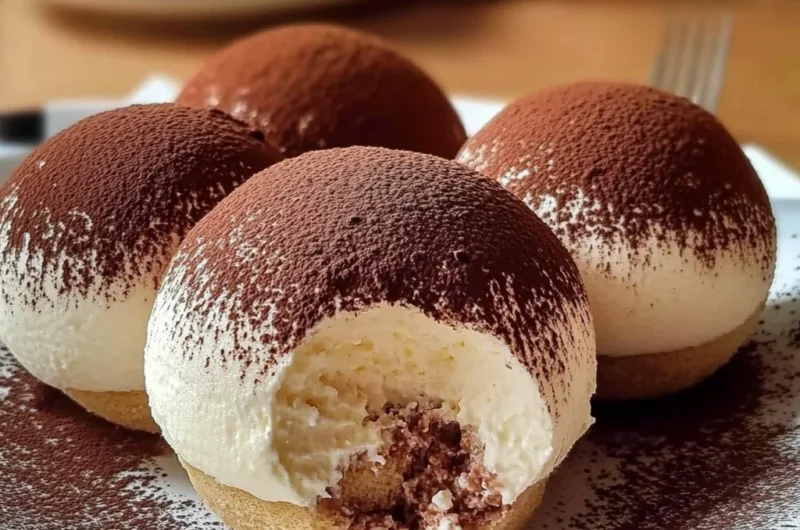
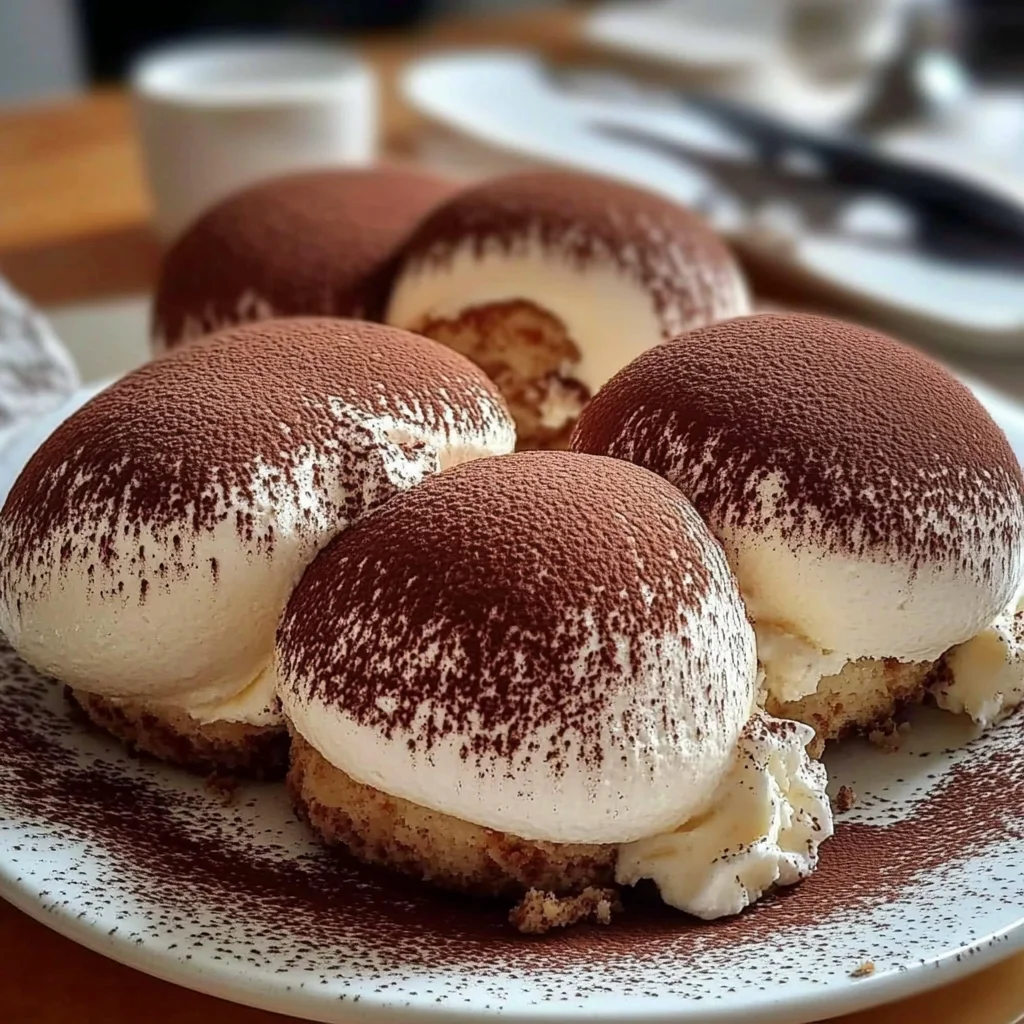
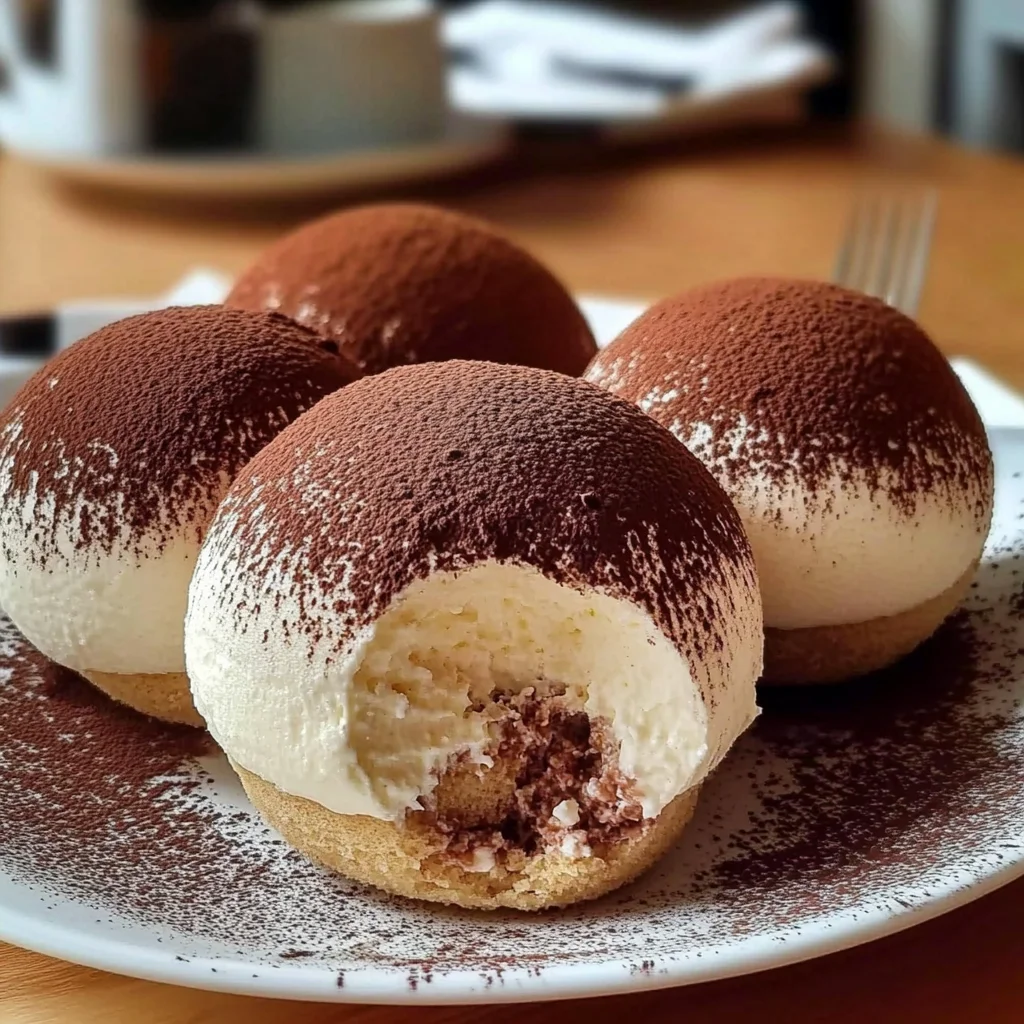
Oh, friend, do you ever get that craving for something truly special? Something that transports you straight to a cozy Italian café, with layers of delicate cream and a hint of rich coffee? For me, that’s always been tiramisu. But let’s be real, sometimes life gets busy, and the thought of an elaborate dessert feels like too much. That’s where these Tiramisu Domes come into play! Imagine all the incredible flavor of classic tiramisu, but wrapped up in adorable, perfectly portioned, and unbelievably easy-to-make domes. It’s pure magic, I tell ya! These little beauties are quick to whip up, don’t require an oven, and are such a memorable treat. Get ready to impress everyone (including yourself!) with minimal effort.
Why You’ll Love Tiramisu Domes
- Fast: Seriously, these come together in a flash.
- Easy: No baking, no fuss, just simple mixing and chilling.
- Giftable: They make the cutest little edible gifts for friends and neighbors.
- Crowd-pleasing: Who doesn’t love tiramisu? These are always a hit!
Ingredients
Gather your wonderful ingredients, and let’s make some magic! Each one plays a key role in building that iconic tiramisu flavor.
- 250 g (1 cup) mascarpone cheese: This is the heart of our tiramisu cream. It’s a rich, Italian cream cheese that gives us that luxurious, velvety texture. Don’t skimp on this!
- 200 ml (¾ cup) heavy cream, chilled: We’ll be whipping this to stiff peaks, so make sure it’s nice and cold for the best results.
- 70 g (⅓ cup) sugar: Just enough sweetness to balance the coffee and rich cheese.
- 2 egg yolks (pasteurized if possible): These add richness and help emulsify our cream. If you’re concerned about raw eggs, look for pasteurized egg yolks or use an egg substitute designed for no-bake recipes.
- 1 tsp vanilla extract: A splash of warmth and classic dessert flavor.
- 100 ml strong espresso or coffee, cooled: The soul of tiramisu! Make it strong, but let it cool down completely before you start dipping. Cold brew works beautifully too!
- 1 tbsp sugar: To sweeten our coffee dip just a touch.
- 6–8 ladyfinger biscuits (savoiardi): These light, airy biscuits are perfect for soaking up coffee without getting too soggy.
- Unsweetened cocoa powder, for dusting: The finishing touch that gives tiramisu its signature look and a hint of bittersweet chocolate.
- Coffee beans or chocolate shavings, for decoration: Optional, but they add a lovely gourmet touch!
How to Make Tiramisu Domes
Alright, let’s get our hands (just a little) dirty and create these delightful tiramisu domes! Follow along, and you’ll have a stunning dessert in no time.
1. First things first, grab a comfy mixing bowl. In it, you’re going to whisk those lovely egg yolks with the sugar. Keep going until the mixture looks pale yellow and beautifully creamy. This is where we start building that rich, luscious base!
2. Now, it’s time to introduce our star, the mascarpone cheese, to the egg yolk mixture. Add it in along with the vanilla extract. Blend everything together until it’s super smooth and inviting. No lumps, please!
3. In a separate, squeaky-clean bowl, pour in your chilled heavy cream. Whip it up until you see those glorious stiff peaks forming. This means when you lift your whisk, the cream stands tall and proud. This airy cream is what makes our tiramisu so light and dreamy!
4. Time to gently bring everything together! Carefully fold the whipped cream into your mascarpone mixture. You want to be delicate here so you don’t deflate all that lovely air you just whipped in. Continue until everything is just combined, and then pop that heavenly cream into the fridge to chill while we prepare the rest.
5. In a small, shallow dish, mix your cooled, strong espresso with that extra tablespoon of sugar until it’s completely dissolved. This is our dipping liquid, giving the ladyfingers their iconic coffee kick. By the way, if you’re ever curious about variations, an easy raspberry tiramisu recipe that skips the coffee entirely is a wonderful twist to try sometime!
6. Now for the fun part! Take one ladyfinger at a time and quickly dip it into your coffee mixture. And I mean quickly – a second or two on each side is usually enough. You don’t want them to get overly soggy, just nicely moistened.
7. Grab your silicone dome molds (or small, round bowls lined with plastic wrap for easy unmolding). Carefully line the inside of each mold with your dipped ladyfingers, creating a neat little shell. Think of it as building a cozy bed for our cream.
8. Spoon or pipe that glorious mascarpone cream filling directly into each ladyfinger shell. Fill it up generously, leaving a little room for the top layer.
9. To cap off your domes, either cover the filling with another quickly dipped ladyfinger or simply fill the dome completely with more cream. Whichever way you choose, make sure it’s a neat finish.
10. This step is crucial for perfect domes! Place your filled molds in the freezer for about 2 hours, or until they’re nice and firm. This helps them hold their beautiful shape when you unmold them.
11. Once firm, it’s time for the big reveal! Carefully unmold your tiramisu domes. They should pop out easily. Then, grab your unsweetened cocoa powder and a fine-mesh sieve, and dust those beauties generously. It adds both beauty and a lovely bittersweet contrast.
12. For an extra touch of elegance, garnish your domes with a few whole coffee beans or delicate chocolate shavings. This makes them look super professional and inviting.
13. Serve them chilled and watch them disappear! Enjoy every decadent bite.
Substitutions & Additions
One of the best parts of cooking (and dessert-making!) is making a recipe your own. Here are some fun ideas to switch up your Tiramisu Domes:
- Coffee Alternatives: Not a coffee fan? You can dip your ladyfingers in flavored milk (like almond or chocolate milk), a light fruit juice (like orange or cherry), or even a bit of rum or Kahlúa mixed with water for an adult twist.
- Boozy Kick: For an adult-only version, add a tablespoon or two of rum, brandy, Marsala wine, or coffee liqueur (like Kahlúa) to your coffee dip or even a tiny splash into your mascarpone cream.
- Chocolate Lovers: Mix finely grated dark chocolate into your mascarpone cream, or drizzle melted chocolate over the domes before dusting with cocoa.
- Fruity Twist: Add a layer of finely diced fresh berries (strawberries or raspberries would be delicious!) at the bottom of the dome or in the middle of the cream.
- Cookie Swaps: No ladyfingers? Try using shortbread biscuits, thin slices of pound cake, or even Oreos (crumbled for a base, or dipped whole for layers) for a different texture.
- Spice it Up: A tiny pinch of cinnamon or nutmeg in your mascarpone cream can add a subtle warmth.
Tips for Success
Even though these Tiramisu Domes are super easy, a few little tricks can make them absolutely perfect!
- Chill Your Cream & Bowl: For the best whipped cream, make sure your heavy cream is very cold, and for an extra boost, chill your mixing bowl and whisk attachment for 10-15 minutes before whipping.
- Don’t Over-Soak: This is key! Ladyfingers are like sponges. A quick dip (just a second or two per side) is all they need. Too much soaking, and they’ll become a soggy mess, and your domes won’t hold up.
- Strong Coffee is Best: For that true tiramisu flavor, use strong espresso or a very strong brewed coffee. It needs to stand up to the richness of the mascarpone.
- Pasteurized Eggs: If you’re concerned about consuming raw egg yolks, opt for pasteurized eggs, which are readily available in most grocery stores.
- Freezing Time: Don’t rush the freezing step. The 2 hours are essential for the domes to firm up completely, making them easy to unmold without losing their shape. If you’re looking for another super simple, refreshing treat, don’t miss out on this incredible easy 5-ingredient pineapple ice cream!
- Use Plastic Wrap: If you’re using regular small bowls instead of silicone molds, line them generously with plastic wrap before adding the ladyfingers. This makes unmolding a breeze – you can just lift them out!
How to Store Tiramisu Domes
These Tiramisu Domes are best enjoyed chilled, and they store beautifully! Keep them in an airtight container in the refrigerator for up to 3-4 days. You can also make them ahead and keep them in the freezer (undusted with cocoa) for up to 2-3 weeks. When you’re ready to serve, simply move them to the fridge for an hour or two to thaw slightly, then dust with cocoa and garnish!
FAQs
Q: Can I make these Tiramisu Domes without freezing them?
A: While freezing helps them hold their perfect dome shape for unmolding, you can absolutely chill them in the refrigerator for at least 4-6 hours (or overnight) until firm. They just might not be quite as perfectly formed, but they’ll taste just as delicious!
Q: What if I don’t have dome molds?
A: No problem at all! You can use small, round bowls (like ramekins or teacups) lined with plastic wrap. Alternatively, you can layer the ingredients in a small glass dish to make a traditional no-bake tiramisu loaf, or even serve them in individual parfait glasses.
Q: Can I use instant coffee?
A: Yes, you can! Just make sure to make it extra strong. Dissolve 1-2 tablespoons of instant espresso powder or instant coffee in 100 ml of hot water, then let it cool completely before using. The stronger, the better for that authentic flavor.
Q: Is it safe to eat raw egg yolks?
A: While many traditional tiramisu recipes use raw egg yolks, if you have concerns, I highly recommend using pasteurized egg yolks (available in most grocery stores in the dairy aisle) or a safe egg substitute designed for no-bake recipes. This ensures peace of mind while still getting that creamy richness.
If you loved making these easy, no-bake domes, you should definitely check out some of my other delightful no-bake recipes, like these incredible no-bake caramel pretzel bars!
For more delicious and easy recipes, follow us on Pinterest!
Dreamy No-Bake Tiramisu Domes: An Effortless Italian Dessert Masterpiece!
Ingredients
Equipment
Method
- Step 1: In a mixing bowl, whisk egg yolks with 70g sugar until the mixture is pale yellow and creamy.
- Step 2: Add mascarpone cheese and vanilla extract to the egg yolk mixture. Blend until super smooth and lump-free.
- Step 3: In a separate, clean bowl, whip the chilled heavy cream until stiff peaks form.
- Step 4: Gently fold the whipped cream into the mascarpone mixture until just combined. Chill the cream in the fridge.
- Step 5: In a small, shallow dish, mix the cooled espresso or coffee with 1 tbsp sugar until dissolved.
- Step 6: Quickly dip each ladyfinger biscuit into the coffee mixture, about one to two seconds per side, ensuring they are moistened but not soggy.
- Step 7: Line the inside of silicone dome molds (or small, plastic-wrapped bowls) with the dipped ladyfingers, creating a shell.
- Step 8: Spoon or pipe the mascarpone cream filling into each ladyfinger shell, filling generously.
- Step 9: Cap off the domes by either covering the filling with another quickly dipped ladyfinger or completely filling the dome with more cream for a neat finish.
- Step 10: Place the filled molds in the freezer for about 2 hours, or until nice and firm, to help them hold their shape.
- Step 11: Once firm, carefully unmold the tiramisu domes. Dust generously with unsweetened cocoa powder using a fine-mesh sieve.
- Step 12: Garnish with whole coffee beans or chocolate shavings for an elegant touch.
- Step 13: Serve chilled and enjoy every decadent bite!