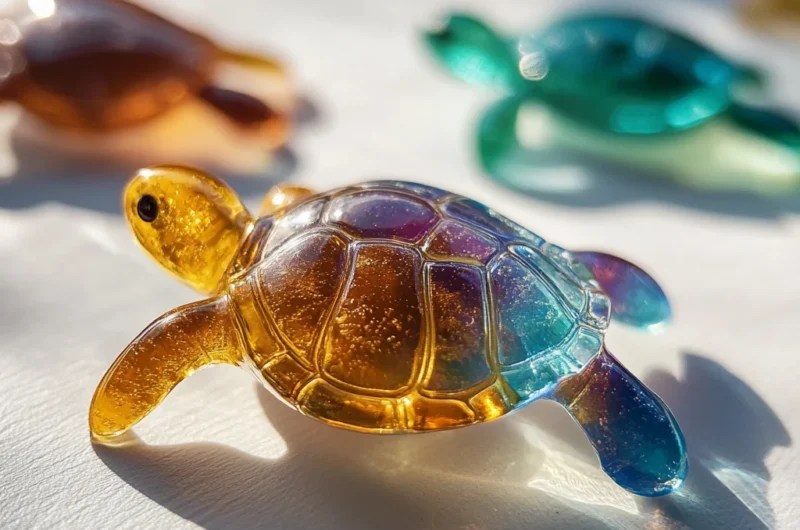
Do you remember those carefree afternoons spent making colorful crafts that glittered beautifully in the sunlight? There’s something truly magical about creating something by hand that not only brings joy during the process but also lights up your home with a splash of color. Today, I want to share with you a delightful craft that’s just as nostalgic as those childhood memories—a Clear Glue Turtle Suncatcher. This charming little project is perfect for adding a whimsical touch to any window and is surprisingly simple to make.
Whether you’re looking for a creative activity to do with kids, a unique handmade gift idea, or just a relaxing way to unwind, this suncatcher ticks all the boxes. It doesn’t require fancy supplies or hours of work, and the end result is a vibrant, shimmering turtle that comes to life when the sun shines through it. Plus, it’s a wonderful way to explore colors and textures, making it a memorable craft for all ages.
Why You’ll Love Clear Glue Turtle Suncatcher
- Fast: You can whip up this project in under an hour, though drying time takes longer, it’s minimal hands-on time.
- Easy: No complicated techniques or special tools—just simple materials you probably already have at home.
- Giftable: Handmade suncatchers make heartfelt gifts that brighten any room and show you care.
- Crowd-pleasing: Kids and adults alike adore watching the colors swirl and sparkle in the sunlight.
Ingredients
Before you dive into making your turtle suncatcher, let’s talk about the ingredients you’ll need. Each one plays a special role in bringing your creation to life:
- Black construction paper: This is your turtle’s silhouette—dark and bold, it perfectly frames the colorful glue inside.
- Wax paper or plastic sheet: Acts as your working surface and prevents sticking, making it easy to peel off the finished piece.
- Clear glue: The star ingredient! It dries clear and thick, giving your suncatcher that stained-glass effect.
- Food coloring or liquid watercolors: These add the vibrant, translucent colors that catch the light beautifully.
- Glitter or sequins (optional): For those who love a little sparkle, these add extra magic when the sun hits your suncatcher.
- Paintbrush or dropper: To apply glue and color precisely within your turtle shape.
How to Make Clear Glue Turtle Suncatcher
Ready to get your hands a little colorful? Follow these simple steps, and soon you’ll have your very own glowing turtle decoration.
- Create your turtle template. Start by drawing a turtle outline on the black construction paper. Don’t worry about being perfect—your turtle’s charm lies in its handmade look. Once you’re happy with the shape, carefully cut it out. This will be your stencil.
- Set up your workspace. Place the wax paper or plastic sheet on a flat surface. Then, position your turtle template underneath it so you can see the outline through the wax paper. This makes it easier to follow the shape when applying glue.
- Apply the clear glue. Using your paintbrush or dropper, spread a generous layer of clear glue over the turtle outline on the wax paper. You want to cover the shape fully but keep the glue thick enough to hold the colors.
- Add color drops. Now comes the fun part. Drop small amounts of food coloring or liquid watercolors onto the wet glue. You’ll see the colors slowly spread and swirl—feel free to add more drops for richer hues or let them blend naturally for softer shades.
- Optional sparkle. If you like a bit of shimmer, sprinkle glitter or sequins over the colored glue while it’s still wet. This step makes your suncatcher extra festive and eye-catching.
- Dry thoroughly. Patience is key here. Allow your suncatcher to dry completely—this might take several hours or even overnight. Make sure it’s in a place where it won’t be disturbed to keep your masterpiece intact.
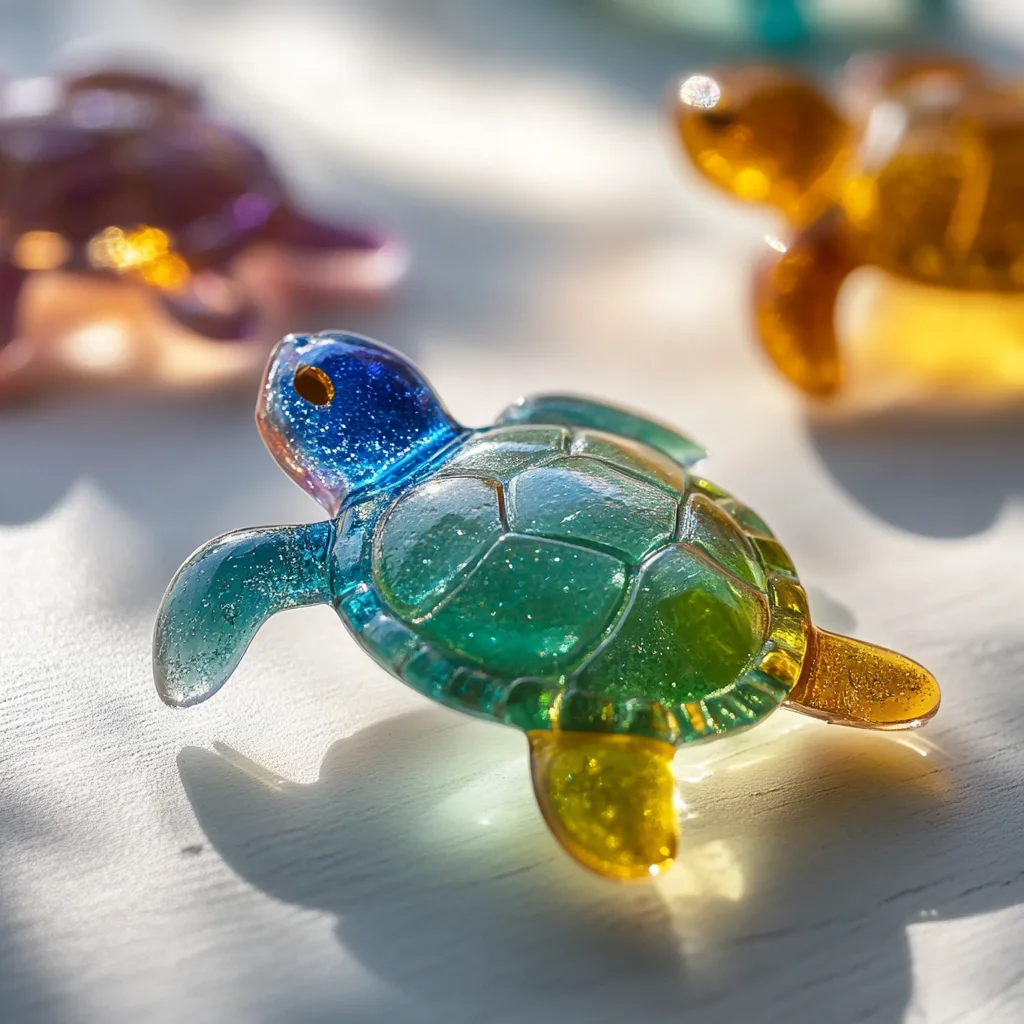
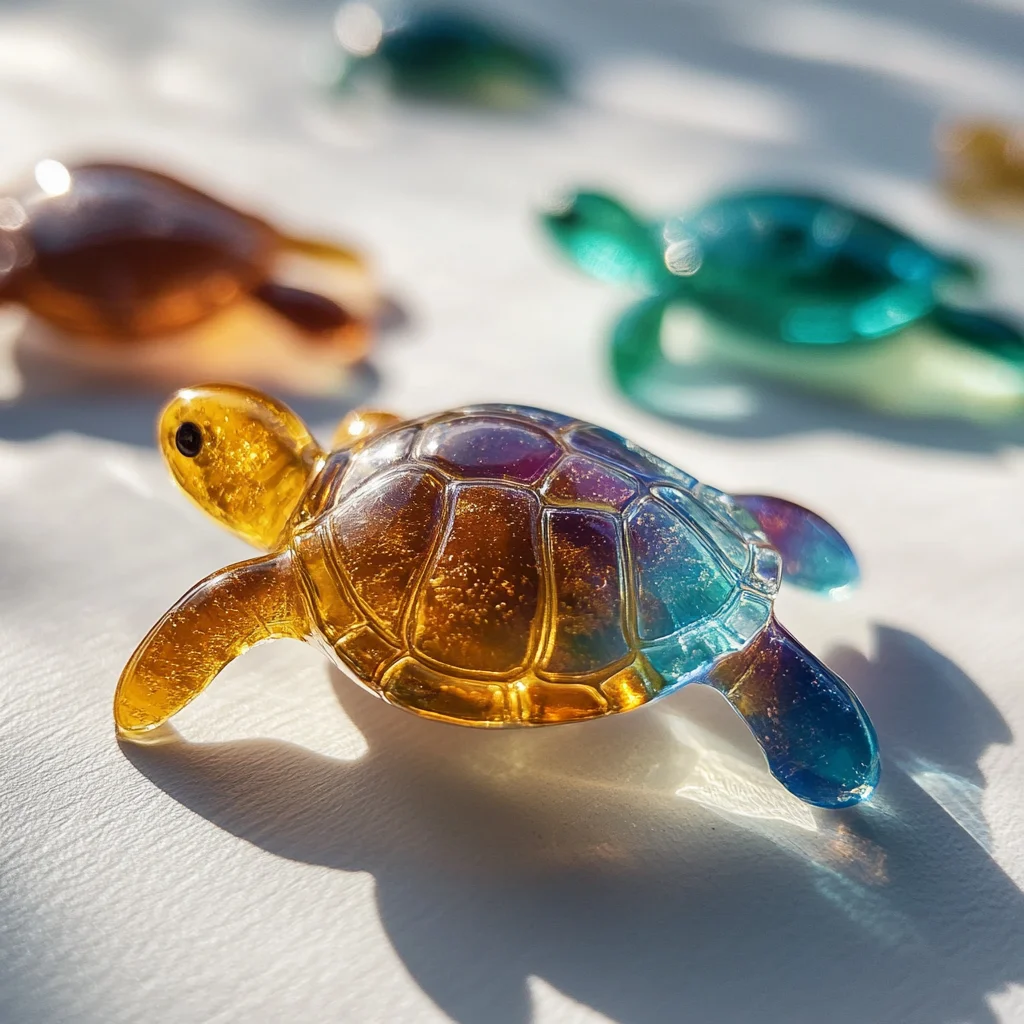
- Peel and display. Once dry, gently peel the suncatcher off the wax paper. You’ll be amazed at how sturdy and translucent it is! Hang it in a sunny window and watch your turtle come alive with color and light.
Substitutions & Additions
One of the best parts about this project is how customizable it is. You’re free to experiment and make the craft your own. Here are some ideas to inspire you:
- Templates: Instead of a turtle, try other animals or shapes—think butterflies, stars, or hearts. You can even print out stencils if drawing isn’t your favorite.
- Color options: Swap out food coloring for liquid watercolors if you want more vibrant and less runny colors. Gel food coloring can work too but might need a bit of dilution.
- Glitter alternatives: If you don’t have glitter, small beads, tiny sequins, or even bits of tissue paper can add interesting textures.
- Backing material: If wax paper isn’t handy, a plastic sheet protector or parchment paper can work as a non-stick surface.
- Enhance the frame: Use metallic markers or paint pens on the black construction paper to add details or outlines to your turtle before cutting it out. This gives a lovely contrast to the colored glue inside.
Tips for Success
To make sure your Clear Glue Turtle Suncatcher turns out beautifully every time, here are some tried-and-true tips I’ve picked up along the way:
- Keep glue thick: If your glue is too thin or watery, the colors might bleed too much or the suncatcher might be fragile. Use a thicker clear glue or apply multiple coats if needed.
- Don’t overload colors: Too many drops of coloring can make the glue too runny and hard to dry. Start with a few drops and add more sparingly.
- Dry flat and undisturbed: Make sure your drying surface is flat and away from drafts or pets that might bump into it. This keeps your suncatcher even and intact.
- Cut carefully: When making your template, use sharp scissors or a craft knife for clean edges. This helps your final piece look polished and professional.
- Prepare ahead: You can draw and cut your turtle templates in advance and store them in a folder. This way, you’re ready whenever inspiration strikes.
How to Store Clear Glue Turtle Suncatcher
Once you’ve crafted your lovely turtle suncatcher, you might wonder how to keep it safe when not on display. Here’s how to store and care for your colorful creation:
Because the suncatcher is made from dried glue and paper, it’s best to keep it flat and away from moisture. Store it between sheets of wax paper or parchment in a sturdy folder or envelope to prevent bending or damage. Avoid stacking heavy objects on top, as pressure can crack or warp the glue.
When hung in a window, the suncatcher can last for years if handled gently. However, prolonged exposure to direct sunlight might cause colors to fade over time, so rotating or occasionally moving it to a shaded spot will help preserve its vibrancy.
FAQs
How long does it take for the suncatcher to dry completely?
Drying times vary depending on glue thickness and humidity, but it generally takes several hours to overnight. For best results, leave it undisturbed for 12 hours.
Can I use regular school glue instead of clear glue?
Regular school glue often dries white or cloudy, so for that beautiful stained-glass look, clear glue or clear-drying craft glue is recommended.
Is this craft safe for kids?
Absolutely! It’s a kid-friendly activity, but younger children might need supervision when cutting and handling glue to avoid messes.
Can I hang the suncatcher outdoors?
It’s best to hang it indoors near a sunny window. Exposure to wind and rain may damage the glue and paper over time.
If you enjoy crafts that brighten your space as much as your day, you might also love exploring other creative projects like the Blue Crayon Suncatchers or fun seasonal treats like the Oreo Eyeball Truffles. There’s always something new and exciting to try!
I also find it rewarding to pair these calming craft sessions with a cozy meal, like a bowl of Creamy Tortellini Soup. It’s the perfect way to unwind after a creative day.
So gather your supplies, get comfy by the window, and let your creativity shine through this simple but stunning Clear Glue Turtle Suncatcher. Happy crafting!
Don’t forget to follow us on Pinterest for more inspiring crafts and delicious recipes!
Clear Glue Turtle Suncatcher
Ingredients
Equipment
Method
- Step 1: Draw a turtle outline on black construction paper and carefully cut it out to create your stencil.
- Step 2: Place wax paper or plastic sheet on a flat surface and position turtle template underneath so you can see the outline through the wax paper.
- Step 3: Using a paintbrush or dropper, spread a generous layer of clear glue over the turtle outline on the wax paper, keeping the glue thick enough to hold colors.
- Step 4: Drop small amounts of food coloring or liquid watercolors onto the wet glue to create vibrant, swirling colors.
- Step 5: Optional: Sprinkle glitter or sequins over the colored glue while still wet for extra sparkle.
- Step 6: Allow the suncatcher to dry completely, ideally for 12 hours or overnight, in a flat, undisturbed area.
- Step 7: Once dry, gently peel the suncatcher off the wax paper and hang it in a sunny window to enjoy the colorful light display.