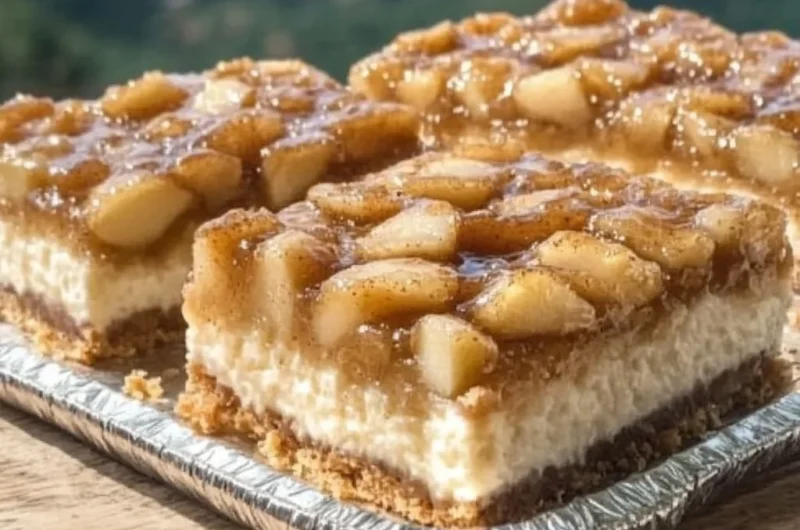
There’s something so wonderfully nostalgic about the smell of apples and cinnamon baking in the oven, isn’t there? It instantly takes me back to those crisp fall afternoons spent in my grandma’s kitchen, where the air was always filled with the scent of homemade apple pie. But let’s be honest—sometimes slicing and baking a whole pie can feel like a big commitment. That’s why I adore these Apple Pie Cheesecake Bars. They pack all the cozy, comforting flavors of apple pie with a luscious cheesecake twist, all in a simple, easy-to-cut bar. Whether you’re craving a quick dessert fix or want to impress guests with minimal effort, these bars are a total winner.
Not only are these bars incredibly easy to whip up, but they bake in under an hour, making them perfect for those last-minute gatherings or just a sweet treat after dinner. Plus, the combination of creamy cheesecake layered between tart apples and a buttery cake topping is downright unforgettable. I promise once you try these, you’ll find yourself reaching for them again and again through the season.
Why You’ll Love Apple Pie Cheesecake Bars
- Fast: From start to finish, you’ll be enjoying these bars in less than an hour.
- Easy: With just a few simple ingredients and minimal steps, even beginner bakers can succeed.
- Giftable: Wrapped up in a pretty box or tin, these bars make a heartfelt homemade gift for friends and neighbors.
- Crowd-pleasing: The blend of apple pie and cheesecake flavors appeals to just about everyone.
Ingredients
Let’s talk about what you’ll need for these scrumptious bars. The ingredient list is refreshingly short, which means less time shopping and more time baking.
- 1 can apple pie filling: This gives you that classic apple pie flavor without peeling and chopping apples. You can find these in the baking aisle, and they come pre-cinnamon-spiced for convenience.
- 8 oz cream cheese, softened: The creamy layer that adds richness and balances the tartness of the apples. Make sure it’s softened to room temperature for easy spreading.
- 1 box yellow cake mix: This creates a buttery, golden topping that crisps up beautifully in the oven. Yellow cake mix has the perfect flavor to complement the apple and cream cheese.
- 1/2 cup butter, melted: Pouring melted butter over the cake mix helps it bake into a crisp, golden crust that’s simply irresistible.
How to Make Apple Pie Cheesecake Bars
Ready to get baking? Here’s a simple step-by-step guide to make these bars come to life. I always find that following each step carefully helps the layers stay nice and distinct.
- Preheat your oven to 350°F (175°C). This ensures your bars bake evenly and the top gets that perfect golden color.
- Spread the apple pie filling evenly in the bottom of a 9×13-inch baking pan. This forms the flavorful base layer of the bars. I like to use a rubber spatula to smooth it out gently so it’s an even layer.
- Beat the cream cheese in a medium bowl until smooth. I usually use a hand mixer for this step to get it silky without lumps. Once smooth, spread it evenly over the apple layer. This creamy layer is what makes these bars so special!
- Sprinkle the yellow cake mix evenly over the cream cheese layer. Try to cover the cream cheese completely, but don’t worry if it’s a bit uneven—that just adds to the rustic charm.
- Pour the melted butter evenly over the cake mix. This step helps the cake mix bake into a crisp, golden crust. Pour slowly and evenly for the best results.
- Bake for 35-40 minutes or until the top is golden brown. You’ll know it’s done when the edges are bubbling slightly and the top looks beautifully crisp. I recommend checking at 35 minutes, as ovens can vary.
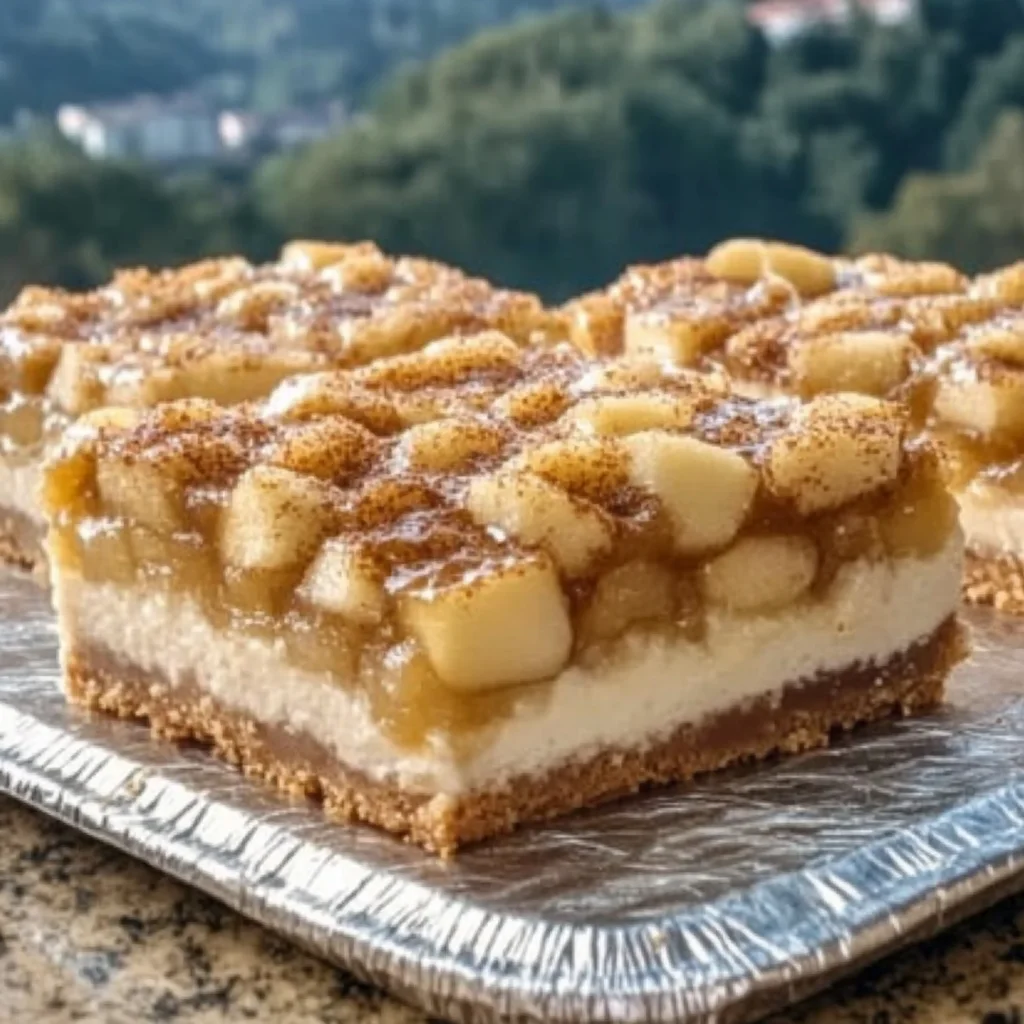
- Cool completely before cutting into bars. This is key! Letting the bars cool fully helps them set up so they cut cleanly without crumbling. If you’re impatient like me, pop the pan in the fridge for 30 minutes to speed things up.
Substitutions & Additions
One of the best things about this recipe is how flexible it is. Feel free to make it your own with these fun swaps and upgrades:
- Swap the yellow cake mix for spice cake mix. This adds a warm, cozy flavor that pairs perfectly with apples and cinnamon.
- Make it gluten-free: Use a gluten-free yellow cake mix and ensure your pie filling is gluten-free as well.
- Add chopped nuts: Sprinkle chopped pecans or walnuts over the cake mix before drizzling with butter for a delightful crunch.
- Mix in some raisins or dried cranberries: Stir a handful into the apple pie filling layer to boost texture and natural sweetness.
- Drizzle caramel sauce on top after baking. For an extra indulgent touch, caramel and apple are a match made in heaven!
- Try adding a pinch of ground nutmeg or allspice to the cream cheese layer. It’s a subtle way to enhance the fall flavors.
Tips for Success
I’ve learned a few tricks over the years that ensure these Apple Pie Cheesecake Bars come out perfect every time. Here are some tips to keep in mind:
- Soften your cream cheese ahead of time. If you forget, you can microwave it in 10-second bursts until just soft. This prevents lumps and makes spreading easier.
- Don’t skip the cooling step. Cutting the bars too soon can result in a messy, gooey mess. Patience pays off with clean, beautiful squares.
- Use a sharp knife dipped in hot water to cut. Wiping the knife between cuts gives you cleaner slices.
- Line your baking pan with parchment paper. This helps lift the bars out easily for serving or gift-wrapping.
- Feel free to double the recipe for a larger crowd. Just use a bigger pan or make two batches. These bars disappear fast!
- For an extra festive touch, sprinkle a little cinnamon sugar on top before baking. It adds a subtle crunch and extra flavor.
If you love quick and comforting desserts, these bars are right up your alley. They remind me a bit of the easy, creamy no-bake pumpkin cheesecake bars I recently shared, which are another fantastic fall treat you might want to try when you’re in the mood for something similar but no oven required!
How to Store Apple Pie Cheesecake Bars
One of the great things about these bars is that they keep well, so you can make them ahead or save leftovers without worry.
- Room temperature: Store in an airtight container for up to 2 days. Keep them covered so the bars don’t dry out.
- Refrigerator: Because of the cream cheese layer, I recommend storing these in the fridge where they’ll last 4-5 days. Just bring to room temperature before serving for the best flavor.
- Freezing: Yes! Wrap individual bars tightly in plastic wrap and place in a freezer-safe bag. They freeze well for up to 2 months. Thaw overnight in the fridge and enjoy.
Keeping these storage tips in mind means you can enjoy these bars anytime you want a little slice of comfort. Plus, they’re perfect for packing in lunchboxes or taking to potlucks and family parties.
FAQs
Q: Can I use fresh apples instead of canned apple pie filling?
A: You can, but you’ll need to cook the apples with sugar and cinnamon to soften them first. The canned filling simplifies things and already has the perfect flavor balance.
Q: What’s the best way to get clean cuts when slicing the bars?
A: Use a sharp knife warmed under hot water and wiped dry between cuts. This prevents sticking and keeps edges neat.
Q: Can I make these bars ahead of time?
A: Absolutely! They actually taste better after a day or two when the flavors meld. Just store them in the fridge and slice when ready to serve.
Q: Are these bars suitable for kids?
A: Definitely. The sweet, creamy, and familiar flavors make them a hit with kids and adults alike.
Feeling inspired to bake? These Apple Pie Cheesecake Bars are a delightful way to bring that homemade warmth to your kitchen. And if you’re looking for more cozy desserts, you might enjoy the easy caramel brownie cheesecake recipe I’ve shared before, which is just as rich and indulgent but with a chocolate twist.
Before you go, don’t forget to check out some other comforting recipes on FoodTD—a treasure trove of delicious ideas for every occasion.
For more sweet inspiration and seasonal favorites, be sure to follow me on Pinterest. I’m always sharing new recipes, tips, and mouthwatering photos to brighten your kitchen adventures!
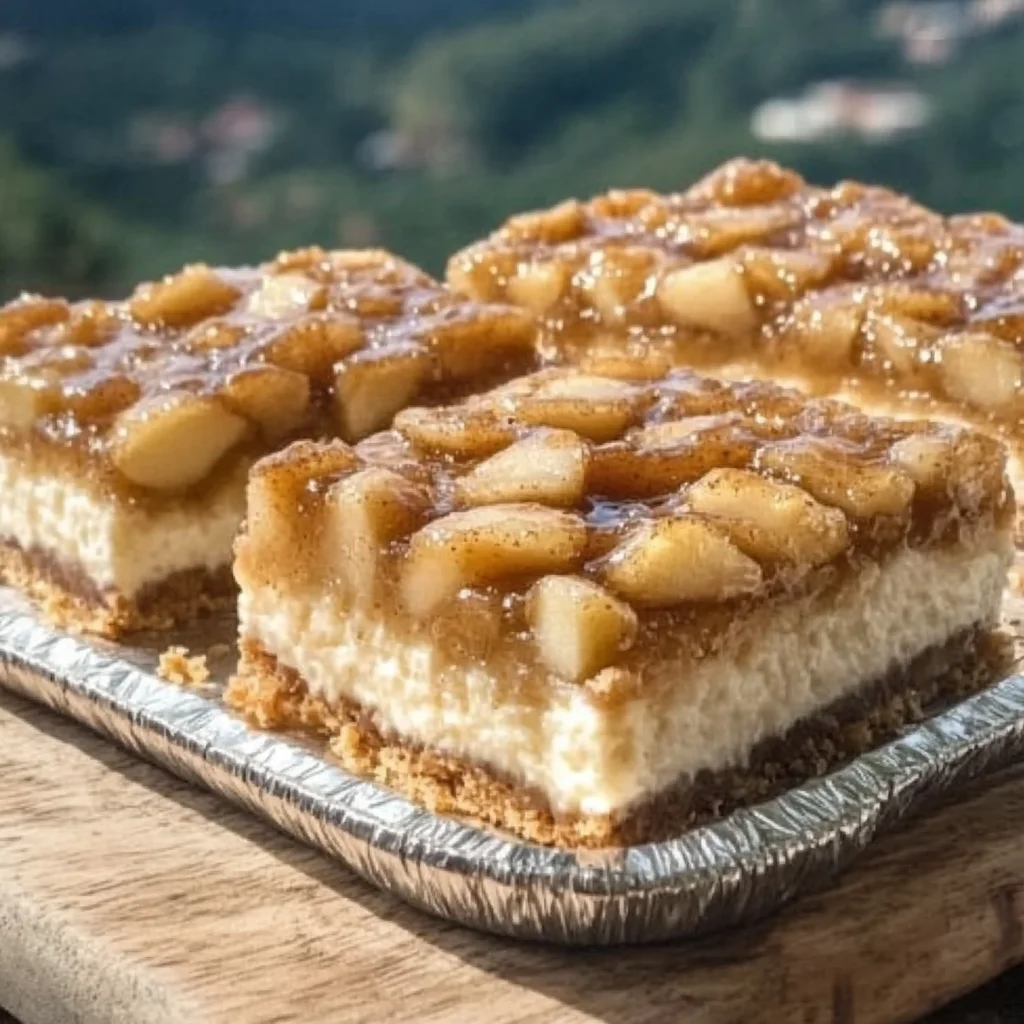
Apple Pie Cheesecake Bars
Ingredients
Equipment
Method
- Step 1: Preheat your oven to 350°F (175°C).
- Step 2: Spread the apple pie filling evenly in the bottom of a 9×13-inch baking pan using a rubber spatula.
- Step 3: Beat the softened cream cheese in a medium bowl with a hand mixer until smooth and lump-free. Spread evenly over the apple layer.
- Step 4: Sprinkle the yellow cake mix evenly over the cream cheese layer, covering it as much as possible.
- Step 5: Pour the melted butter evenly over the cake mix layer.
- Step 6: Bake for 35-40 minutes or until the top is golden brown and edges are bubbling slightly. Check at 35 minutes.
- Step 7: Cool completely before cutting into bars. For faster cooling, refrigerate for 30 minutes.