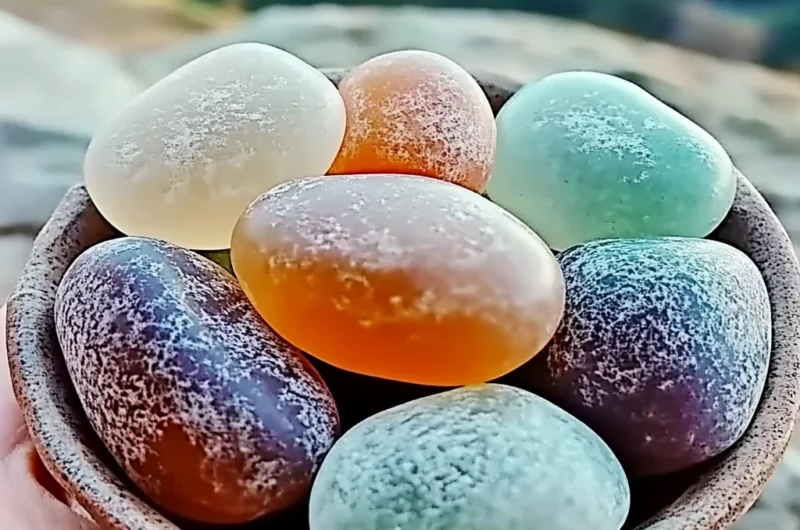
There’s something so comforting about a cozy, fragrant home that wraps you up like a soft blanket on a chilly evening. Maybe it’s that nostalgic memory of grandma’s kitchen filled with cinnamon and vanilla or the fresh, calming scent of lavender after a long day. If you’ve ever wanted to capture that feeling, but without lighting a candle or plugging in a diffuser, let me introduce you to scented DIY aroma stones. These little beauties are not only charming and natural but also incredibly easy and fun to make. Plus, they’re perfect for gifting or just adding a personal touch to your space.
I remember the first time I made these aroma stones—it felt like crafting a tiny piece of happiness that filled my home with a subtle, soothing scent. No flames, no batteries, just pure, lovely aroma that lasts. Whether you’re a beginner in crafting or looking for a quick project that’s both decorative and functional, this recipe is your new best friend. Let’s dive in and get those creative juices flowing!
Why You’ll Love Scented DIY Aroma Stones
- Fast: You can whip up the dough and start molding in under 15 minutes.
- Easy: No fancy tools or skills required—just basic ingredients and your hands.
- Giftable: Handmade aroma stones make heartfelt, thoughtful gifts for friends and family.
- Crowd-pleasing: Everyone loves a fresh-smelling home, and these stones add a cozy vibe instantly.
Ingredients
Before we get our hands messy, let’s look at what you’ll need. The beauty of this recipe is in its simplicity—common pantry staples and a splash of your favorite scents and colors.
- 2 cups white all-purpose flour: The base of your dough, providing structure and a smooth finish.
- 1 cup salt: Not just for flavor here—it helps the dough dry evenly and adds texture.
- 1 cup cornstarch: This keeps the stones soft and easy to mold while helping them set nicely.
- 1 cup cooled boiled water: Adding moisture to bring the dry ingredients together into a workable dough.
- 10 drops essential oils: Your choice of scent—lavender, eucalyptus, lemon, or any blend that makes your heart sing.
- 2 tablespoons mica powder or food coloring: For a pop of color that brightens up your stones and matches your home décor.
Don’t be shy about experimenting with different essential oils or colors. I’ve found that a mix of sweet orange and cinnamon oil makes my living room smell like a holiday market, while lavender and eucalyptus are perfect for the bedroom.
How to Make Scented DIY Aroma Stones
Ready to get started? Follow these steps carefully, and I’ll share little tips along the way to make your aroma stones look and smell amazing.
- Combine dry ingredients: In a large mixing bowl, whisk together the flour, salt, and cornstarch. This ensures everything is evenly distributed and prevents clumps in your dough.
- Add water gradually: Slowly pour in the cooled boiled water while stirring. I like to use a wooden spoon at first, then switch to my hands as the dough starts coming together. The key is to add the water gradually so your dough isn’t too sticky or too dry.
- Mix in scent and color: Once your dough is smooth and pliable, it’s time to add your essential oils and mica powder or food coloring. Knead the dough thoroughly to spread the color and fragrance evenly. This step is where your stones start to come alive with personality!
- Mold your stones: Pinch off small pieces of dough and roll them into little stone shapes. You can keep them simple and smooth or get creative with textures and imprints. I love using small cookie cutters or pressing leaves and lace for a natural pattern.
- Set to dry: Place your shaped stones on a baking tray lined with parchment paper. Let them air dry for at least 12 hours, preferably in a warm, dry spot. If you’re in a hurry, a low oven (around 175°F/80°C) for a couple of hours can speed up the process, but be careful not to brown them.
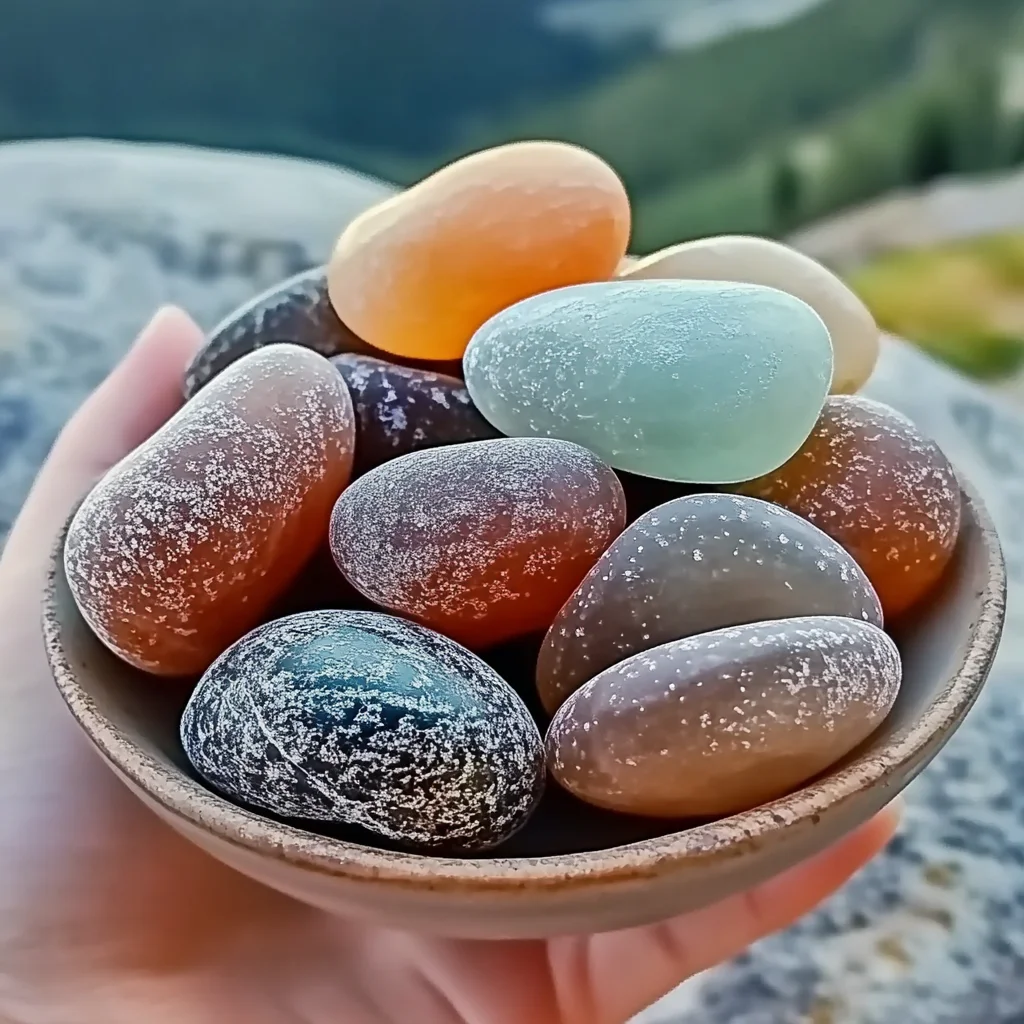
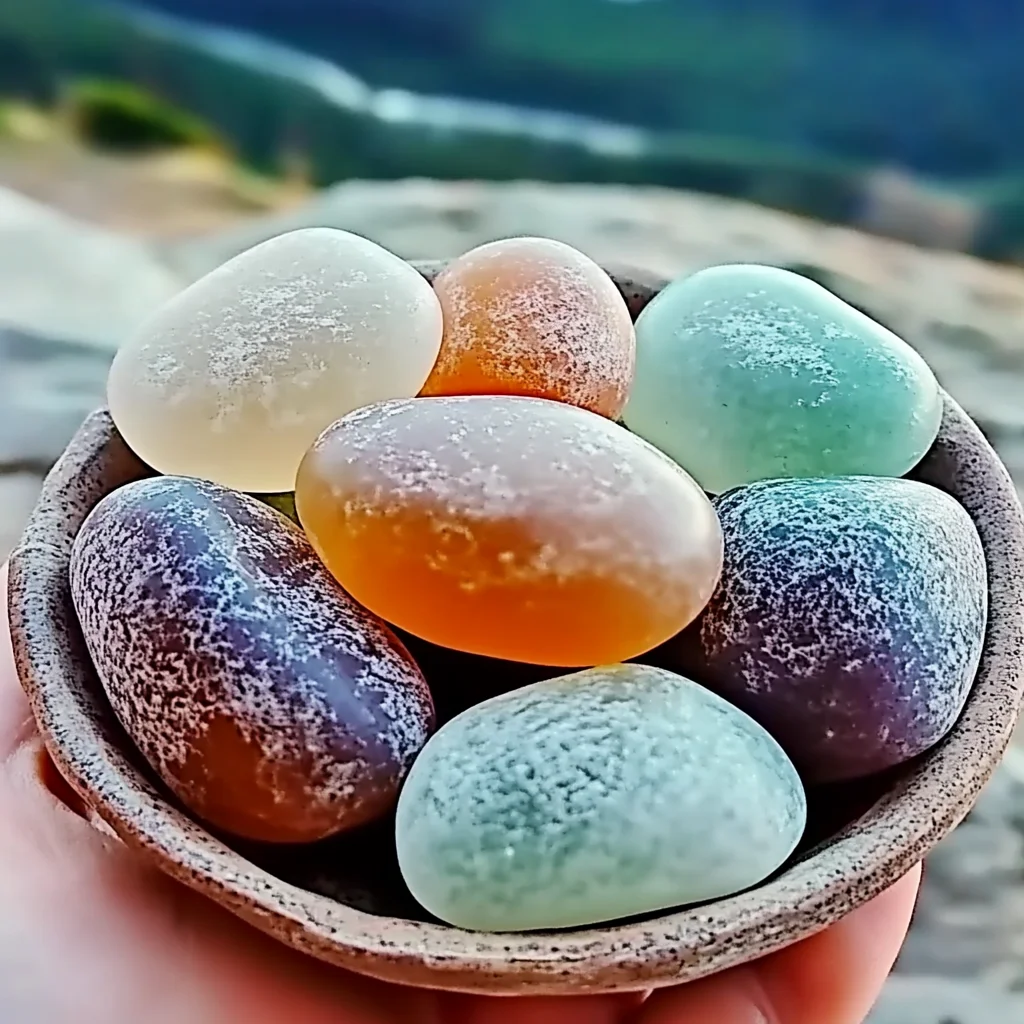
Once dry, your aroma stones are ready to freshen up any room. Place them in decorative bowls, drawers, or even gift bags.
Substitutions & Additions
If you’re feeling adventurous or have different supplies on hand, don’t worry—this recipe is quite forgiving!
- Flour swaps: While white all-purpose flour works best for a smooth texture, you can try whole wheat or gluten-free flours for a rustic, earthy look. Just keep in mind the texture will vary.
- Essential oils alternatives: If you don’t have essential oils, vanilla extract or a few drops of fragrance oils (safe for crafts) can be a substitute, though the scent might not last as long.
- Natural color options: Instead of mica powder or food coloring, try using natural powders like turmeric for yellow, beetroot powder for pink, or spirulina for green. These add a unique twist and are eco-friendly.
- Adding texture: Mix in dried flower petals, small herbs, or glitter (for a festive touch) into the dough before shaping to add visual interest and extra scent layers.
- Shape ideas: Use silicone molds for perfect shapes like stars, hearts, or leaves. This is especially fun if you want to make these aroma stones as party favors or gifts.
These small tweaks can personalize your aroma stones to fit any season or mood. For instance, during fall, I love mixing cinnamon and clove oils with warm orange mica for a cozy vibe reminiscent of my favorite pumpkin spice treats.
Tips for Success
After making these aroma stones several times, I’ve learned a few tricks that help make the process smoother and the results better:
- Water temperature matters: Using cooled boiled water ensures the dough is hygienic and smooth but not too hot to handle or alter the scent of your oils.
- Don’t rush drying: Patience is key. If the stones aren’t fully dried, they can crack or crumble later. Find a warm spot with good airflow to speed up drying naturally.
- Test your essential oils: Some oils can be overpowering or not mix well with others. Start with fewer drops and add more gradually if you want a stronger scent.
- Store extras properly: If you make a large batch, keep unused stones in an airtight container away from direct sunlight to preserve scent and color.
- Mix colors carefully: When using mica powder or food coloring, add a little at a time until you reach your desired shade to avoid overpowering the scent or making the dough too wet.
If you want to explore more fun DIY projects that brighten your home, you might love the creative vibe behind the original DIY aroma stones tutorial—it’s a fantastic way to deepen your crafting skills!
How to Store Scented DIY Aroma Stones
Once your aroma stones are fully dry and ready, proper storage will keep them smelling fresh and looking beautiful for months. Here’s how I like to store mine:
- Use airtight containers: Glass jars or plastic containers with tight lids prevent scent loss and keep dust away.
- Keep away from direct sunlight: Sunlight can fade the colors and degrade the essential oils over time.
- Refresh scent as needed: If the aroma starts to fade after a few weeks, simply add a drop or two of essential oil on the stones to revive their fragrance.
- Place stones strategically: Pop them into small fabric sachets or decorative bowls in closets, bathrooms, or cars for continuous subtle scent.
With these tips, your aroma stones will be a lasting staple in your home ambiance toolkit, much like how I keep a few hidden around for those moments when I just want to breathe in calm and comfort.
FAQs
Can I bake the aroma stones to dry them faster?
Yes, you can bake the stones at a low temperature (around 175°F or 80°C) for 1-2 hours. Keep a close eye to avoid browning or cracking. Air drying is gentler and preferred if you have the time.
Are these aroma stones safe around pets?
The basic ingredients are non-toxic, but some essential oils can be harmful to pets. Always research your chosen oils and keep the stones out of reach of animals.
How long do the aroma stones last?
With proper storage, your aroma stones can keep their scent and form for several months. Refresh the scent every few weeks for best results.
Can I make these without color?
Absolutely! The stones will have a natural, rustic look, which many people love. Color is optional and purely decorative.
If you’re curious about other quick and delightful projects, you might enjoy the easy-to-follow steps in DIY fizzy treasure stones, which add a playful twist to crafting fun at home.
Or, if you’re hungry after your crafting session, why not try this comforting cozy creamy tortellini soup that feels like a warm hug in a bowl? It’s my go-to meal after an afternoon of making homey crafts!
Making your own scented DIY aroma stones is such a rewarding experience. They bring a little magic into everyday life and make your space uniquely yours. I hope you enjoy crafting and filling your home with delightful scents as much as I do!
Don’t forget to check out more creative ideas and recipes on FoodTD for all your kitchen and crafting inspiration.
For more crafty inspiration and fresh ideas, make sure to follow us on Pinterest!
Scented DIY Aroma Stones
Ingredients
Equipment
Method
- Step 1: In a large mixing bowl, whisk together the flour, salt, and cornstarch until evenly distributed.
- Step 2: Gradually add cooled boiled water while stirring with a wooden spoon, then use your hands as the dough forms. Adjust water as needed to achieve a smooth, pliable dough.
- Step 3: Knead in your chosen essential oils and mica powder or food coloring thoroughly to evenly spread scent and color.
- Step 4: Pinch off small pieces and shape into stones, either smooth or with textures using cookie cutters or natural patterns.
- Step 5: Place shaped stones on a parchment-lined baking tray and air dry for at least 12 hours in a warm, dry spot or bake at 175°F (80°C) for 1–2 hours to speed drying, avoiding browning.