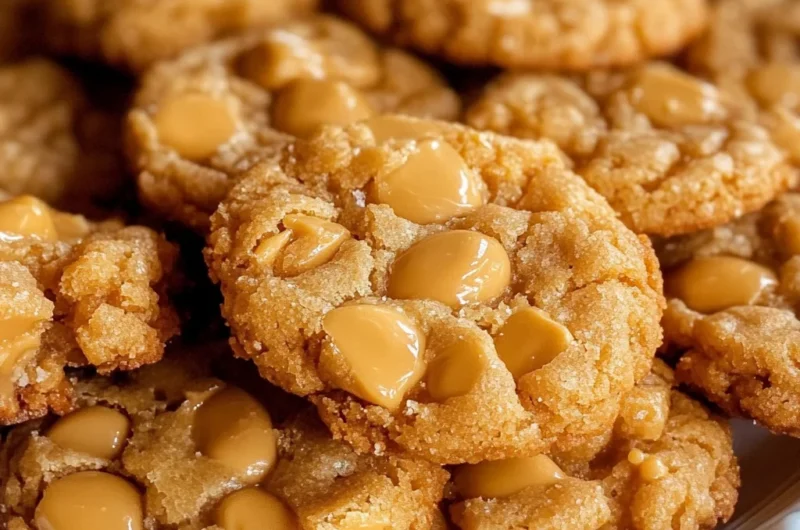
Oh, friend, do you ever get that craving for a cookie that just feels like a warm hug? The kind that takes you straight back to grandma’s kitchen, where the air was thick with the scent of melted butter and sweet nostalgia? Well, get ready, because I’m about to share a recipe that does just that: our incredibly delicious and wonderfully simple Butterscotch Chewies! These aren’t just cookies; they’re little bites of pure comfort, bursting with that distinct, buttery caramel flavor we all adore. You won’t believe how easy they are to whip up, and trust me, they disappear just as fast as you can bake them. If you’re looking for a fuss-free dessert that delivers big on flavor and warm, fuzzy feelings, you’ve found your new go-to. And for even more comforting treats and dinner ideas, head on over to FoodTD.com for more delicious inspiration!
Why You’ll Love Butterscotch Chewies
- Fast
- Easy
- Giftable
- Crowd-pleasing
Ingredients
Gathering your ingredients is the first step to cookie perfection! Here’s what you’ll need, along with a few friendly notes:
- 1 cup unsalted butter, softened: This is the heart of our chewies! Make sure it’s nice and soft, like softened ice cream, for the best creaming results. I usually take it out of the fridge an hour or two before I plan to bake.
- 1 cup brown sugar, packed: This is where that lovely caramel note comes from. Make sure you pack it down firmly in your measuring cup!
- ½ cup granulated sugar: A little extra sweetness and helps give our cookies those perfectly crisp edges.
- 2 large eggs: Our binding agents! Room temperature eggs incorporate better into your batter, so if you remember, set them out with the butter.
- 1 tsp vanilla extract: Don’t skip this! It enhances all those beautiful butterscotch flavors. Good quality vanilla makes a difference.
- 2 ½ cups all-purpose flour: The backbone of our cookies. No need for anything fancy, just your standard all-purpose flour.
- 1 tsp baking soda: Our secret to a soft, chewy texture and a little lift.
- ½ tsp salt: Crucial for balancing the sweetness and bringing out all the other flavors.
- 1 ½ cups butterscotch chips: The star of the show! These little gems melt into pockets of pure deliciousness.
How to Make Butterscotch Chewies
Alright, let’s get baking! Follow these simple steps, and you’ll have warm, gooey butterscotch chewies in no time.
- Get Prepped: First things first, preheat your oven to a cozy 350°F (175°C). Then, grab your baking sheets and line them with parchment paper. This is one of my favorite tips for easy cleanup and preventing sticking – seriously, it’s a game-changer!
- Cream it Good: In your largest mixing bowl, combine that beautiful softened butter with both the packed brown sugar and the granulated sugar. Now, beat them together until the mixture is light, fluffy, and looks like a creamy dream. This usually takes a couple of minutes with an electric mixer.
- Eggs and Vanilla Join the Party: Beat in your eggs, one at a time, making sure each one is fully incorporated before adding the next. This helps create a smooth, emulsified dough. Then, pour in the vanilla extract and mix until everything is well combined and smelling wonderful.
- Whisk the Dry Stuff: In a separate, smaller bowl, whisk together your flour, baking soda, and salt. Just a quick whisk will do the trick to ensure they’re evenly distributed.
- Combine Gently: Gradually add the dry ingredients to your wet ingredients. Mix on low speed, or by hand, until everything is just combined. The key here is not to overmix; overworking the flour can lead to tougher cookies, and we want soft and chewy!
- Fold in the Chips: Now for the best part! Gently fold in your butterscotch chips until they are evenly distributed throughout the dough. You want a sweet little surprise in every bite!
- Drop and Space: Grab a rounded tablespoon of dough (or a cookie scoop if you have one, it makes life so much easier!) and drop it onto your prepared baking sheets. Make sure to space them about 2 inches apart to give them room to spread without merging into one giant cookie.
- Bake to Perfection: Pop those sheets into your preheated oven and bake for 10-12 minutes. You’re looking for edges that are beautifully golden brown, but the centers should still look soft and slightly underdone. This is the secret to their chewiness!
- Cool Down: Once baked, let your cookies cool on the baking sheet for about 5 minutes. They’ll continue to set up during this time. After that, carefully transfer them to a wire rack to cool completely. Try not to eat them all before they’re cool – I know, it’s hard!
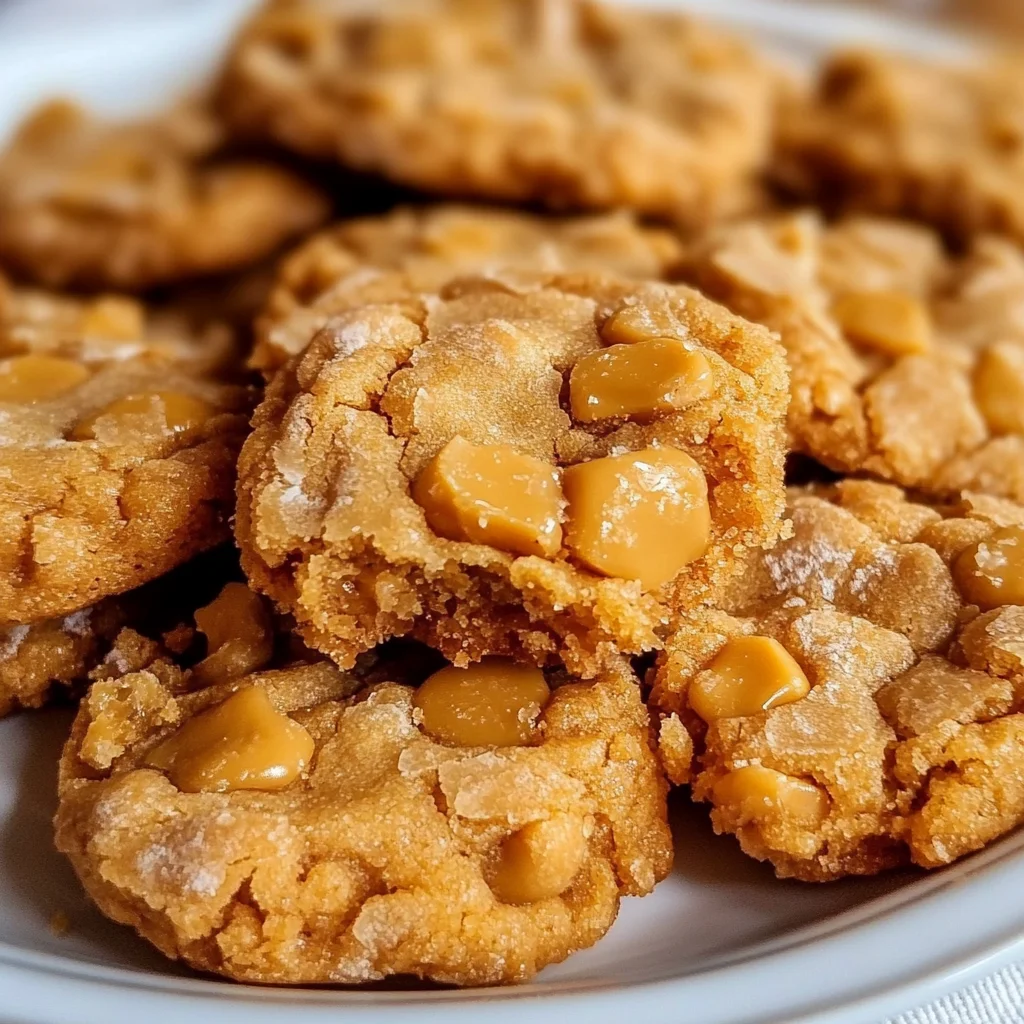
Substitutions & Additions
One of the best things about these Butterscotch Chewies is how adaptable they are! Feel free to get creative and make them your own:
- Chip Swap: Not a butterscotch fan? No problem! Swap them out for semi-sweet chocolate chips, white chocolate chips, peanut butter chips, or even a mix of your favorites.
- Nutty Crunch: Add ½ cup of chopped pecans or walnuts along with the butterscotch chips for a delightful textural contrast.
- Spice it Up: A pinch of ground cinnamon or a tiny grating of nutmeg can add a cozy, warm dimension to the flavor profile.
- Salty Sweet: For an extra gourmet touch, sprinkle a tiny bit of flaky sea salt on top of the dough balls right before baking. The sweet and salty combo is divine!
- Extract Variations: While vanilla is classic, a tiny dash of almond extract could be a fun twist.
- Darker Flavor: Use dark brown sugar instead of light brown sugar for an even richer, deeper caramel flavor.
Tips for Success
Even though this is an easy recipe, a few little pointers can ensure your Butterscotch Chewies turn out perfectly every single time!
- Room Temperature Ingredients are Key: I mentioned it in the ingredients, but it’s worth repeating! Softened butter and room temperature eggs cream together much more smoothly, leading to a more consistent and tender cookie dough.
- Don’t Overmix the Flour: Once you add the dry ingredients, mix only until just combined. Overmixing develops the gluten in the flour, making your cookies tough instead of deliciously chewy.
- Measure Flour Correctly: For the most accurate measurement, fluff your flour with a spoon, then spoon it into your measuring cup, and level it off with a straight edge. Don’t pack it down!
- Parchment Paper is Your Friend: Seriously, it makes for easy cleanup and prevents your cookies from sticking. If you don’t have it, greasing your baking sheet well will work, but parchment is preferred.
- Do NOT Overbake: This is probably the most crucial tip for chewiness! The cookies might look slightly underbaked in the center when you pull them out, but they will continue to cook on the hot baking sheet. Golden edges, soft centers – that’s the goal!
- Chilling the Dough: If you find your cookies are spreading too much, try chilling the dough for 20-30 minutes before baking. This helps solidify the butter and can lead to a slightly thicker cookie. You can even scoop and freeze portions of dough for a quick treat later! If you love quick and easy desserts, you might also adore our easy no-bake Martha Washington candy!
How to Store Butterscotch Chewies
If you manage to have any left (a big “if” in my house!), here’s how to keep your Butterscotch Chewies fresh and delicious:
- At Room Temperature: Store your cooled cookies in an airtight container at room temperature for up to 3-4 days. For best results, I sometimes place a slice of bread in the container to help keep them soft, but shh, that’s our little secret!
- In the Fridge: You can store them in an airtight container in the refrigerator for up to a week, but they might firm up a bit.
- Freezing Baked Cookies: For longer storage, you can freeze the baked and completely cooled cookies. Place them in a single layer on a baking sheet to freeze solid, then transfer them to a freezer-safe bag or container. They’ll keep for up to 3 months. Thaw at room temperature when you’re ready for a sweet treat.
- Freezing Cookie Dough: You can also scoop out portions of the raw dough onto a parchment-lined baking sheet and freeze until solid. Then transfer the frozen dough balls to a freezer-safe bag. When you’re ready to bake, you can bake them from frozen (add a few extra minutes to the baking time) or let them thaw slightly. It’s a fantastic way to always have fresh-baked cookies on hand!
FAQs
Q: Why are my butterscotch chewies not chewy?
A: The most common culprit is overbaking! Pull them from the oven when the edges are golden but the centers still look soft and slightly gooey. They’ll firm up as they cool. Another reason could be too much flour, so ensure you’re measuring it correctly (spoon and level, don’t pack!).
Q: Can I use salted butter instead of unsalted?
A: Yes, you can! If you use salted butter, I recommend reducing the added salt in the recipe from ½ tsp to ¼ tsp to avoid them being too salty. You can always add a pinch more to taste later if you feel it needs it.
Q: What if I don’t have butterscotch chips?
A: No butterscotch chips? No problem! This recipe is incredibly versatile. You can substitute them with an equal amount of chocolate chips (milk, semi-sweet, or dark), white chocolate chips, peanut butter chips, or even a combination of your favorite mix-ins. If you enjoy simple, comforting desserts, you’ll also love our simple chocolate dump cake recipe for another easy winner!
Q: Can I make the dough ahead of time?
A: Absolutely! You can prepare the dough, wrap it tightly in plastic wrap, and refrigerate it for up to 3 days. When you’re ready to bake, let it sit at room temperature for about 15-20 minutes to soften slightly before scooping and baking.
Don’t forget to follow us on Pinterest for a daily dose of deliciousness!
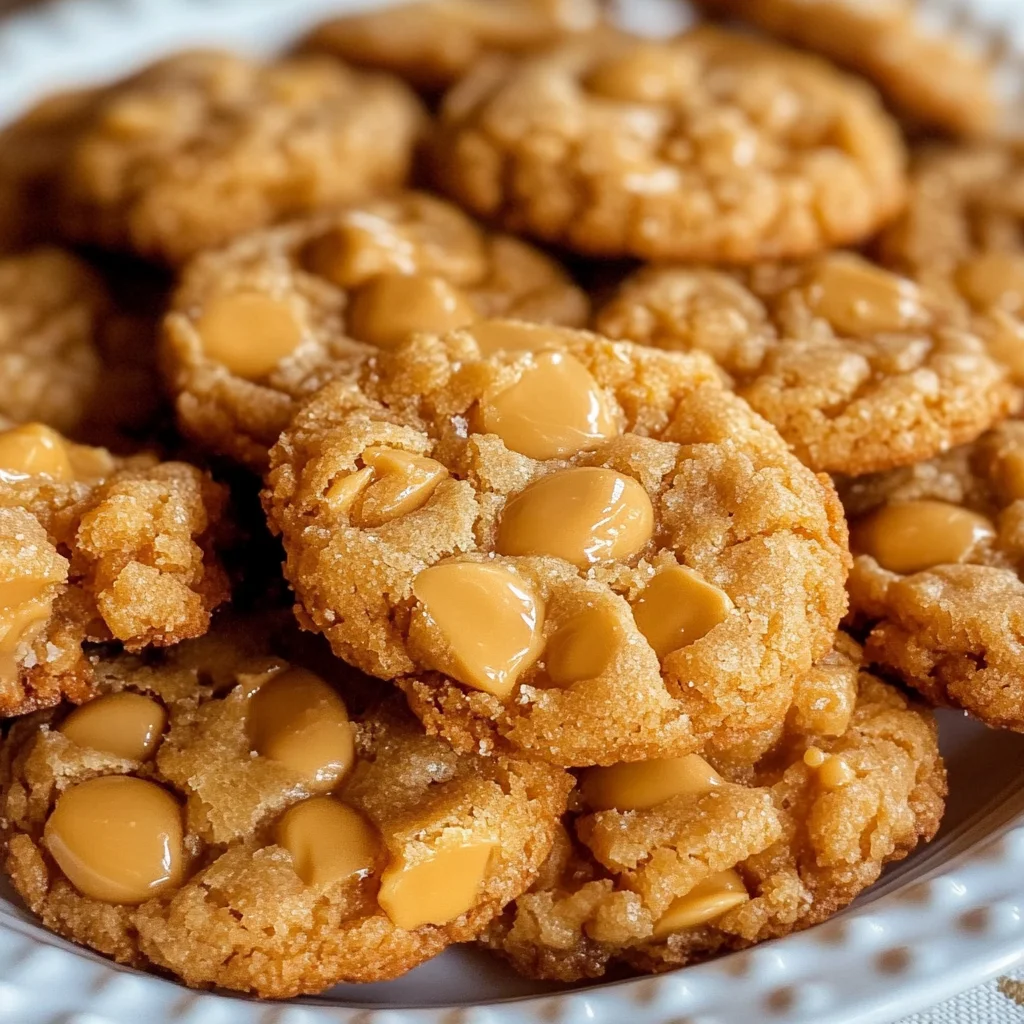
Grandma's Secret: Irresistibly Soft & Chewy Butterscotch Cookies
Ingredients
Equipment
Method
- Step 1: Get Prepped: First things first, preheat your oven to a cozy 350°F (175°C). Then, grab your baking sheets and line them with parchment paper. This is one of my favorite tips for easy cleanup and preventing sticking – seriously, it's a game-changer!
- Step 2: Cream it Good: In your largest mixing bowl, combine that beautiful softened butter with both the packed brown sugar and the granulated sugar. Now, beat them together until the mixture is light, fluffy, and looks like a creamy dream. This usually takes a couple of minutes with an electric mixer.
- Step 3: Eggs and Vanilla Join the Party: Beat in your eggs, one at a time, making sure each one is fully incorporated before adding the next. This helps create a smooth, emulsified dough. Then, pour in the vanilla extract and mix until everything is well combined and smelling wonderful.
- Step 4: Whisk the Dry Stuff: In a separate, smaller bowl, whisk together your flour, baking soda, and salt. Just a quick whisk will do the trick to ensure they’re evenly distributed.
- Step 5: Combine Gently: Gradually add the dry ingredients to your wet ingredients. Mix on low speed, or by hand, until everything is just combined. The key here is not to overmix; overworking the flour can lead to tougher cookies, and we want soft and chewy!
- Step 6: Fold in the Chips: Now for the best part! Gently fold in your butterscotch chips until they are evenly distributed throughout the dough. You want a sweet little surprise in every bite!
- Step 7: Drop and Space: Grab a rounded tablespoon of dough (or a cookie scoop if you have one, it makes life so much easier!) and drop it onto your prepared baking sheets. Make sure to space them about 2 inches apart to give them room to spread without merging into one giant cookie.
- Step 8: Bake to Perfection: Pop those sheets into your preheated oven and bake for 10-12 minutes. You're looking for edges that are beautifully golden brown, but the centers should still look soft and slightly underdone. This is the secret to their chewiness!
- Step 9: Cool Down: Once baked, let your cookies cool on the baking sheet for about 5 minutes. They’ll continue to set up during this time. After that, carefully transfer them to a wire rack to cool completely. Try not to eat them all before they're cool – I know, it's hard!