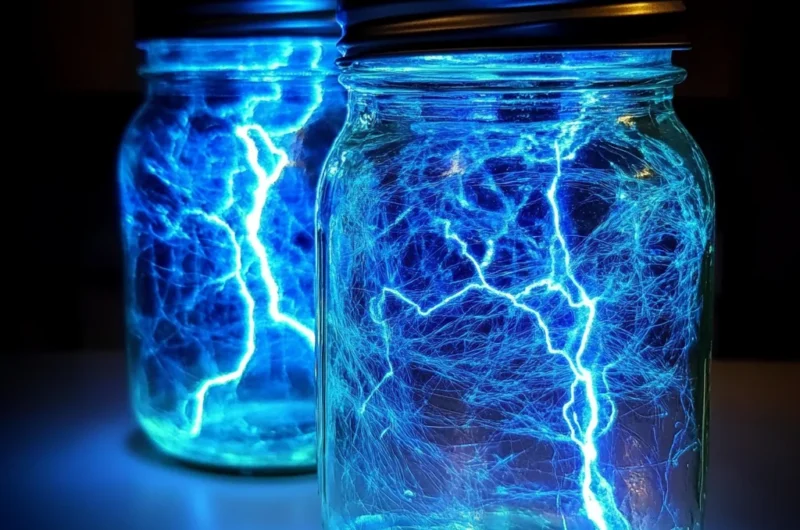
Do you remember those childhood nights, curled up warm and cozy inside, while a thunderstorm raged beautifully outside? The way the lightning lit up the sky, followed by the rumble of thunder? There’s something undeniably magical about it, isn’t there? Well, today, I’m going to show you how to capture a little bit of that wonder right in your own home with these incredible Electrified Thunder Glow Jars! This isn’t just a craft; it’s a mesmerizing experience, super easy to put together, and trust me, it’s one of those projects that will spark pure joy in everyone who sees it.
Whether you’re looking for a fun rainy-day activity, a unique gift, or just a captivating piece of decor, these glow jars are an absolute blast to create. They come together so quickly, use simple ingredients you might already have on hand, and leave a lasting impression. Let’s dive in and bring some glowing thunder to your world!
Why You’ll Love Electrified Thunder Glow Jars
- Fast: You’ll have these glowing jars ready to amaze in under 15 minutes!
- Easy: No complicated steps or fancy tools needed – perfect for all ages.
- Giftable: Hand-make a unique and thoughtful gift that truly shines.
- Crowd-pleasing: A fantastic sensory activity for kids and a beautiful, calming display for adults.
Ingredients
Gathering your supplies is the first step to creating your very own mini lightning storm. Most of these you might already have tucked away in your pantry or craft drawer!
- 1 clear glass jar with lid: Mason jars work perfectly, but any clear, clean jar will do. Get creative with different shapes and sizes!
- 1/2 cup water: Just good old tap water.
- 1/2 cup vegetable oil (or baby oil for clarity): Vegetable oil is readily available, but if you want an even clearer, more distinct “cloud” effect, baby oil is a fantastic alternative.
- A few drops of blue or purple food coloring: These colors give the classic stormy sky vibe, but don’t be afraid to experiment!
- 1 teaspoon glow-in-the-dark paint or glowing powder (non-toxic): This is where the magic happens! Make sure it’s non-toxic, especially if little hands are helping.
- 1 teaspoon silver or holographic glitter (for thunder sparks): The more sparkle, the more dazzling your lightning will be!
- Small LED tea light or flashlight: This is crucial for making your thunder glow come alive in a darkened room.
How to Make Electrified Thunder Glow Jars
Get ready for some serious fun! Here’s how you’ll bring your glowing storm to life, step by easy step:
- Prepare the Storm Water: Grab a small bowl and pour in your 1/2 cup of water. Now, add a few drops of your chosen food coloring – blue for a classic storm, or purple for a more mystical look. Stir it gently until the color is beautifully blended throughout.
- Add Glow Power: This is where your storm really gets its “electrified” feel! Mix in your teaspoon of glow-in-the-dark paint or glowing powder. Stir it really well to ensure it’s fully dissolved and ready to glow. You’re basically creating your glowing thunderclouds right here!
- Fill the Jar: Carefully pour your vibrant, glowing water mixture into your clear glass jar. Fill it until it’s about halfway full. This creates the base of your storm.
If you’re loving this idea of creating captivating visual effects in jars, you might also enjoy making some DIY Light-Up Scarecrow Mason Jars for another decorative touch. It’s amazing what you can do with a simple glass jar and a little creativity!
- Create the Storm: Now for the oil. Slowly and carefully pour the vegetable oil (or baby oil) into the jar over the colored water. You’ll want to fill it almost to the top, leaving just a little space. Watch how the oil and water separate – it’s like magic! This separation is a key part of the visual effect, similar to what you’d see in a vibrant oil and water experiment.
- Add Thunder Sparks: Time for the “lightning”! Sprinkle in your silver or holographic glitter. Don’t be shy here; the more glitter, the more spectacular your “thunder sparks” will be as they drift down through the oil.
- Light It Up: This is the big reveal! Turn off the lights in the room. Place a small LED tea light underneath the jar, or position a flashlight behind it. Instantly, your jar will come to life with an otherworldly glow.
- Shake the Jar: Secure the lid tightly on your jar. Now, gently shake or swirl the jar. Watch in awe as the glowing colored water mixes with the oil and glitter, creating dynamic, swirling “thunderclouds” and “lightning flashes” right before your eyes. It’s absolutely captivating!
Substitutions & Additions
One of the best parts about DIY projects like this is making them your own! Here are a few ideas to customize your Electrified Thunder Glow Jars:
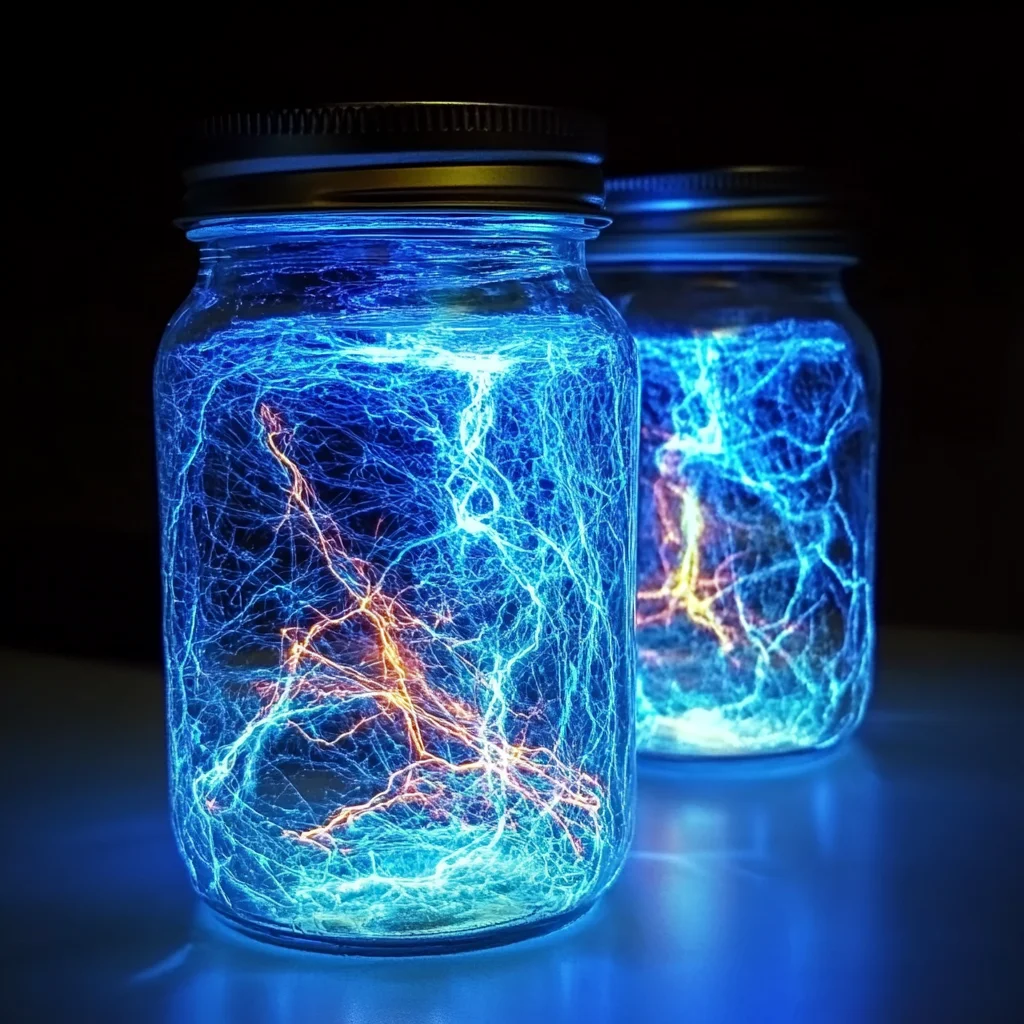
- Color Palette: Instead of blue or purple, try green for an eerie swamp storm, red for a fiery sunset storm, or even multiple colors for a rainbow thunder effect!
- Different Oils: While vegetable or baby oil works best, you can experiment with other clear oils. Just remember, the clearer the oil, the better the visual separation and glow.
- Sparkle Factor: Beyond glitter, consider adding very small sequins or tiny iridescent beads for different “spark” textures.
- Sensory Boost: If you’re using a sealed jar, you can add a few drops of essential oil (like lavender or cedarwood) to the water phase for a calming scent experience.
- The Jar Itself: Don’t limit yourself to standard mason jars. Decorative bottles, old jam jars, or even repurposed clear plastic bottles (just be sure they seal well!) can all work wonders.
Tips for Success
To ensure your thunder glow jar is nothing short of spectacular, keep these tips in mind:
- Non-Toxic is Key: Always double-check that your glow paint or powder is non-toxic, especially if this is a project for children. Safety first!
- Seal It Tight: If you plan on shaking or swirling your jar regularly (and trust me, you will!), make sure the lid is screwed on extra tight to prevent any leaks. A little hot glue around the rim can provide extra security.
- Darkness is Your Friend: The true magic of the glow effect comes out in a completely dark room. The darker the better!
- Layering Matters: Pouring the oil slowly is important. It helps create those distinct layers and allows the glitter to fall through more dramatically, mimicking raindrops or sparks.
- Experiment with Light: Try placing the LED tea light in different positions – underneath, behind, or even above (if your lid allows for it). Each angle will create a slightly different effect.
How to Store Electrified Thunder Glow Jars
These jars are super low-maintenance! Once assembled and sealed, your Electrified Thunder Glow Jar can last for months, even years, provided it’s kept sealed and hasn’t had anything spoil inside. Store it upright in a cool, dry place. The glowing effect from the paint will diminish over time, but the glitter and oil/water separation will remain visually appealing. If the glow fades too much, you can always open it up and add a bit more glowing powder (if you used powder) or even a new layer of glow paint if you’re feeling ambitious!
FAQs
Here are a few common questions you might have about your new favorite glow jar!
Q: Is the glow-in-the-dark paint/powder safe for kids?
A: Absolutely, but always check the label to ensure it’s specifically marked as non-toxic. This is especially important if children will be handling the jar and there’s a chance of it being opened.
Q: Can I use different types of glitter?
A: Yes! Silver or holographic gives that classic lightning spark, but fine blue, purple, or even iridescent glitter can create beautiful effects too. Experiment to see what you like best!
Q: My oil and water mixed together. What did I do wrong?
A: Don’t worry, it happens! The oil and water might temporarily mix when you shake it vigorously, but they should separate again relatively quickly once the jar is still. If they aren’t separating well, you might have used too much food coloring, which can sometimes affect the density difference. Just let it sit for a few minutes, and gravity will do its job!
Q: How long will the glow effect last?
A: The glow from the paint or powder will be brightest initially and will slowly fade over time. When actively “charged” by a light source (like your LED tea light), it will glow brightly. The overall visual appeal of the swirling liquids and glitter, however, will last indefinitely as long as the jar is sealed.
For more amazing and creative ideas, follow us on Pinterest!
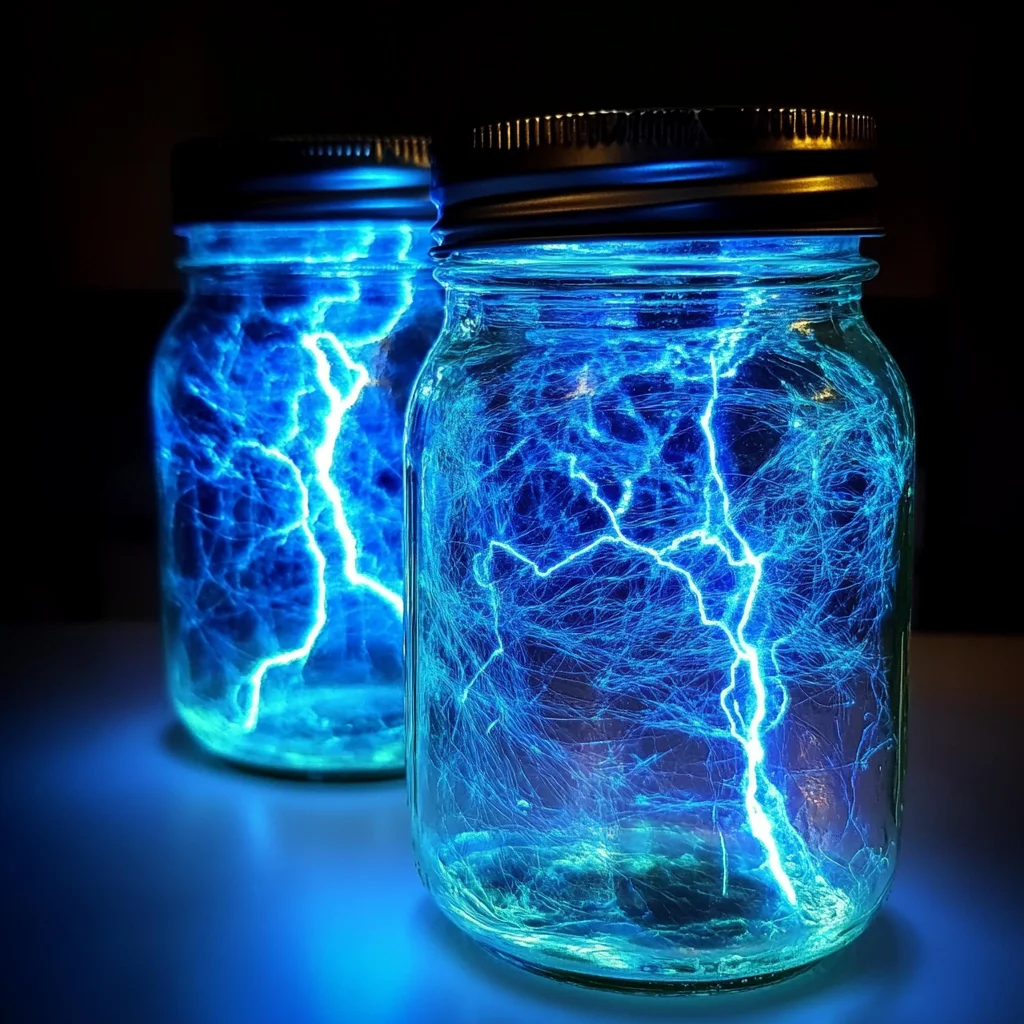
Electrified Thunder Glow Jars
Ingredients
Equipment
Method
- Step 1: Prepare the Storm Water: Grab a small bowl and pour in your 1/2 cup of water. Now, add a few drops of your chosen food coloring – blue for a classic storm, or purple for a more mystical look. Stir it gently until the color is beautifully blended throughout.
- Step 2: Add Glow Power: This is where your storm really gets its "electrified" feel! Mix in your teaspoon of glow-in-the-dark paint or glowing powder. Stir it really well to ensure it’s fully dissolved and ready to glow. You're basically creating your glowing thunderclouds right here!
- Step 3: Fill the Jar: Carefully pour your vibrant, glowing water mixture into your clear glass jar. Fill it until it's about halfway full. This creates the base of your storm.
- Step 4: Create the Storm: Now for the oil. Slowly and carefully pour the vegetable oil (or baby oil) into the jar over the colored water. You'll want to fill it almost to the top, leaving just a little space. Watch how the oil and water separate – it’s like magic!
- Step 5: Add Thunder Sparks: Sprinkle in your silver or holographic glitter. Don't be shy here; the more glitter, the more spectacular your "thunder sparks" will be as they drift down through the oil.
- Step 6: Light It Up: This is the big reveal! Turn off the lights in the room. Place a small LED tea light underneath the jar, or position a flashlight behind it. Instantly, your jar will come to life with an otherworldly glow.
- Step 7: Shake the Jar: Secure the lid tightly on your jar. Now, gently shake or swirl the jar. Watch in awe as the glowing colored water mixes with the oil and glitter, creating dynamic, swirling "thunderclouds" and "lightning flashes" right before your eyes. It’s absolutely captivating!