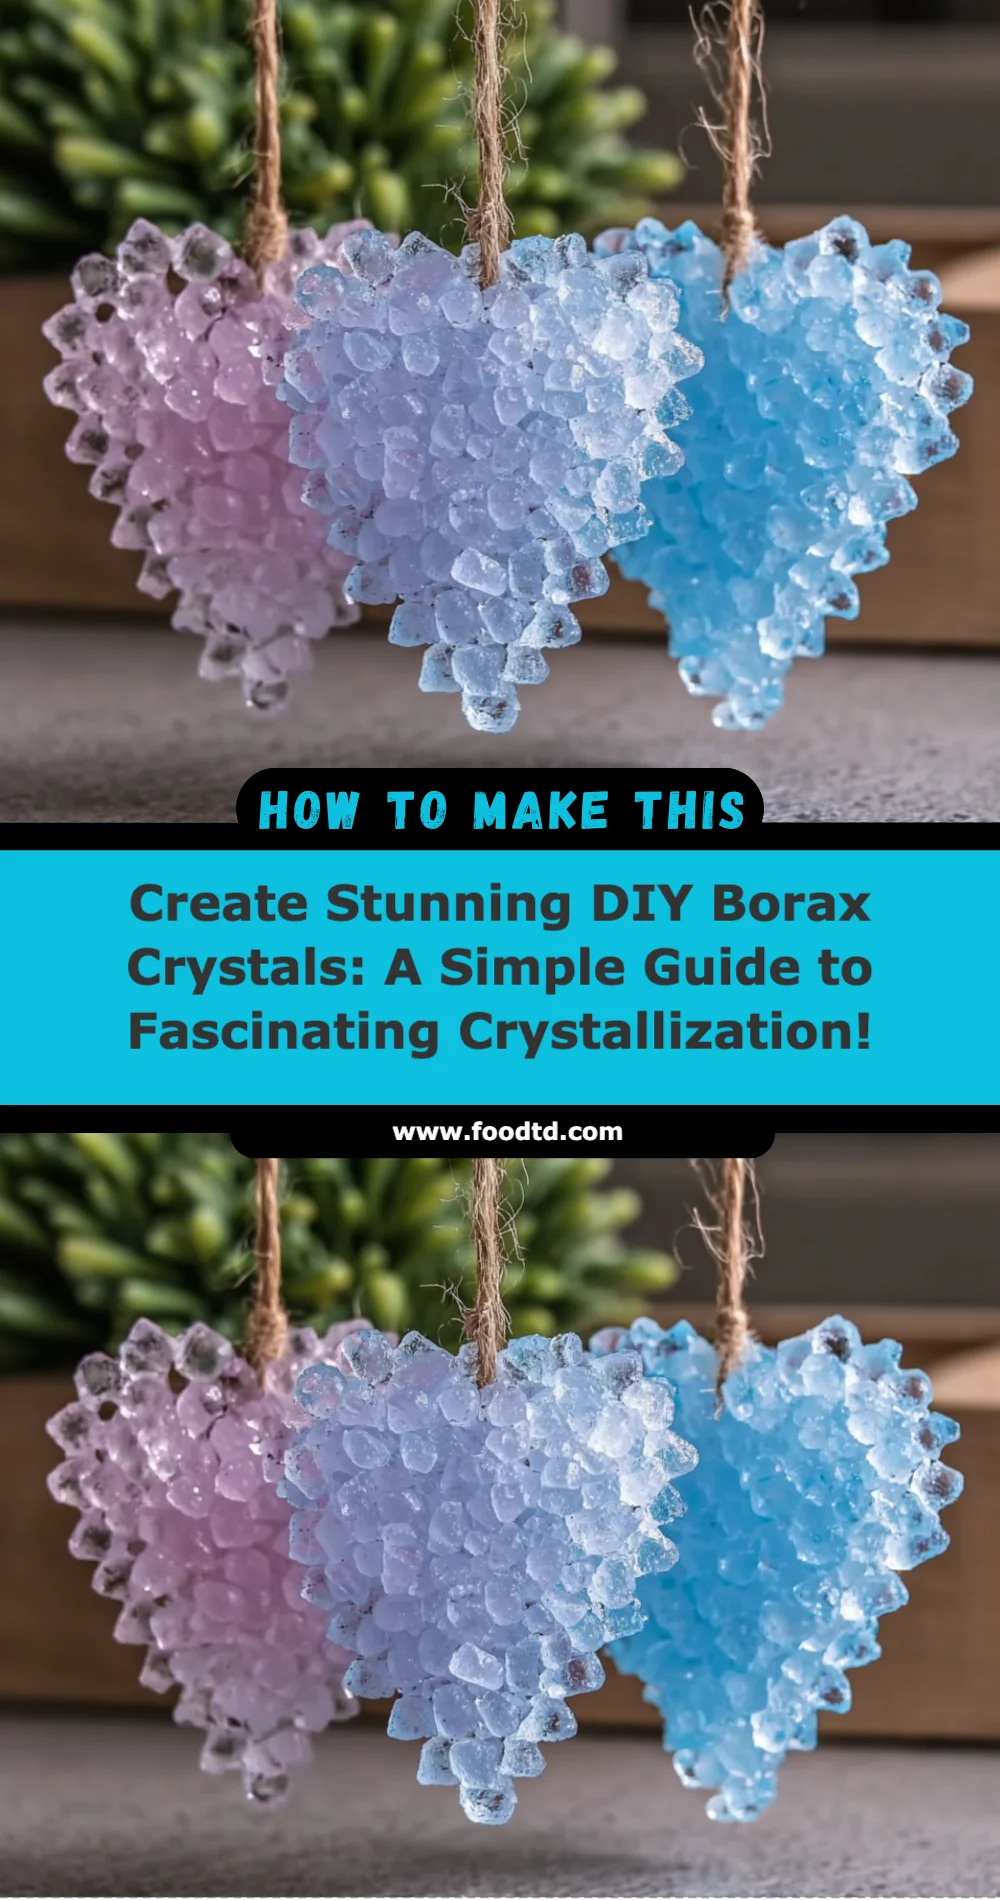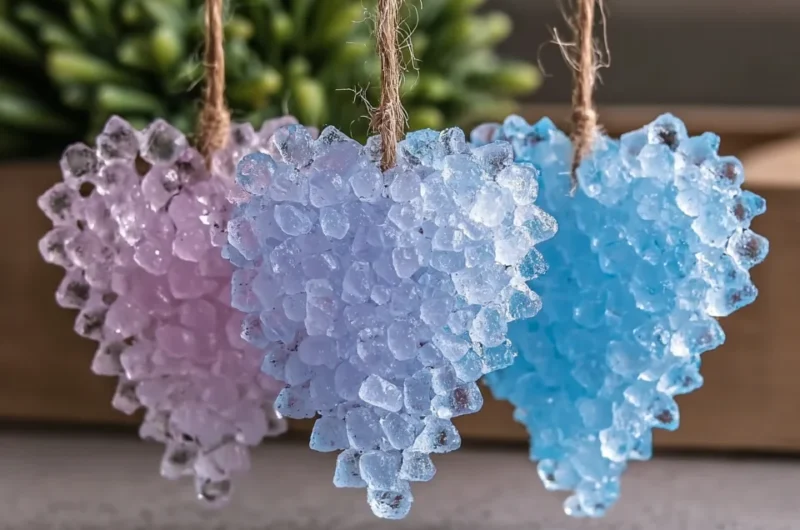
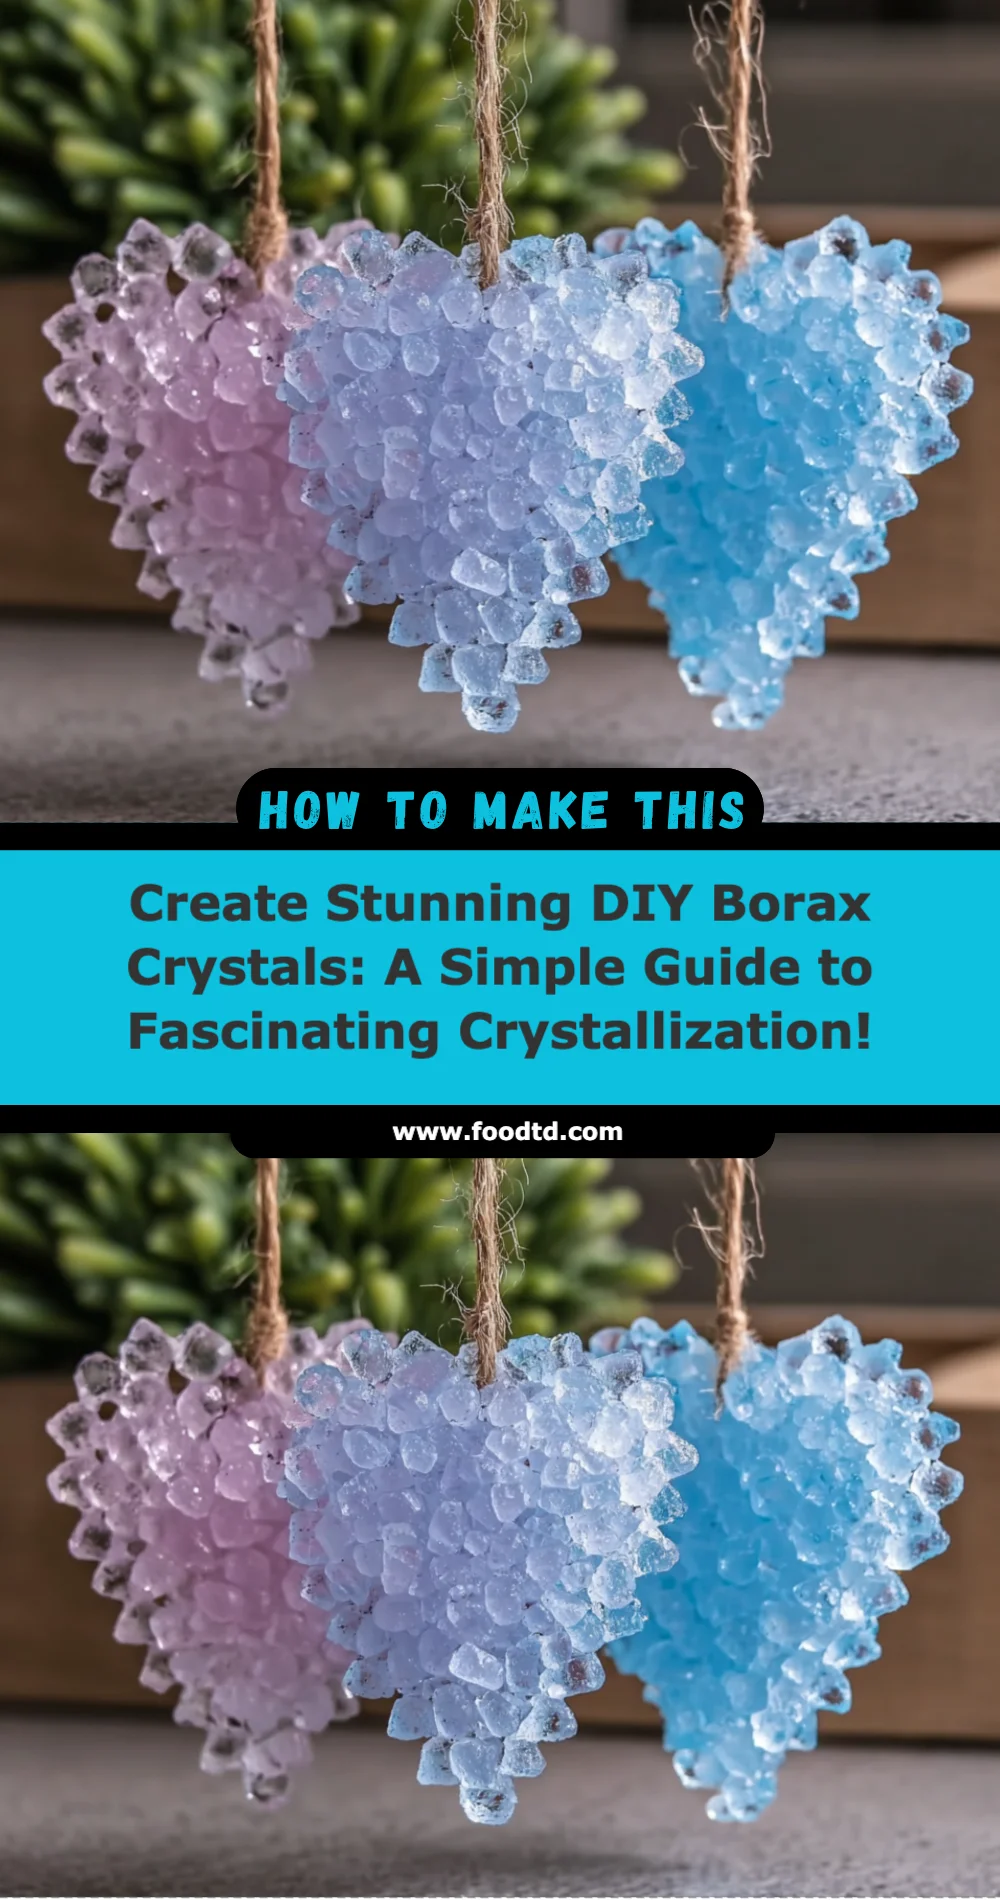
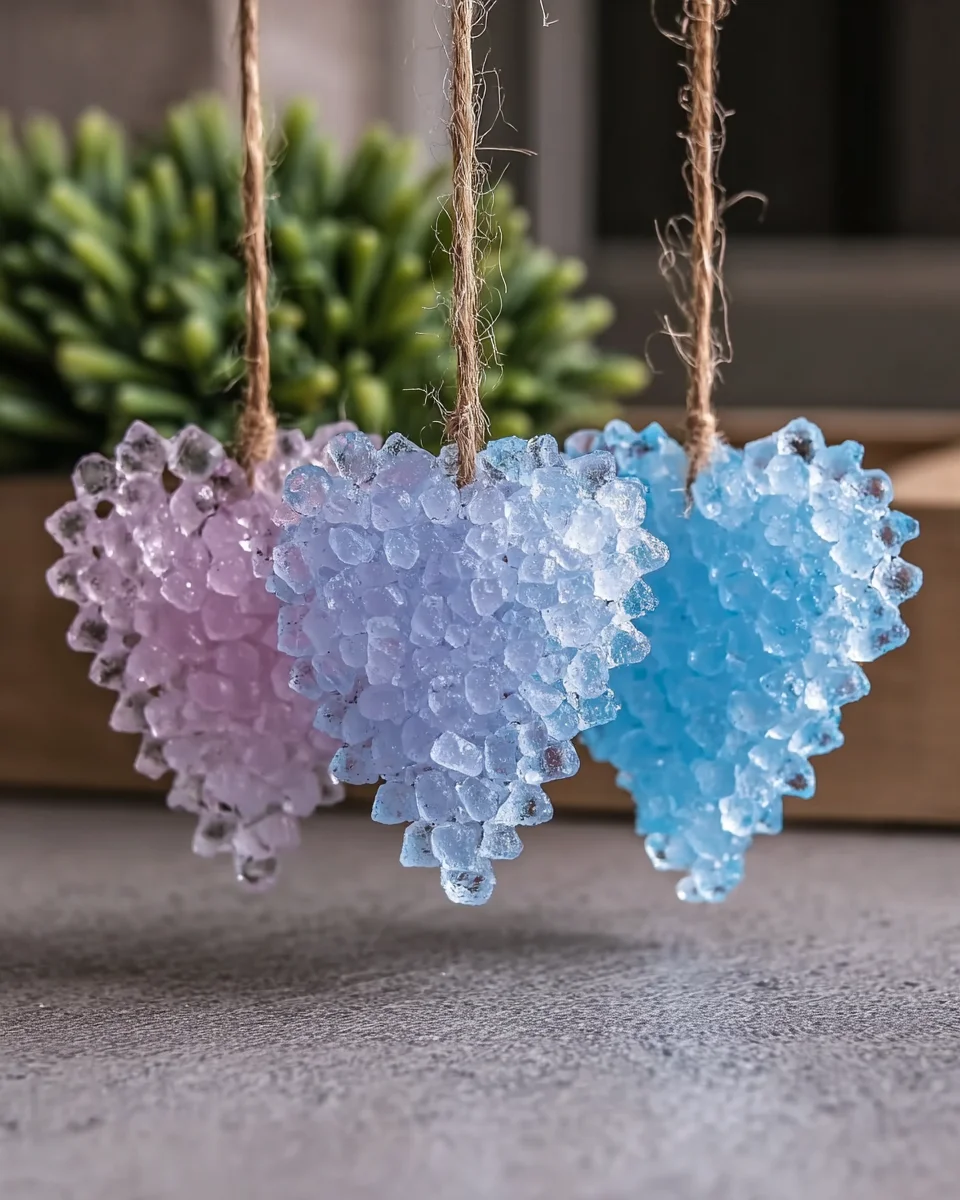
DIY Borax crystals are an engaging and educational project that showcases the fascinating world of crystallization. This hands-on activity allows you to create beautiful, shimmering crystals using just a few household ingredients. The process is not only fun but also serves as a great science experiment for kids and adults alike.
| Prep Time | Cook Time | Total Time | Servings | Difficulty | Cuisine |
|---|---|---|---|---|---|
| 10 minutes | 24 hours | 24 hours 10 minutes | Varies | Easy | Educational |
Why This Recipe Works
This DIY Borax crystal recipe works because of the unique properties of Borax (sodium borate), which is a naturally occurring mineral. When combined with hot water, Borax dissolves, creating a supersaturated solution. As the water cools and evaporates, Borax molecules begin to crystallize, forming beautiful shapes over time.
In my experience, setting up this experiment is straightforward. The anticipation of watching tiny crystals grow into larger formations is incredibly rewarding. Children, in particular, find this transformation fascinating, making it a perfect educational activity that combines science with creativity.
Ingredients
| Ingredient | Quantity | Notes |
|---|---|---|
| Borax | 1 cup | Available at most grocery stores or online. |
| Hot Water | 3 cups | Use boiling water for better dissolution. |
| Glass Jar | 1 | A clean, clear jar is ideal for observing crystals. |
| Stirring Stick | 1 | A wooden spoon works well for mixing. |
| String or Pipe Cleaner | Optional | Used for shaping and guiding crystal growth. |
Step-by-Step Instructions
Prepare the Solution:
In a clean glass jar, combine 1 cup of Borax with 3 cups of hot water.Stir Well:
Use a stirring stick to mix the solution until the Borax is fully dissolved. This may take a few minutes.Shape the Crystals (Optional):
If you want to create a specific shape, tie a piece of string or pipe cleaner to a pencil or chopstick and suspend it in the solution. Ensure the string or pipe cleaner does not touch the bottom of the jar.Let it Sit:
Place the jar in a location where it will not be disturbed. Allow the solution to sit undisturbed for at least 24 hours.Observe the Crystals:
After 24 hours, check the jar for crystal formation. You can leave it for a few more days for larger crystals.Remove the Crystals:
Once you are satisfied with the size of your crystals, carefully remove them from the jar and allow them to dry.
Chef Tips for Perfect Results
- Use boiling water to ensure complete dissolution of Borax.
- Keep the jar in a stable environment to prevent disturbances, which helps in crystal formation.
- Experiment with different shapes using pipe cleaners for unique crystal designs.
- Observe the crystals daily to track growth and understand the crystallization process.
Common Mistakes to Avoid
- Not using enough Borax: Ensure you use the correct ratio of 1 cup of Borax to 3 cups of water for optimal crystal growth.
- Allowing vibrations: Avoid placing the jar in high-traffic areas where it might be disturbed.
- Not waiting long enough: Be patient; crystals may take several days to reach desirable sizes.
- Using dirty jars or tools: Ensure everything is clean to prevent impurities that can affect crystal growth.
Variations and Substitutions
| Ingredient | Substitution | Impact on Flavor |
|---|---|---|
| Borax | None | N/A |
| String | Pipe Cleaner | Creates different shapes in crystal formation. |
Serving Suggestions and Pairings
While DIY Borax crystals are not for consumption, they can serve as stunning decor items for parties or educational displays. Consider using them in science fairs or as a unique centerpiece for a themed event, such as a science-themed birthday party.
Storage and Reheating
| Method | Duration | Instructions |
|---|---|---|
| Room Temperature | Indefinitely | Store your crystals in a dry place away from direct sunlight to prevent damage. |
Nutritional Information
| Nutrient | Amount per Serving |
|---|---|
| Calories | N/A |
| Fat | N/A |
| Carbohydrates | N/A |
| Protein | N/A |
Frequently Asked Questions
Can I substitute Borax with another ingredient?
No, Borax is essential for this crystallization process due to its unique chemical properties that facilitate crystal growth.
How long does it take to grow crystals?
Typically, it takes at least 24 hours to see initial crystal formation, but leaving it for several days results in larger, more defined crystals.
What should I do if no crystals form?
If crystals do not form, ensure that the Borax was fully dissolved and that the solution was not disturbed during the crystallization process.
Can I make these crystals ahead of time?
Yes, you can prepare the crystals in advance, and they can be stored indefinitely at room temperature.
How should I display my Borax crystals?
Place the crystals in a clear glass container or on a decorative plate to showcase their beauty. Avoid direct sunlight to prevent degradation.
DIY Borax crystals offer a fun and educational opportunity for all ages. This experiment illustrates the wonders of chemistry and nature, resulting in visually stunning crystalline formations. For more exciting projects, check out our guide on DIY fizzy treasure stones or DIY melted crayon stars for creative activities you’ll love!
DIY Borax Crystals
Ingredients
Equipment
Method
- Step 1: In a clean glass jar, combine 1 cup of Borax with 3 cups of hot water.
- Step 2: Use a stirring stick to mix the solution until the Borax is fully dissolved. This may take a few minutes.
- Step 3: If you want to create a specific shape, tie a piece of string or pipe cleaner to a pencil or chopstick and suspend it in the solution. Ensure the string or pipe cleaner does not touch the bottom of the jar.
- Step 4: Place the jar in a location where it will not be disturbed. Allow the solution to sit undisturbed for at least 24 hours.
- Step 5: After 24 hours, check the jar for crystal formation. You can leave it for a few more days for larger crystals.
- Step 6: Once you are satisfied with the size of your crystals, carefully remove them from the jar and allow them to dry.
Notes