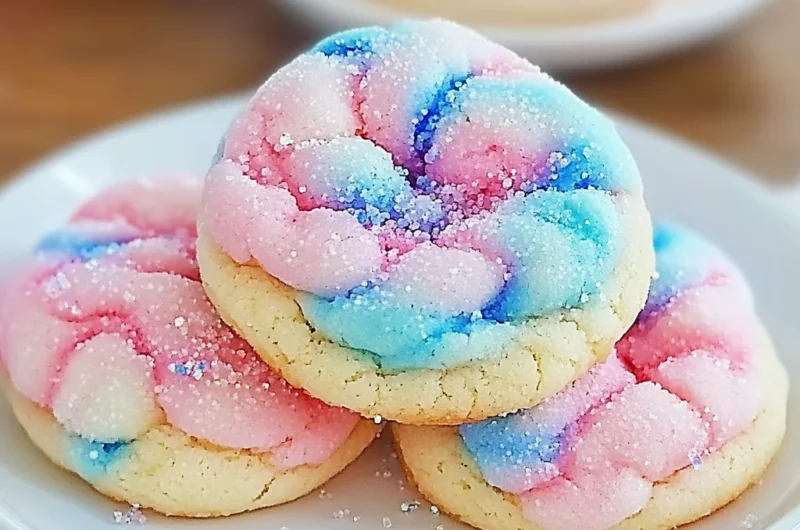
Remember those carefree days at the county fair, clutching a fluffy puff of pastel cotton candy that melted sweetly on your tongue? Those nostalgic moments of delight can now come alive right in your own kitchen with these irresistibly soft cotton candy cookies. They capture that magical, airy sweetness in a cookie form that’s as fun to make as it is to eat. Whether you’re baking with kids, preparing for a party, or simply craving a whimsical treat, these cookies are quick to whip up and guaranteed to bring a smile to everyone’s face.
What I love most about this recipe is how simple it is — no need for complicated tools or rare ingredients. With just a handful of pantry staples and a touch of colorful gel food coloring, you can create a batch of cookies that are soft, tender, and beautifully marbled like a cotton candy dream. Plus, they’re perfect for gifting or sharing at get-togethers because they look as delightful as they taste.
Why You’ll Love Irresistibly Soft Cotton Candy Cookies
- Fast: Ready in under half an hour from start to finish, these cookies are quick to bake when you need a sweet fix fast.
- Easy: No fancy equipment or tricky techniques here — just straightforward mixing and baking.
- Giftable: Their pretty pastel swirls make them an adorable homemade gift for friends, teachers, or neighbors.
- Crowd-pleasing: Soft, sweet, and lightly vanilla-scented, these cookies win over kids and adults alike.
Ingredients
Here’s what you need to bring this cotton candy cookie magic to life:
- 2 1/4 cups all-purpose flour: The base for these cookies, providing structure while keeping them soft.
- 1 teaspoon baking powder & 1/2 teaspoon baking soda: These leavening agents help your cookies rise just enough to be fluffy without being cakey.
- 1/2 teaspoon salt: Balances the sweetness and enhances flavor.
- 1 cup unsalted butter, softened: For that tender, melt-in-your-mouth texture.
- 1 cup granulated sugar: Sweetens the dough and helps with the beautiful golden edges.
- 1 large egg: Binds everything together and adds richness.
- 2 teaspoons vanilla extract: The warm, comforting note that makes these cookies irresistible.
- 1/4 cup buttermilk: Adds moisture and tenderness, making the cookies soft and delicate.
- Pink and blue gel food coloring: For that signature cotton candy swirl — gel colors work best to avoid thinning the dough.
Each ingredient plays a special role in creating a cookie that’s soft, flavorful, and visually stunning. The buttermilk is my secret weapon here — it really enhances the softness and adds a slight tang that balances the sweetness beautifully.
How to Make Irresistibly Soft Cotton Candy Cookies
Ready to bake? Let’s walk through this step by step. I’ll share little tips along the way to help you get perfect results every time.
- Preheat and prep: Set your oven to 350°F (175°C) and line a baking sheet with parchment paper. This keeps your cookies from sticking and helps with even baking.
- Mix dry ingredients: In a medium bowl, whisk together the flour, baking powder, baking soda, and salt. This ensures even distribution of leavening agents for consistent texture.
- Cream butter and sugar: In a large bowl, beat the softened butter and granulated sugar for 2-3 minutes until light and fluffy. This incorporates air, giving your cookies a lovely rise and tender crumb.
- Add wet ingredients: Beat in the egg, vanilla extract, and buttermilk until smooth. These add moisture and flavor, making your cookies soft and rich.
- Combine dry and wet: Gradually fold the dry ingredients into the wet mixture until just combined. Be careful not to overmix — overworking the dough can make cookies tough.
- Divide and color dough: Split the dough evenly into two bowls. Add pink gel food coloring to one, blue to the other, stirring each until the color is uniform. Use gel colors for the best vibrancy without altering dough texture.
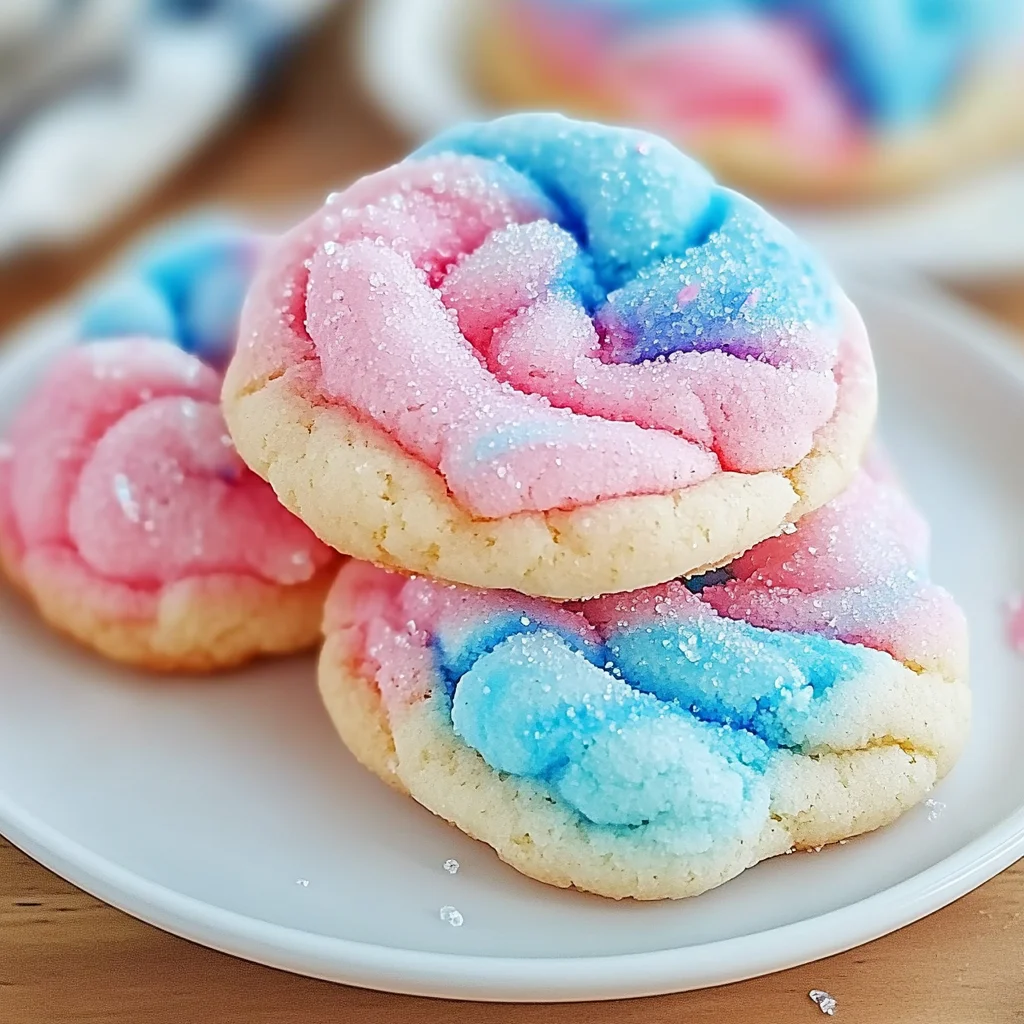
- Create marbled dough balls: Take small pieces of pink and blue dough and gently press them together, swirling just enough to create a marbled effect but not fully mixing. Roll into 1½-inch balls and place them on your prepared baking sheet. This is the fun part where your cookies start to look like cotton candy clouds!
- Bake: Pop the cookies in the oven for 10-12 minutes. Look for edges that are just turning golden while the centers remain slightly soft. This ensures a tender, melt-in-your-mouth bite instead of a dry, crumbly cookie.
Once baked, let them cool on the sheet for a few minutes before transferring to a wire rack. This helps them set perfectly soft inside without breaking apart. If you want to mix things up, you can even check out other whimsical recipes like the Glow Dark Cotton Candy Cookies for a colorful twist on this theme.
Substitutions & Additions
Feel like customizing? I totally get it — baking is as much about creativity as it is about fun. Here are some ideas to make these cotton candy cookies your own:
- Milk swap: If you don’t have buttermilk on hand, mix 1/4 cup milk with 1 teaspoon lemon juice or white vinegar, let it sit for 5 minutes, and use that as a substitute. It mimics buttermilk’s tang perfectly.
- Butter alternatives: For a dairy-free option, try using vegan butter sticks. Just make sure they’re softened for easy creaming.
- Flavor twists: Add a teaspoon of almond extract or a splash of rosewater for a unique flavor profile that still complements the cotton candy vibe.
- Extra fun: Mix in sprinkles or edible glitter into the dough before rolling for an extra pop of color and sparkle.
- Color variations: Feel free to experiment with different gel colors — pastel purples, yellows, or greens can make these cookies perfect for different holidays or celebrations.
For a different type of sweet treat while keeping the whimsical vibe, you might also enjoy the Easy No-Bake Martha Washington Candy. It’s a lovely complement to your cookie baking adventures!
Tips for Success
Here are some of my best tips to make sure your cotton candy cookies turn out perfectly soft and pretty every time:
- Don’t overmix your dough. Once you add the dry ingredients, fold gently until just combined. Overworking the dough can lead to tougher cookies.
- Use gel food coloring. Liquid colors can make your dough too wet, affecting texture and baking time.
- Keep the marbling light. You want swirls, not a uniform color. Gently roll the pink and blue doughs together and don’t overblend.
- Watch your baking time closely. These cookies bake quickly. Pull them out when edges are golden but centers still look slightly underdone for that soft, chewy texture.
- Prep ahead: The dough can be made a day ahead and refrigerated, tightly wrapped. Just let it come to room temperature before coloring and shaping.
- Use parchment paper or silicone mats. This prevents sticking and helps your cookies spread evenly.
Following these simple tips will help you create show-stopping cookies that taste as dreamy as they look. If you’re in the mood for other soft and delicious cookie recipes, don’t miss the Soft Chewy Pumpkin Spice Sugar Cookies — they’re perfect for cozy fall baking.
How to Store Irresistibly Soft Cotton Candy Cookies
Once these beauties come out of the oven, you might be tempted to devour them all at once — and who could blame you? But if you want to keep some for later (or gift a batch), here’s how to store them so they stay soft and fresh:
- Cool completely: Make sure the cookies cool fully before storing to avoid condensation and sogginess.
- Airtight container: Store your cookies in an airtight container at room temperature. Layer with parchment paper to prevent sticking.
- Shelf life: They’ll stay fresh and soft for about 4-5 days at room temperature.
- Freezing: For longer storage, freeze the baked cookies in a single layer on a baking sheet. Once frozen, transfer to a freezer-safe bag or container. Thaw at room temperature before serving.
Keeping these storage tips in mind ensures every bite tastes just as soft and delightful as the first one fresh from the oven. If you’re looking to round out your cookie spread, pairing these with a cozy drink like my Easy Homemade Frozen Butterbeer is pure magic!
FAQs
Q: Can I use regular milk instead of buttermilk?
A: Yes, but I recommend making a quick buttermilk substitute by adding 1 teaspoon lemon juice or vinegar to 1/4 cup milk. Let it sit for 5 minutes before using to get that tender texture.
Q: Why are my cookies spreading too much?
A: This usually happens if the butter is too soft or if the dough is too warm. Chill the dough for 15-30 minutes before shaping and baking to prevent excessive spreading.
Q: Can I make these cookies gluten-free?
A: Absolutely! Use a 1:1 gluten-free flour blend that includes xanthan gum for best results. Keep an eye on baking time as gluten-free doughs can bake faster.
Q: How do I get the perfect marbled look?
A: Gently press small amounts of each colored dough together without fully mixing. Rolling just enough to swirl the colors will give you that gorgeous cotton candy effect.
These cookies are such a delightful way to add a little whimsy to your baking routine. If you’re craving more fun, colorful recipes, be sure to explore other treats on FoodTD, where you’ll find everything from savory dishes to sweet indulgences.
For more inspiration and colorful baking ideas, don’t forget to follow us on Pinterest where we share beautiful recipes and kitchen tips to brighten your day!
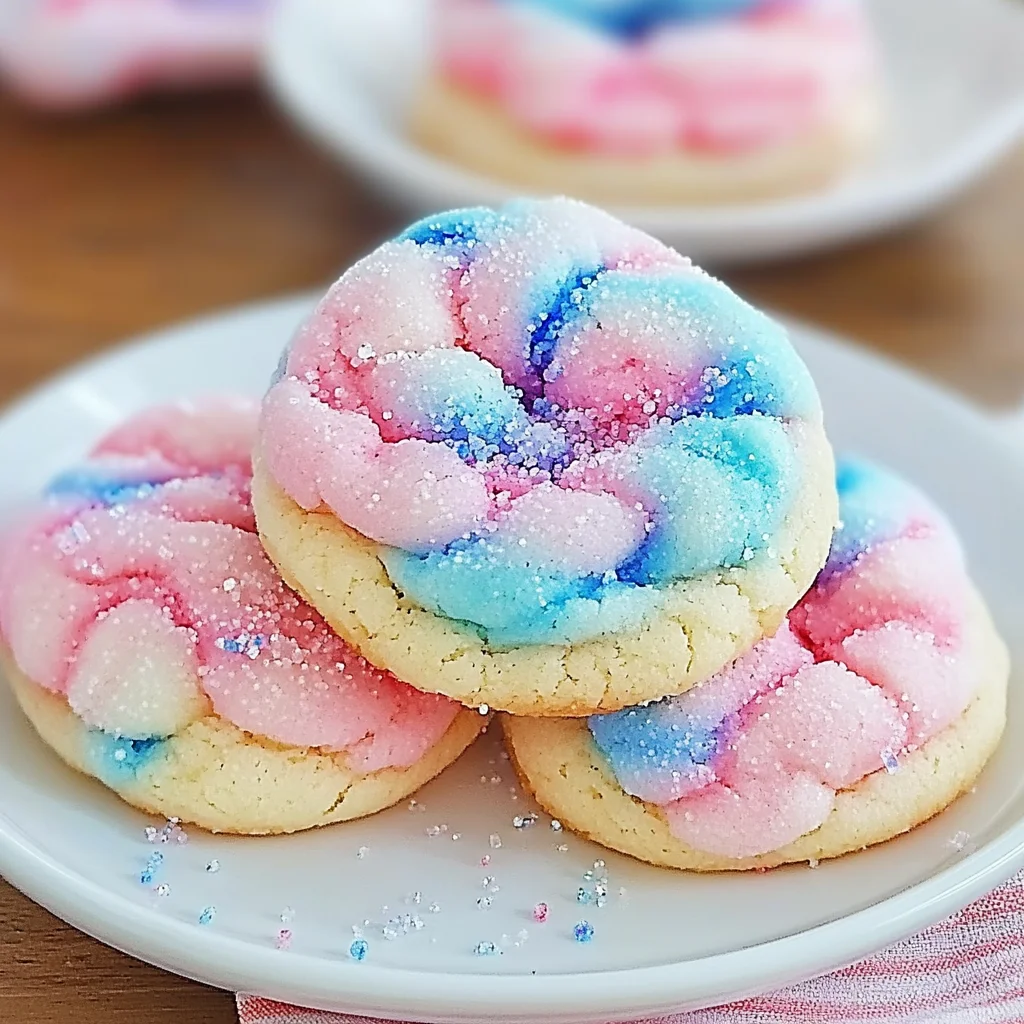
Irresistibly Soft Cotton Candy Cookies
Ingredients
Equipment
Method
- Step 1: Preheat oven to 350°F (175°C). Line a baking sheet with parchment paper.
- Step 2: In a medium bowl, whisk together flour, baking powder, baking soda, and salt.
- Step 3: In a large bowl, beat softened butter and granulated sugar for 2-3 minutes until light and fluffy.
- Step 4: Beat in egg, vanilla extract, and buttermilk until smooth.
- Step 5: Gradually fold dry ingredients into wet mixture until just combined. Avoid overmixing.
- Step 6: Divide dough evenly into two bowls. Add pink gel food coloring to one, blue to the other, stirring until color is uniform.
- Step 7: Take small pieces of each colored dough and gently press together, swirling to create a marbled effect. Roll into 1½-inch balls and place on prepared baking sheet.
- Step 8: Bake for 10-12 minutes until edges are golden but centers remain slightly soft. Let cool on sheet for a few minutes before transferring to a wire rack.