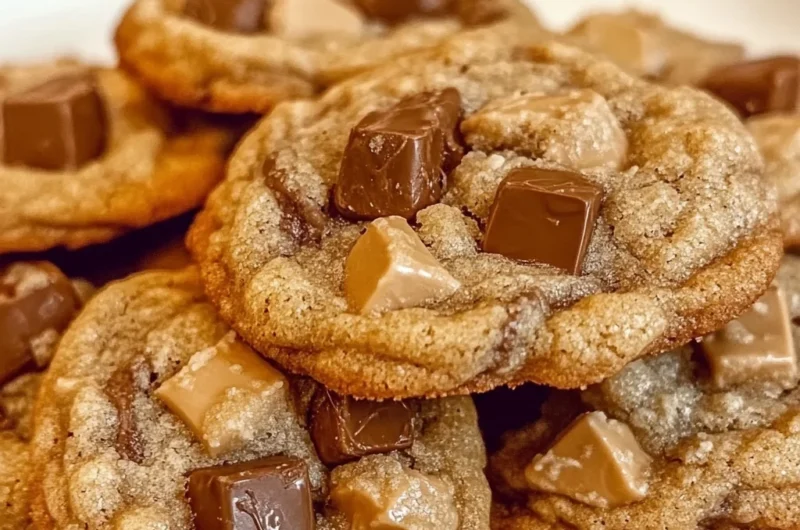
There’s something so comforting about the smell of freshly baked cookies wafting through the house, isn’t there? Maybe it takes you back to childhood afternoons spent sneaking a warm cookie straight from the oven, or cozy weekends curled up with a cup of tea and a sweet treat in hand. If you love peanut butter and have a soft spot for that crispy, crunchy candy bar delight called Butterfinger, then these Peanut Butter Butterfinger Cookies are about to become your ultimate comfort bake. They’re easy, quick, and downright memorable—perfect for sharing or just keeping all to yourself!
Why You’ll Love Peanut Butter Butterfinger Cookies
- Fast: From mixing to baking, these cookies come together quickly, making them great for last-minute cravings or impromptu guests.
- Easy: No complicated techniques or fancy gadgets—just simple ingredients and straightforward steps.
- Giftable: Wrapped up in a pretty tin or a little cellophane bag, these cookies make a thoughtful, homemade gift that friends and family will adore.
- Crowd-pleasing: The perfect balance between rich peanut butter and the sweet crunch of Butterfinger pieces means these cookies disappear fast at any gathering.
Ingredients
Let’s talk ingredients—you probably already have most of these in your pantry, and the star here is the Butterfinger candy bar, which adds that irresistible crunch and flavor.
- ¾ cup unsalted butter, softened: Softened to room temp so it creams well with the sugars.
- ½ cup granulated sugar: Adds sweetness and helps with the cookie’s structure.
- ½ cup packed light brown sugar: Brings moisture and a slight caramel depth to the cookies.
- 1 cup creamy peanut butter: The heart of the cookie for that rich, nutty flavor and chewy texture.
- 1 large egg: Helps bind everything together and adds moisture.
- 1½ teaspoons pure vanilla extract: Boosts the flavor and adds warmth.
- 1½ cups all-purpose flour: Gives the cookies structure; spooned and leveled to keep it precise.
- ½ teaspoon baking soda and ½ teaspoon baking powder: These leavening agents work together to give the cookies just the right lift.
- ¼ teaspoon kosher salt or fine sea salt: Enhances all the sweet and nutty flavors.
- 16 ounces Butterfinger, coarsely chopped: The showstopper! Adds that crunchy, chocolatey, peanut buttery surprise in every bite.
How to Make Peanut Butter Butterfinger Cookies
Now, let’s get baking! I’ll walk you through this step-by-step so you feel confident and ready to create some cookie magic.
Step 1: Cream the Butter and Sugars
Start by beating the softened butter in a large bowl on medium speed until it’s smooth and creamy. This usually takes about a minute. Then add both your granulated sugar and brown sugar. Crank it up to medium-high and beat for 2 to 3 minutes, scraping the sides down a couple of times. You want the mixture to become light, fluffy, and a little pale. This step makes a big difference in your cookie’s texture, so don’t rush it!
Step 2: Mix in Peanut Butter, Egg, and Vanilla
Next, add your creamy peanut butter. I love using the creamy kind here because it blends so nicely and gives the dough a smooth, rich consistency. Once that’s incorporated, crack in your egg and pour in the vanilla extract. Mix just until everything comes together—no overbeating here, or the cookies might end up a bit tough.
Step 3: Add Dry Ingredients
Here’s a little trick I use to keep my cookies tender: instead of dumping in the flour all at once, sprinkle it gently over the wet mixture without mixing. Then, evenly sprinkle your baking soda, baking powder, and salt on top. Use a whisk or fork to gently combine the dry ingredients. Finally, mix everything on low speed just until you still see a few streaks of flour. Overmixing at this stage can make cookies dense, so stop as soon as you can.
Step 4: Fold in the Butterfinger Pieces
Now for the fun part! Fold in your coarsely chopped Butterfinger candy bars either by hand or with a quick pulse on low speed—just enough to distribute them evenly. You want to see chunks of that candy throughout, so don’t overdo it.
Step 5: Scoop and Chill the Dough
Grab a large cookie scoop—around 3 tablespoons works perfectly—and form dough balls. For thicker, chunkier cookies, shape them into tall mounds. Place the balls on a parchment-lined baking sheet, then pop them in the fridge for at least 30 minutes. Chilling the dough helps the cookies hold their shape and develop a better texture when baked.
Step 6: Bake to Perfection
Preheat your oven to 350°F (175°C). Arrange the chilled dough balls on parchment-lined baking sheets, leaving at least 3 inches between them because they will spread slightly. Bake for 10 to 13 minutes until the edges are set and golden but the centers remain soft and tender.
Step 7: Shape and Cool
Right after pulling the cookies from the oven, gently bang the baking sheet on your counter. This little trick helps deflate the cookies slightly, making room to push the edges inward with the edge of a spoon or spatula. This step gives you that perfect thick, soft cookie shape. Let the cookies cool on the baking sheet for 10 minutes before transferring to a wire rack to cool completely.
Substitutions & Additions
Not a Butterfinger fan or want to mix things up? No problem! Here are some tasty swaps and creative upgrades to make these cookies your own:
- Swap Butterfinger for other candy bars: Try chopped Snickers, Heath bars, or even Reese’s Pieces for a different but equally delicious crunch.
- Use chunky peanut butter: If you’re craving extra texture, chunky peanut butter adds little nutty bites in every mouthful.
- Make it chocolate peanut butter: Add ½ cup cocoa powder to the flour mixture for a chocolatey twist.
- Mix in nuts: Chopped peanuts or pecans complement the peanut butter flavor and add a bit of crunch.
- Drizzle with melted chocolate: After cooling, drizzle your cookies with melted dark or milk chocolate for a fancy touch.
Tips for Success
Let me share some of my insider tips so your Peanut Butter Butterfinger Cookies come out perfectly every time:
- Softened butter is key: If your butter is too cold, it won’t cream properly, and your cookies might turn out dense. If it’s too warm, your dough will be too loose and spread too much.
- Don’t skip chilling the dough: This step helps the cookies bake evenly and maintain their thick, chewy texture.
- Use parchment paper or a silicone baking mat: This prevents sticking and helps with even baking. Plus, cleanup is a breeze!
- Watch your baking time: Every oven is different, so start checking cookies at 10 minutes. You want the edges golden but the centers still soft—cookies will firm up as they cool.
- Store dough in the fridge up to 24 hours: If you want to prep ahead, you can make the dough and keep it chilled for a day before baking.
How to Store Peanut Butter Butterfinger Cookies
Once your cookies have cooled completely, store them in an airtight container at room temperature. They’ll stay fresh and chewy for about 4 to 5 days. If you want to keep them longer, you can freeze the baked cookies by layering them between sheets of parchment paper in a freezer-safe container for up to 3 months.
To enjoy frozen cookies, just thaw at room temperature or give them a quick 10-15 second zap in the microwave for that fresh-baked warmth. If you prefer to freeze the dough balls, you can do that too! Just scoop and freeze the dough balls on a tray, then transfer to a freezer bag. Bake from frozen, adding a few extra minutes to the baking time.
FAQs
Can I use natural peanut butter for this recipe?
Yes, you can! Just keep in mind that natural peanut butter tends to be a bit oilier and less sweet, which might affect the texture and flavor slightly. You may want to chill the dough a bit longer to compensate.
What if I don’t have Butterfinger bars—can I use candy pieces instead?
Absolutely! Chopped peanut butter cups, toffee bits, or even crushed peanut brittle work wonderfully. The key is having a crunchy, sweet addition to complement the peanut butter.
Are these cookies soft or crunchy?
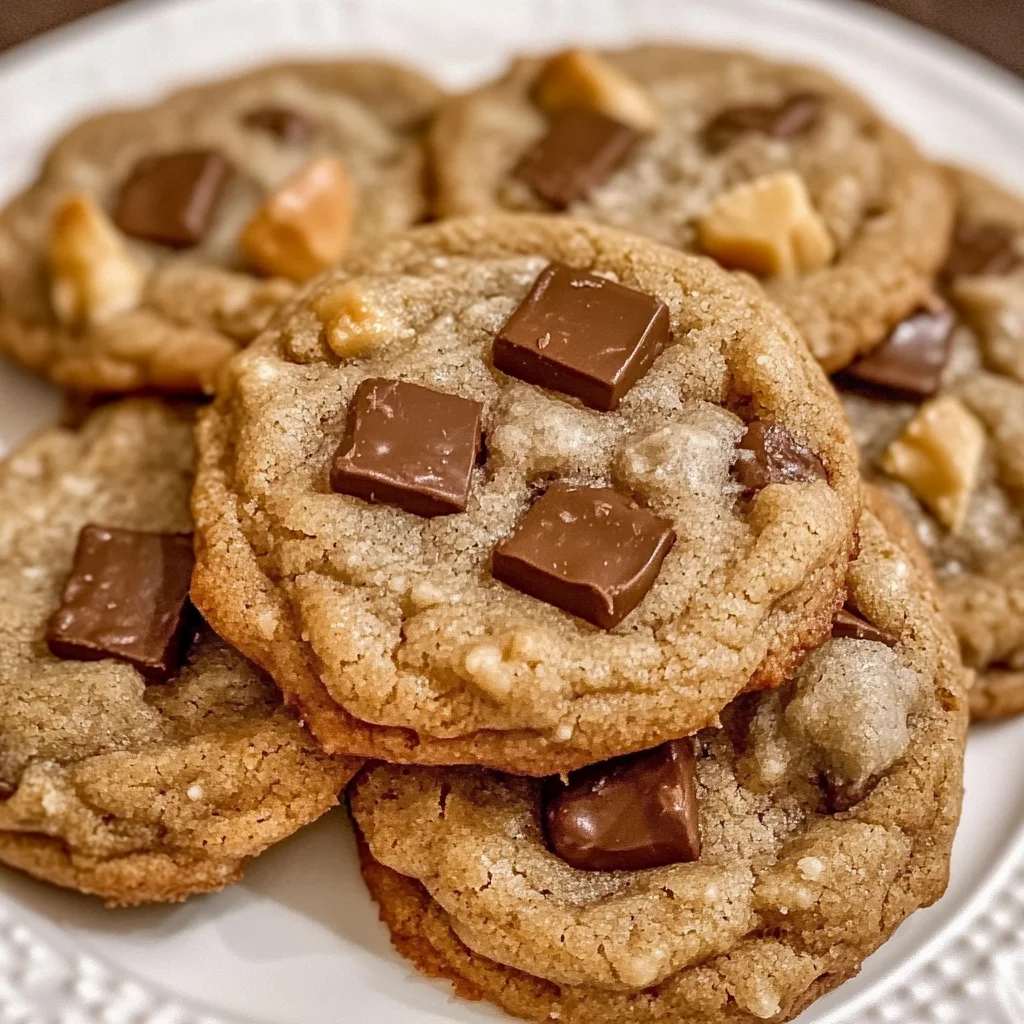
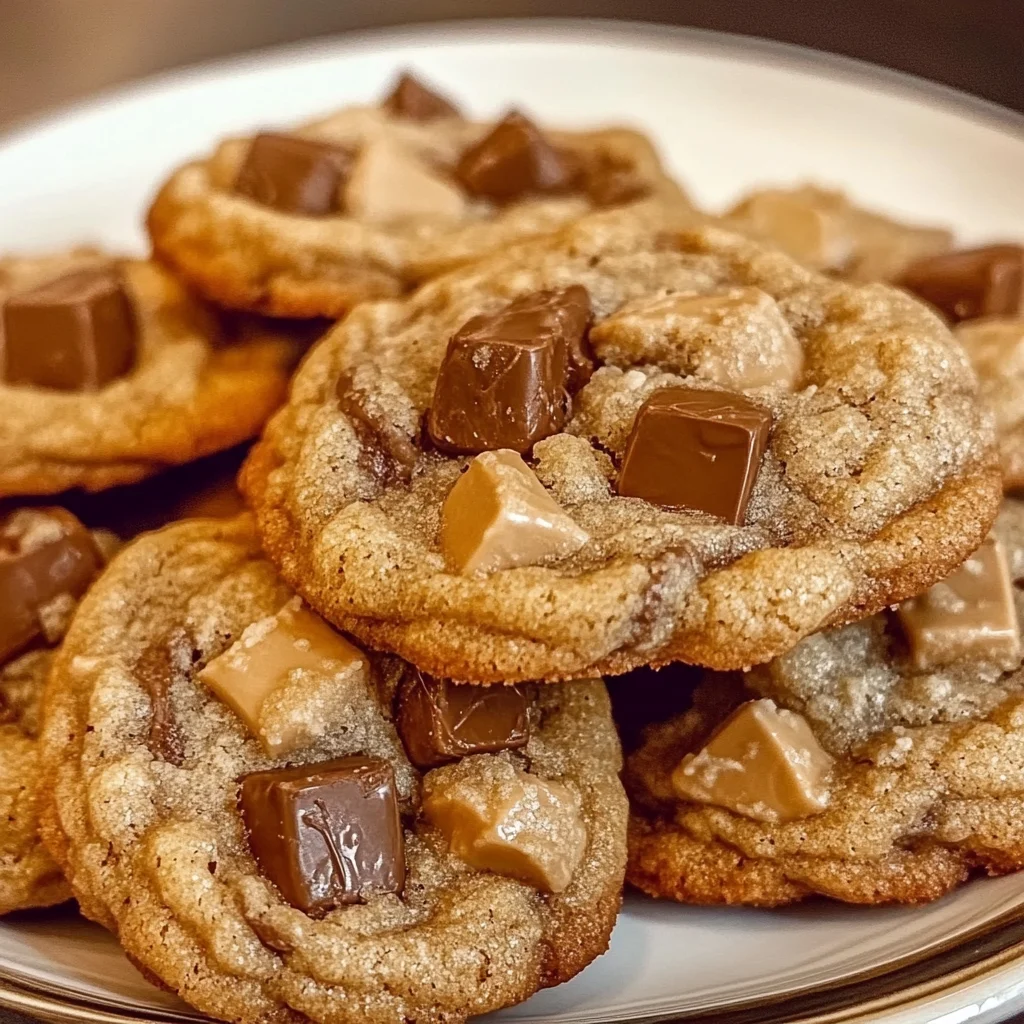
These cookies have a soft, chewy center with slightly crisp edges. The Butterfinger pieces add a lovely crunch in every bite, making the texture delightful and varied.
Can I make these cookies gluten-free?
You can substitute the all-purpose flour for a gluten-free flour blend that measures cup-for-cup. Just make sure your blend contains xanthan gum or a binding agent to keep the cookies from crumbling.
If you love peanut butter treats, you might also enjoy the No-Bake Amish Peanut Butter Pie for a creamy, no-fuss dessert. And when you want to switch gears to something savory, the Easy Hocus Pocus Punch is a fun and festive drink to serve alongside your cookies during gatherings. For a cozy soup to warm you up after your baking session, check out this Cozy Creamy Tortellini Soup, a perfect complement to your kitchen adventures.
These Peanut Butter Butterfinger Cookies are such a fun way to elevate classic peanut butter cookies with that crunchy candy bar surprise. Whether you’re baking to impress, gift, or simply treat yourself, they’re sure to hit the spot every time. So roll up your sleeves, preheat that oven, and get ready to fill your home with the most wonderful cookie aroma. Happy baking!
Don’t forget to follow us on Pinterest for more delicious recipes, kitchen tips, and food inspiration!
Peanut Butter Butterfinger Cookies
Ingredients
Equipment
Method
- Step 1: In a large bowl, beat the softened butter on medium speed until smooth and creamy, about 1 minute. Add granulated sugar and brown sugar, then beat on medium-high for 2–3 minutes until light and fluffy, scraping down the sides as needed.
- Step 2: Mix in the creamy peanut butter until combined. Add the egg and vanilla extract, mixing just until incorporated. Avoid overbeating.
- Step 3: Sprinkle flour evenly over the wet ingredients, then sprinkle baking soda, baking powder, and salt on top. Use a whisk or fork to gently combine the dry ingredients, then mix on low speed just until a few flour streaks remain. Do not overmix.
- Step 4: Fold in the coarsely chopped Butterfinger pieces by hand or with a quick low-speed pulse until evenly distributed. Be careful not to overmix.
- Step 5: Using a large cookie scoop (about 3 tablespoons), form dough balls and place them on a parchment-lined baking sheet. Chill the dough balls in the refrigerator for at least 30 minutes to help cookies hold their shape.
- Step 6: Preheat the oven to 350°F (175°C). Arrange chilled dough balls at least 3 inches apart on parchment-lined sheets. Bake for 10 to 13 minutes, until edges are set and golden but centers remain soft.
- Step 7: Immediately after removing from oven, gently bang the baking sheet on the counter to deflate cookies slightly. Use the edge of a spoon or spatula to push edges inward for a thick, soft shape. Let cool on baking sheet 10 minutes, then transfer to wire rack to cool completely.